
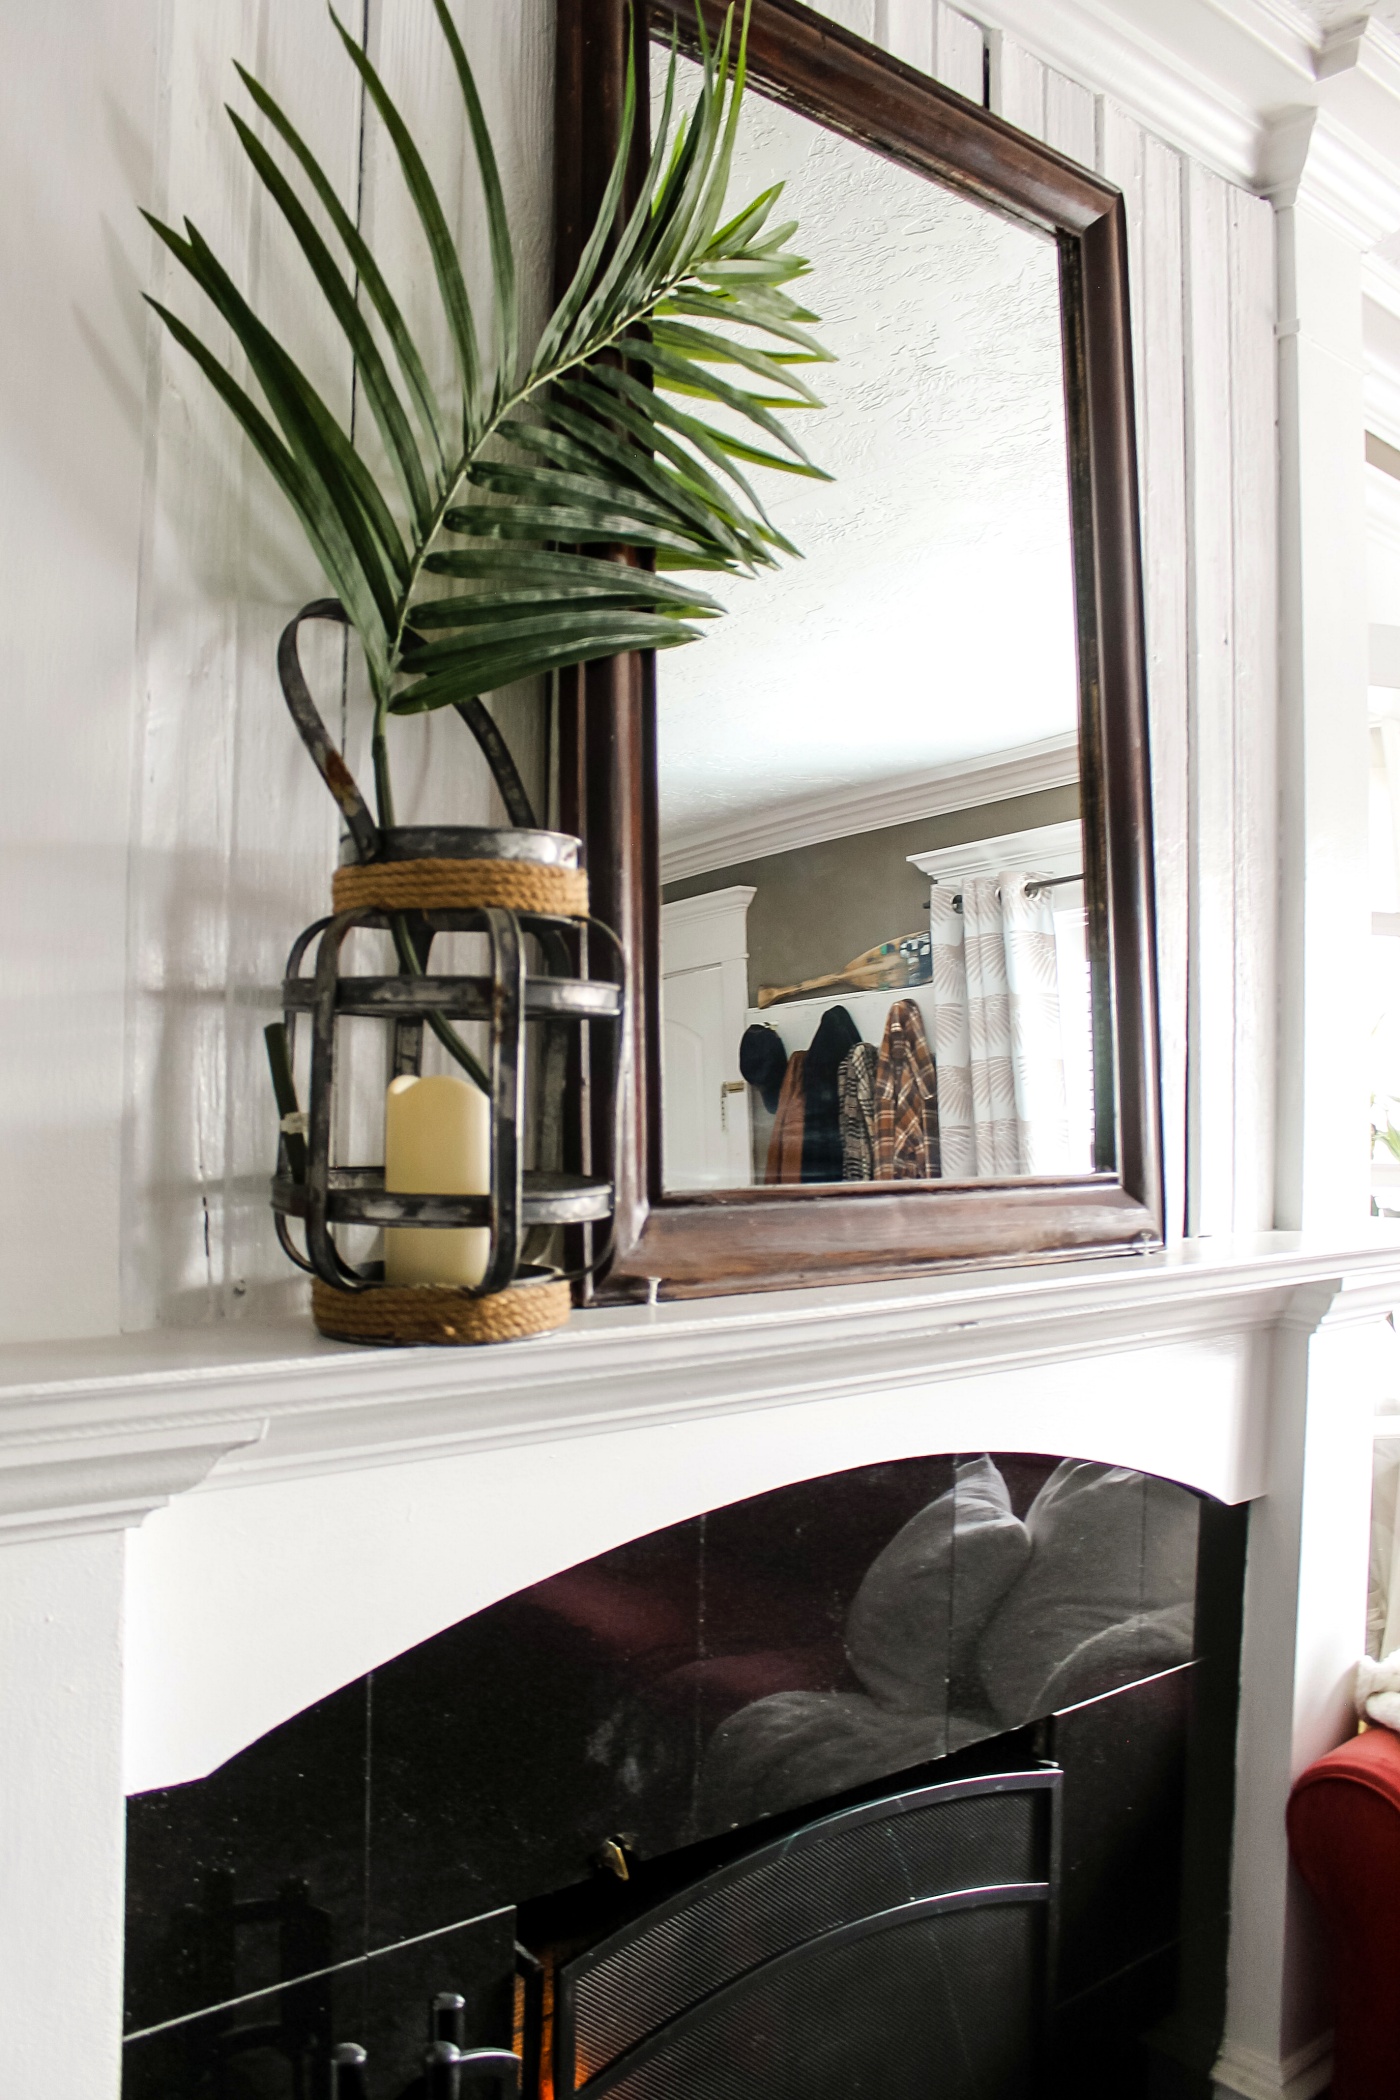
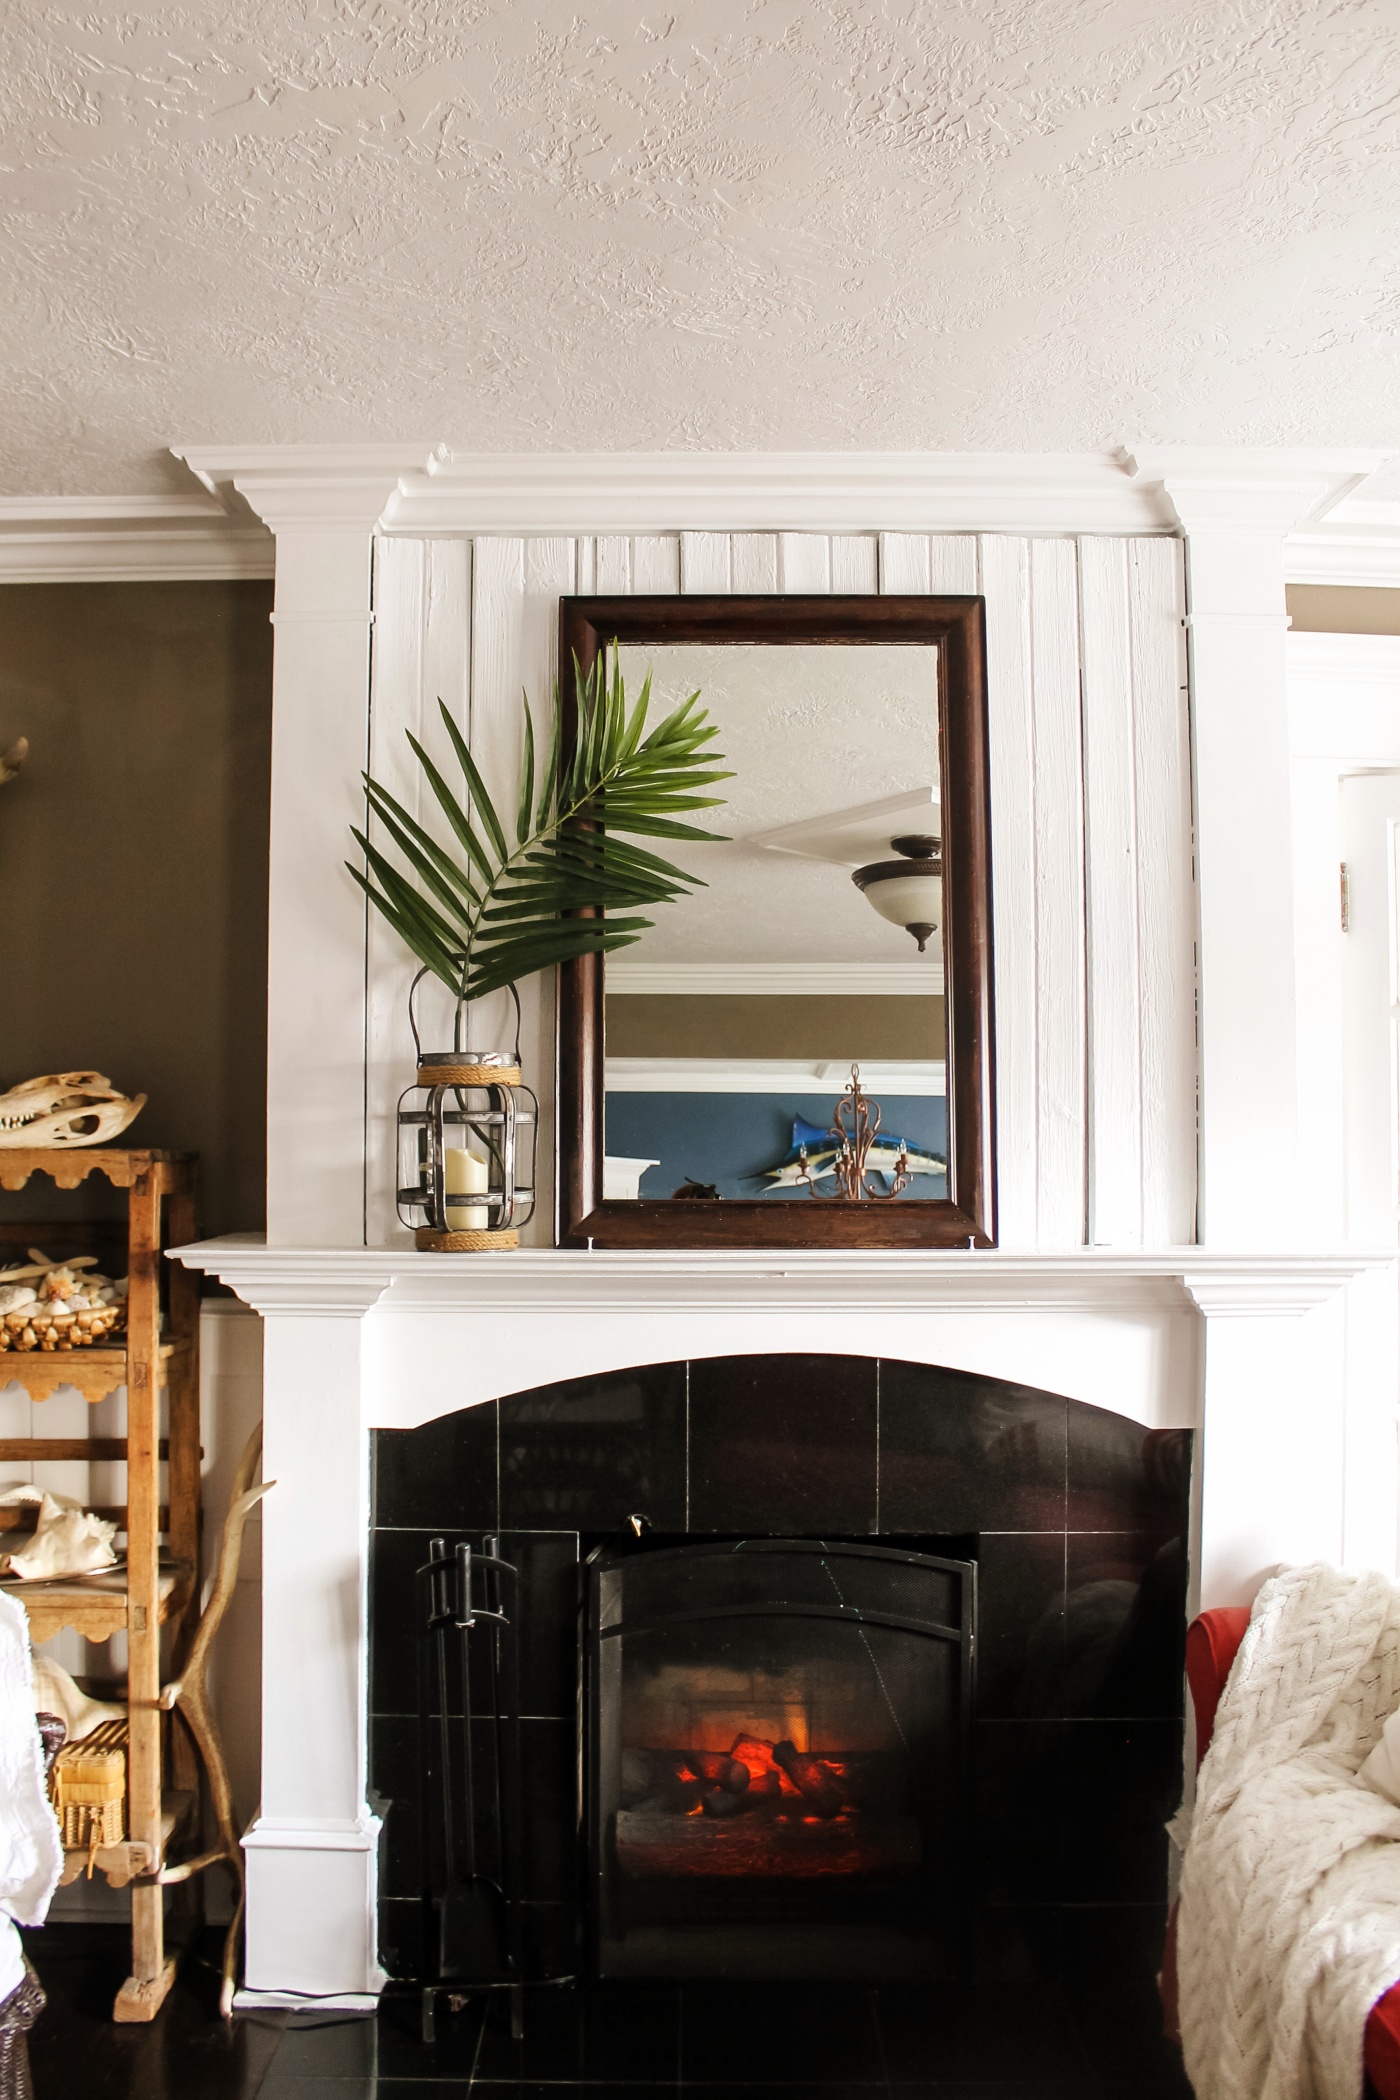
So many changes have happened in our living room recently. As you can see I painted the walls brown 🤎 and then I changed up the fireplace. I will be back soon to share more of the room and the brown walls with you, but today I wanted to quickly show you how I made over our fireplace and the large mirror that’s on our mantle.
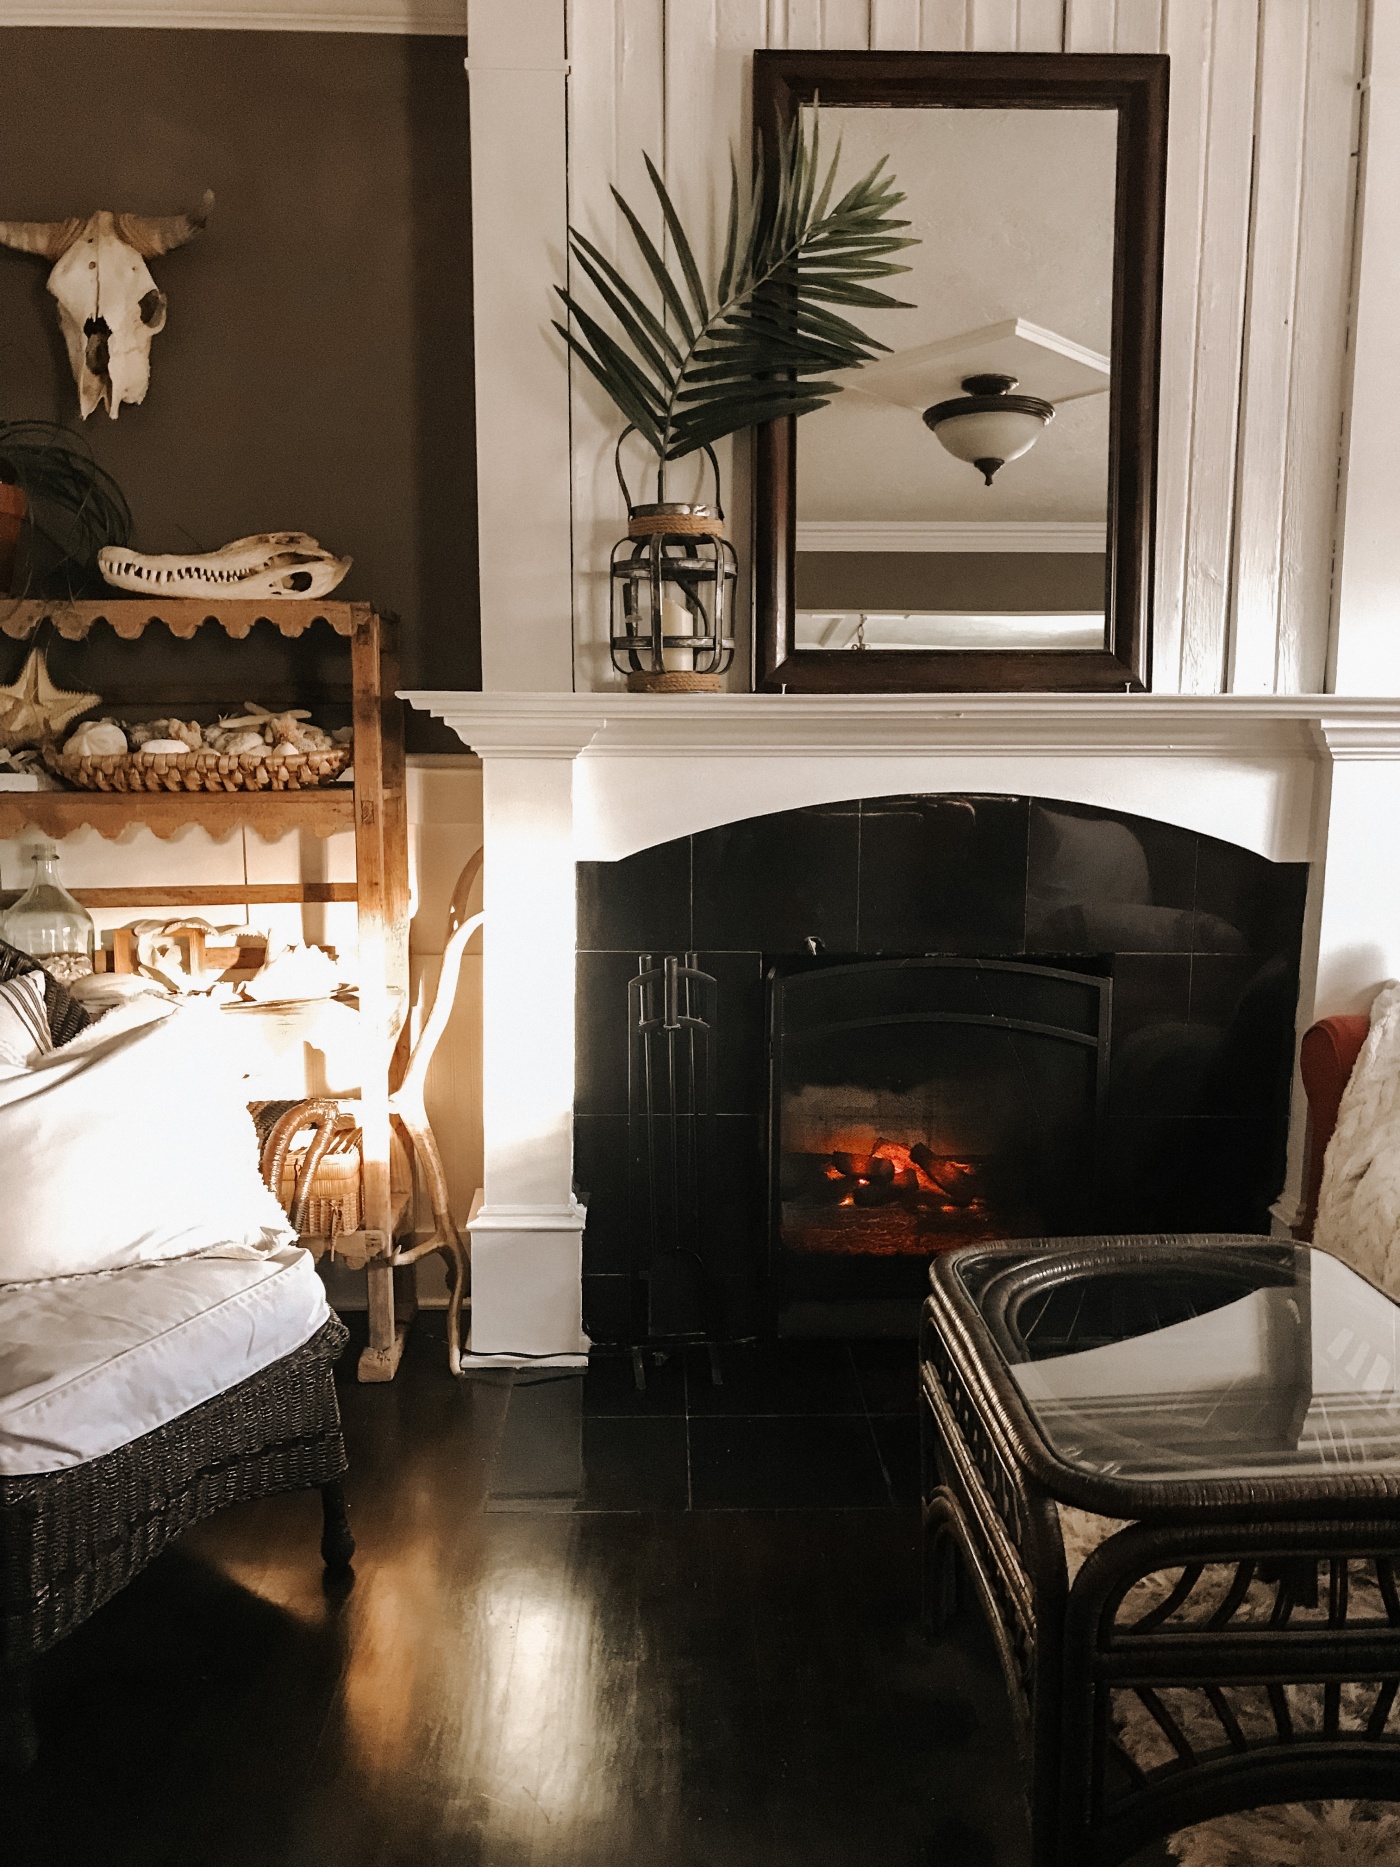
I seriously can not believe what a difference all of the warm browns have made to this room. The room now feels Way more cozier than it ever has before!
The last time I shared our fireplace it looked like this:

I have made over this fireplace so many times, and now it’s basically back to where it began. Ha! So the reason for this last makeover was; 1. I didn’t love the white mirror against the white planks because it kinda just blended together, and 2. I didn’t like the color of the bricks next to the new brown walls.
So the first thing I did was remove the brick wallpaper. It came off super easy.
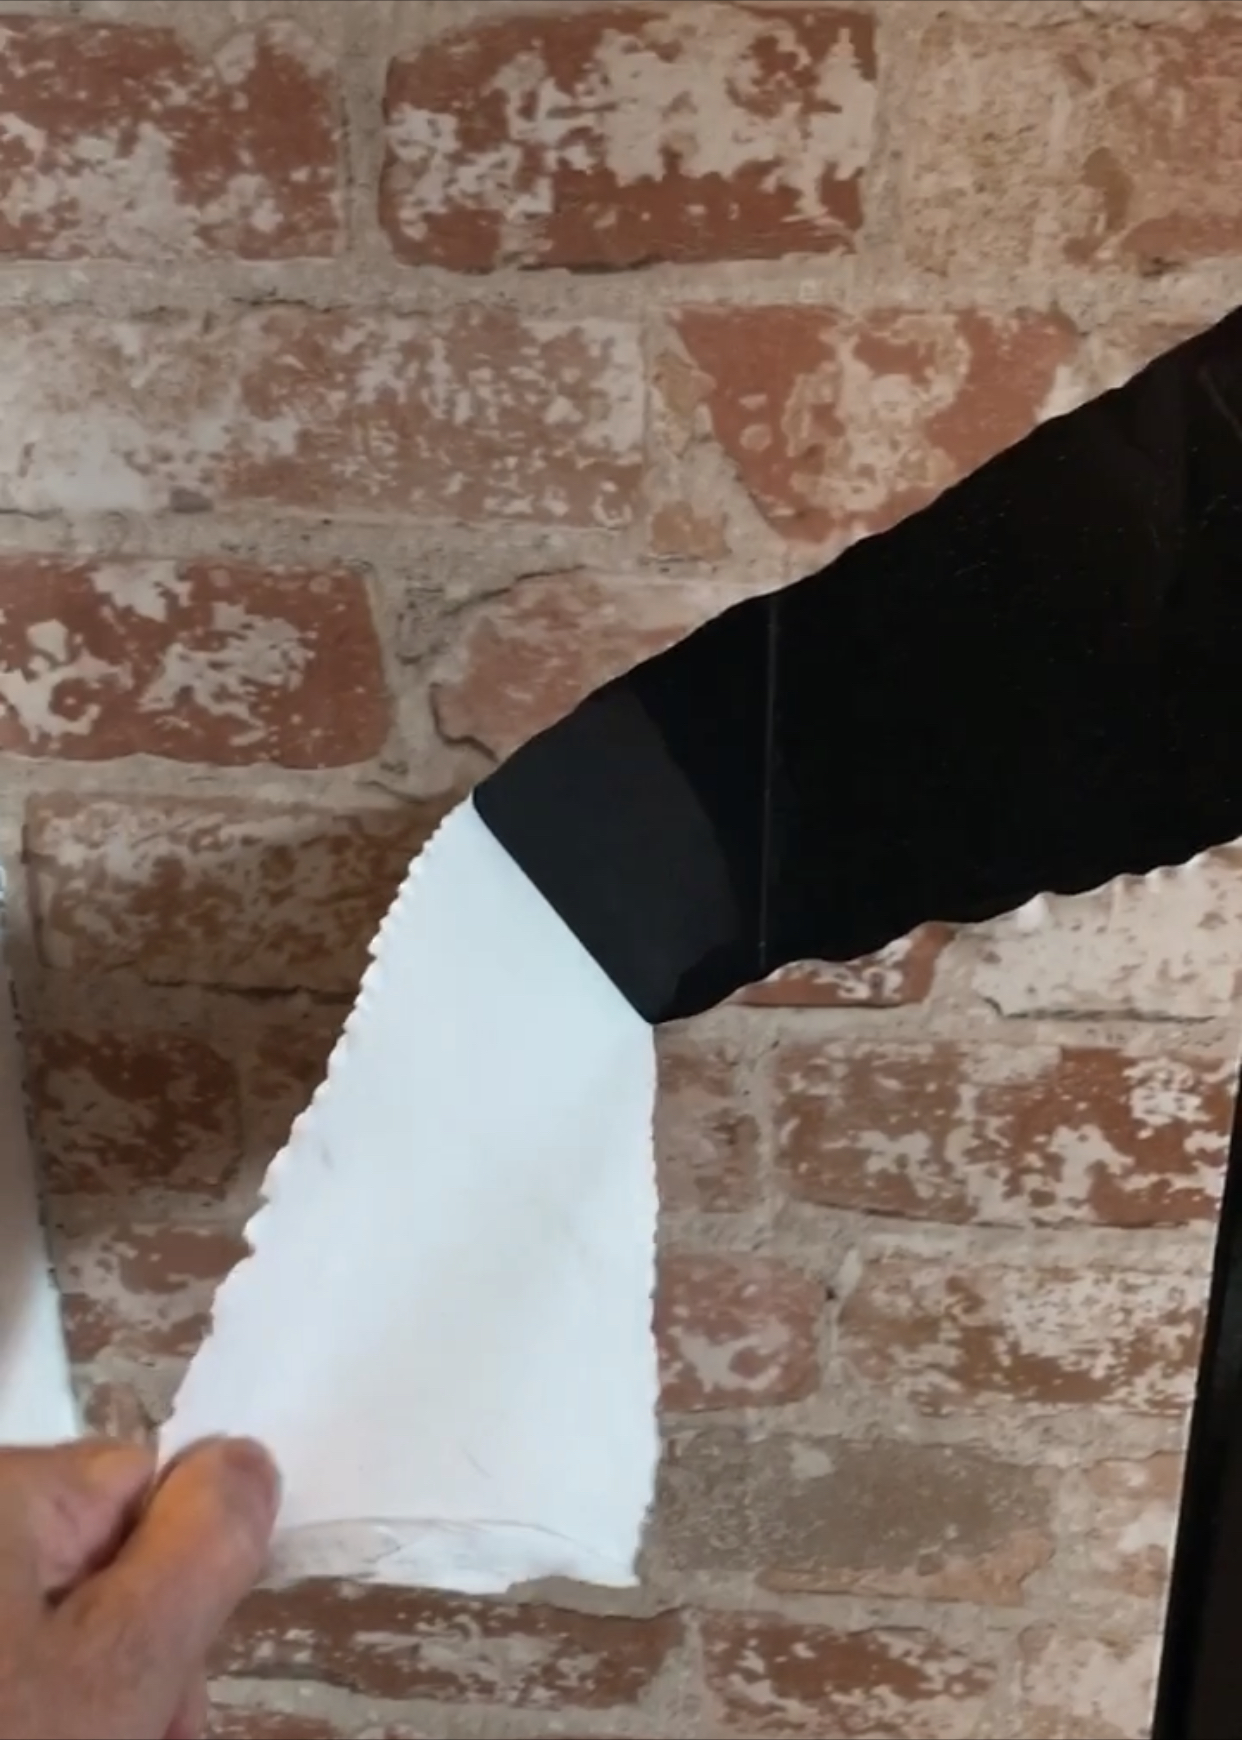
I added the faux brick wallpaper to the fireplace two years ago and you can read all about it HERE.
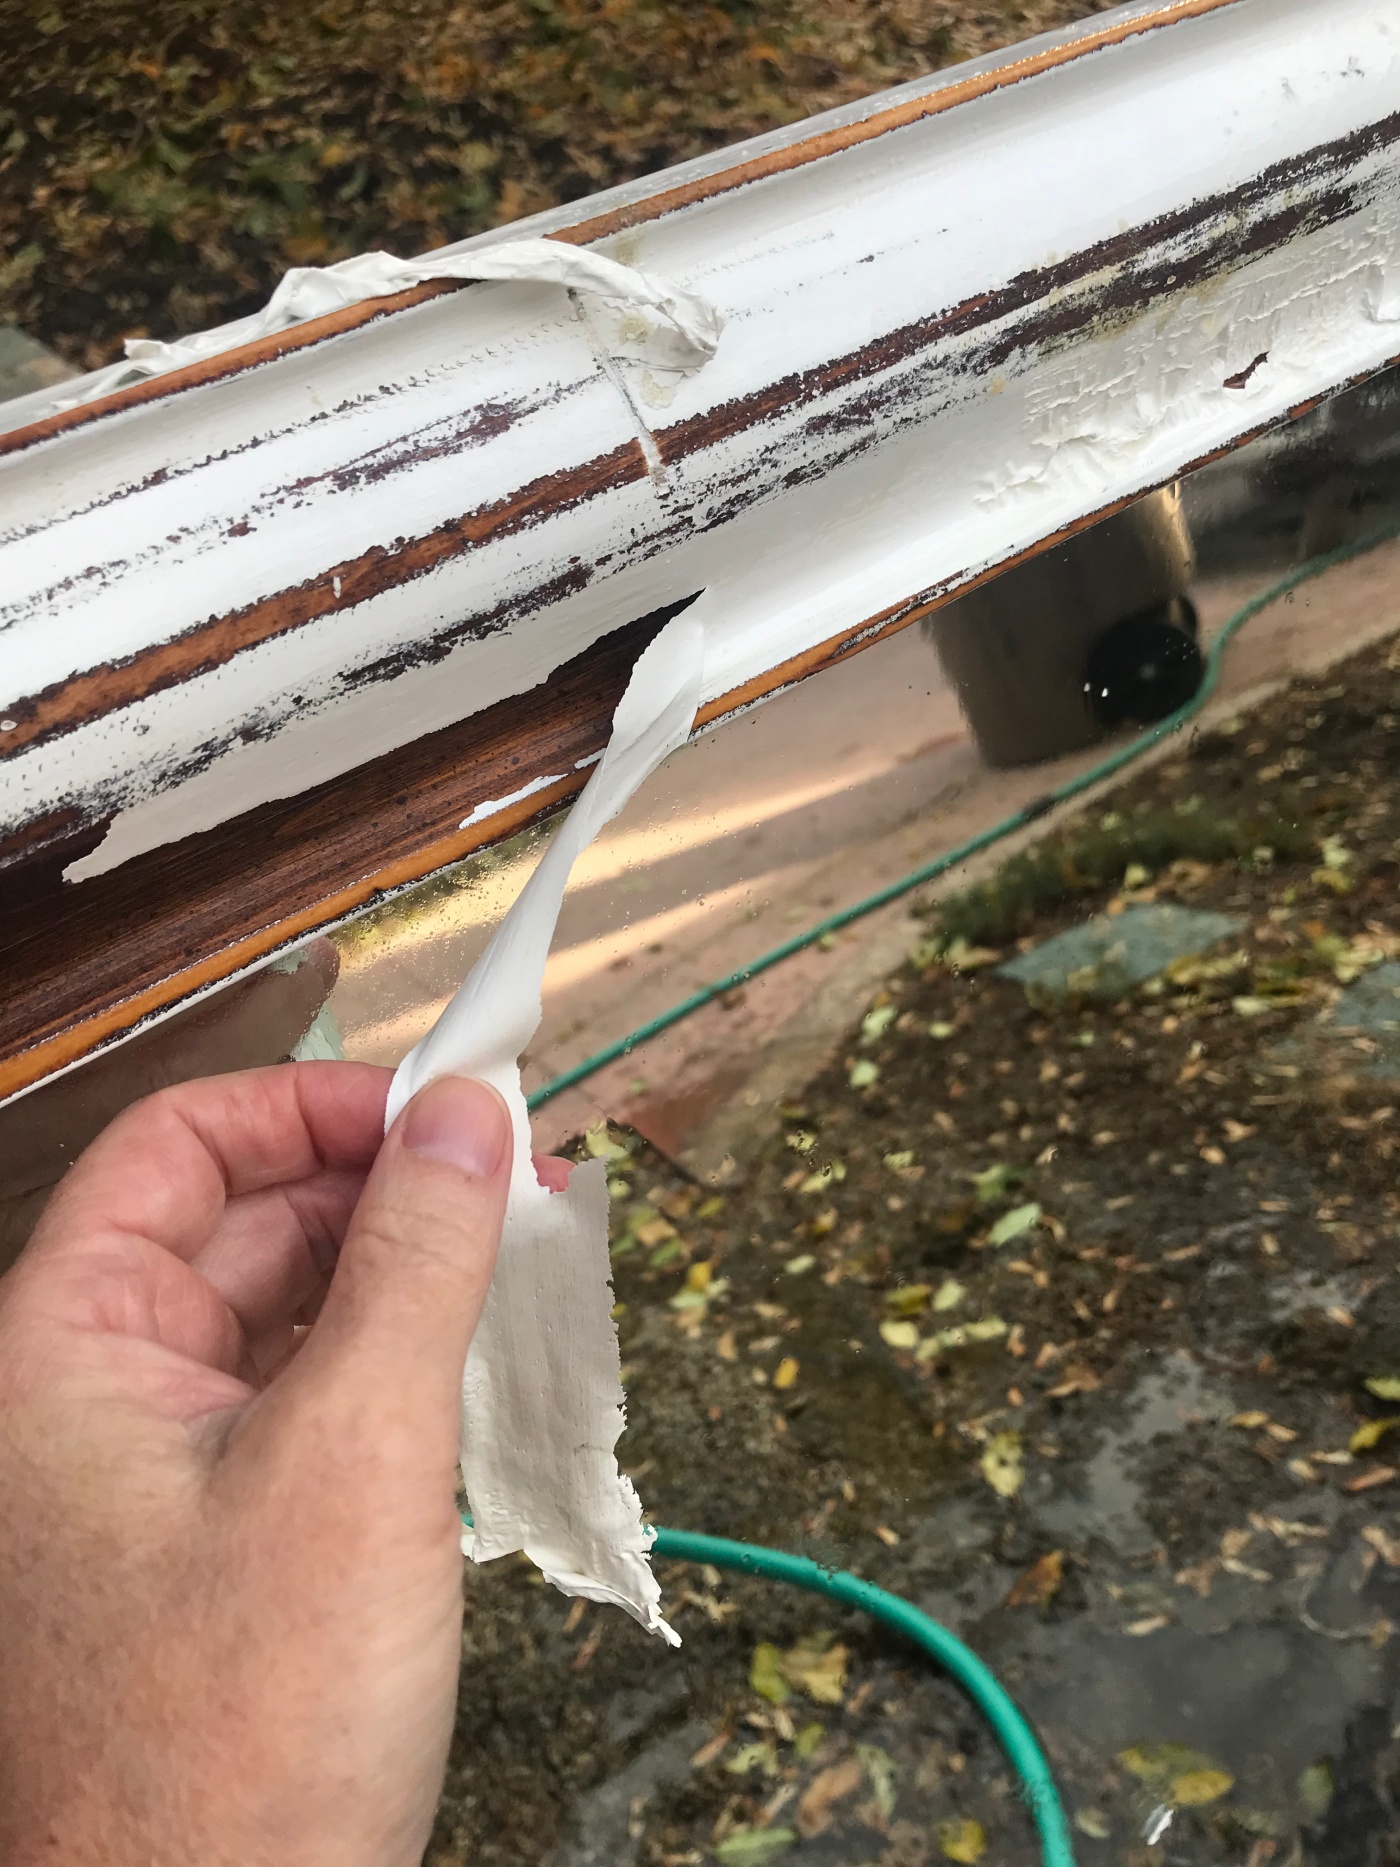
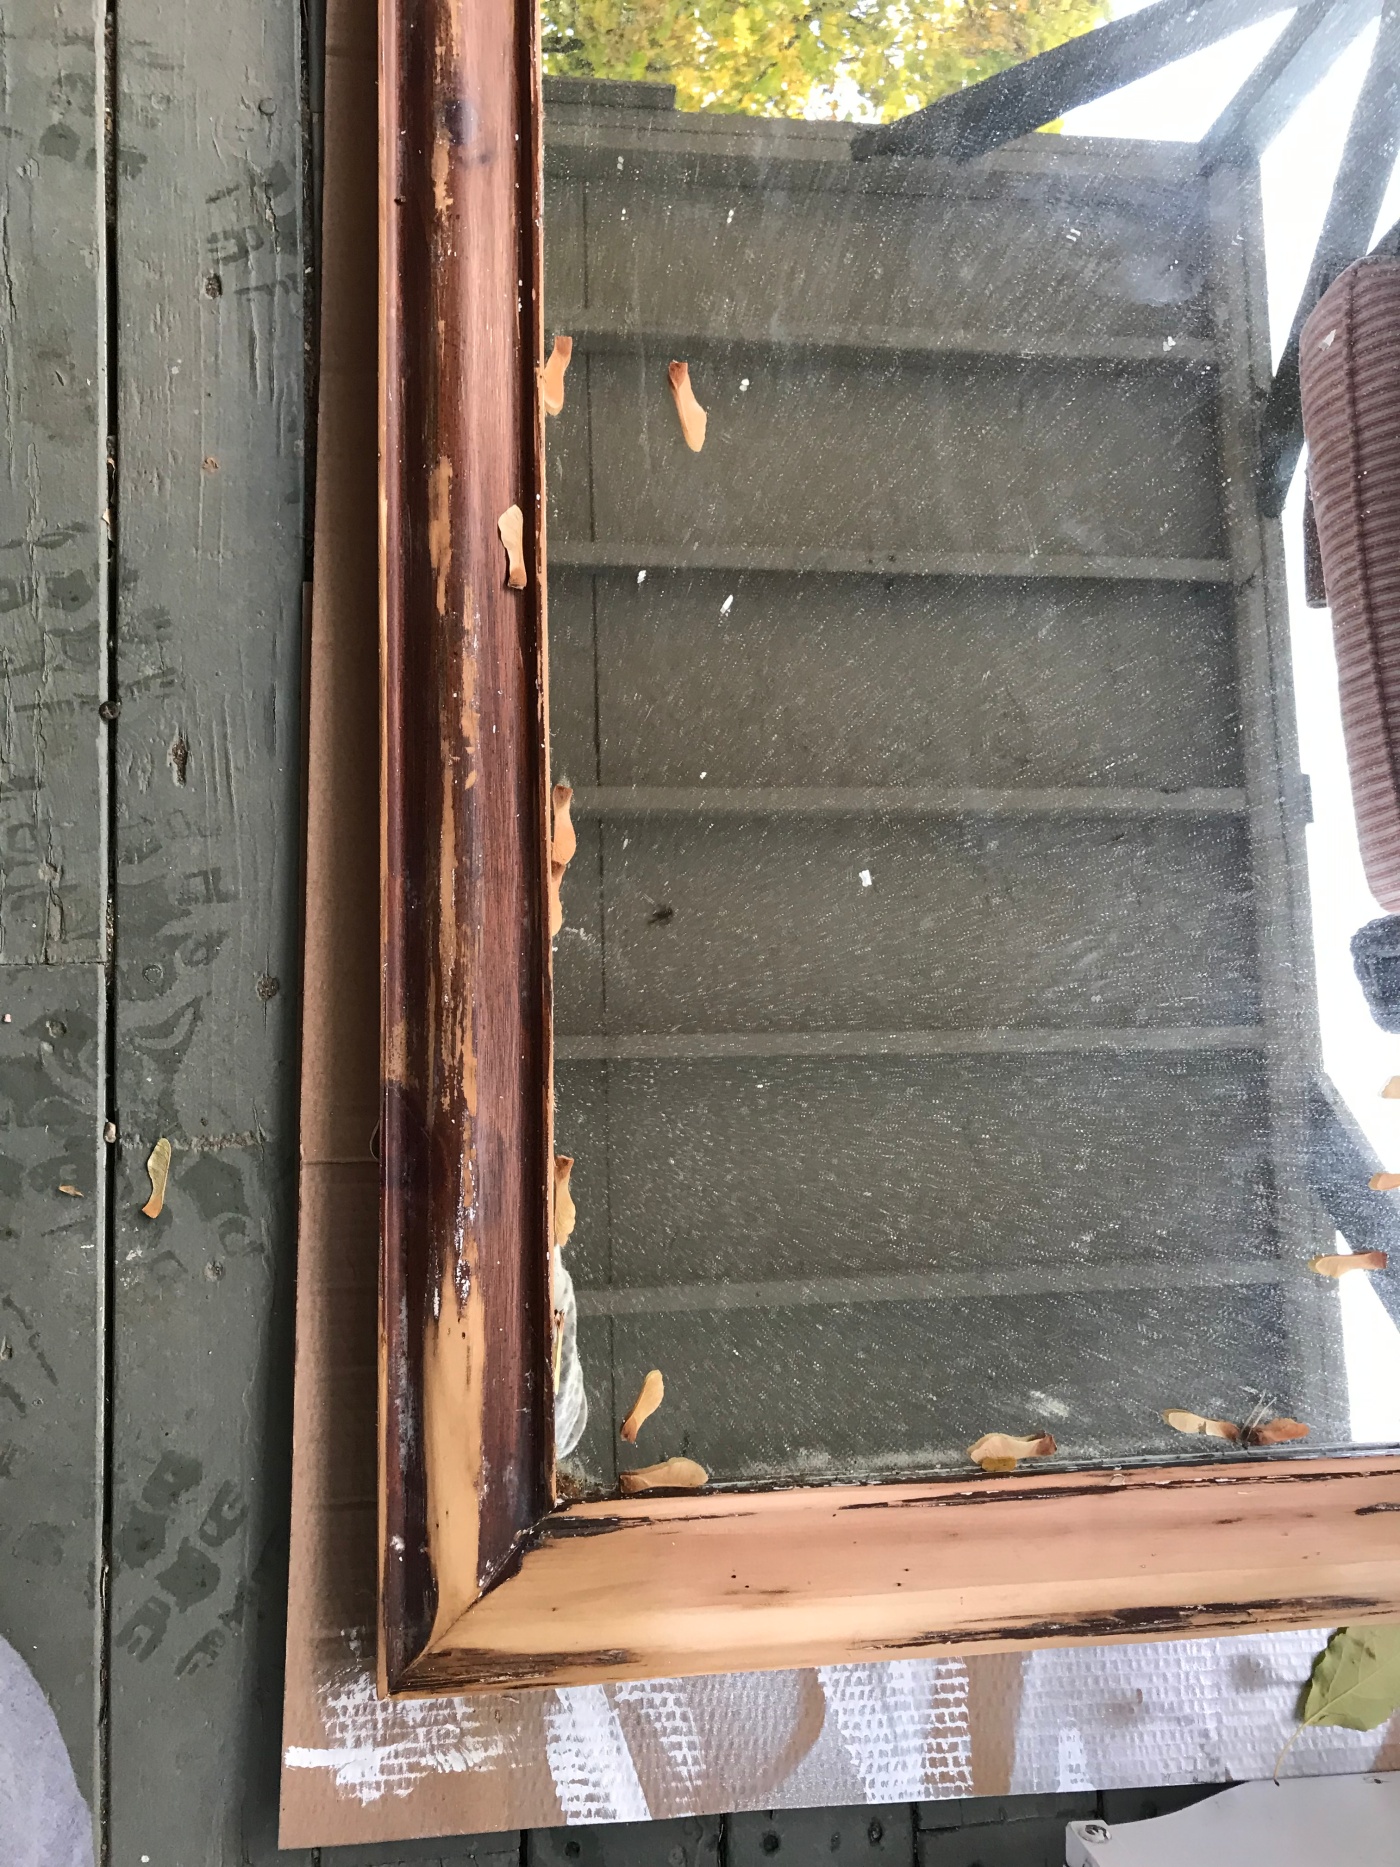
Next, I stripped the white paint off of the mirror. I did this by first spraying Easy-Off oven cleaner to the painted wood frame of the mirror. I let the oven cleaner sit on the wood over night and then I spayed it down with the hose. The paint easily peeled right off of the frame.
Then I tried to sand the frame down to the raw wood, but I decided that I didn’t really like the color of the raw wood. It looks almost like it could be cedar and cedar has a pink tone to it.
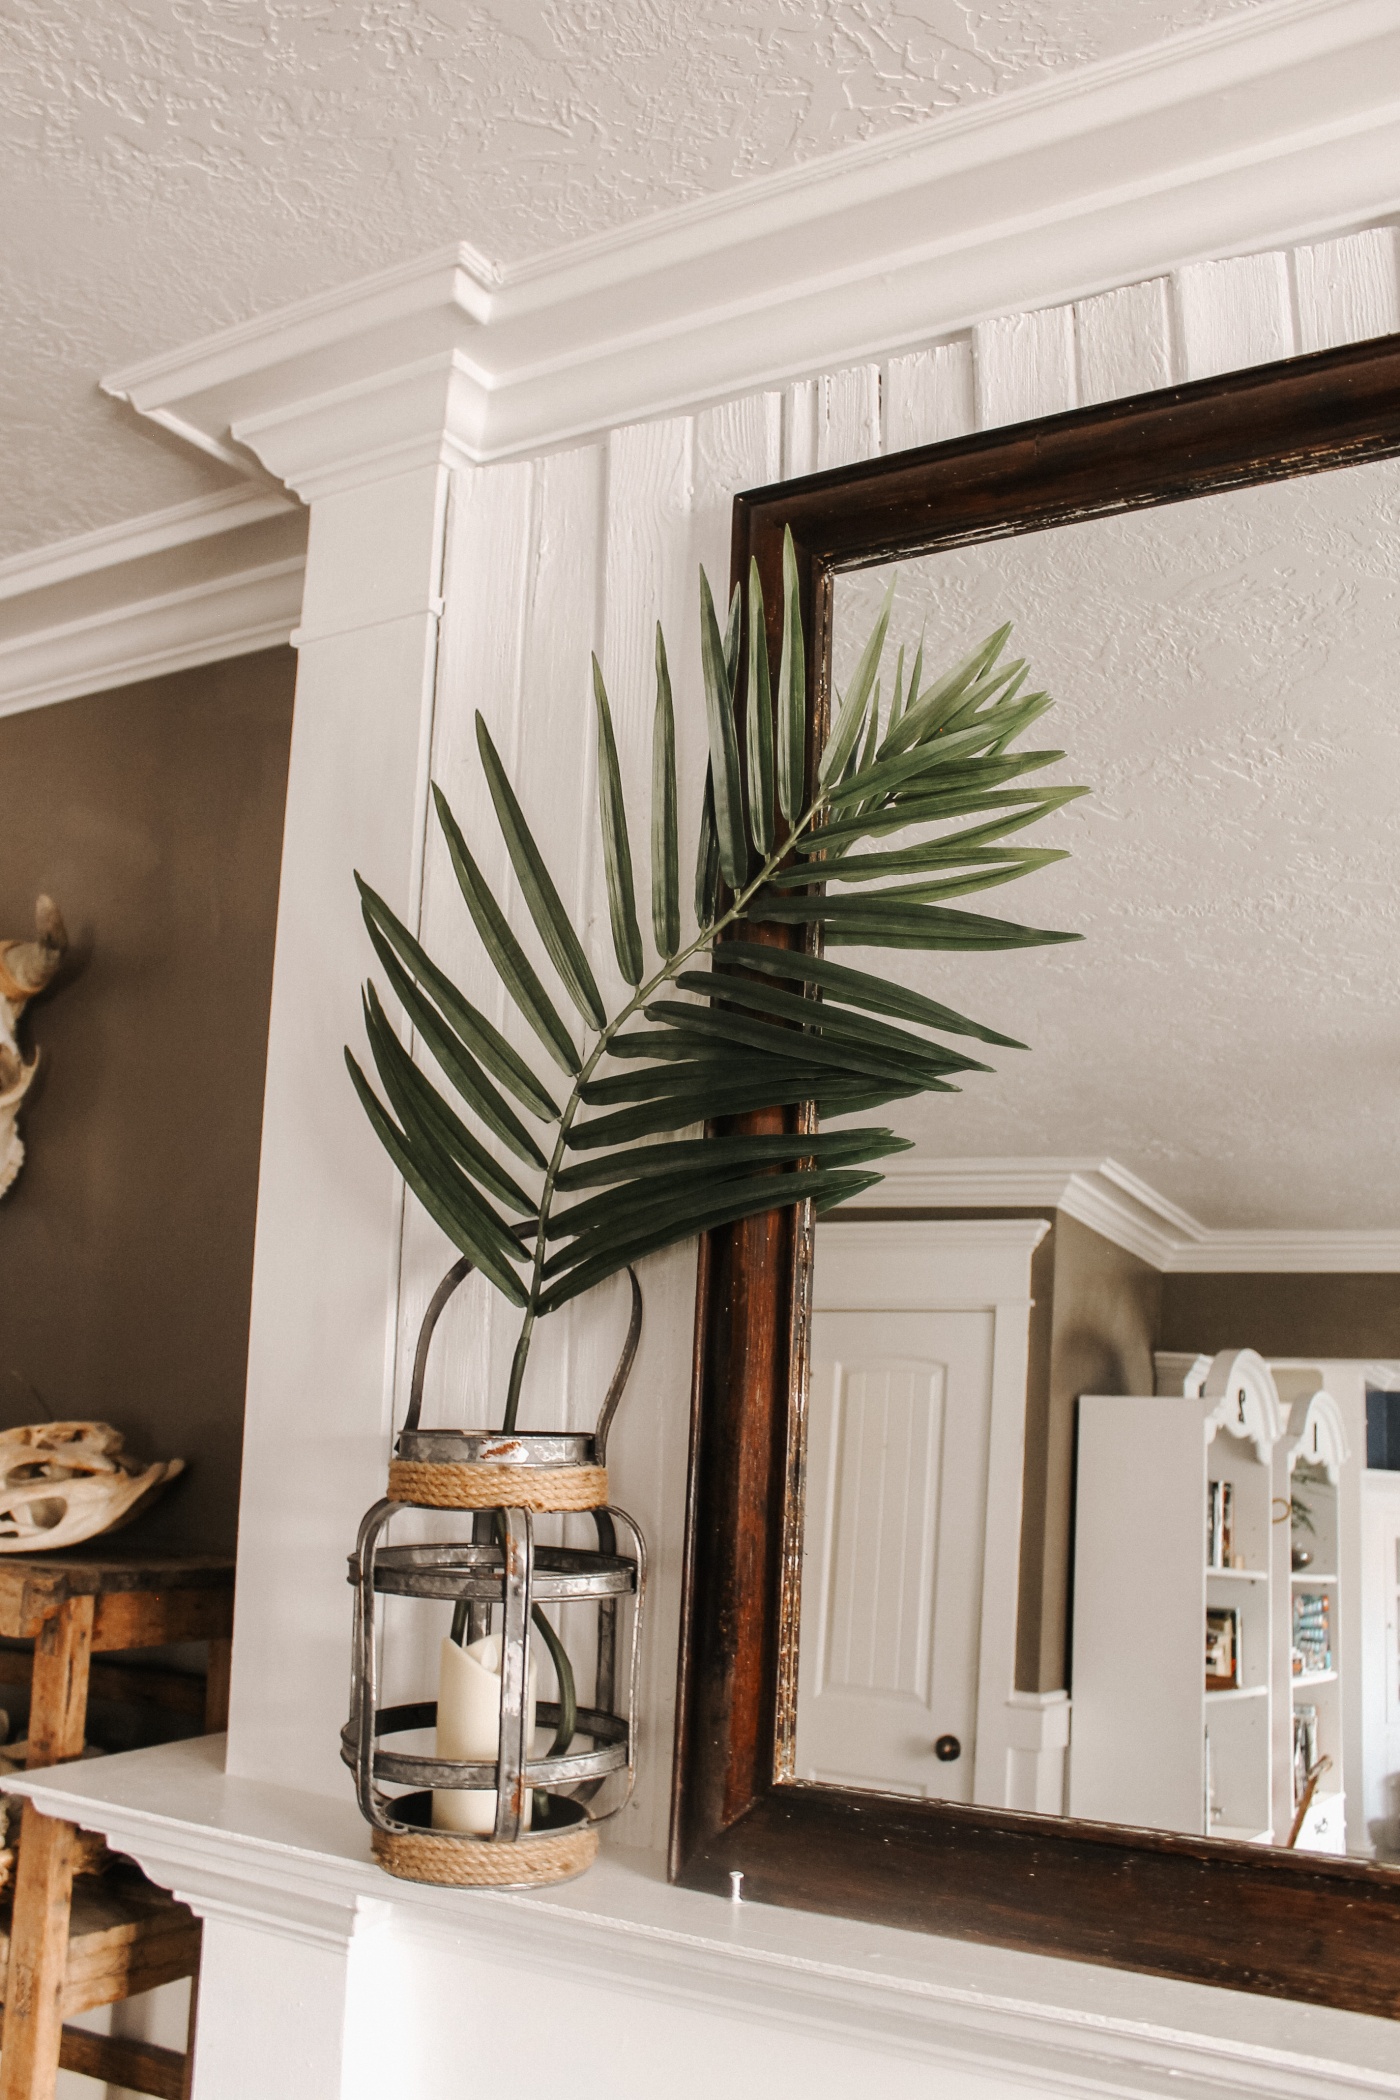
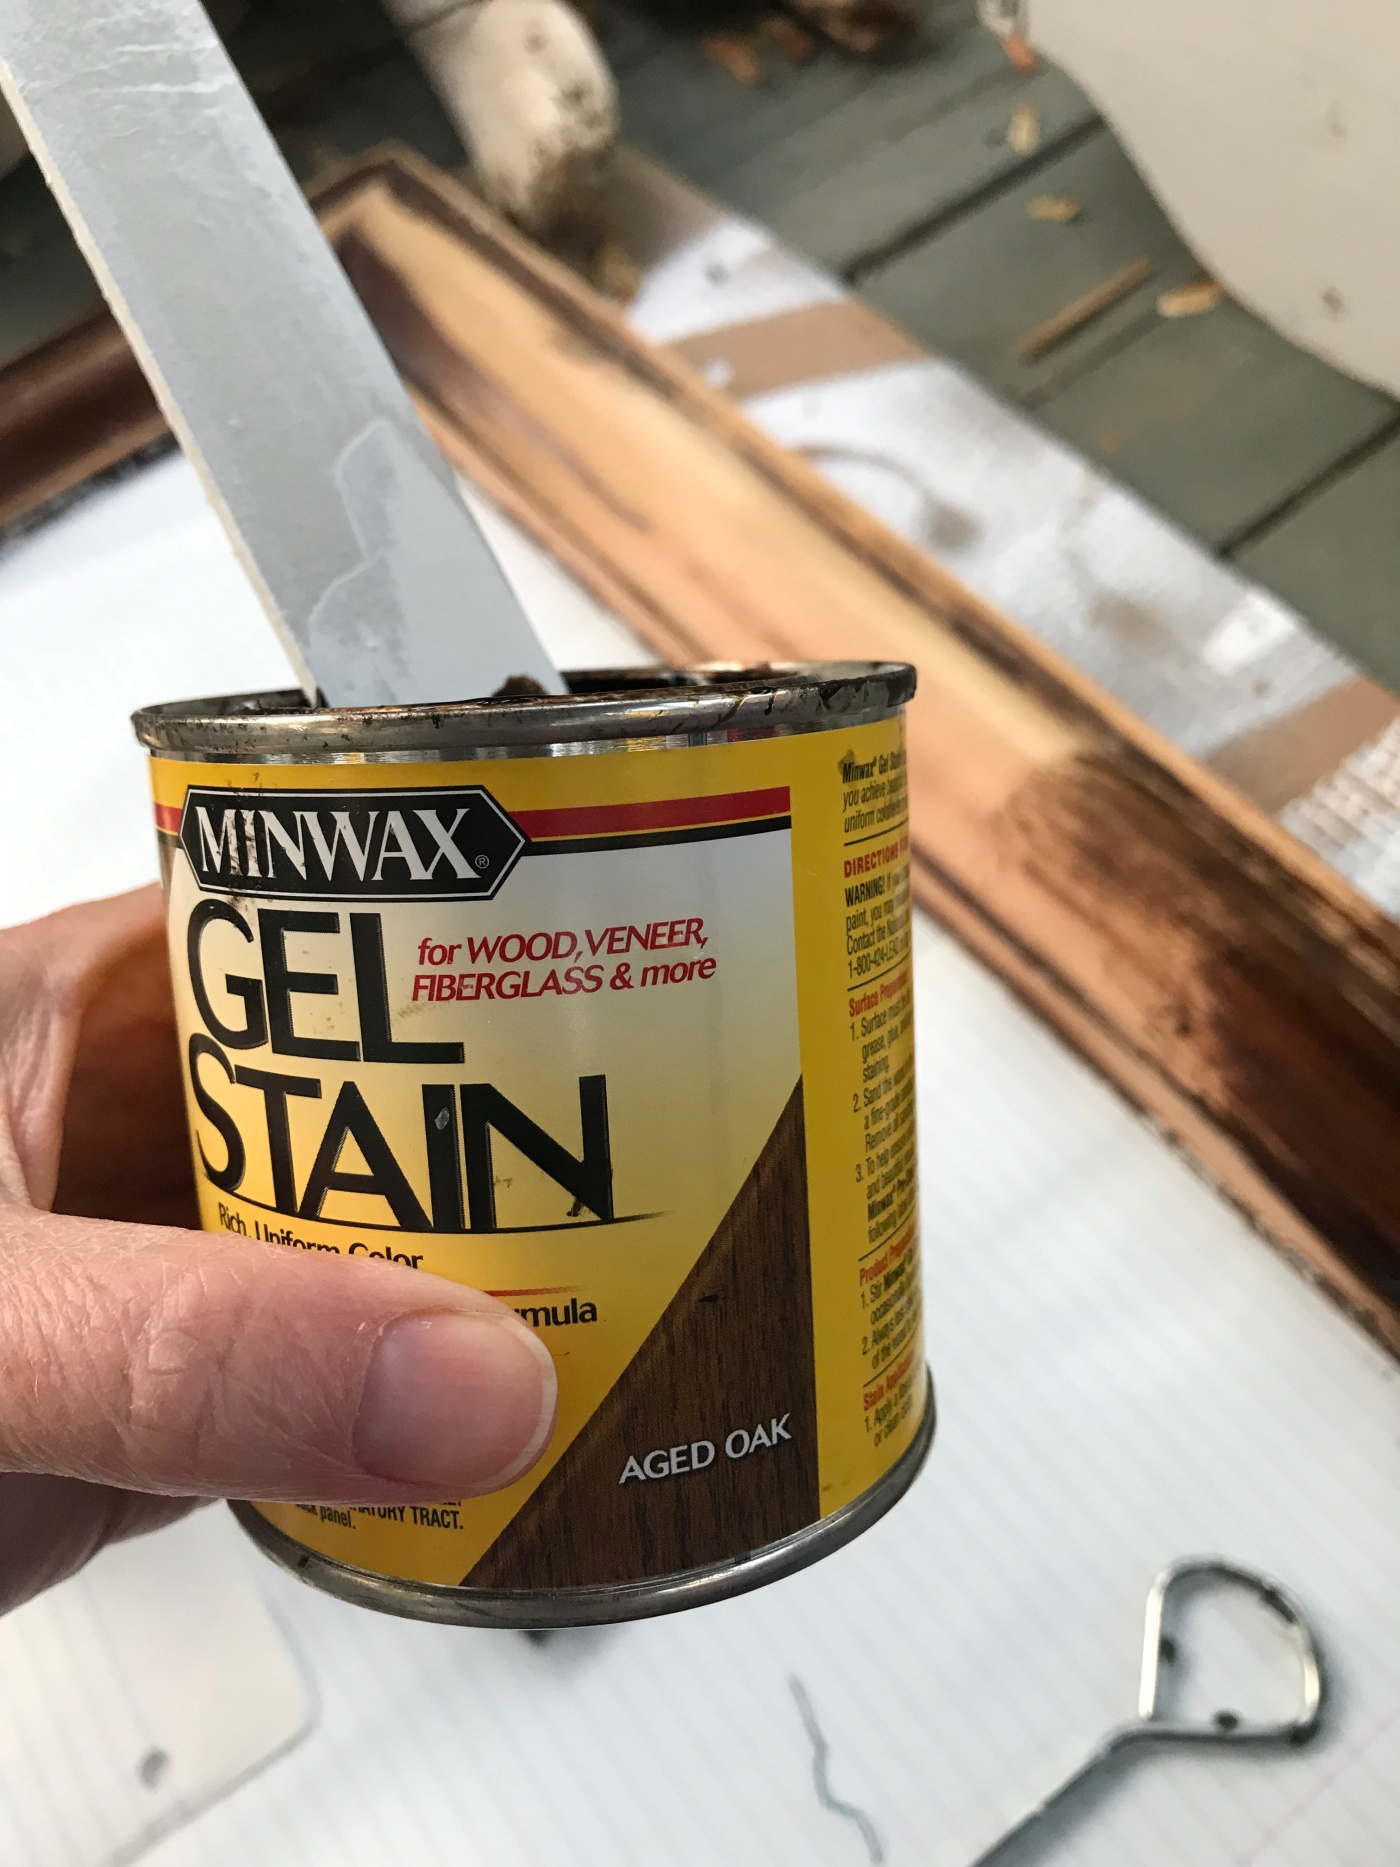
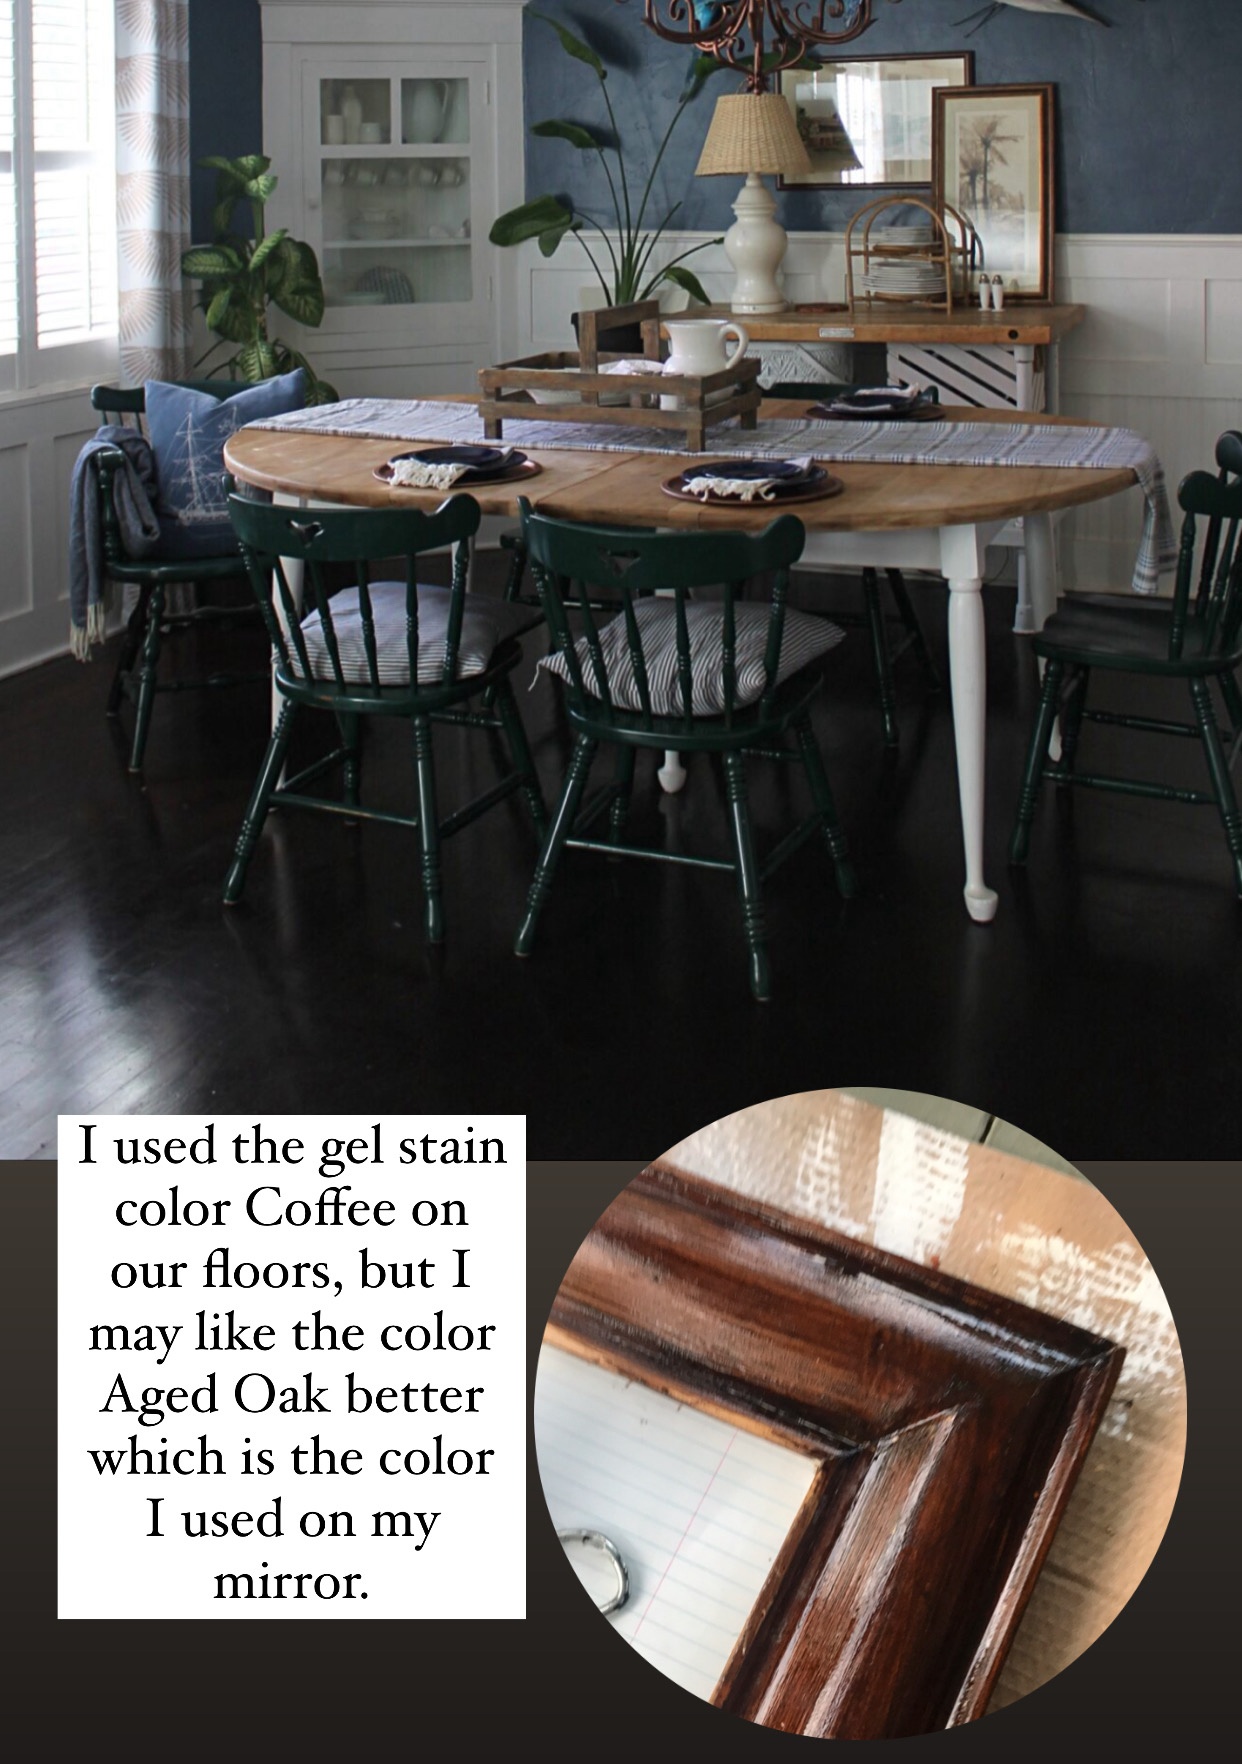
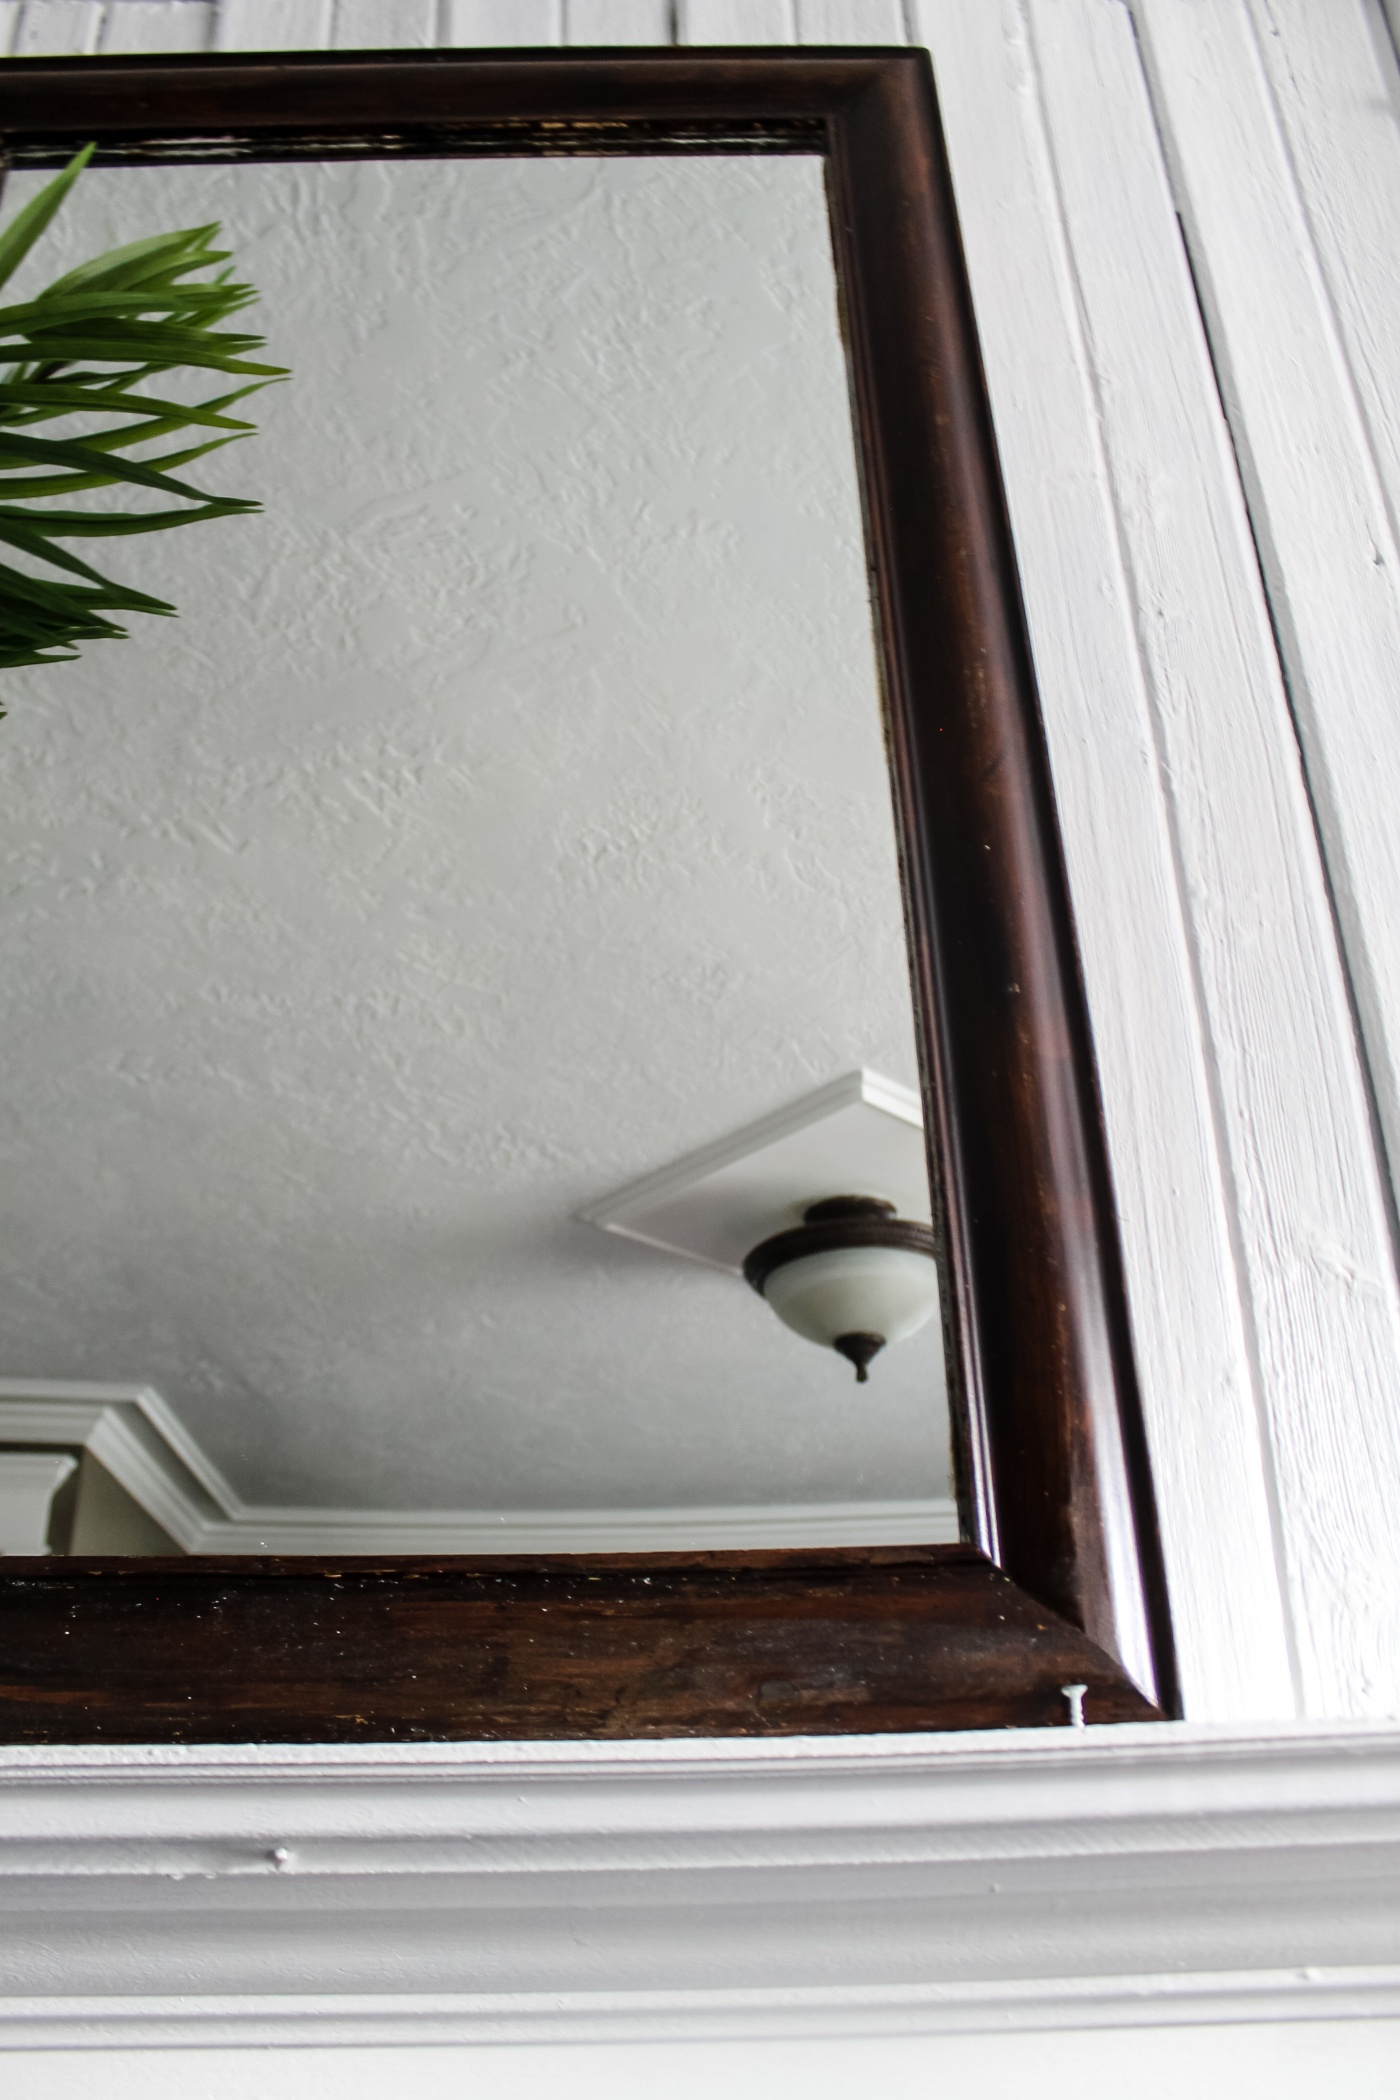
So I knew that the next best option was going to be to Gel-Stain the mirror. I went with a Minwax Gel Stain in the color, Aged Oak.
I applied the gel-stain with an old paintbrush. Truthfully, I just keep this paintbrush in our freezer wrapped up in a plastic sack and then I get it out whenever I need to gel stain anything.
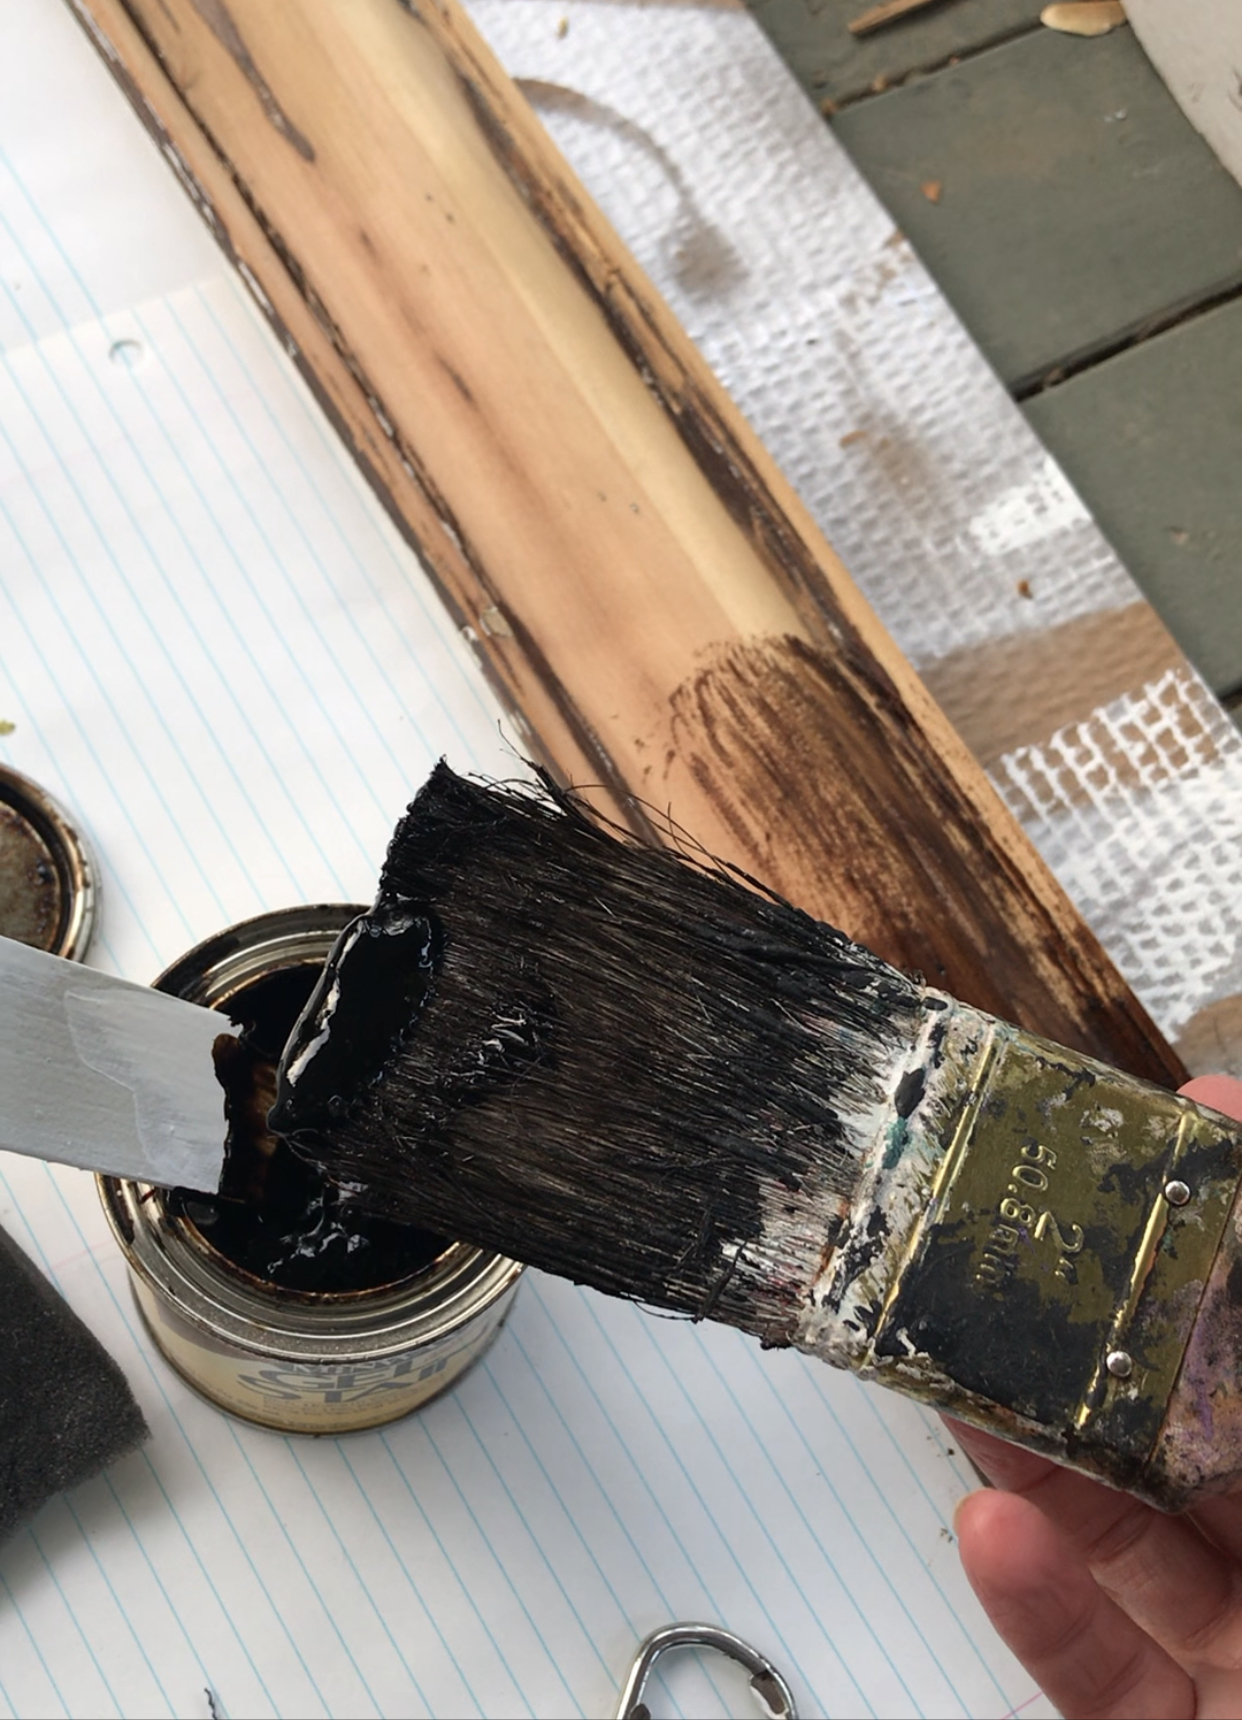
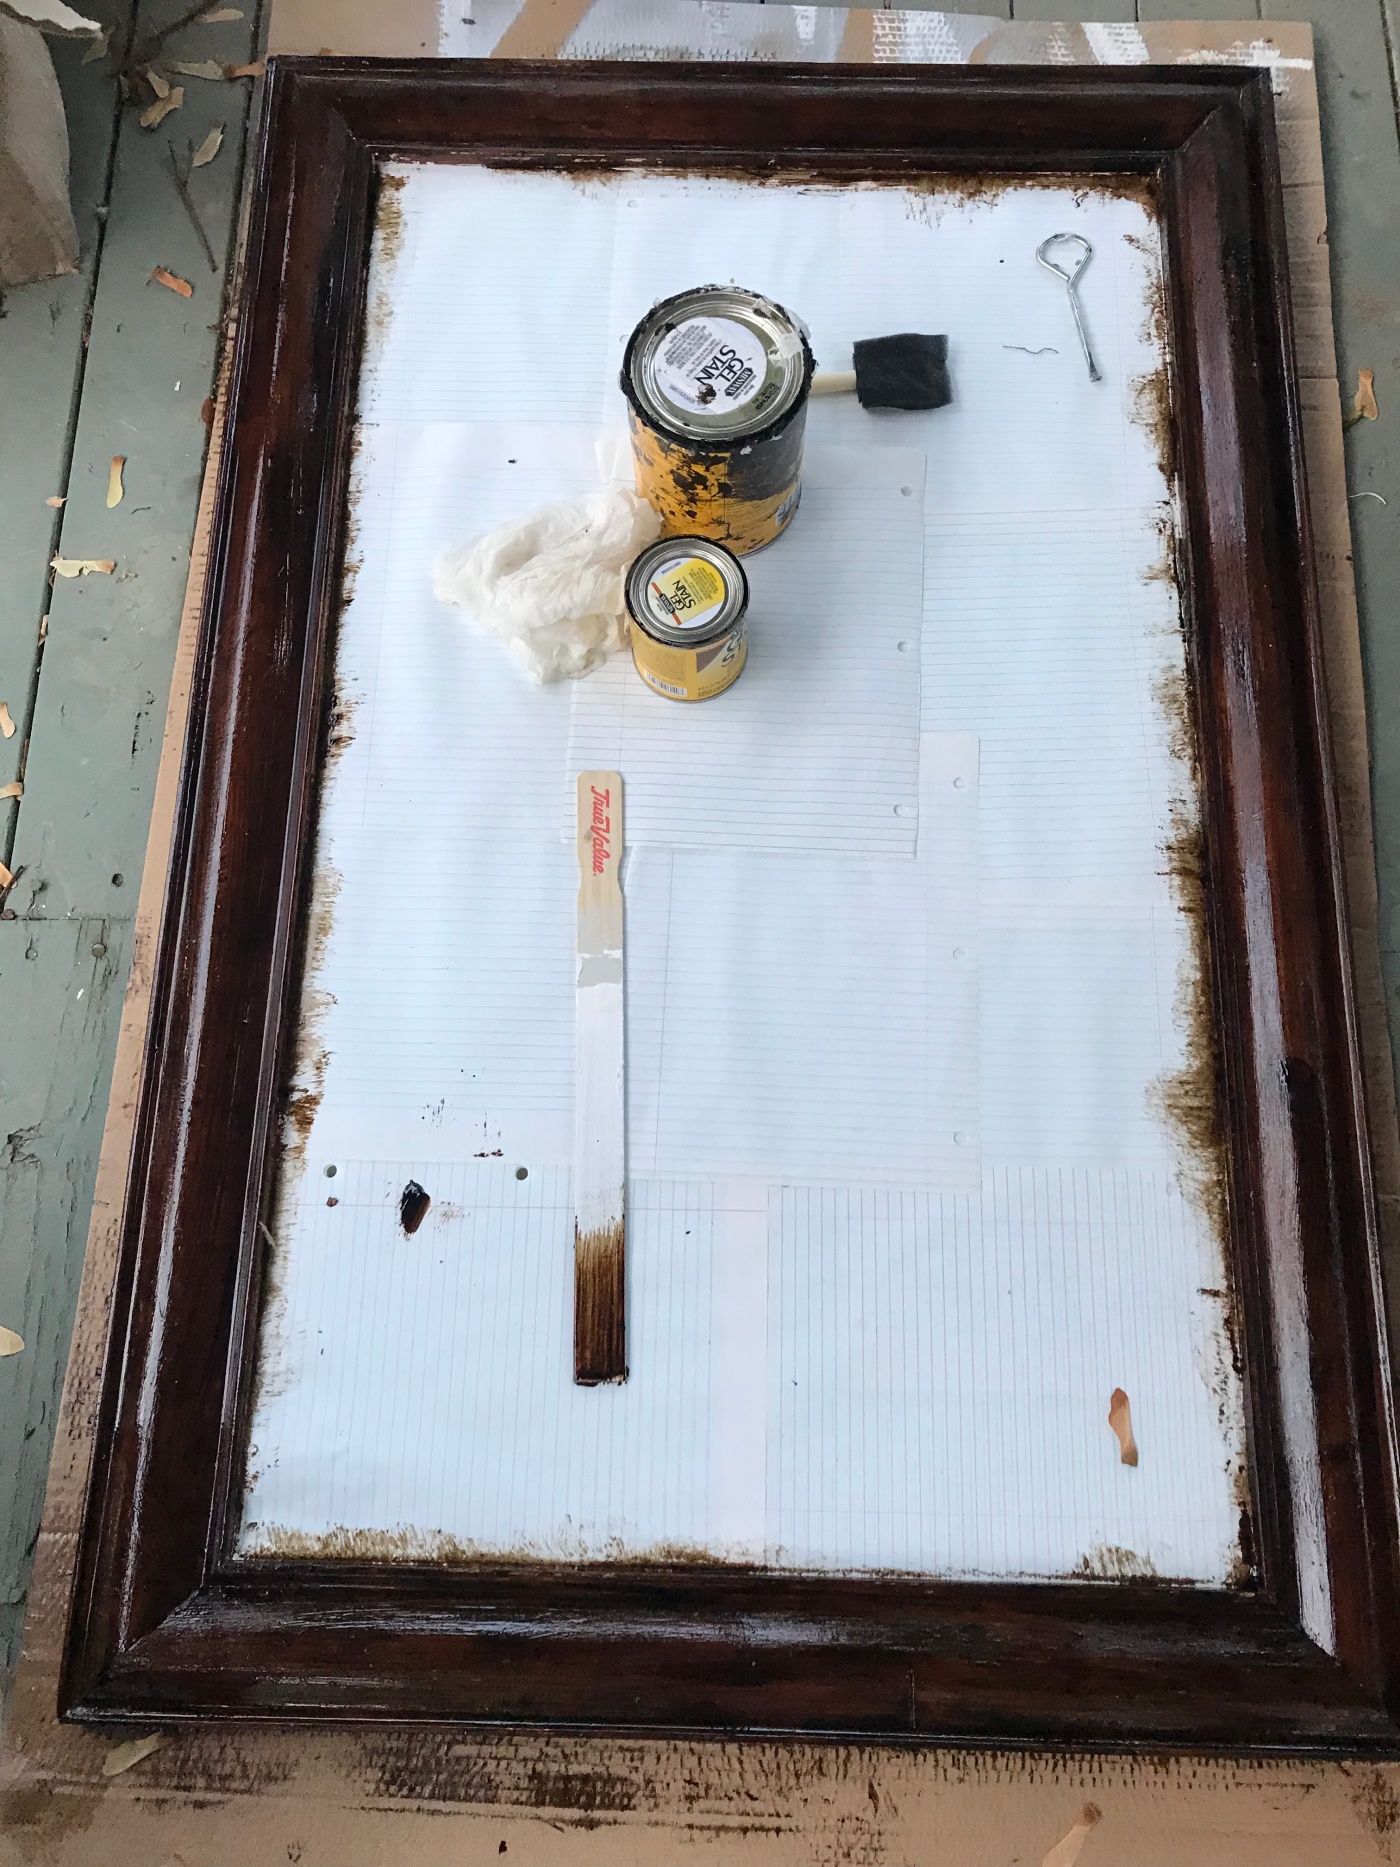
The gel stain covered the wood frame beautifully. There was no color difference in the areas that I sanded and did not sand. The gel stain is super thick and does need a couple of days to dry.
I love Gel-Stain!! As you know, I gel stained our wood floors. (See that Tutorial HERE). I have had a few people message me asking how our floors have held up. It’s been about 4 months now, and I’m still so happy with them. No scratches. The only problem is that they get dirty fast. As in they need to be swept daily. If I could change anything, I might have gone with a different color, like the Aged Oak that I used on the mirror.
I’m happy with how the mirror turned out, although I do have some touch ups to do still. The white paint that was on the inner rim needs to get covered up better with more gel-stain. But I was anxious to get the mirror back into the room to see how it would look. Also the gel stain is super smelly and so I prefer to use it outdoors but it’s been so cold and rainy here lately, so I may just wait till next spring to do the touch ups. It’s good enough for now, Just don’t look too closely at it.
The mirror actually looked like this to begin with and then I painted it white. Lately, I’ve been kicking myself for all of the wood that I’ve painted white over the years, because now I want everything wood again.
Okay, so like I said, I’ll be back soon to share the rest of our living room with you. I just wanted to share this little behind the scenes project with you first. So stay tuned if your wanting to see more.
Any Questions or Comments?
Please let me know below or email them to me at thewickerhouse@yahoo.com or come find me on Facebook and/or Instagram
And remember, you are welcome to PIN any of the Images from my blog on PINTEREST. Find a Pin It button by hovering over any of the pictures.
Thanks for stopping by,
Emily
Shop the Look:
*These are affiliated links which means that I may receive a commission for purchases made through these links. Thank you for supporting The Wicker House.

