*UPDATE, Since this blog post, I have written a one year later Update post, which you can READ HERE.
I did it! I just went for it and Stained our Living room, Dining room, and Hallway with Gel Stain, and I am so Happy with how it turned out. 🤗 So today, I want to share with you how I Gel Stained our wood floors and what products I used.

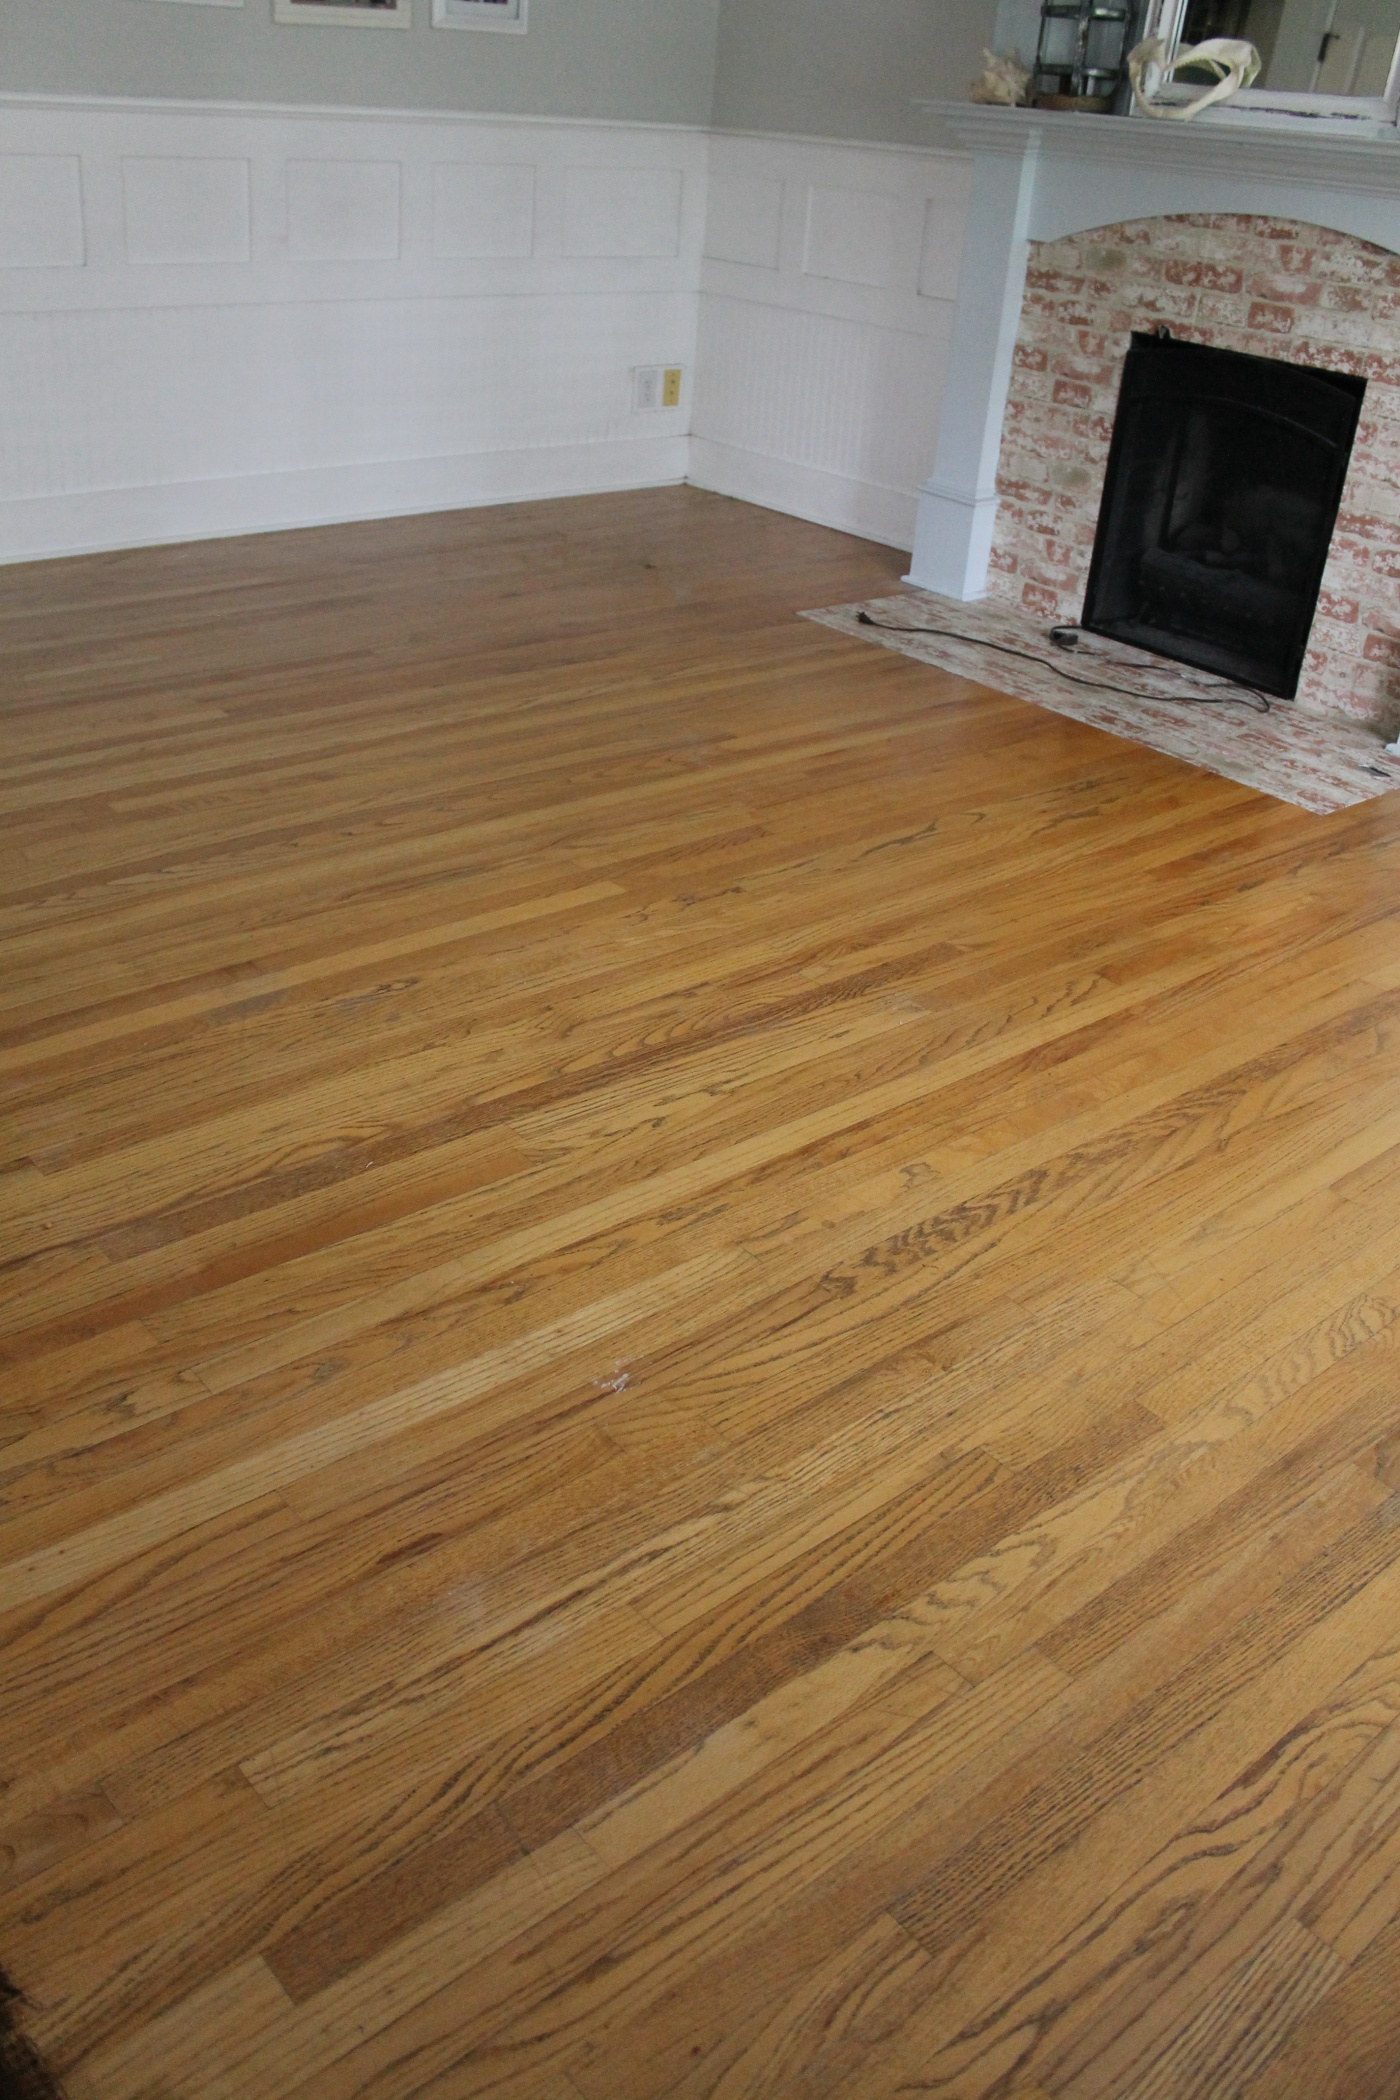
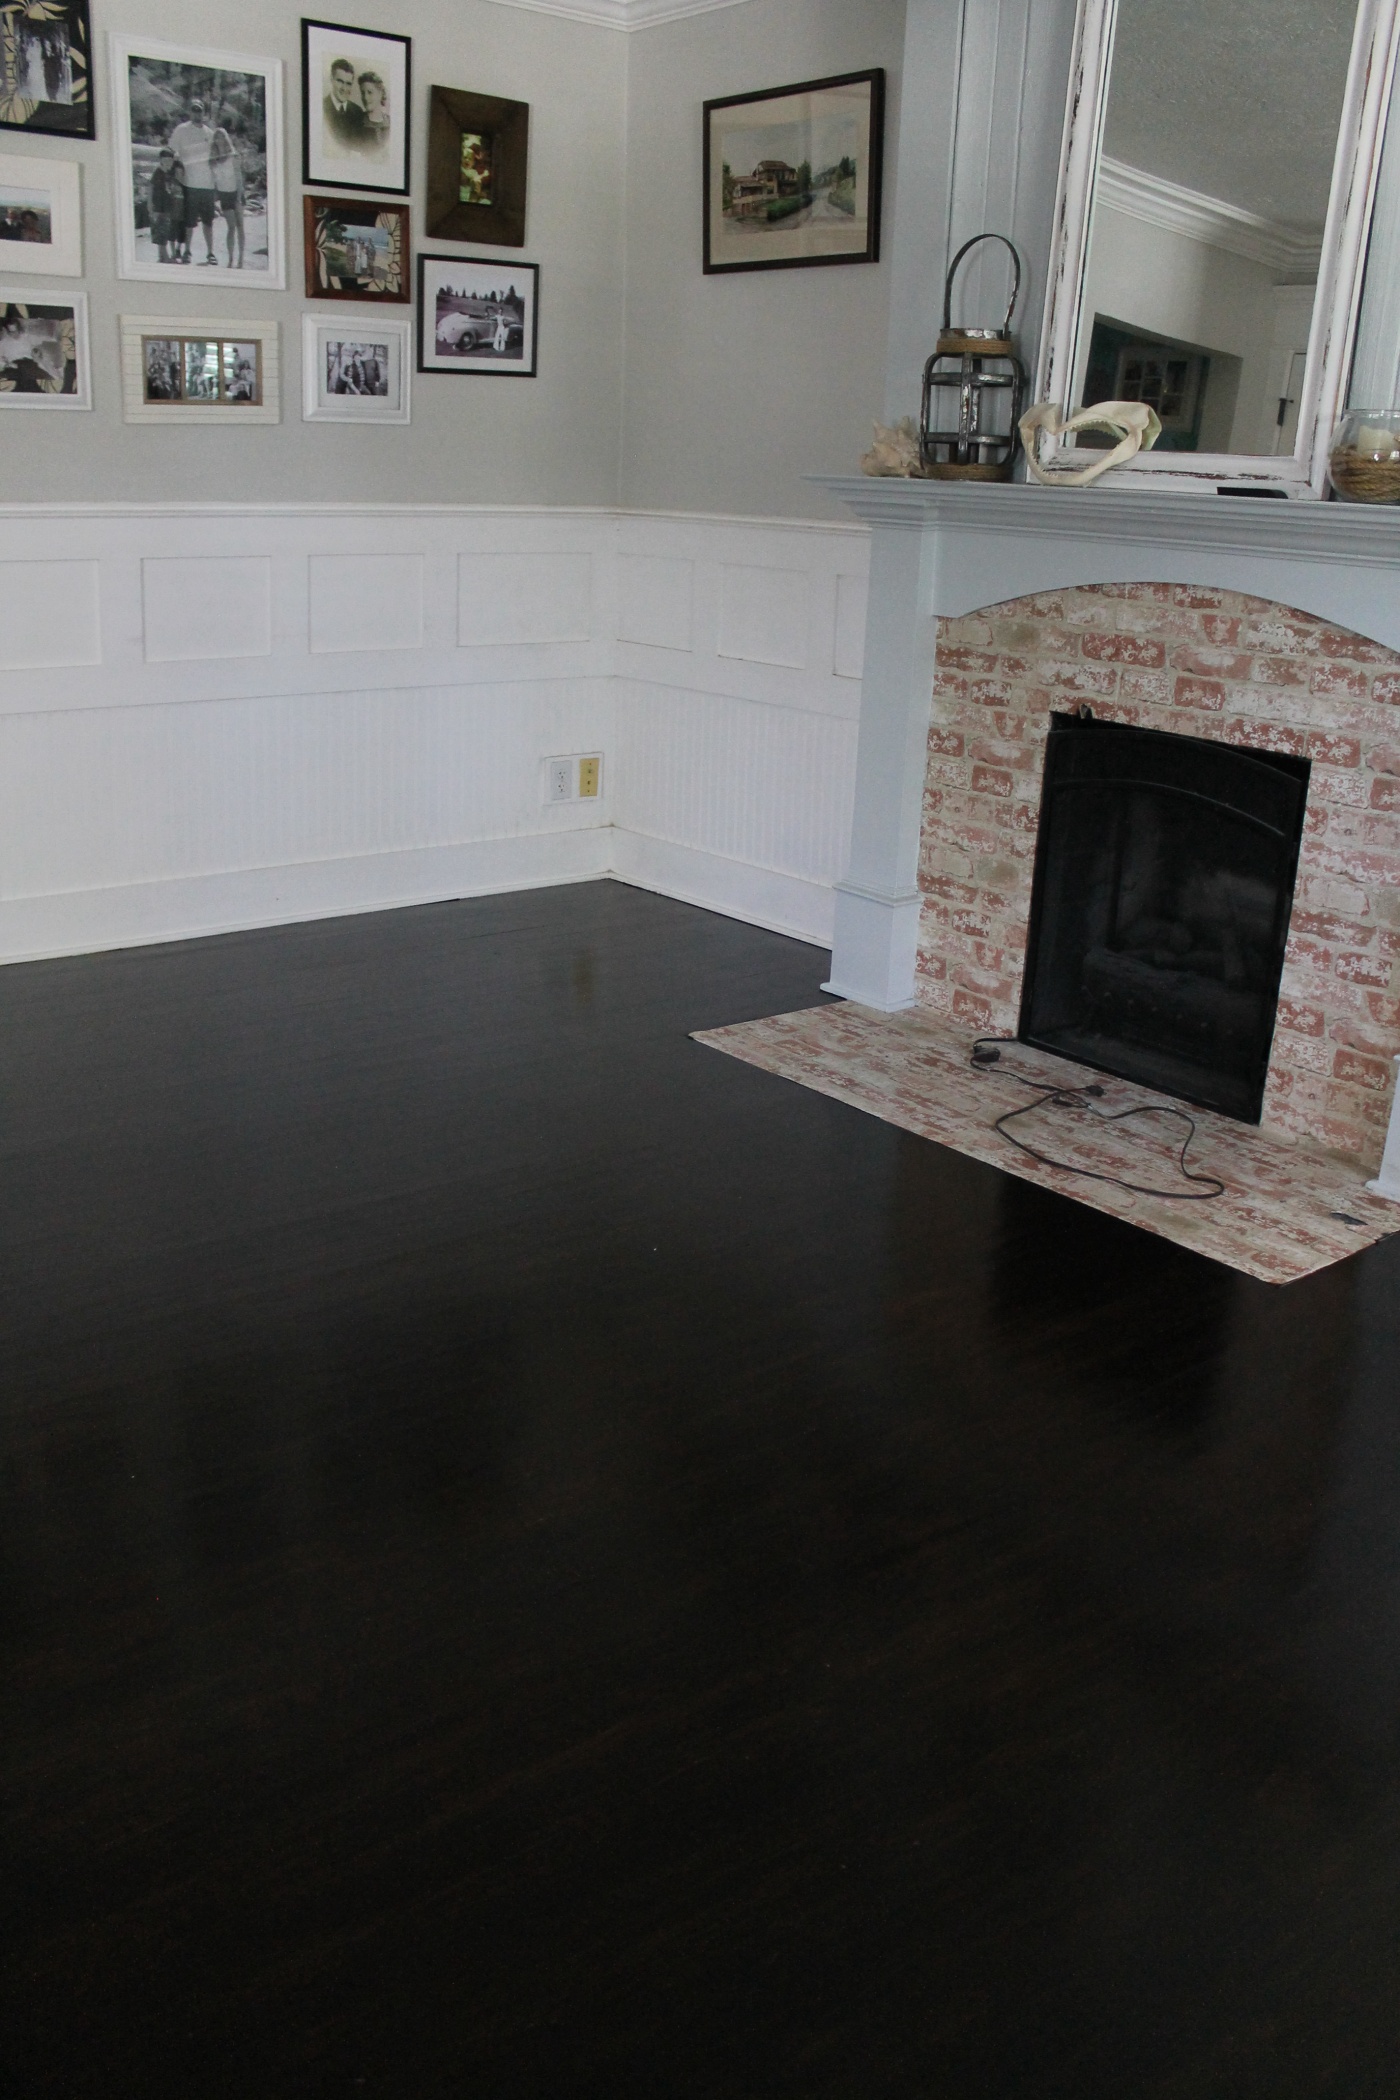
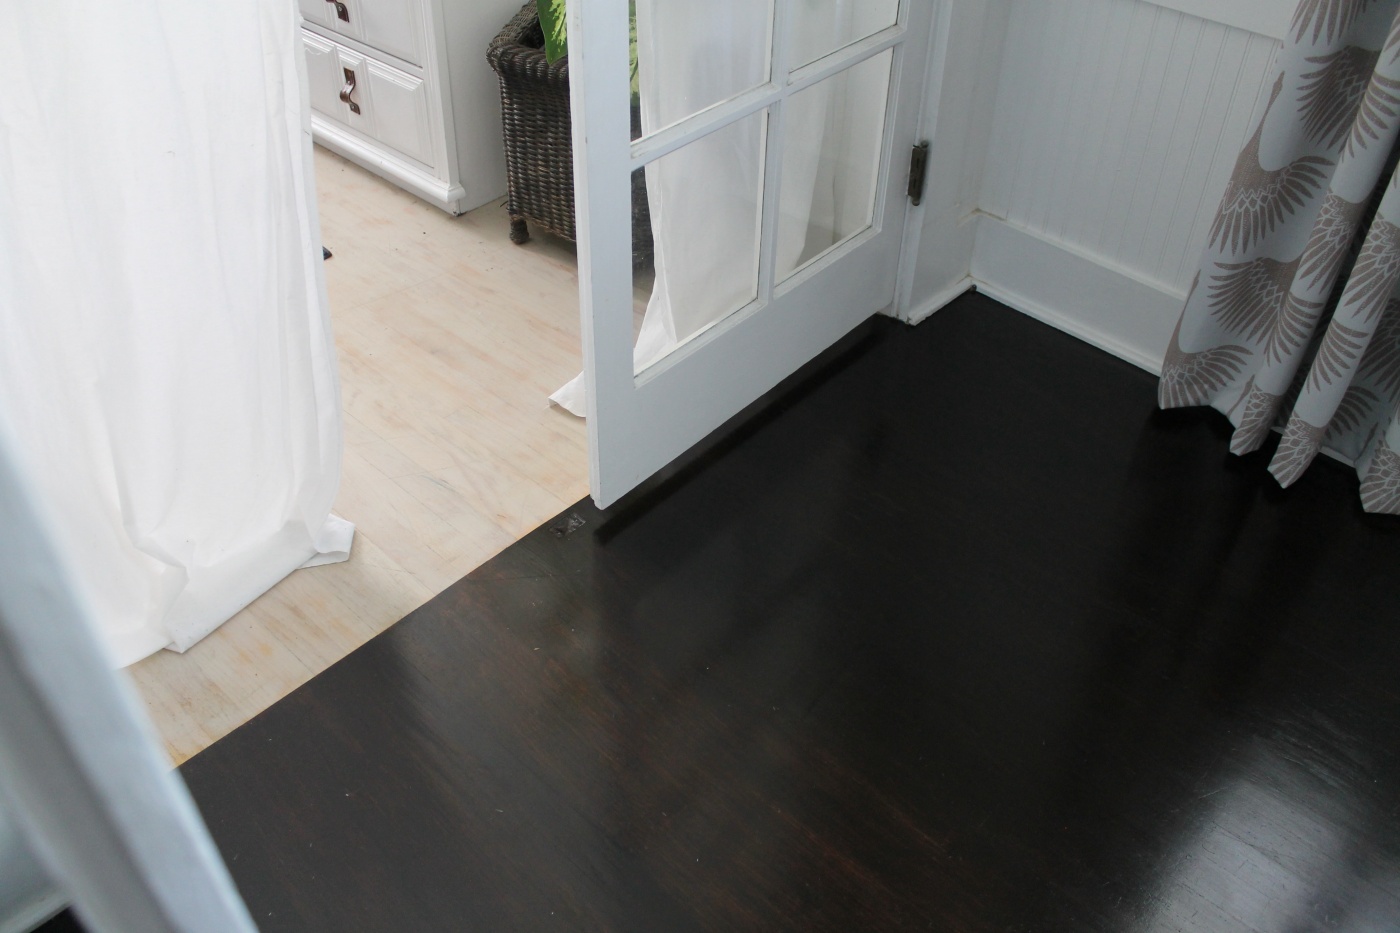
This next picture shows you what our floors looked like before. We have lived with these orange floors for 13 years now, and we have wanted to do something with them for the longest time. So to have the floors now stained in a beautiful dark color, we are very pleased.
Products I used:
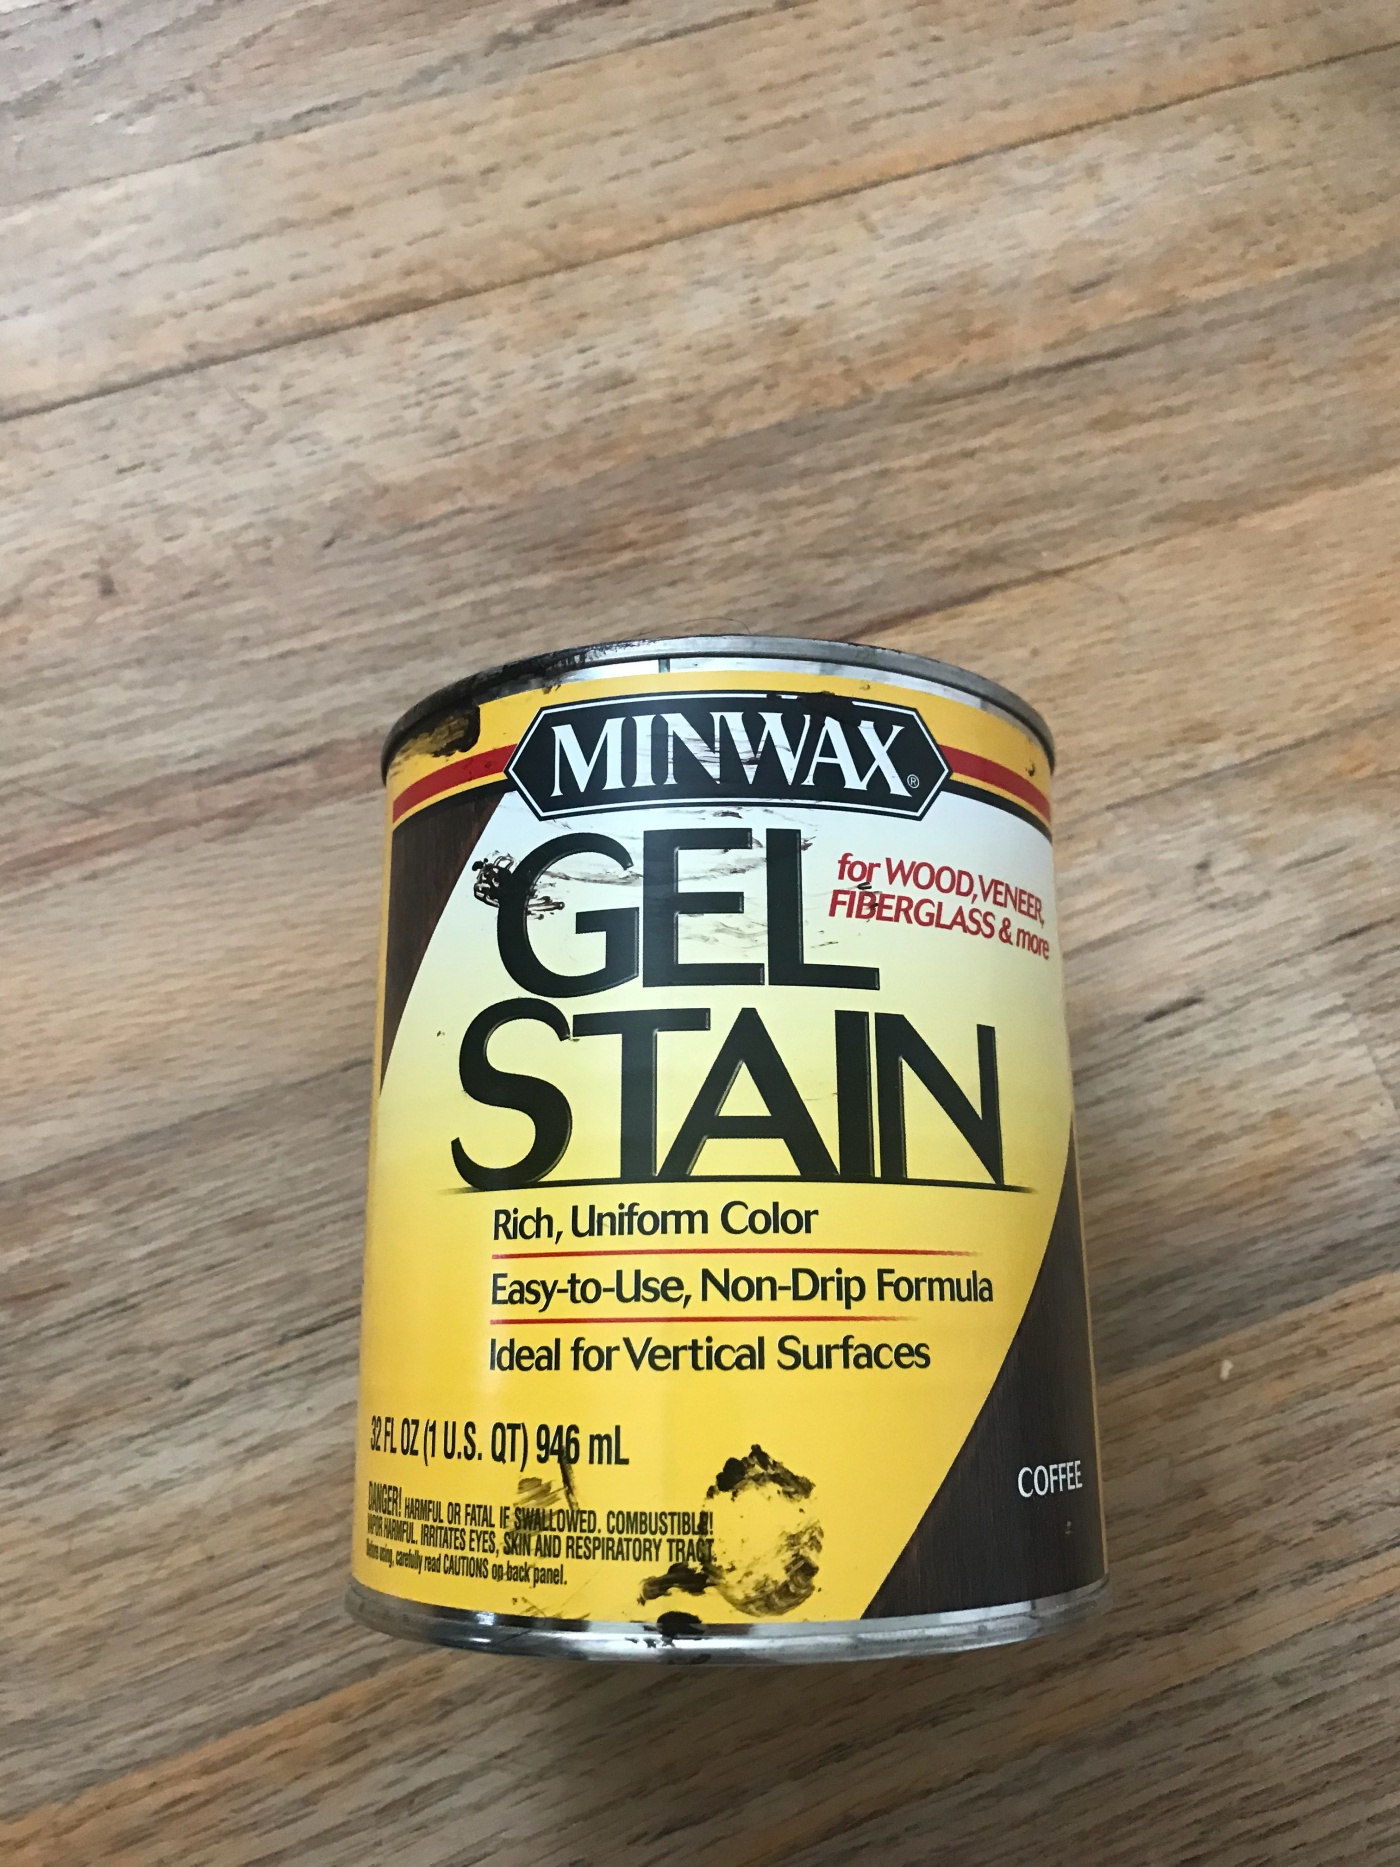
- Gel Stain – I used two (2) 1 quart size cans of this Gel stain from Minwax to finish our floors. I picked the color Coffee. I found the stain at True Value
- Mineral Spirits – to mix with stain and for clean up
- Paint brush – I used something around 2 – 3 inches (Honestly, I buy my paintbrushes from the Dollar Tree – toss away when finished)
- Painters Tape (Again, I picked mine up from Dollar Tree)
- Rubber Gloves – These are a MUST!
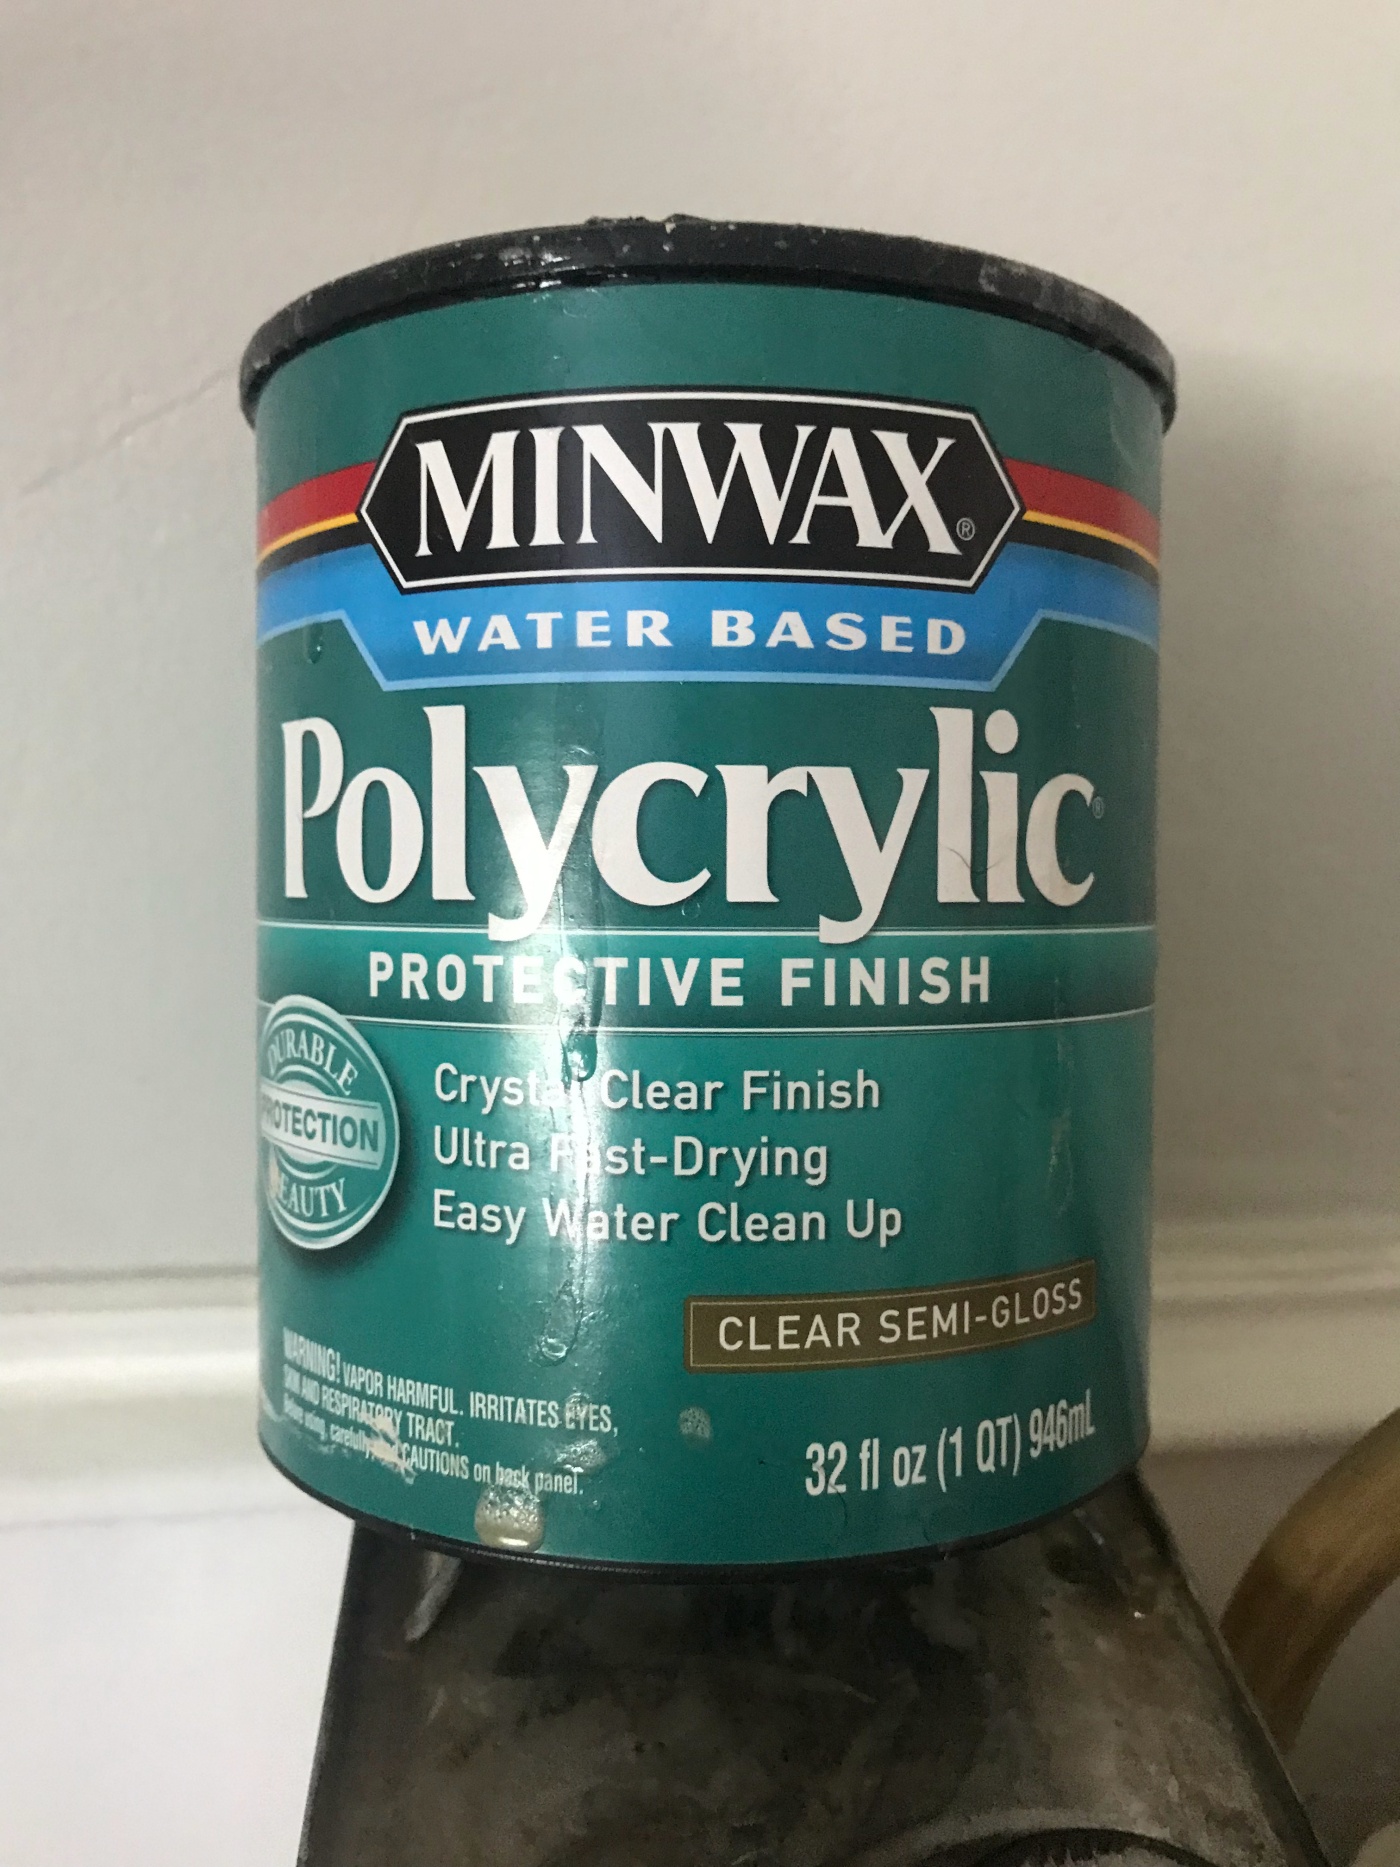
- Sealer – I used two (2) 1 quart size cans of Minwax Polycrylic in Clear Semi Gloss. I almost bought This One, but wasn’t sure I’d need a whole gallon, but it’s made for floors.
- Palm Sander – Any type of electric sander will be fine.
- Sandpaper – 60 & 100 Grit
- Tack Cloth – Especially if you have pets. This will clean up the Pet Hair prior to staining and sealing
- Safety Glasses – To protect your eyes from sand dust.
So if you are not familiar with Gel Stain, which I wasn’t until just recently, Gel Stain is actually quite different then regular wood Stain. As you know, with regular wood stain you have to apply the stain to raw wood so that the stain can soak into the wood, but gel stain actually works more like paint, and it can be applied to previously stained wood, veneer, or any wood that has a glossy finish on it. Although it does recommend a light sanding first.
I learned about Gel Stain on Pinterest where it was being used on a ton of projects like stair railings, doors, and furniture makeovers. I only saw one post where someone used the gel stain on floors, and that was in a small bathroom. So this was really just one big experiment project for me. I went into it not knowing if it was even going to work, but so far it seems like it’s going to hold up well. Of course I’ll share a blog post down the road to let you know how it holds up in the long run.

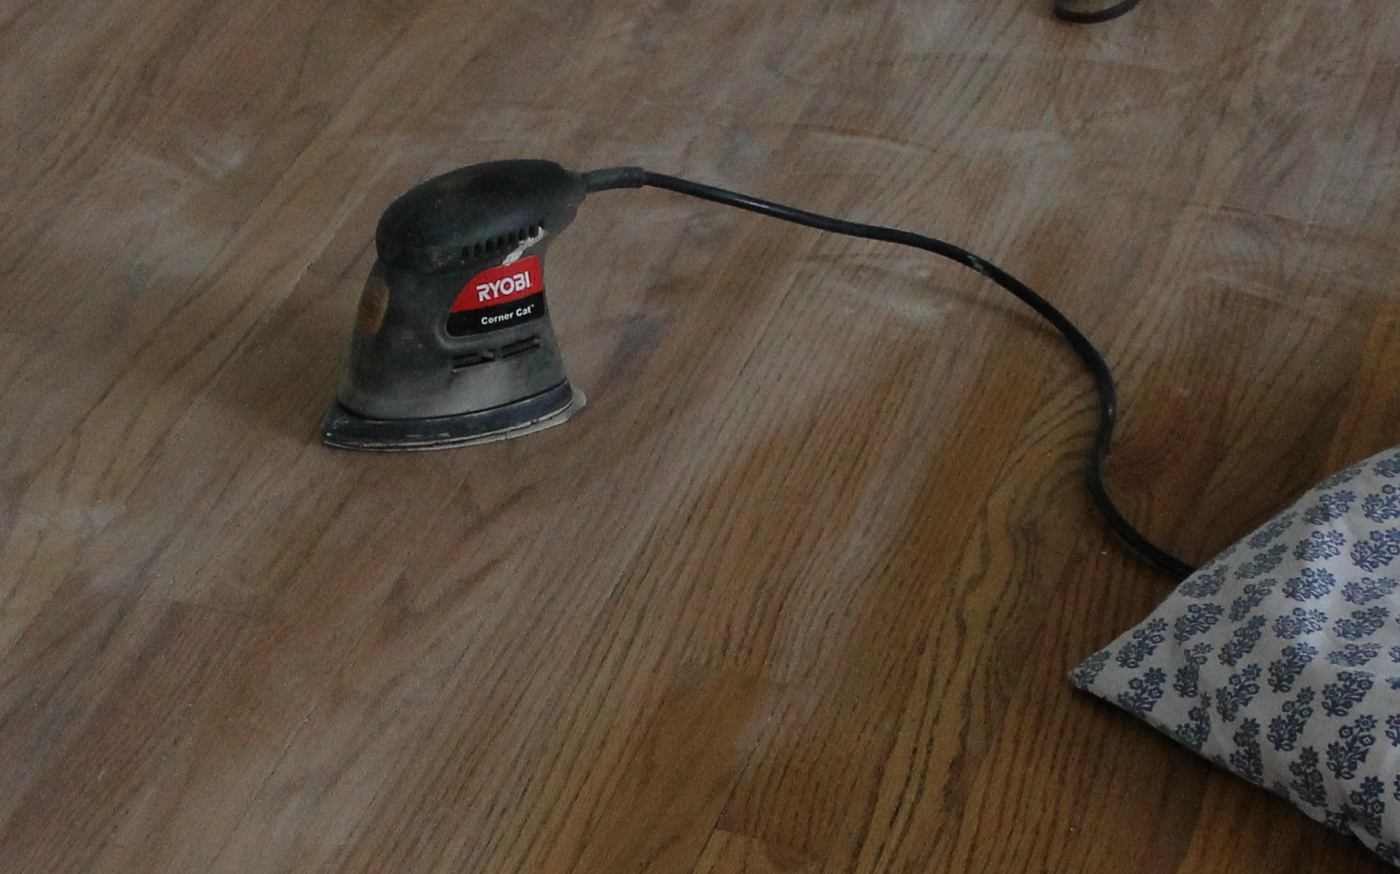
Step 1: Sand Floors
So the first thing I did was sand my floors with my palm sander. I used a 60 grit sand paper and sanded most of the shiny top coat off. Again, with Gel Stain you don’t need to sand down to the raw wood, but you do still need to sand some so that the Gel Stain has a grittier surface to adhere to. Then I cleaned up my floors to remove all dust and dog hair before applying the Gel Stain.
Step 2: Tape off Walls, Mix gel Stain, and apply first coat.
I used painters tape and carefully taped off the white trim. Then I mixed up my stain with some mineral spirits. I poured about 1/2 cup of the stain into an old plastic bowl, and then I added in about a tablespoon or so of mineral spirits and mixed together. The reason why I mixed the gel stain with mineral spirits is because the Gel stain is super thick. It seriously looks like chocolate pudding because of the consistency of it. So by mixing in some mineral spirits it thins the gel stain just a bit to allow the stain to apply more smoothly. I’m pretty sure that the instructions on the can say Not to add anything to it, but I did anyway. I then just used a normal 2-3 inch paintbrush to apply the gel stain. I Did NOT wipe off.
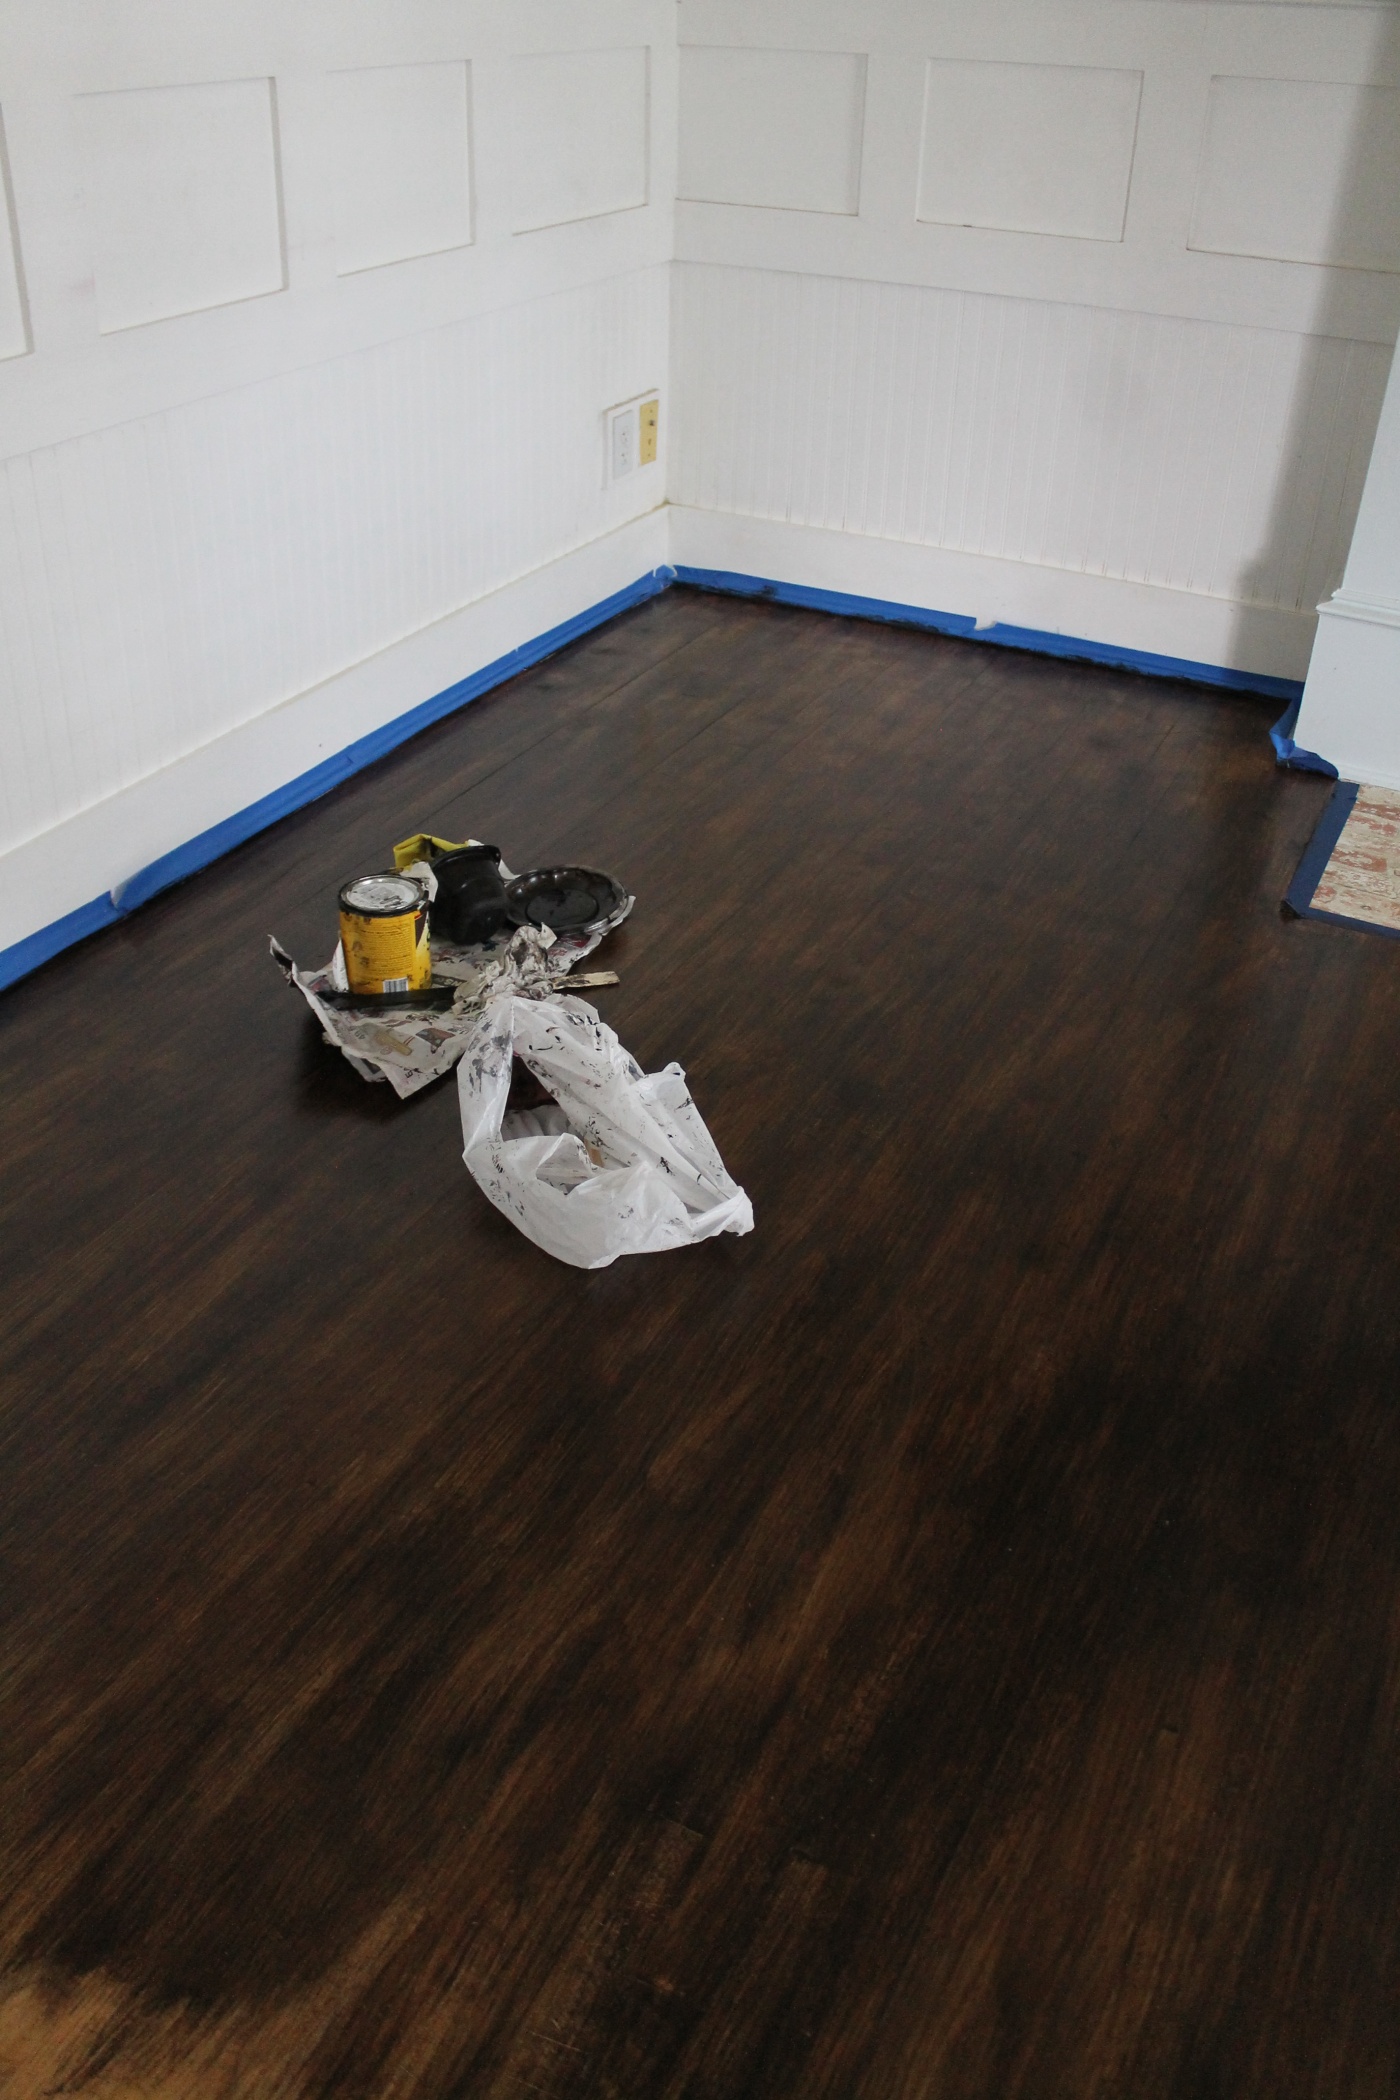
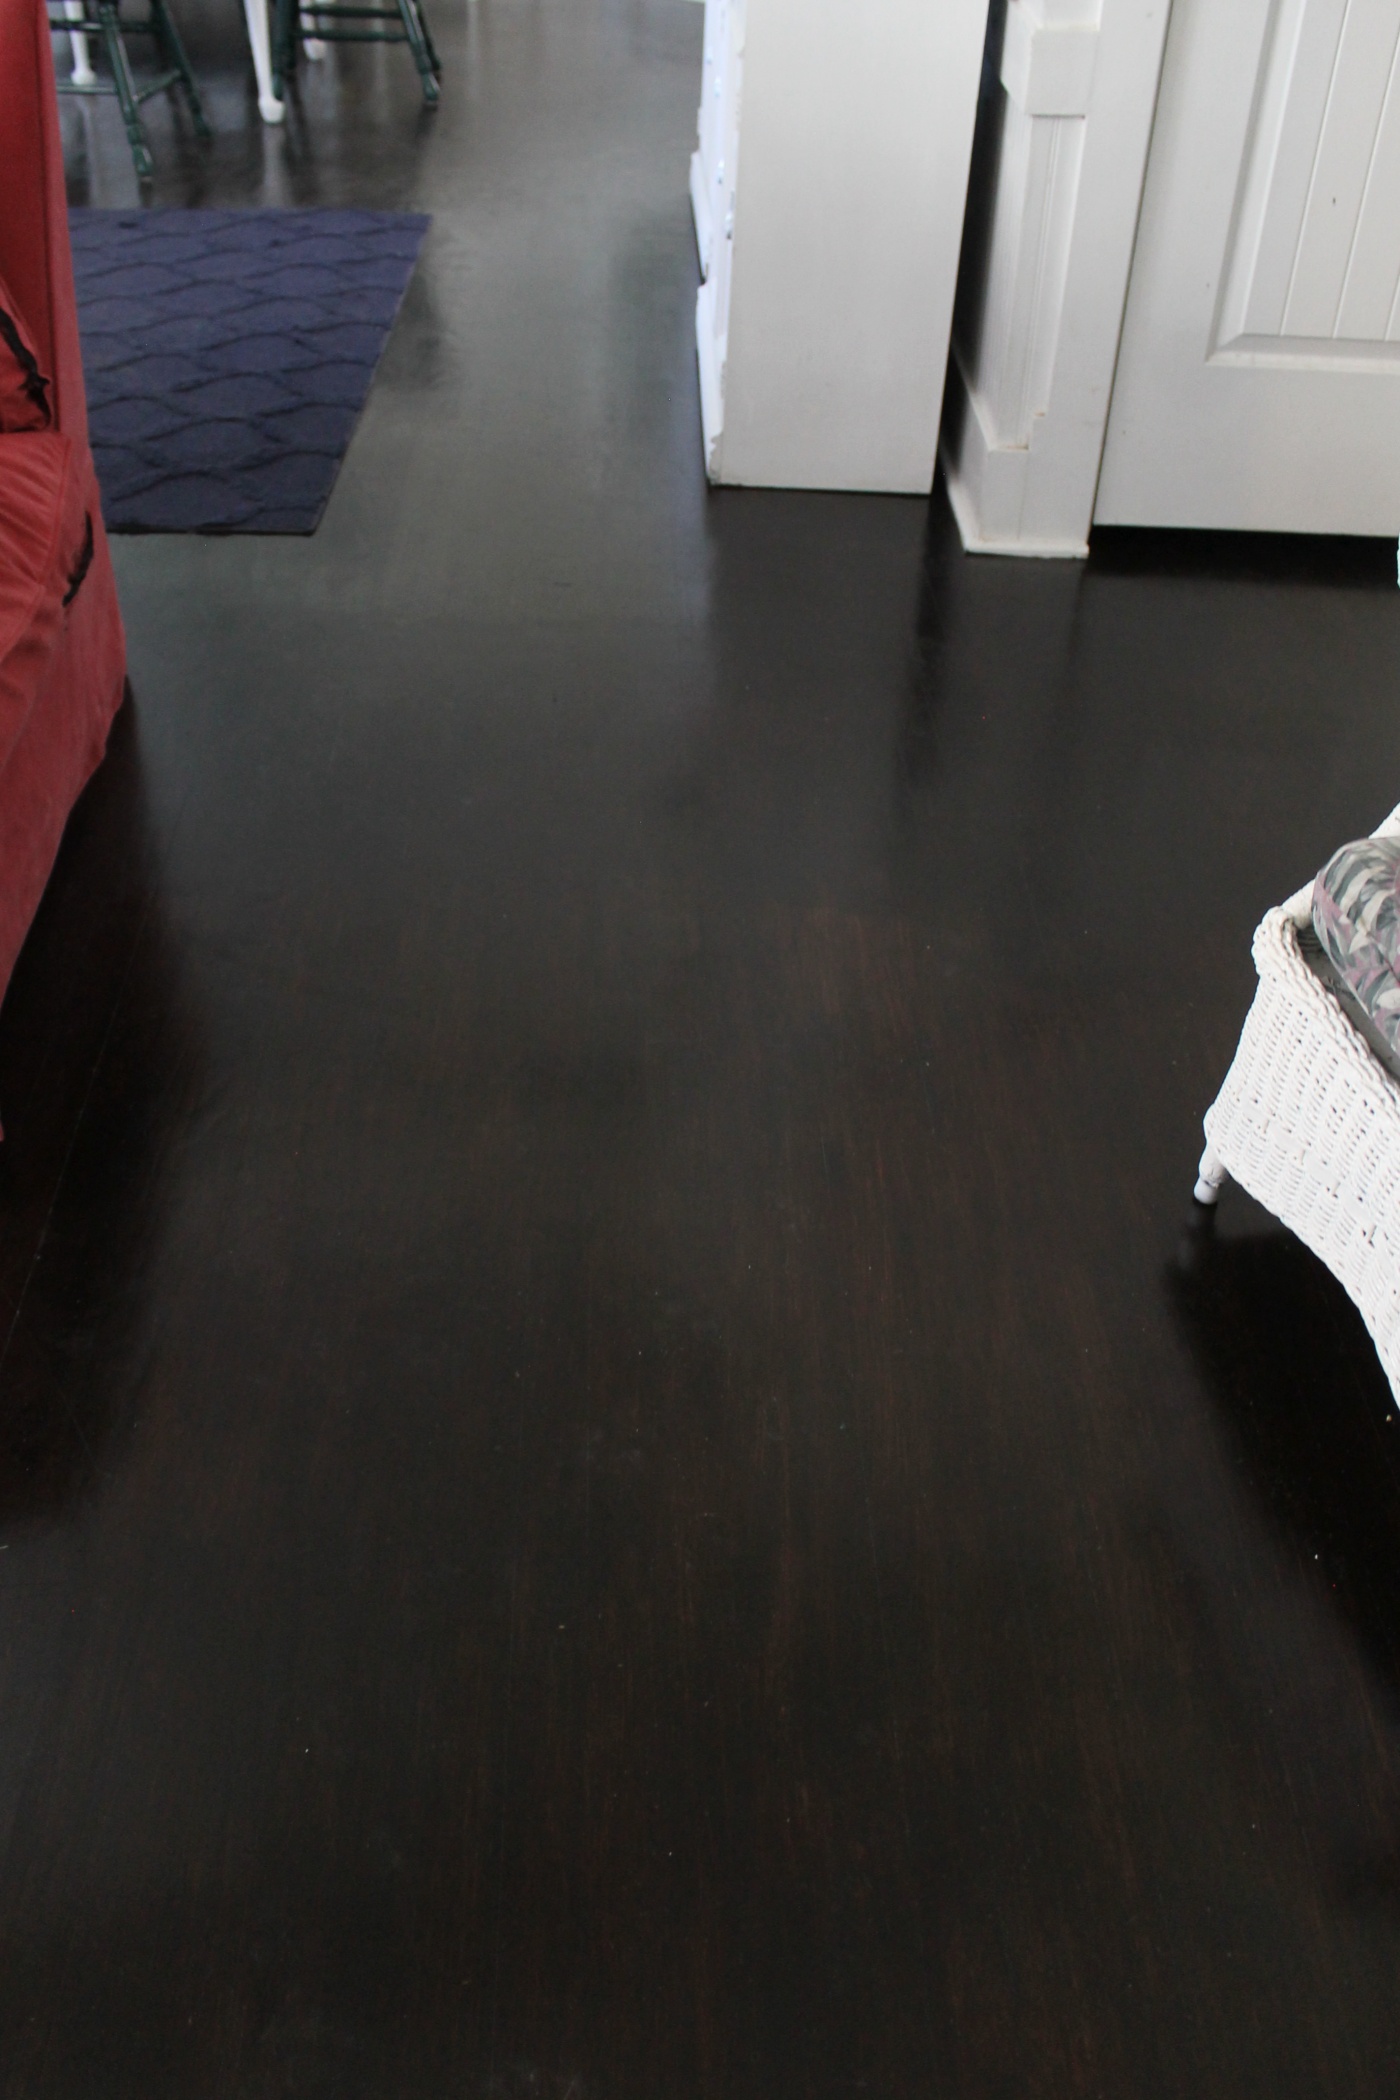
Step 3: Apply 2nd coat of stain and Allow time to dry/cure
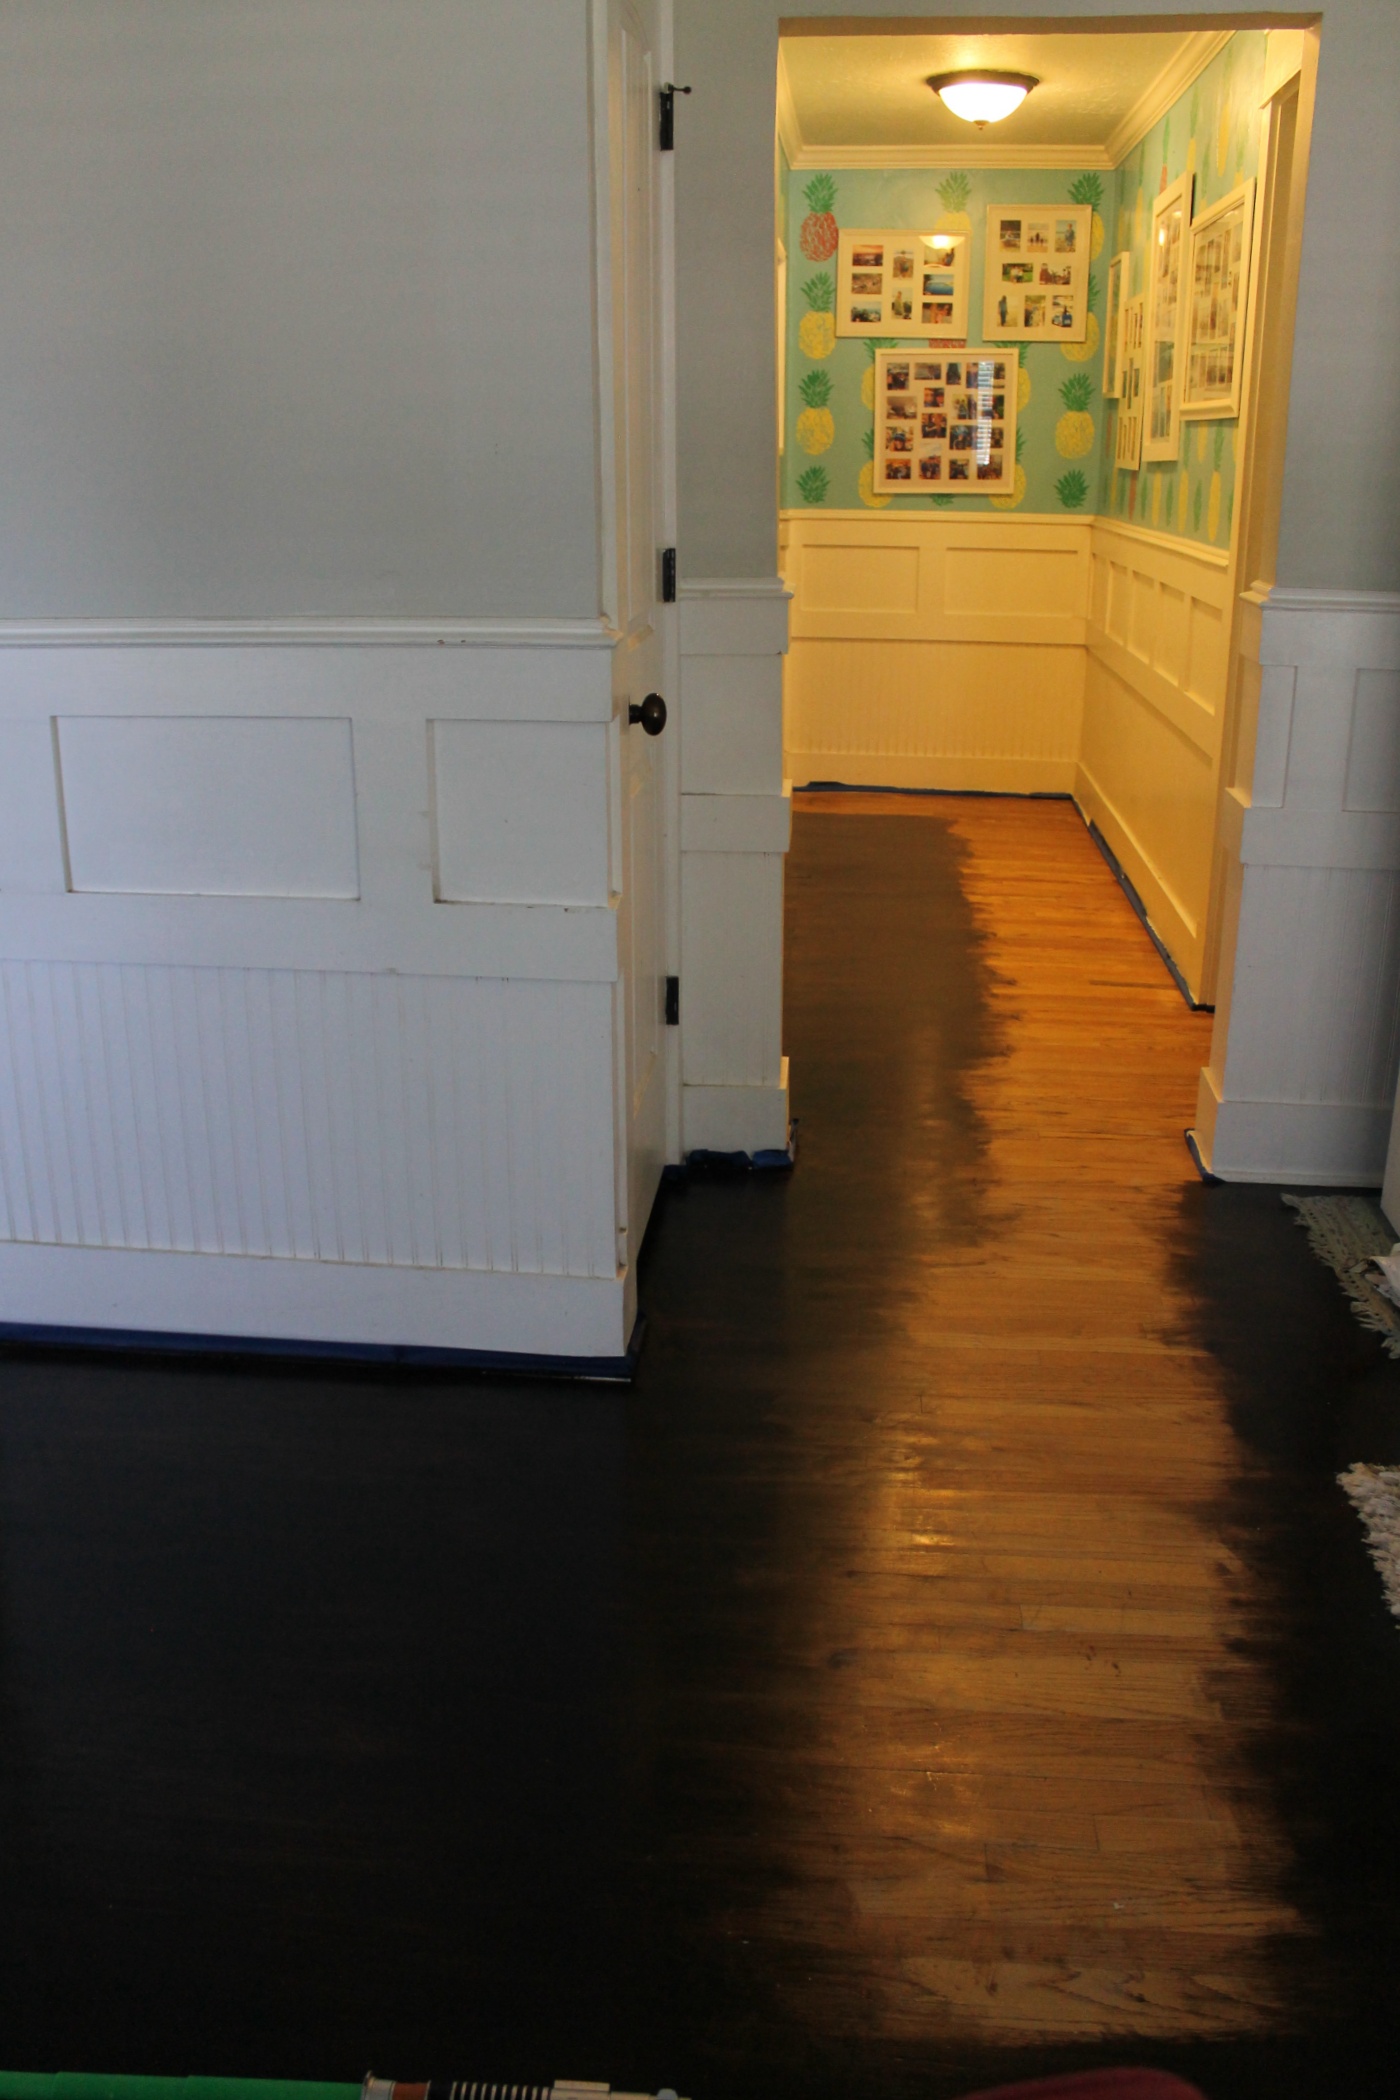
I let the first coat of stain dry for 24 hours and then I applied a second coat. The picture above shows what my floors looked like after just one coat. They looked uneven and so a second coat was needed. I then left the second coat to dry for three days so that it had enough time to fully dry and cure.
Tip* I store my paintbrush in a plastic sack in the freezer so I don’t have to wash it and so it won’t dry out.
Step 4: Apply a Sealer
There are other sealers on the market, some specifically made for floors, which are probably better than this one, but I already had this Polycrylic on hand and so I just used it. I figured I can always apply more of it, or something else down the road if I find a need to.
To apply this sealer, I just used a paint brush and brushed it on. I let the first coat dry for a couple of hours, then I applied a second coat. I did have to sand very lightly with a 100 grit sandpaper in-between coats because that’s what the instructions said to do. I also had to clean up the dust in-between coats.
And that’s it!
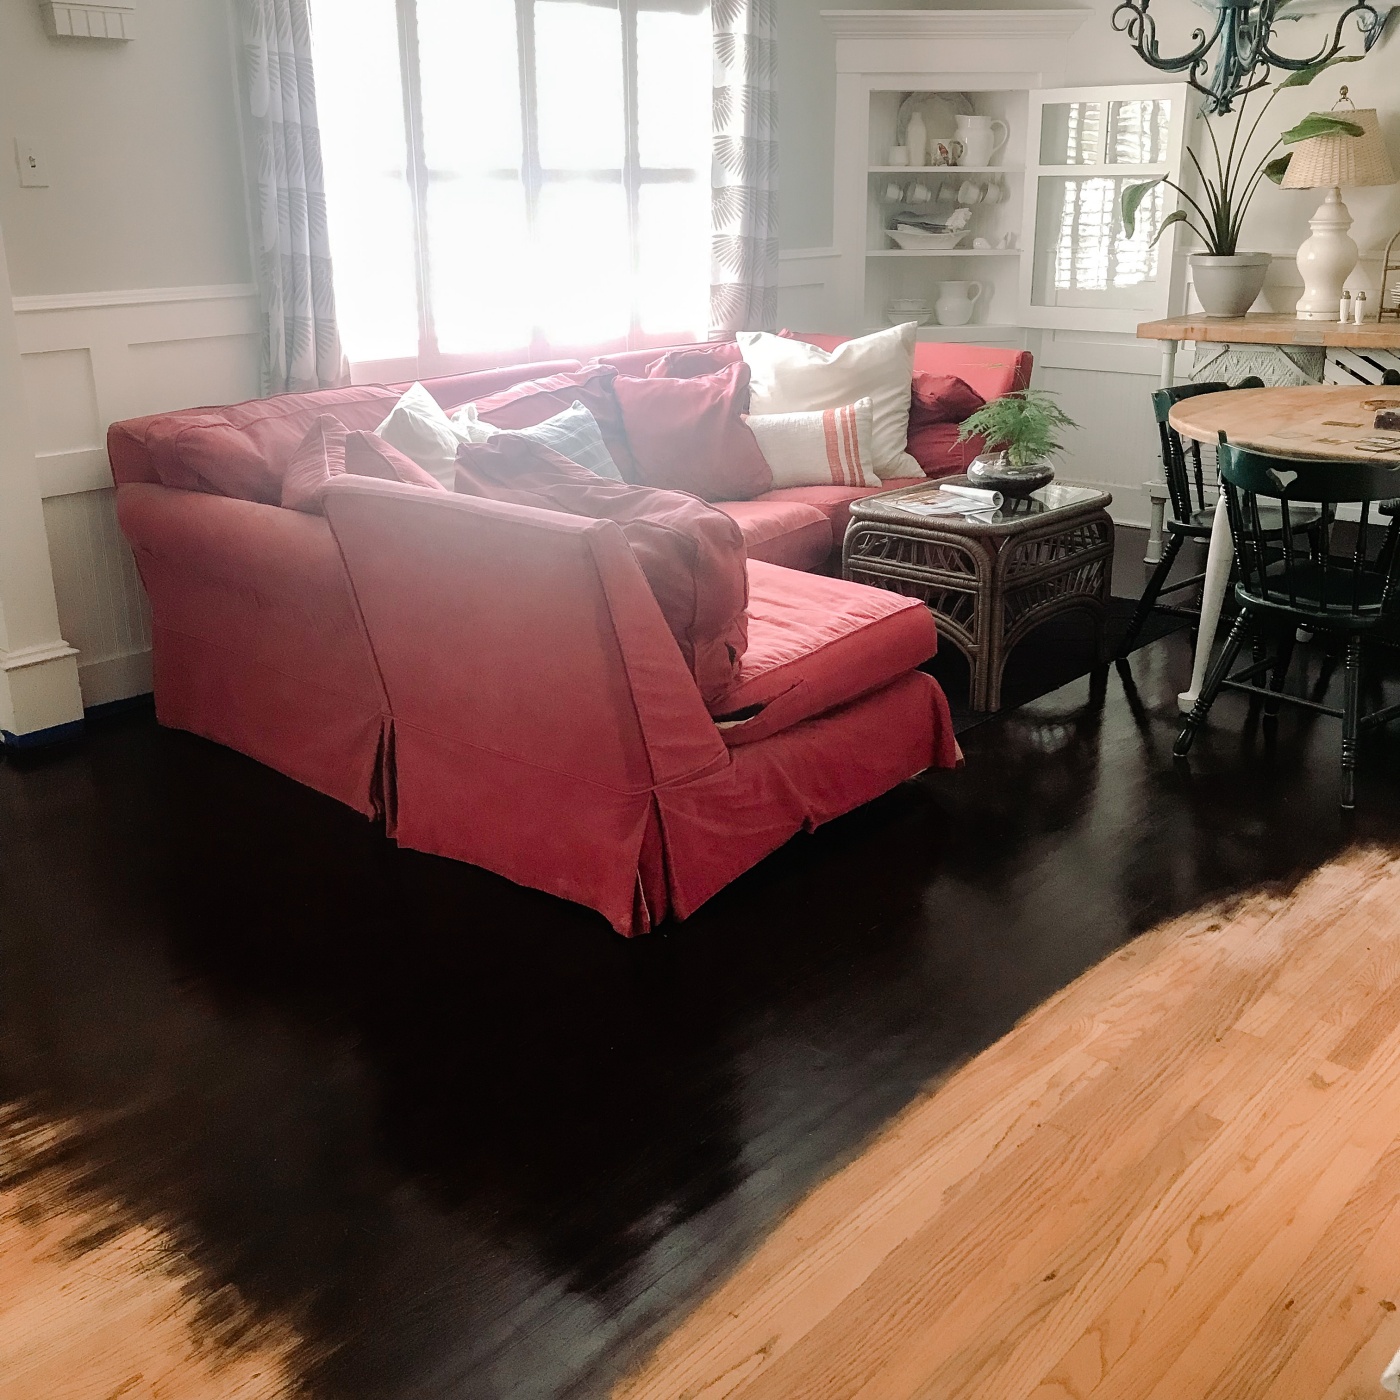
This project did take me quite a few weeks to complete because I was working in small sections of our home at a time. It would have been ideal to have the space emptied out, so that I could get it all done at once, but that wasn’t going to work for us, so I just had to make do. I kept rearranging our furniture to be able to work on other sections of the floor. It was actually quite fun to have our couch in the dining room for a while there. I kept calling it, Our little apartment. HA!
This actually isn’t the first time that I’ve attempted to makeover our wood floors. A few years back I sanded and white-washed the wood floors in our sunroom. Seen HERE. My plan was to eventually do the same process to the rest of the house, but in the end it just felt like too much work. Had I only known about Gel Stain back then then our floors would probably have all been done long ago.
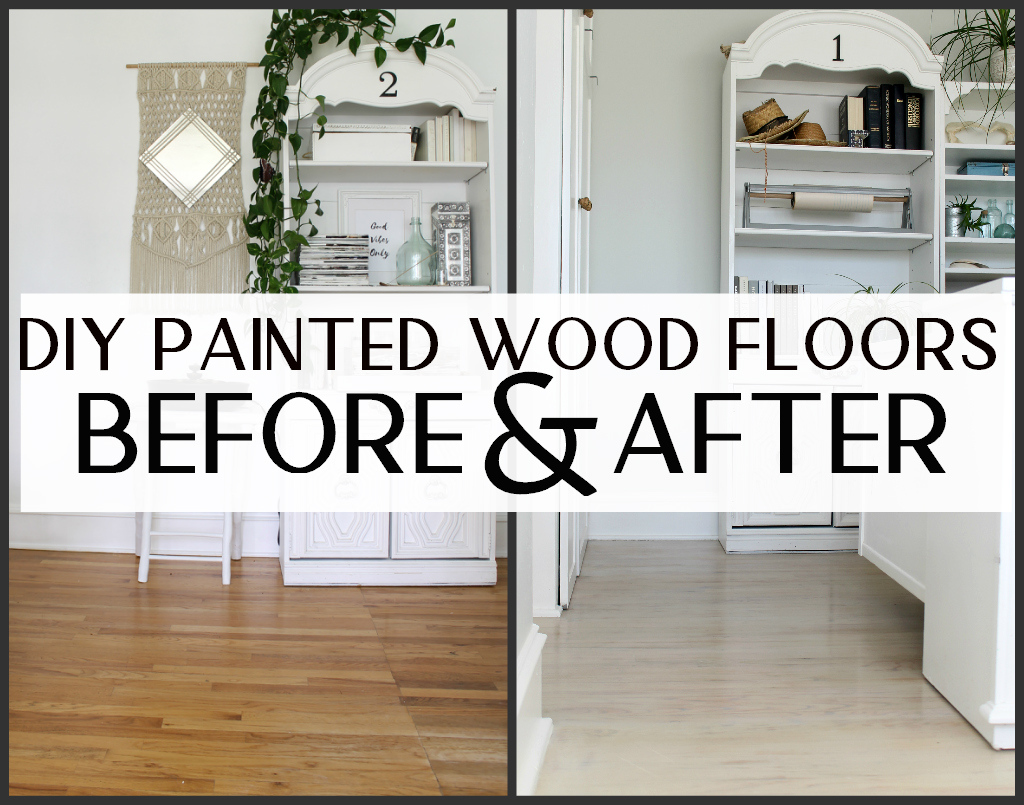
Having both light floors and dark floors now, I prefer the dark floors. Dark floors are just my new favorite! I’m so attracted to darker floors now. I think they look warm, rich, earthy and elegant. My husband just keeps saying, Anything is better than the orange wood floors they were before. He especially disliked the orange.
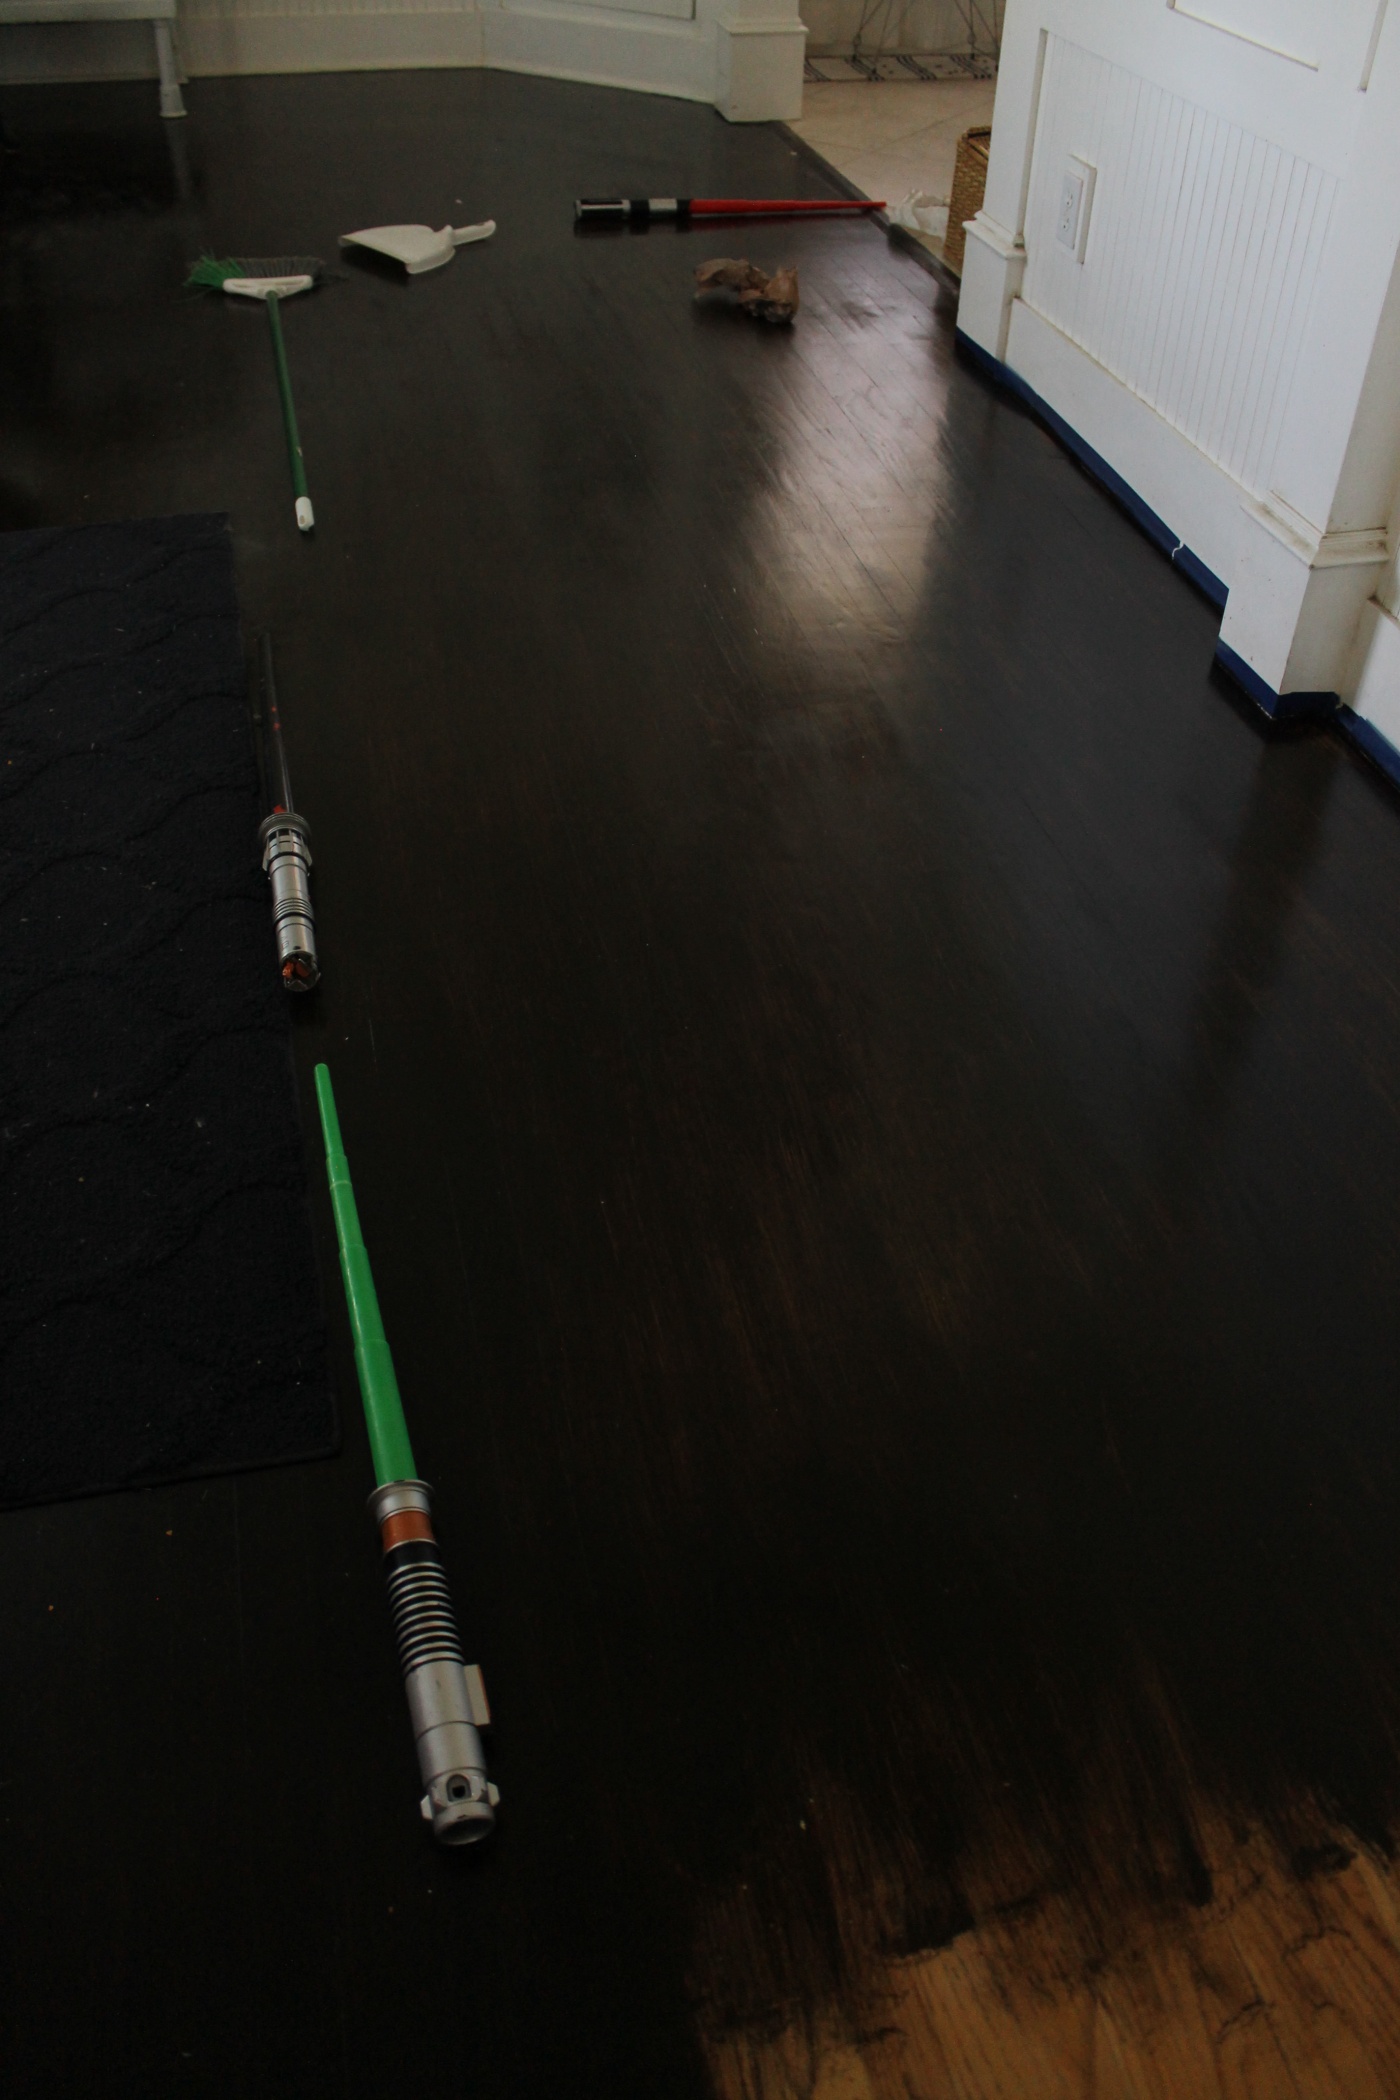
My husband and boys have been great, they’ve had to put up with me giving them boundaries to walk in, which changed weekly, they’ve had to deal with the stinky smells and dust, they’ve all bonked their heads on the chandelier that was temporary right above the only place they could walk, and me using their lightsabers to block off the restricted areas. HA! It’s been a little crazy around here.

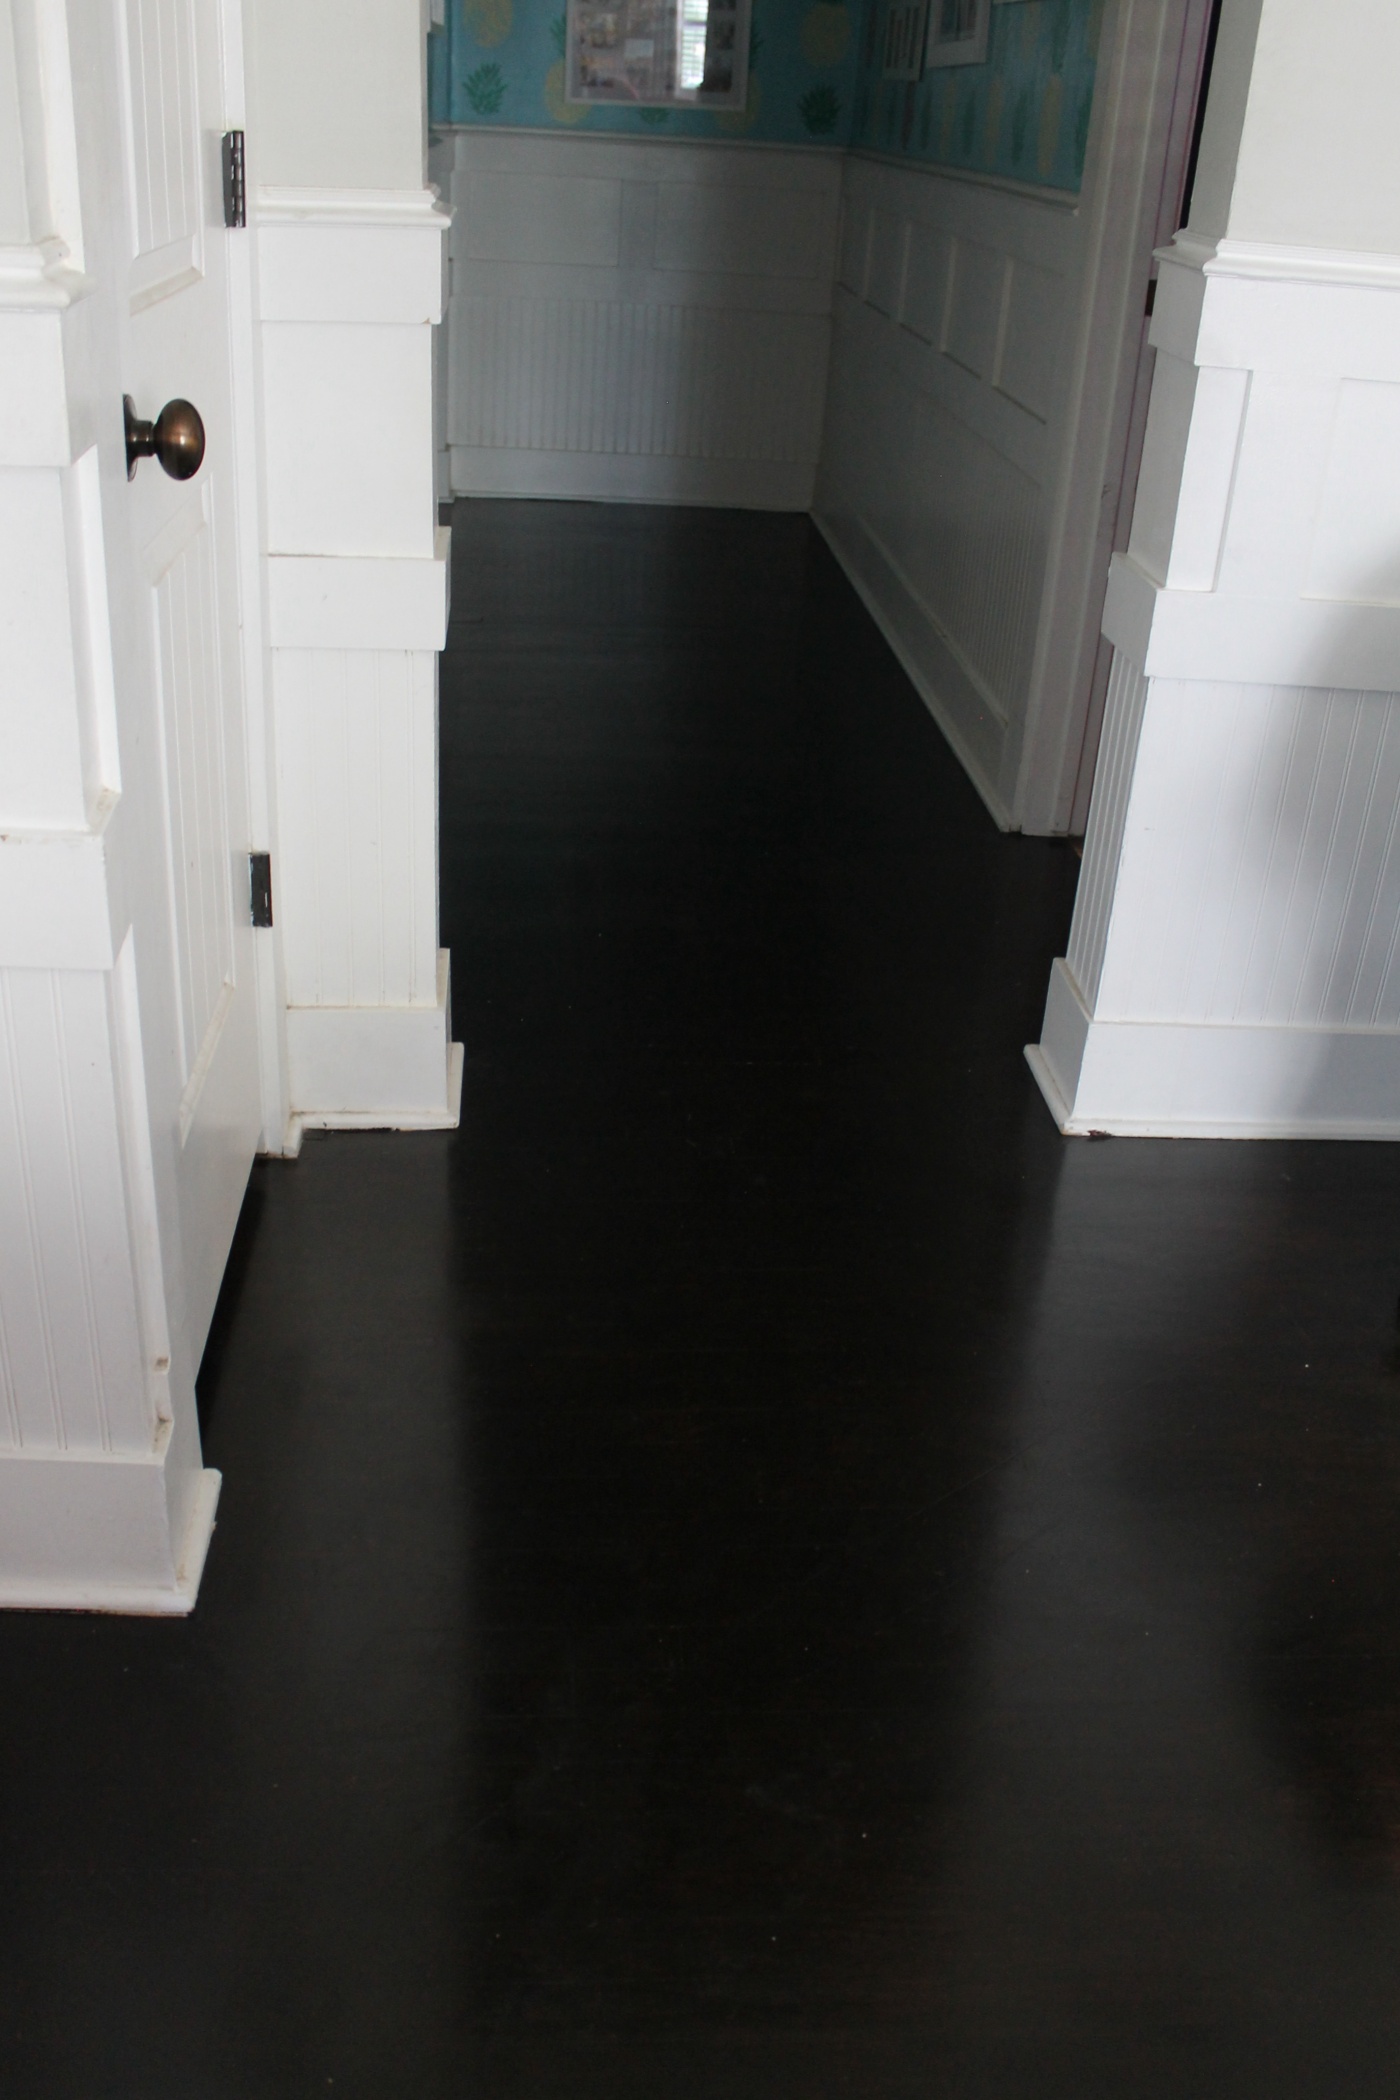
Because I went with such a dark color of stain, it was easy to blend all of the sections together. In the end there are no noticeable lines or clues that I had to work in sections.
I’m so thrilled to have this project completed. It wont surprise me if I do have to do a few touch ups down the road, but all I’d have to do is lightly sand the area, add more stain and more sealer and that should be an easy fix to any scratches that may appear.
I’m also thinking that I will probably be sweeping and mopping these floors WAY more often than I did before, because dark floors show dirt easier. But that’s okay, I want to keep them looking shiny and new.
So, Tell me what do you think of my Gel Stained floors?
Any Questions or Comments?
Please let me know below or email them to me at thewickerhouse@yahoo.com or come find me on Facebook and/or Instagram
And remember, you are welcome to PIN any of the Images from my blog on PINTEREST. Find a Pin It button by hovering over any of the pictures.
Thanks for stopping by,
Emily


Love the floors! I will be doing this with general stains Java in a couple of weeks. Thanks for the tips!
Author
Thank you! Good luck on your floors! I’m so so so happy with mine. The only problem I have found is that dark floors get dirty fast, so just keep that in mind that you will be cleaning your floors way more often.
How are your floors holding up so far?! I’m considering doing this to mine but I’m concerned about how they hold up long term
Author
Hi Laura, I’m so sorry for this late replay. Just saw your message today. I am still so happy with our floors. It’s been about 4 months now since I stained them and they are holding up nicely. No scratches at all. My only problem is that they are dark and so they get dirty fast. I need to clean them daily. I just stained a mirror in a gel stain color called, Aged Oak, it’s a bit lighter and now I wish I used that color on our floors. So I’d suggest trying out that stain or one a bit lighter than the coffee. Let me know if you do gel stain your floors and how it turns out for you.
Good Luck!
Emily