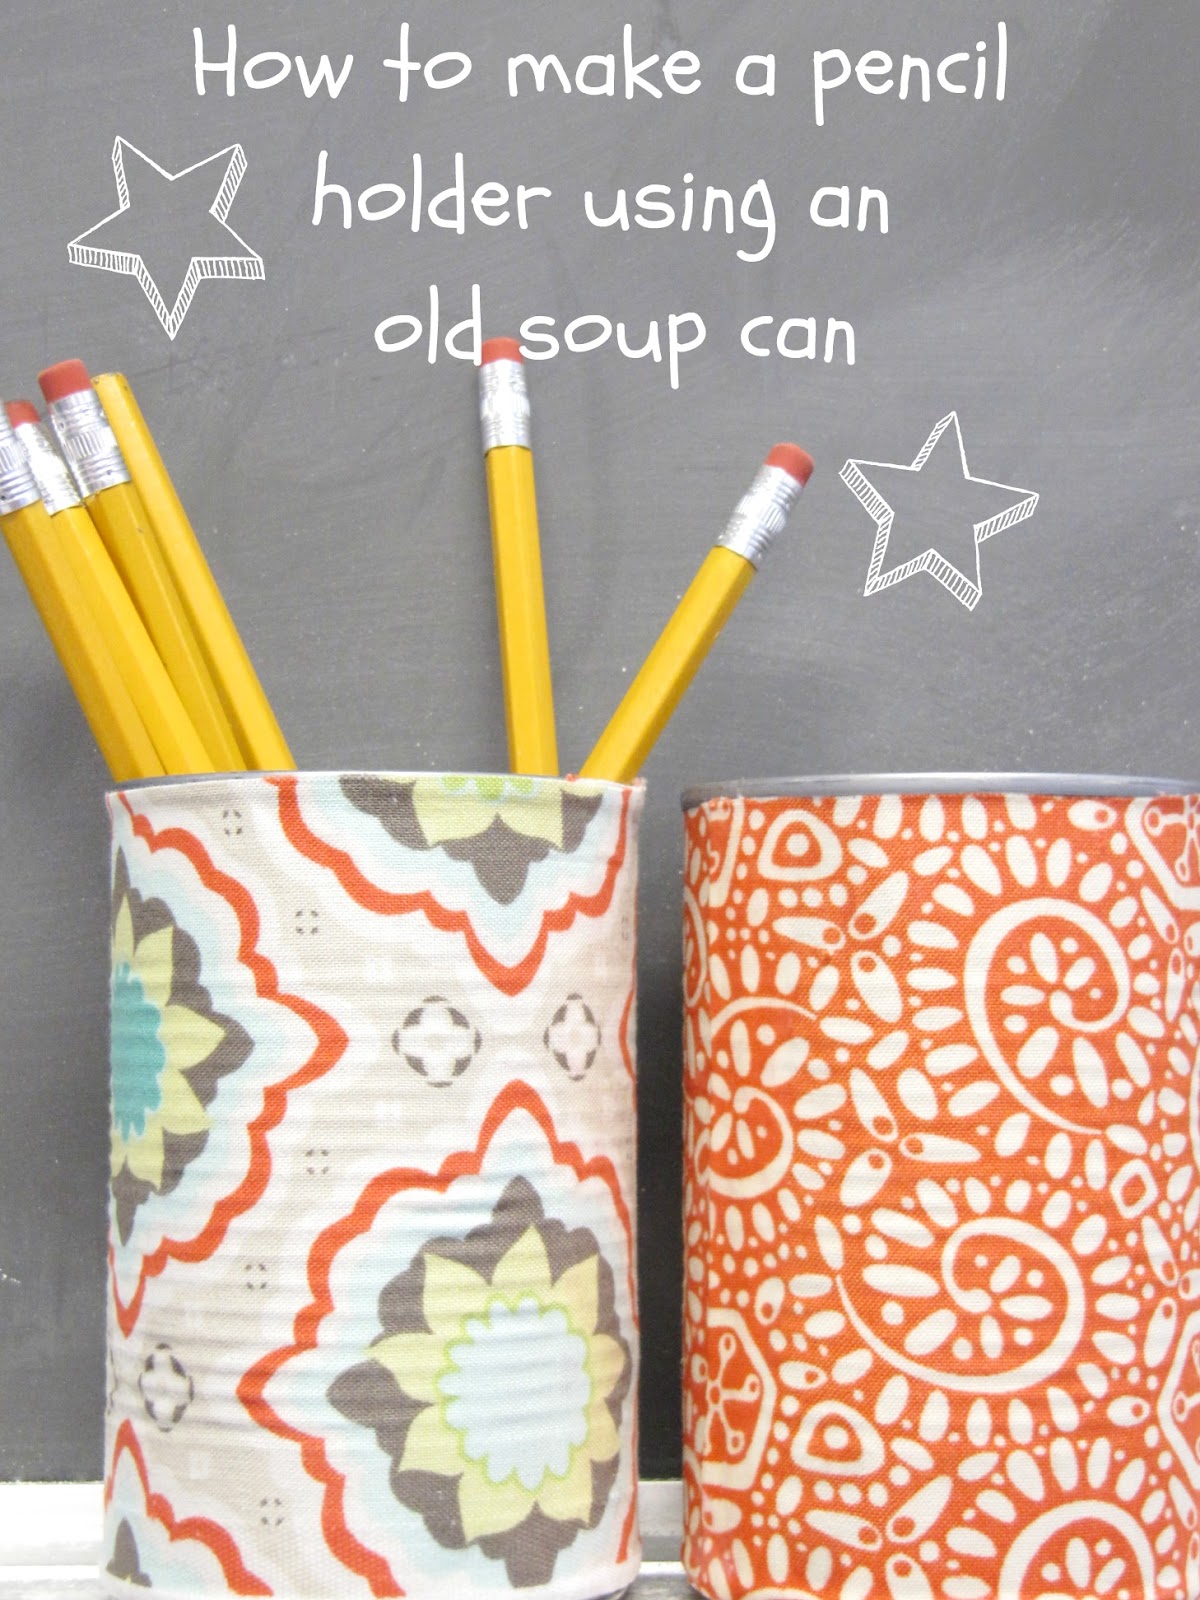
I recently had a craft night with a bunch of gals and we made these cute pencil holders using old soup cans. They are super fun and easy to make . . And they don’t cost much at all to make.

I provided the cans that I have been collecting for a while. (we eat a lot of beans at my house).
I also brought a ton of cute fabric scraps for the girls to pick from.
By the way, these are the cans I use. I like that they don’t leave any sharp edges after you open them.
But, if your can does have some sharp edges you can flatten them down using a pair of pliers.
So after your can has been washed and dried and free of any pokey’s you are ready to make a template.
Just take a piece of 8.5 X 11 paper,
fold it in half vertically,

And this just happens to make theperfect size to wrap all the way around your can with a little extra to over lap the ends.
However, if you would like to have some of the fabric go on the inside of the can, as shown below on the right,
You will need to make your template larger by folding 1/2 of the paper into 1/2 again. (shown below)
Next you are going to lay the template onto your fabric,
Pin it into place, and then cut out.

Using Mod Podge and a paint brush you are going to glue the fabric to the can.
Paint the Mod Podge onto the can as you wrap. Make sure to flatten the fabric to the can using your fingers to insure that you get a smooth surface free of wrinkles.
When you get to the very end you will want to add some Mod Podge to the fabric,
fold the edge over and glue down. This will give you a nice clean seam on your can.
Now if you have decided to go with some fabric on the inside, you will brush Mod Podge to the inside of your can and then tuck your fabric in.
Your can should now look like this.
By the way, I did not put any Mod Podge to the outside of the fabric to seal it because I didn’t find that it made any difference.
I have actually made a few of these now. I even made one out of a large juice can. They are perfect for keeping my craft station organized.
Other uses for these cans could be to hold tooth brushes in a bathroom, make up brushes, or even utensils at a barbecue.

They would also make great gifts to give to your children’s new teachers this fall.
Have a Great Day!

So cute Emily! Have to try it:) Hope you had a nice vacation.
Jen
These are lovely Emily,
I'll add it to my list of future projects……
Tania xx
Those are great~and you really have a knack for mixing patterns!
Where did you get the red and white fabric? I really love the pattern.
We've long been inspired by urban art and have finally created a collection that pays homage to this secret addiction of ours!
Just made this with some chevron fabric tonight. It turned out so cute! Thanks so much for the step by step tutorial – very helpful!