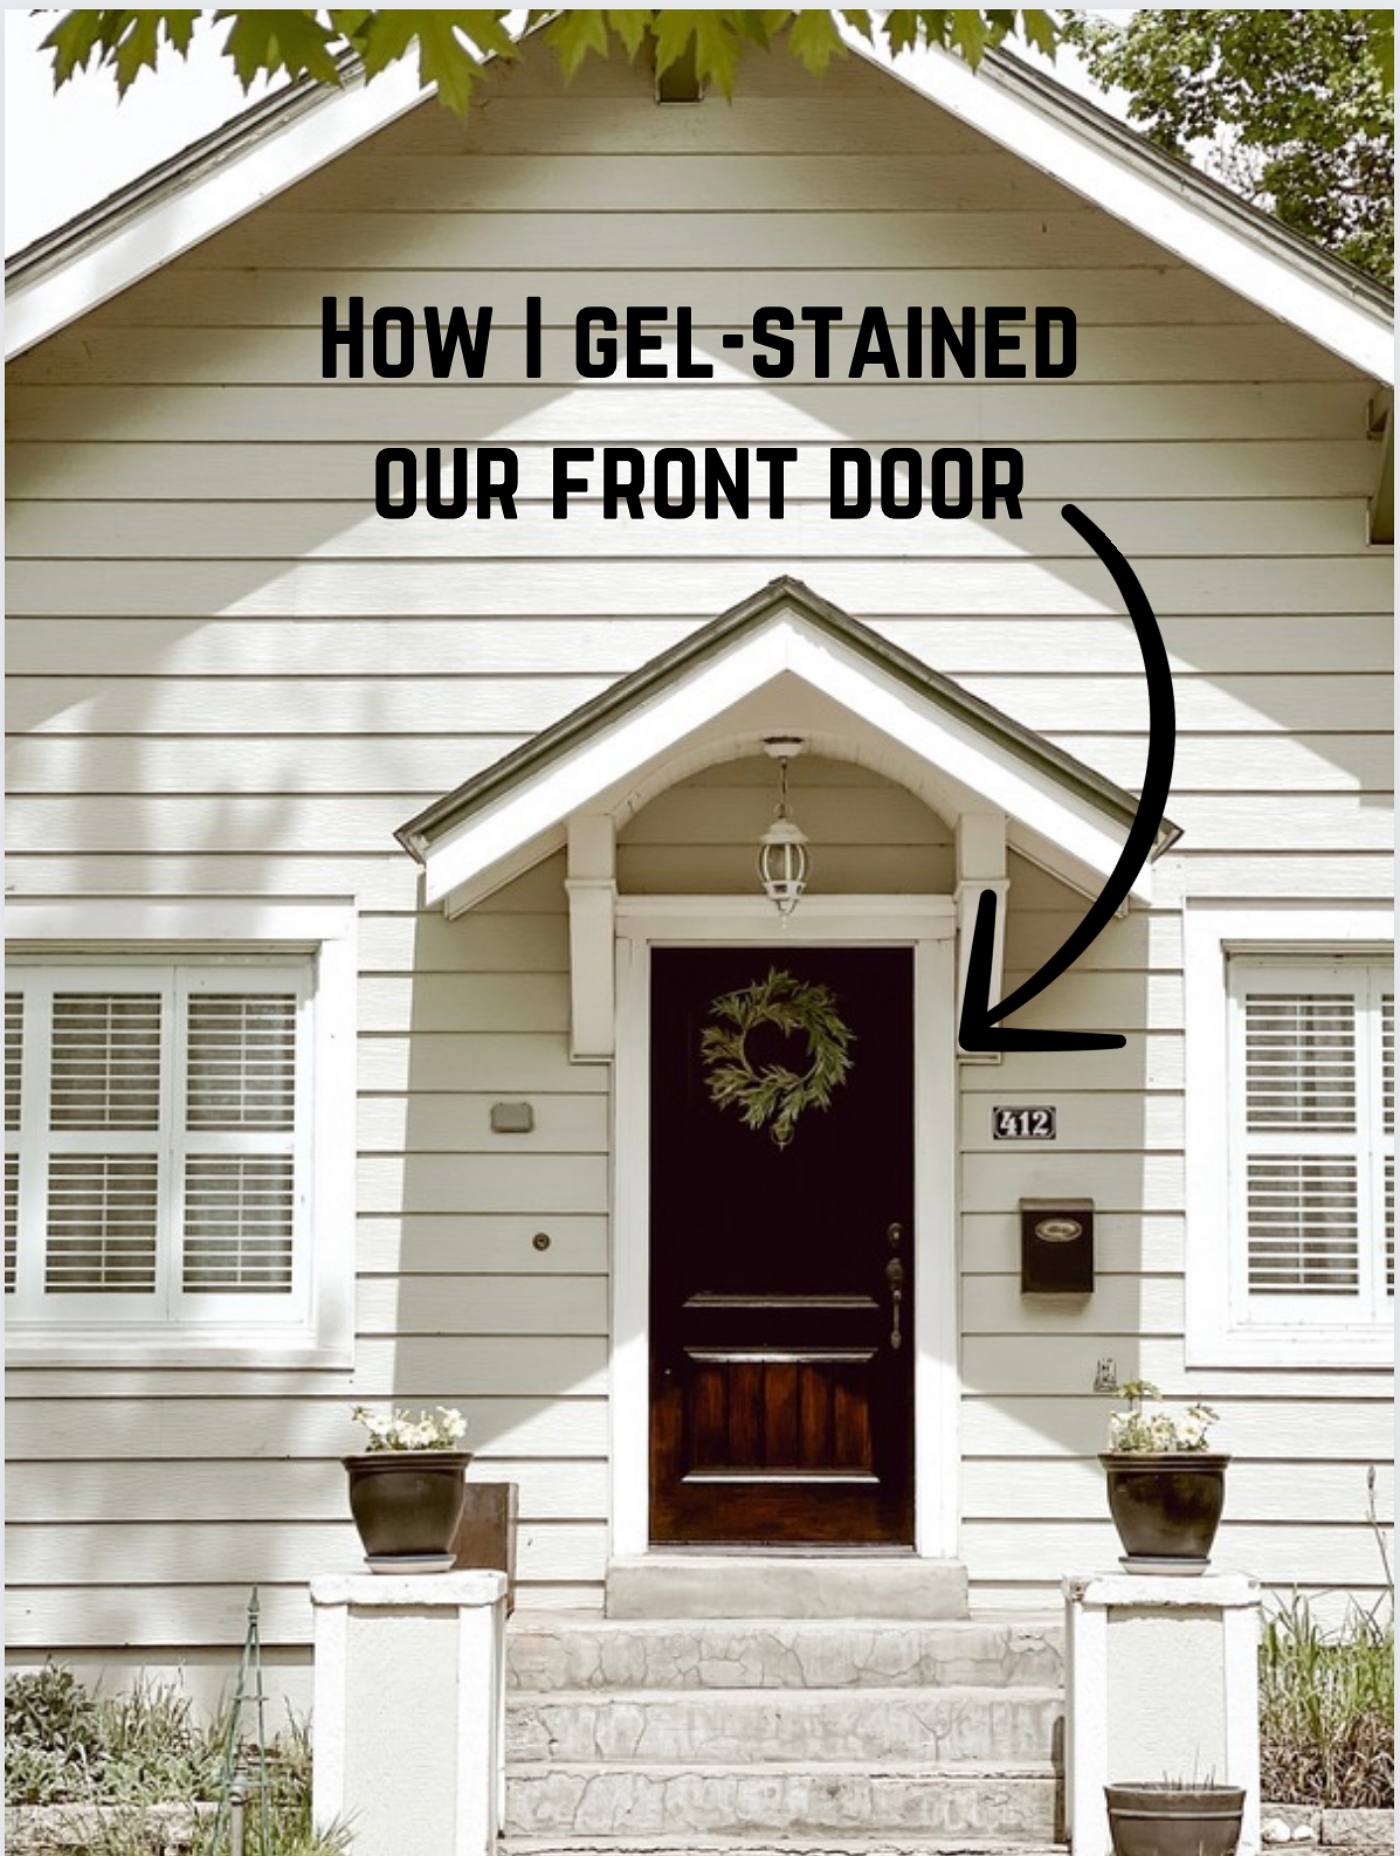
As you may already know, I like to paint our front door A LOT. This will be the 7th time I’ve painted it in the 11 years of living here. Painting a front door is such an easy thing to do and it can change up the entire look of your home, hence the reason I like to paint ours so often. For this latest look though, I didn’t just paint it, I Gel-Stained it! Read along for more information.
I am a HUGE fan of Gel-Stain. If you didn’t know I gel stained our floors, wood stove mount, plus many other projects around our home. For our door I used a gel-stain color called Aged Oak but while I was at Lowe’s I also grabbed a can of simply white gel stain to try out.

I planned to gel-stain our front door, but decided to first try it out on our back door to make sure I got just the look I was going for. Since our back door was painted blue, and our front door was painted white, I knew I needed to first paint the doors in a base color, so I tried out a few different colors…… It’s amazing how a base color of paint can totally change the whole look of the gel stain over it.
Picture above: on the top row I have a brown base coat on the left (Garden Soil), a light grey in the middle, and then a greige color on the right. The Gel-Stain is the same on all of them and it’s the Aged Oak color. On the bottom row, I started with a color called, Cardboard by SW paint color over all of it, and then added the Aged oak Gel-stain on the Left, added two coats of Aged Oak in the middle, and then the Simply White Gel-stain on the Right. In the end I picked the top Left look.

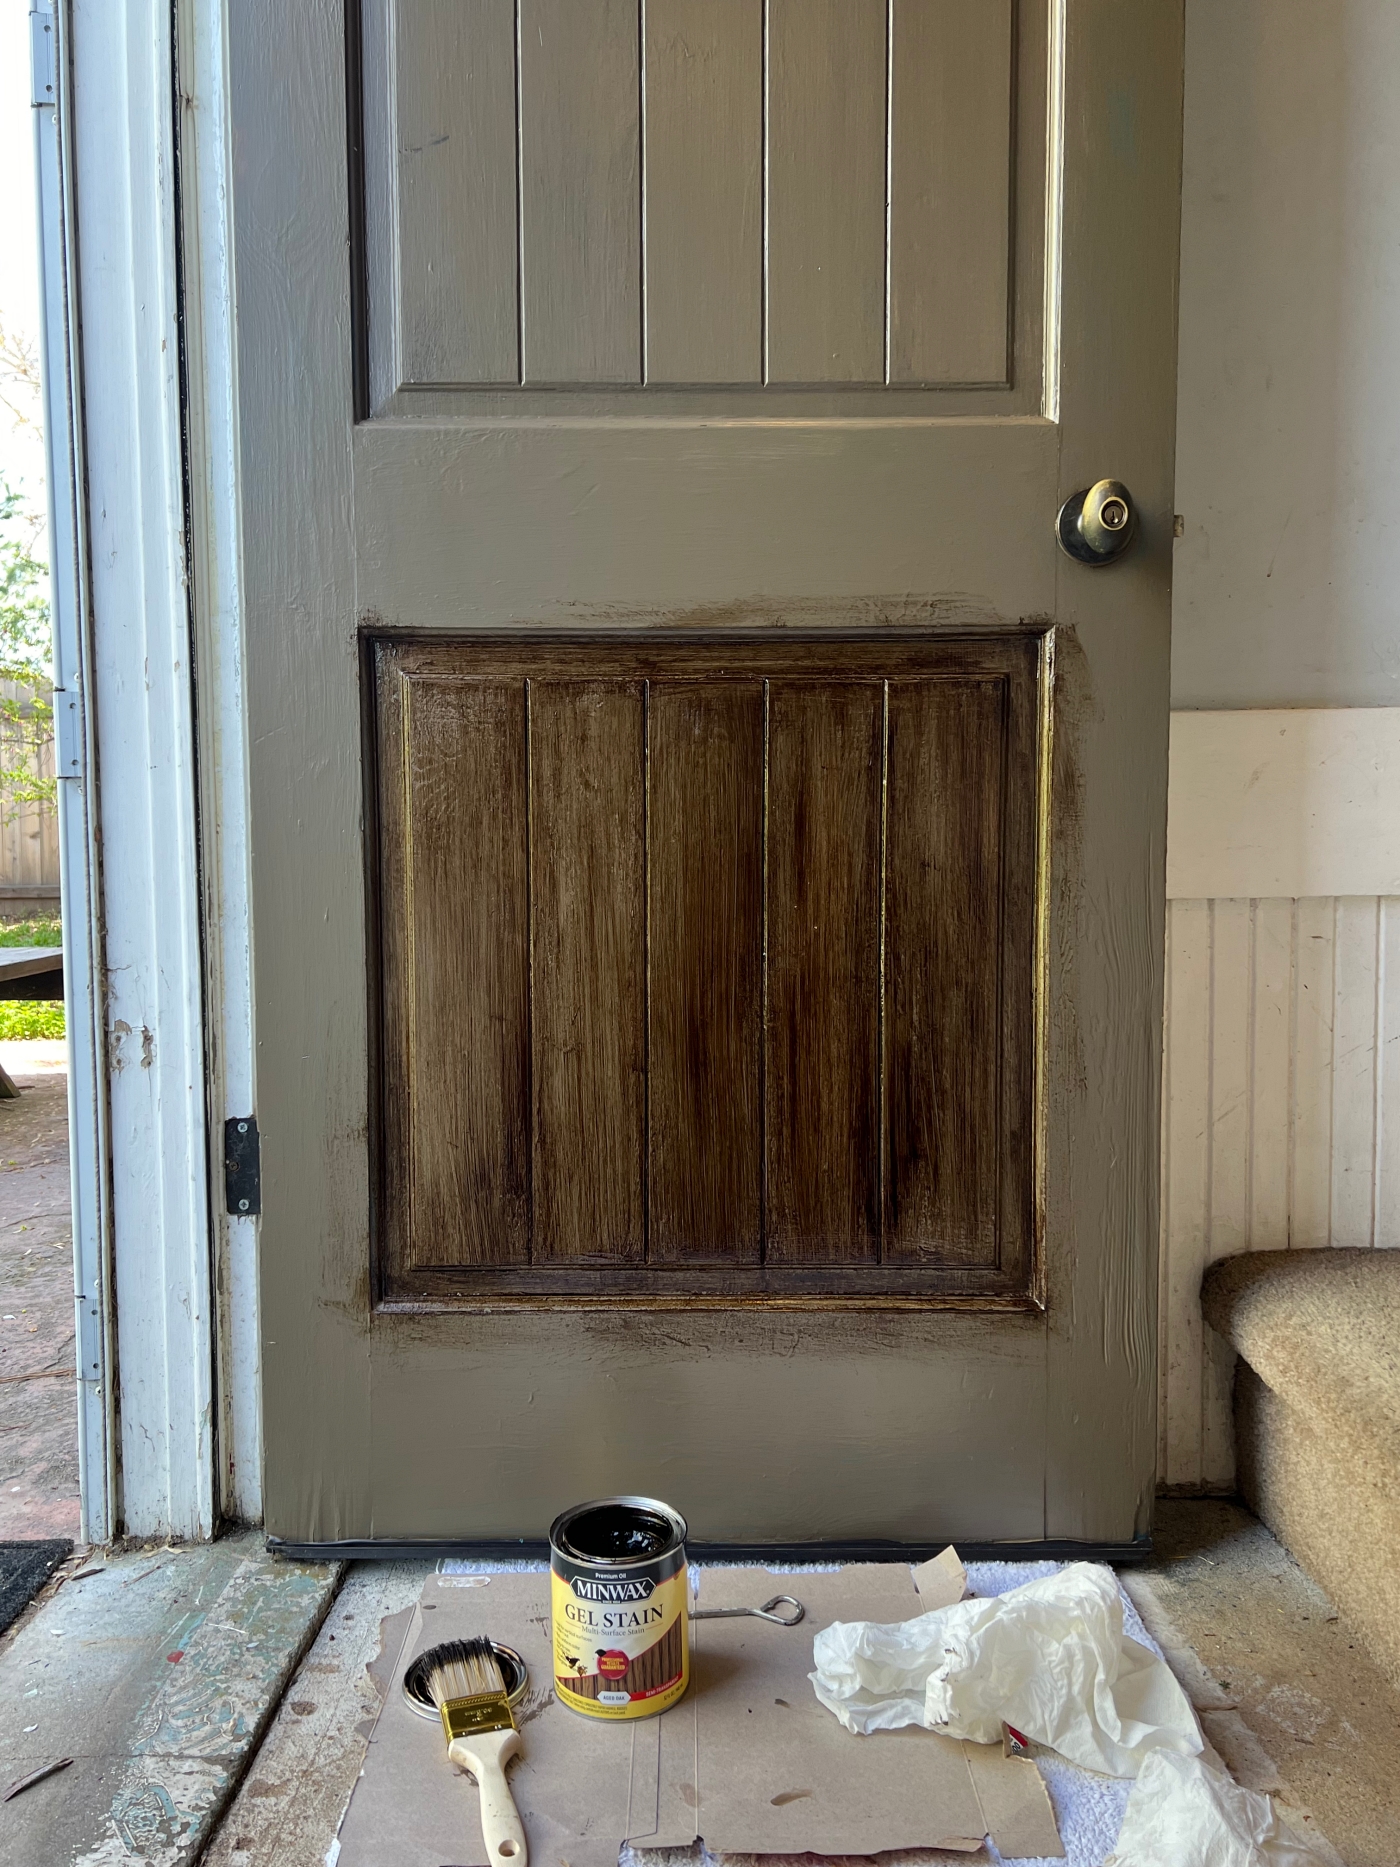
After sanding down my door, I painted it in the Brown paint. This color is called, Garden Soil and I picked it up as a sample size at True Value. Once the paint was dry, I added the Aged Oak gel stain over it. I used a cheap paintbrush and just brushed it on. I leave the gel stain on like paint and Do Not wipe it off like you typically do with stain.
*Also don’t forget to wear gloves to keep the stain off of your hands.
After just one coat of the Gel stain I was happy with how it turned out and decided to go ahead and repeat the process on the front door.
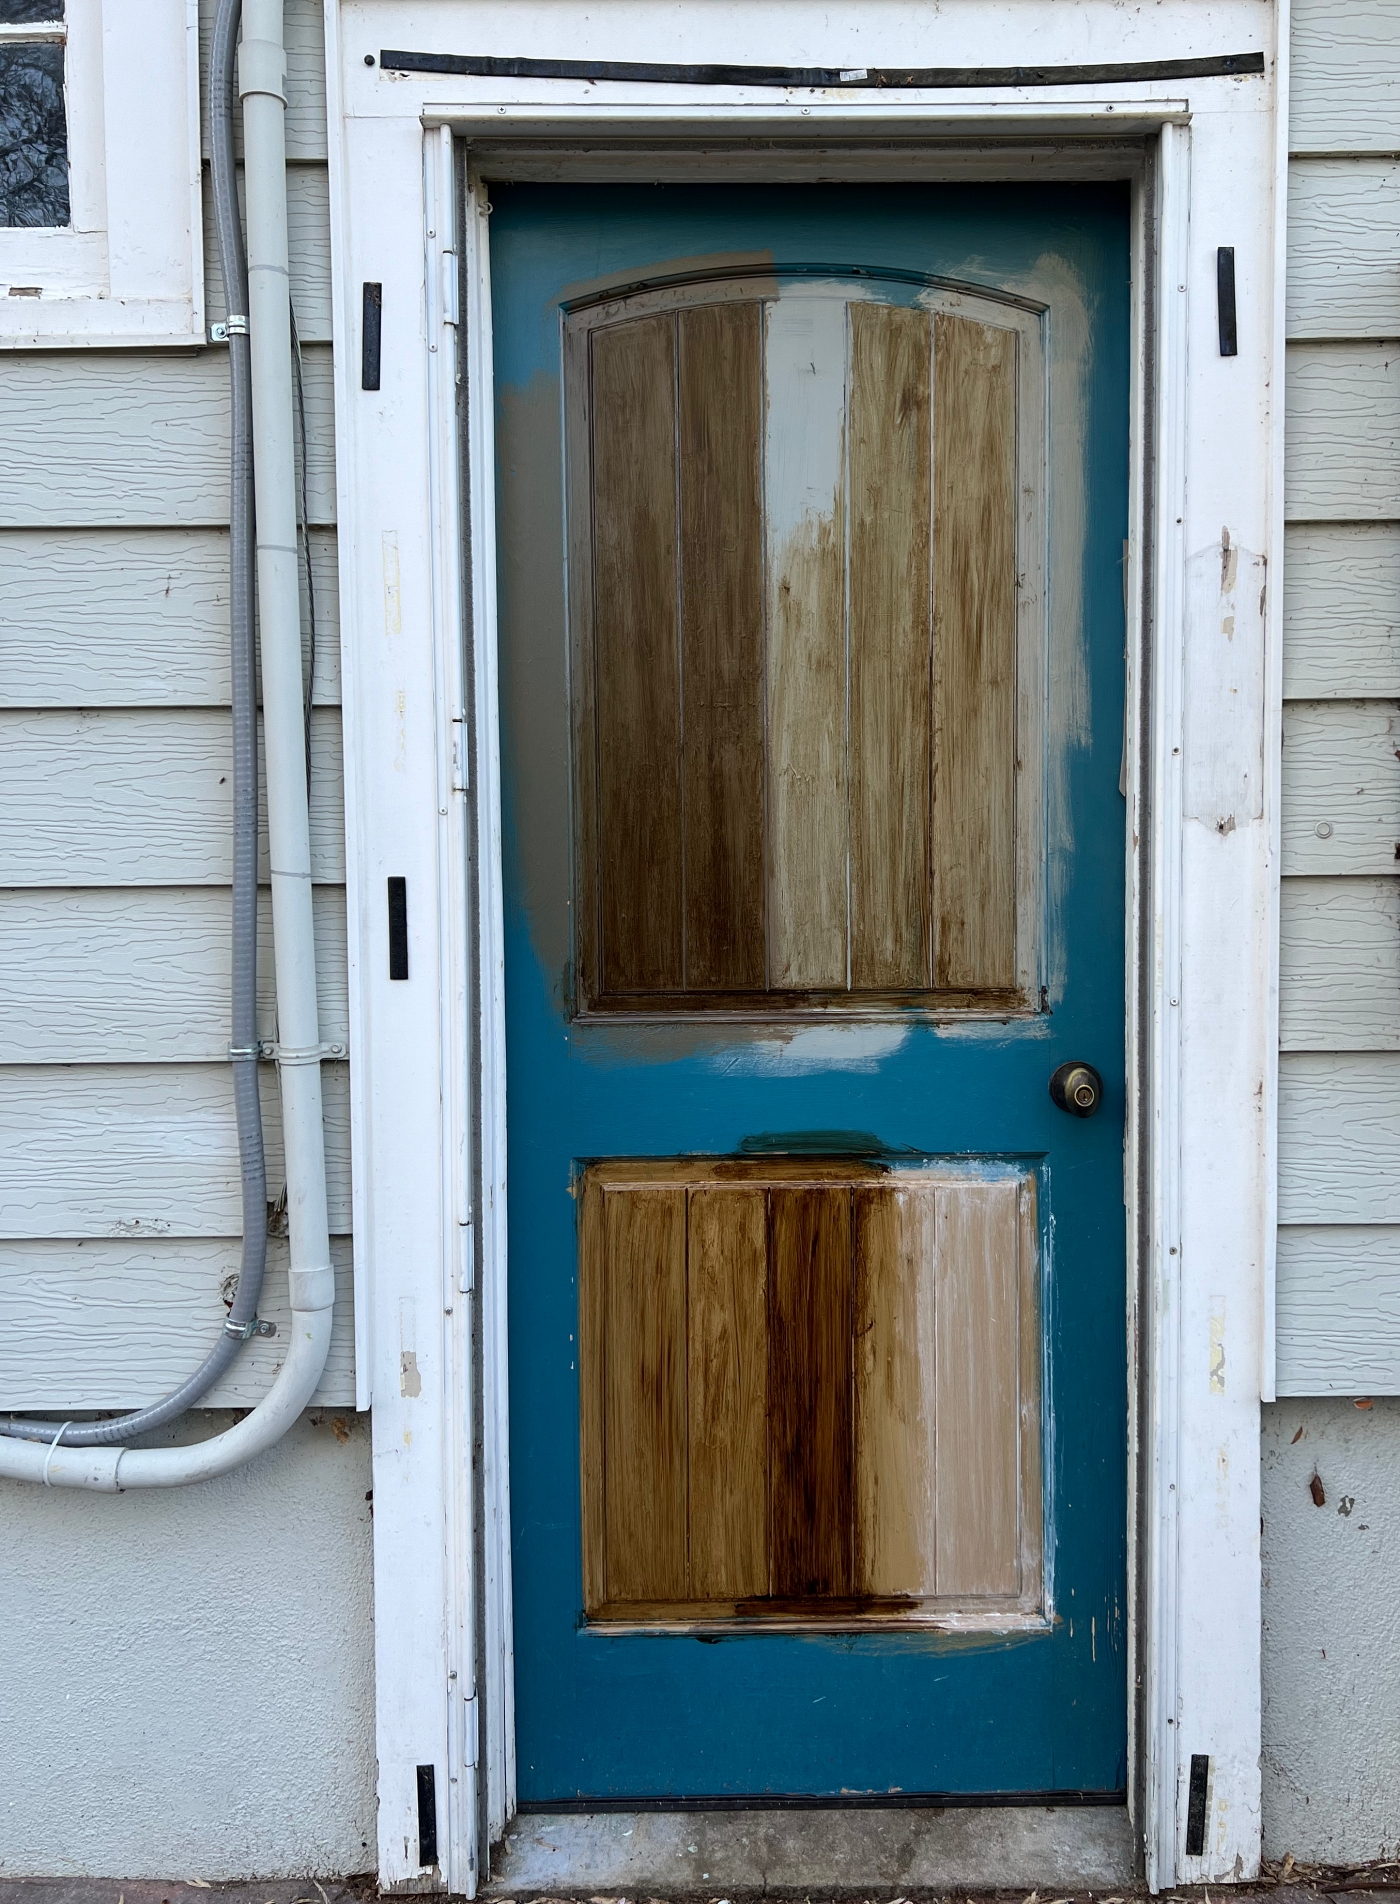
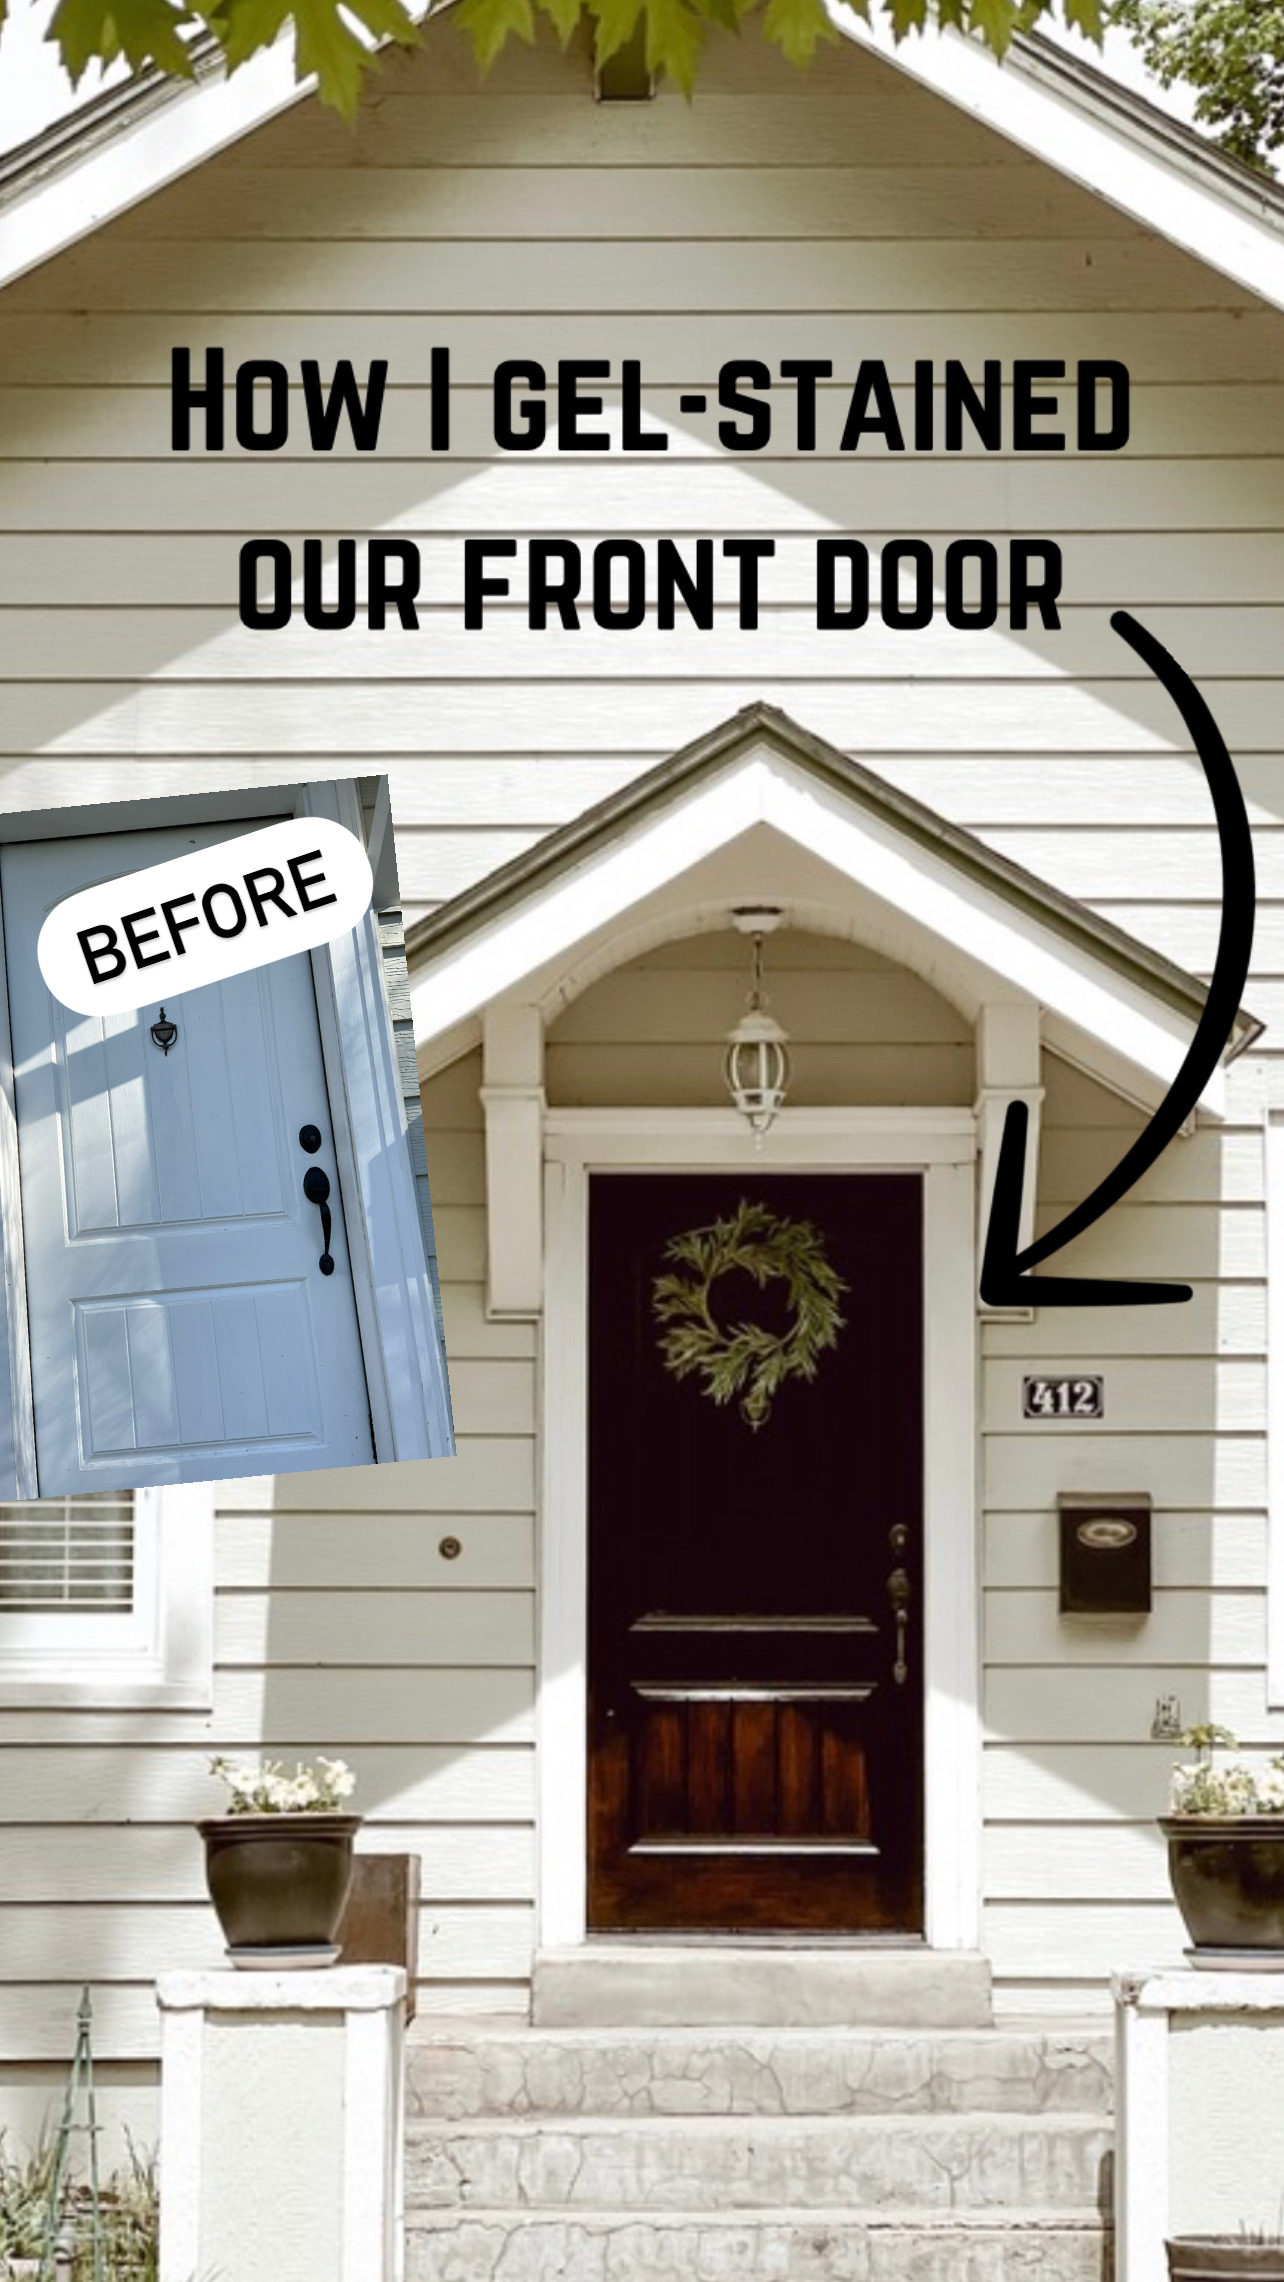
Here was our front door before. So to prep it, I first had to sand down the Utes stencil that my husband added last fall with red spray paint.

I then added a coat of the same Garden Soil Brown paint. A little TIP for you, if you have a fireplace screen, you can add it to your doorway to keep pets in while the door is open.

Once the paint was dry, I began adding the Aged-Oak gel stain just like I had on the back door.

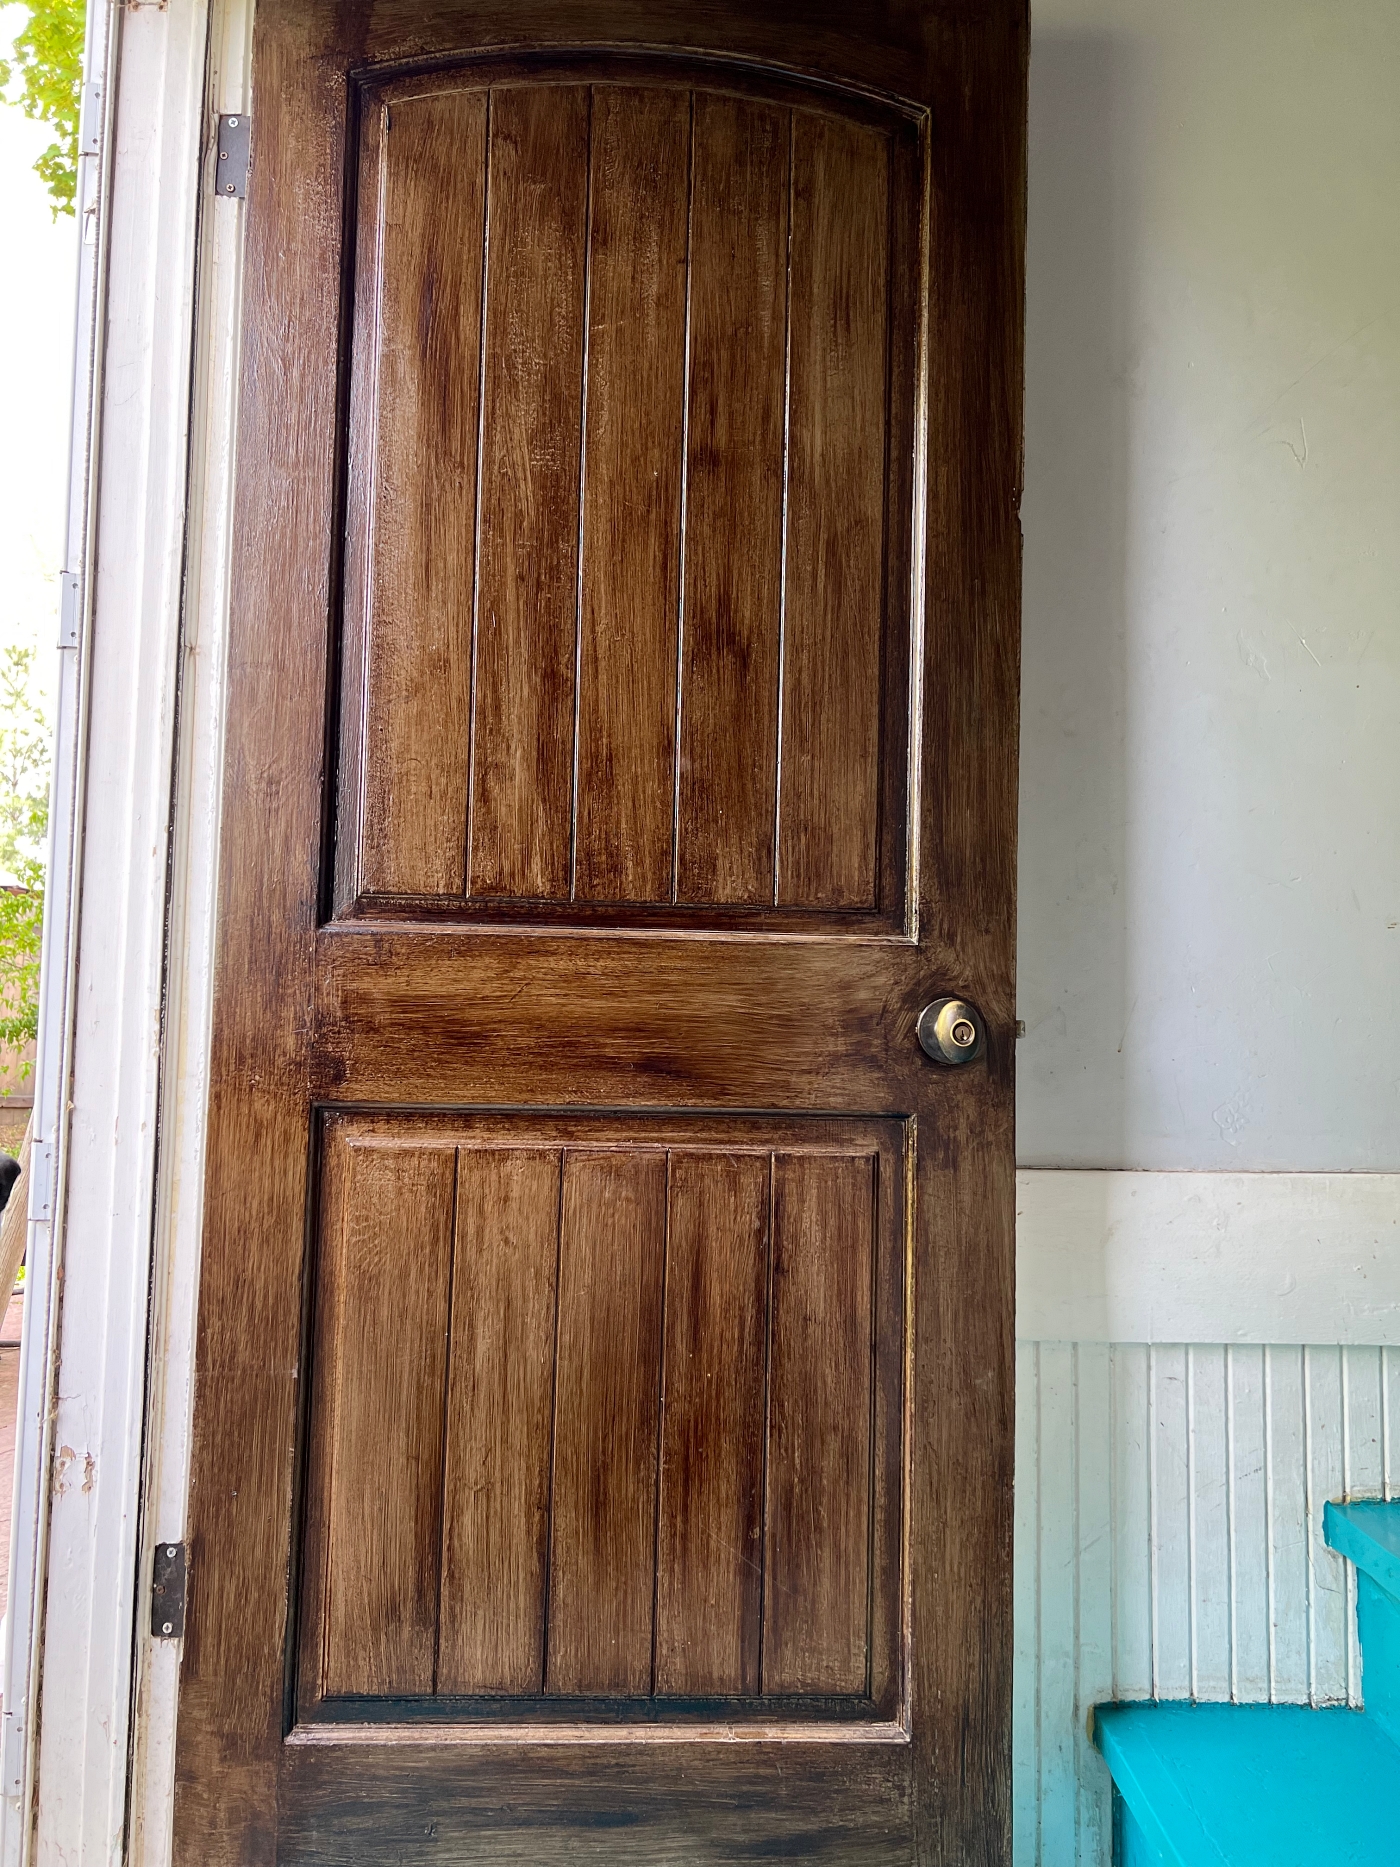
Because our front door faces South, whereas the back door faces North, it gets more sun and therefore made the front door look different than the back door. After just one coat of the gel stain it looked a bit more blotchy. So I Ieft it to dry for a week and then added another coat of gel stain, but it still looked blotchy, so I waited yet another week and then gave it a third coat of gel stain and was happy with how it turned out. *I waited a week in-between coats because I only had time to work on it on the weekends, but also gel-stain takes a long time to dry, so keep this in mind.

The front door with its three coats of gel stain is definitely darker than the back door that only had one coat of gel stain, but I love it! I think it looks like a rich mahogany wood and gives a grand appearance to our home.

The sunlight wasn’t the best at the time that I took these pictures because only the bottom half of the door has sun on it, whereas the top half of the door is shaded, but it gives you a look at how the color changes in the sunlight.
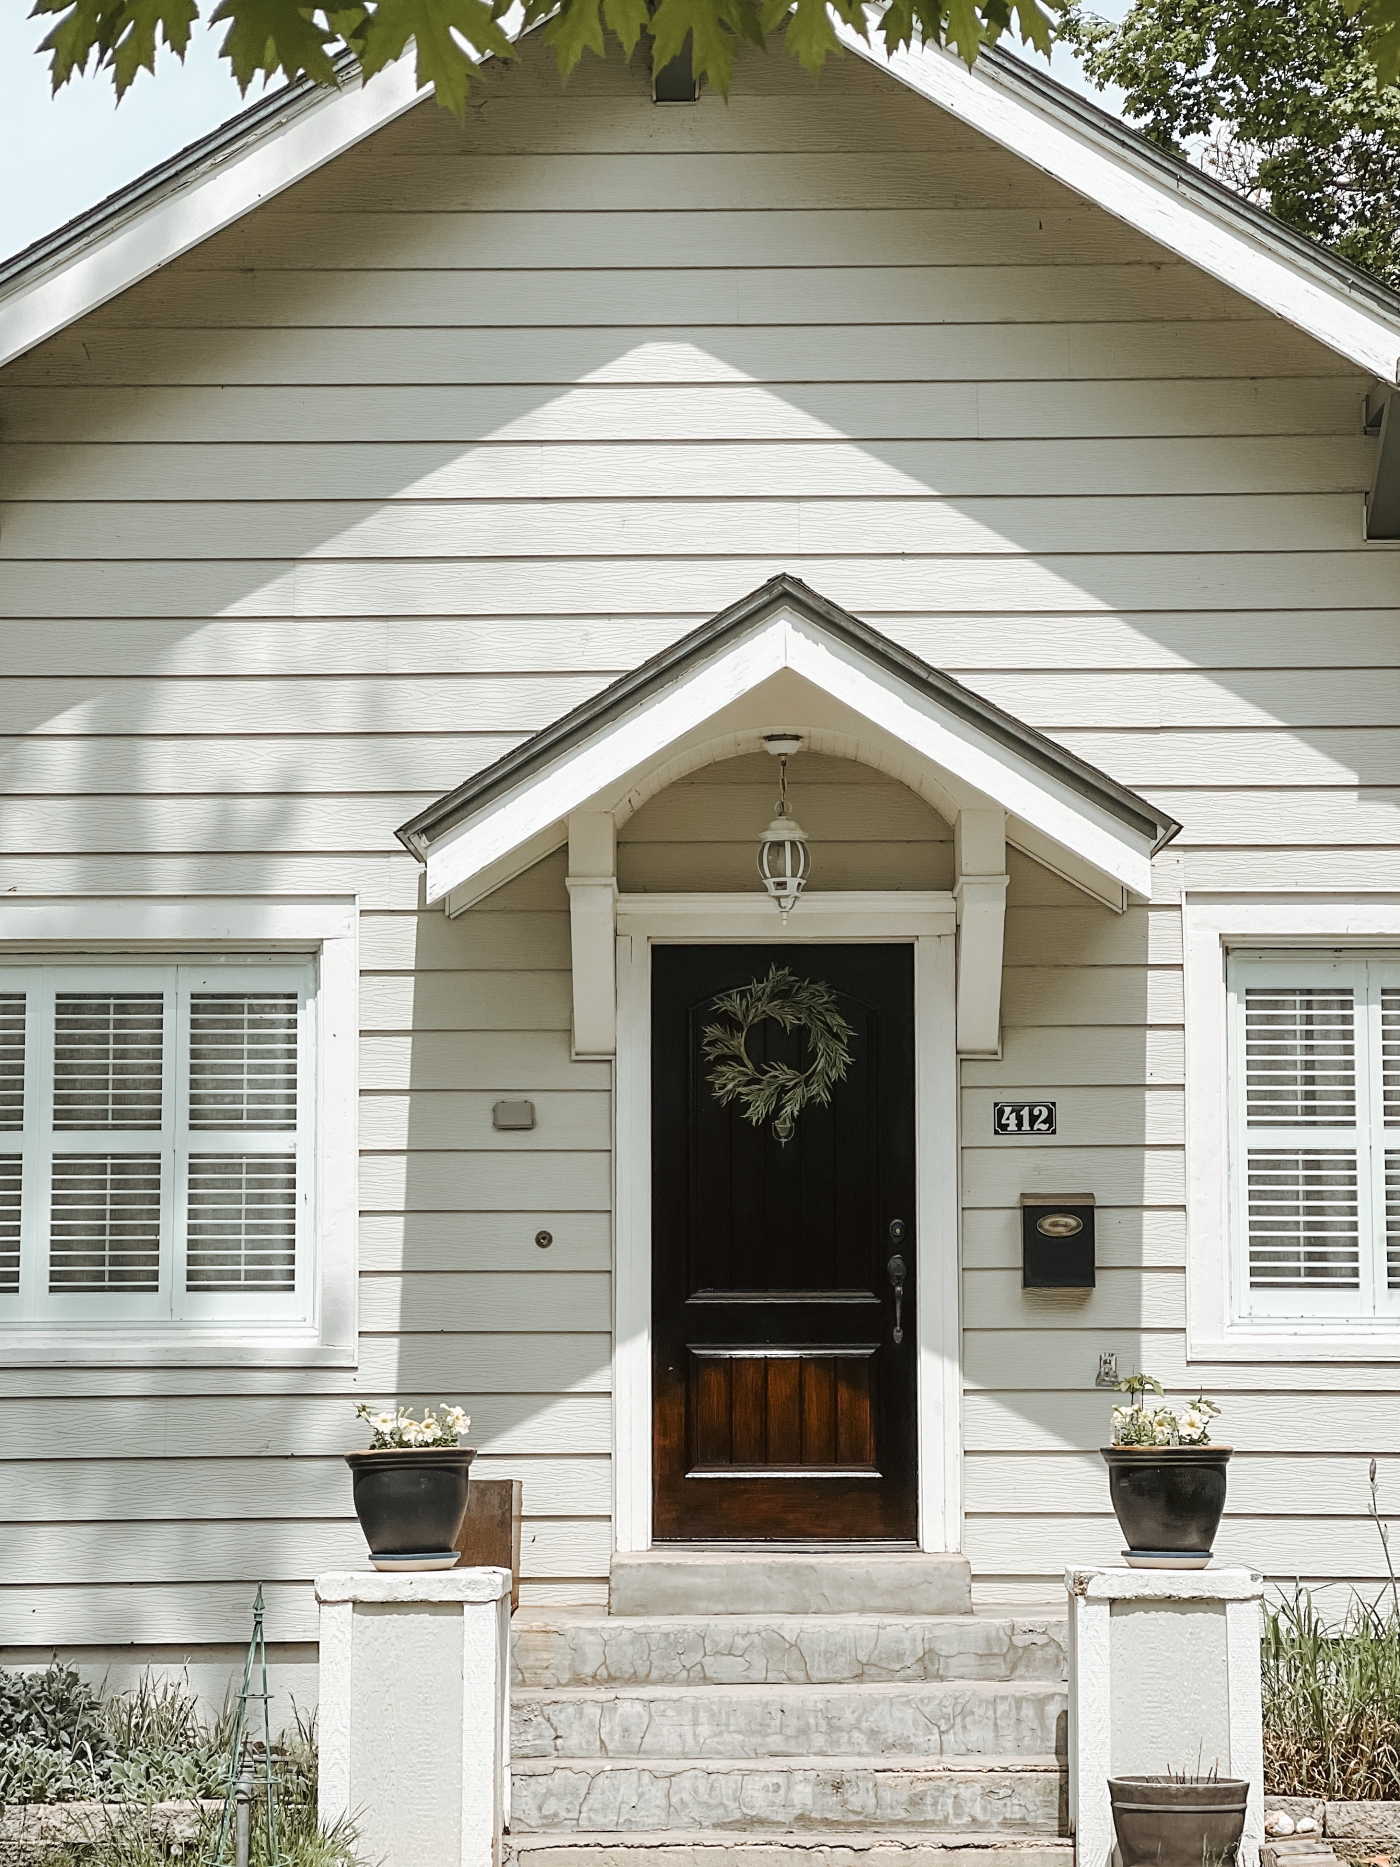
I picked up the new wreath at a fun little local shop here, I like that the wreath is simple and can be hung up for all of the seasons.

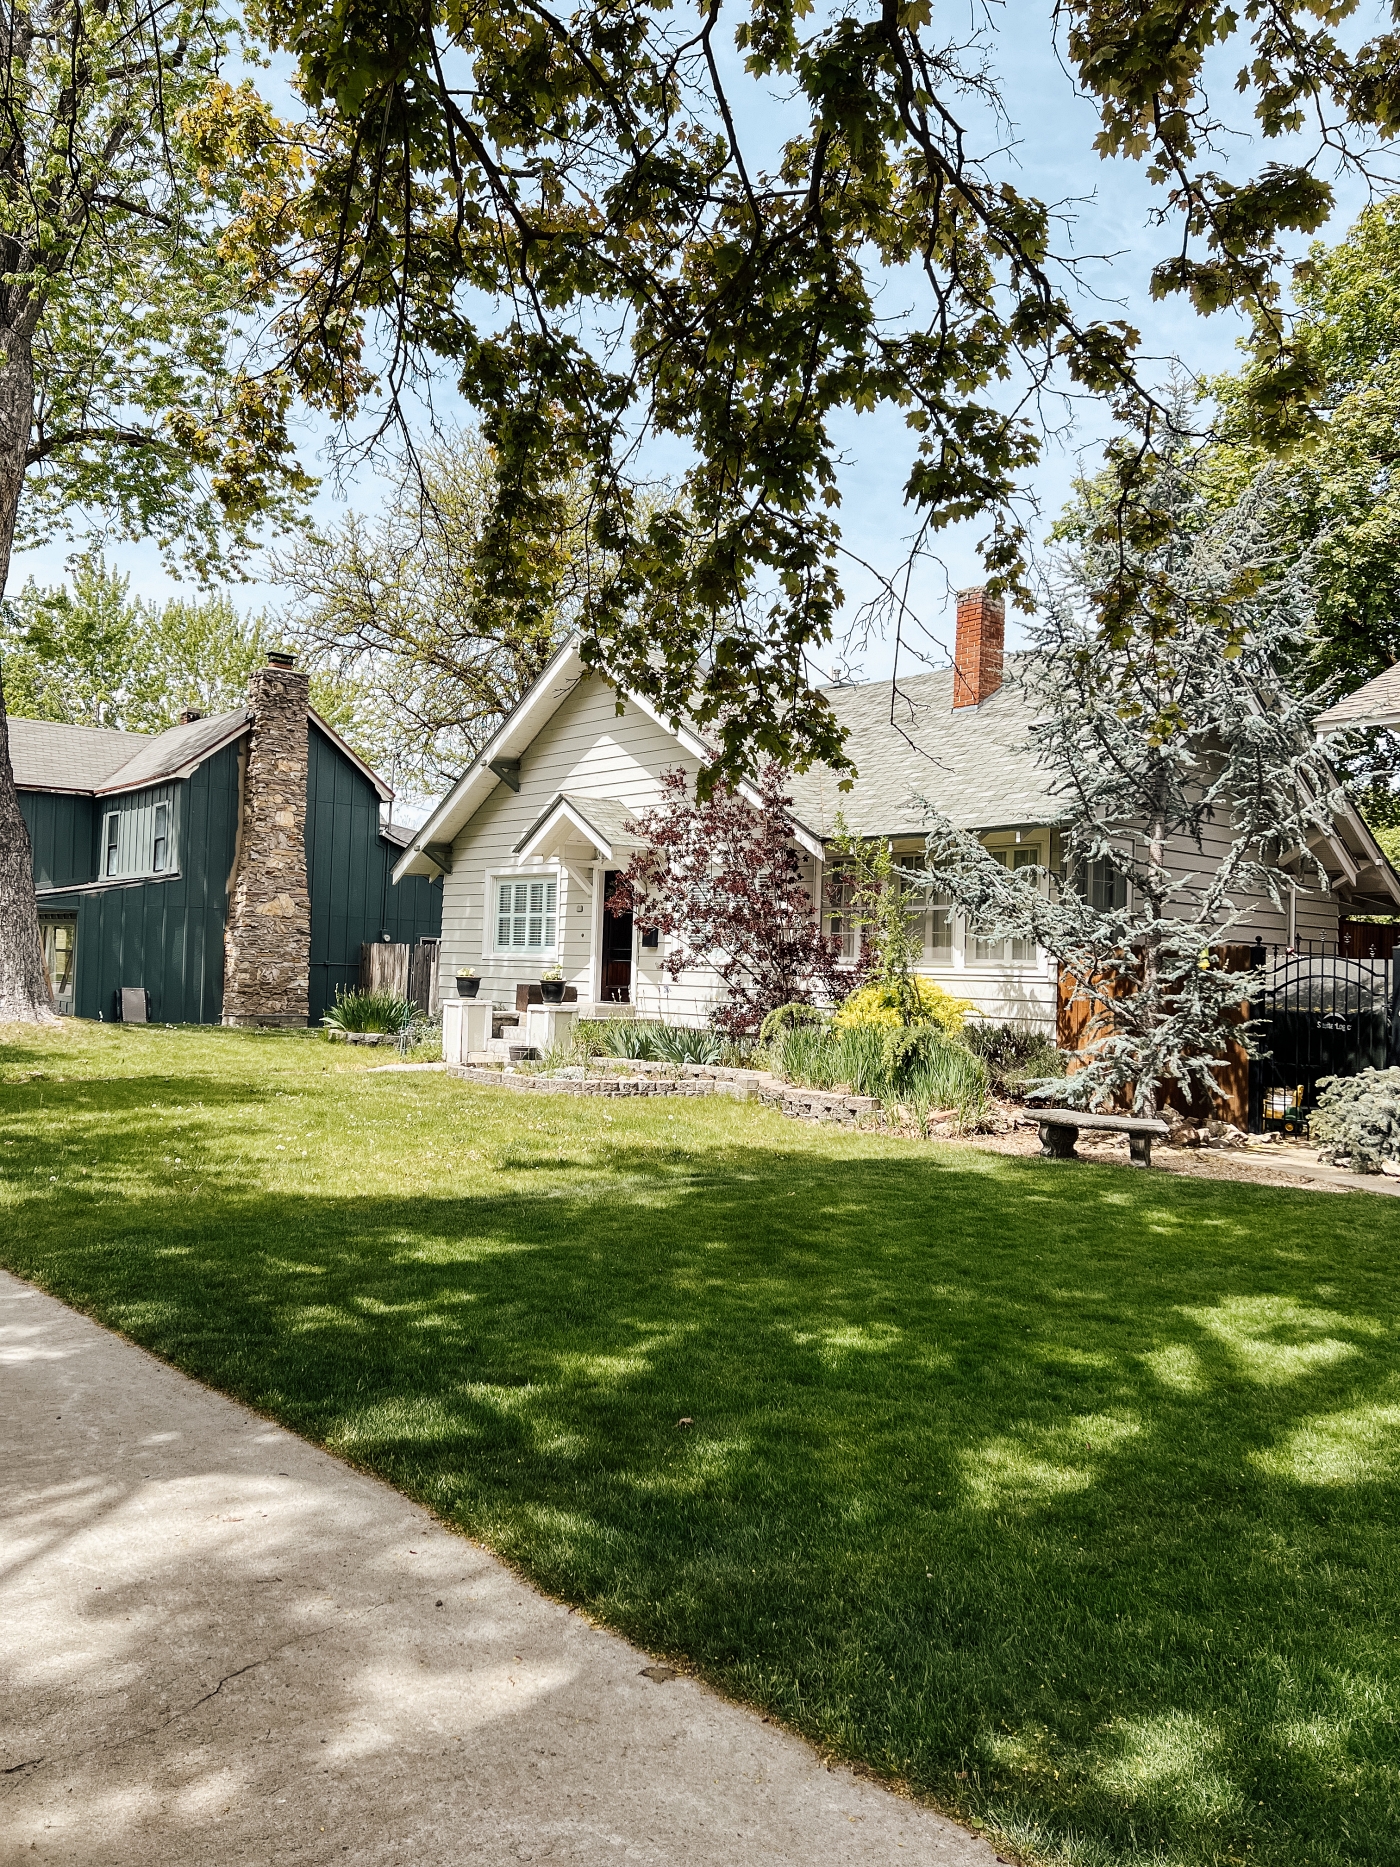
And then since I was taking pictures of our front door, I thought I’d go ahead and take some updated pictures of the exterior of our home. Did you know that Our sweet little home turned 100 Years old this year? Pretty amazing!
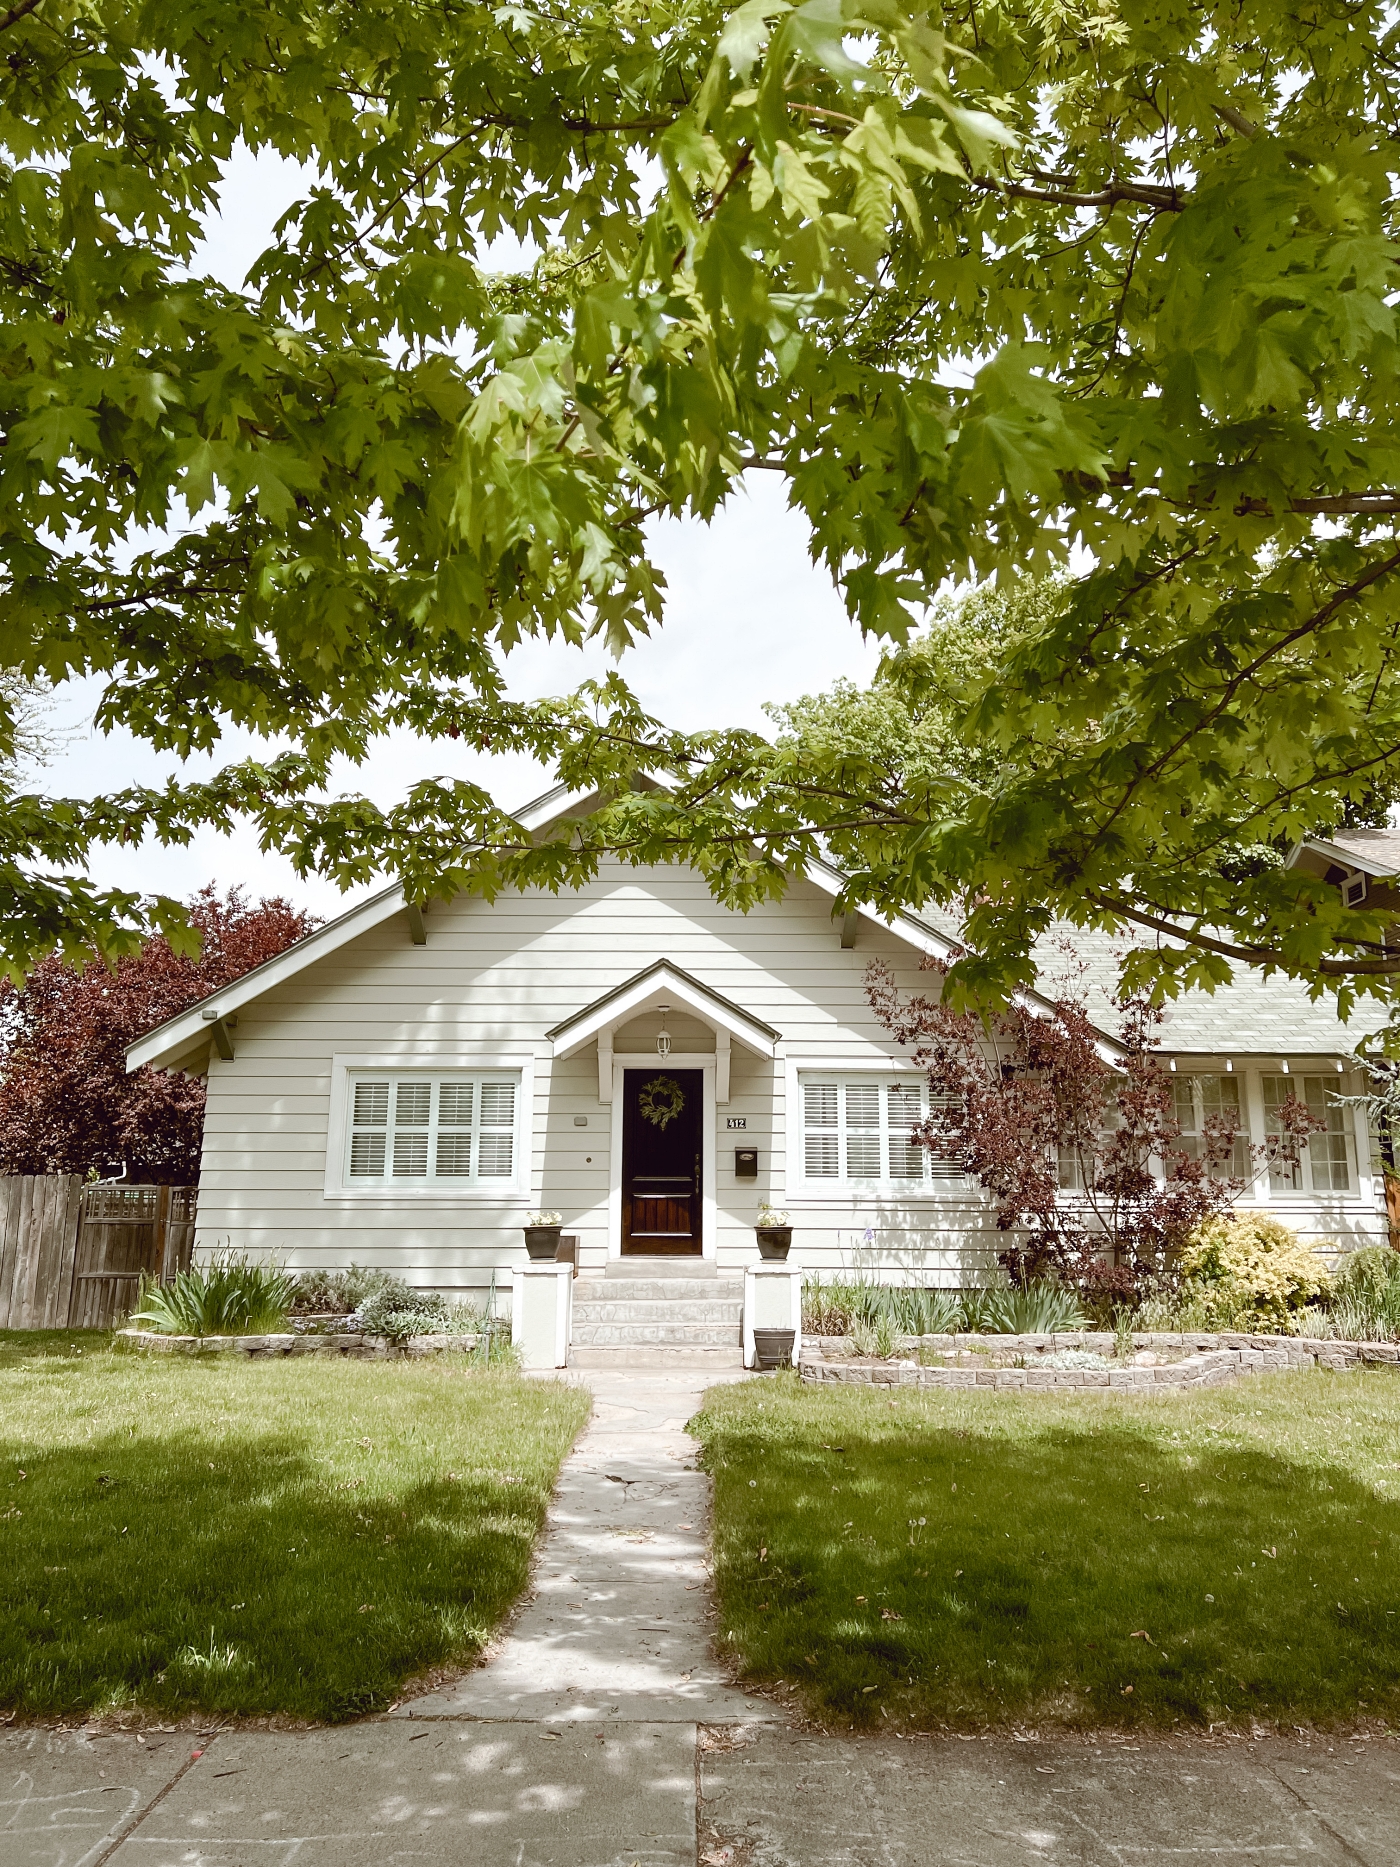
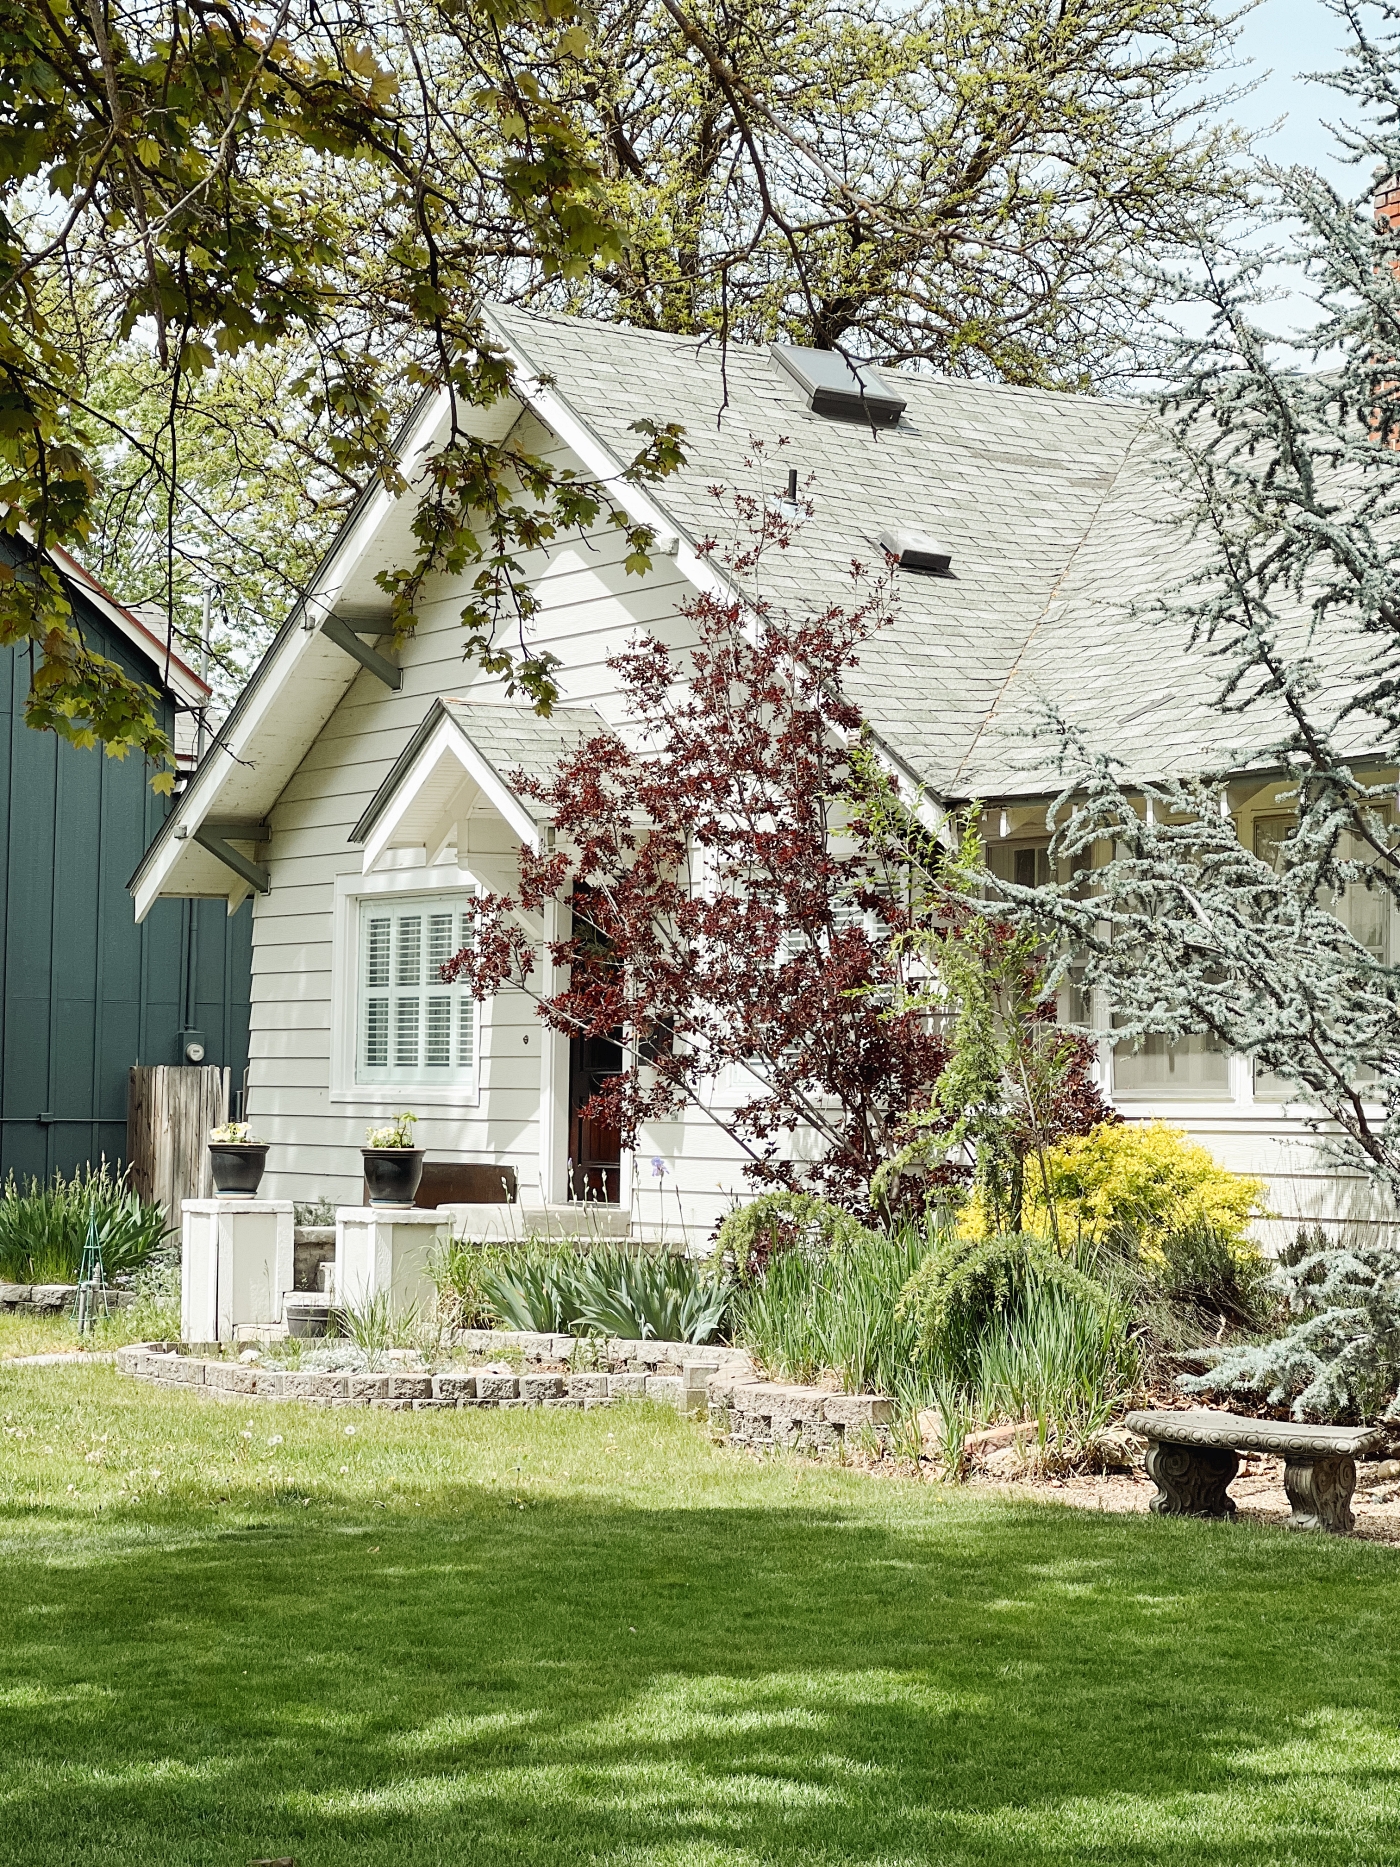
I just noticed from looking at the picture above, but look at how nice the dark cherry tree on the left of the house and the smoke tree on the right, with that dark brown color both look with the new door color. I love that! I’m in my dark brown phase right now and am drawn to everything dark brown ….even plants.
I’m guessing I’m now going to be on the lookout for more brown plants and flowers to add to my flower beds this summer.
Whenever I share pictures of our home I get asked the question about what color it is painted in. I don’t know, it’s been this color since we bought it, but I did write up THIS BLOG POST with similar colors options if your interested.
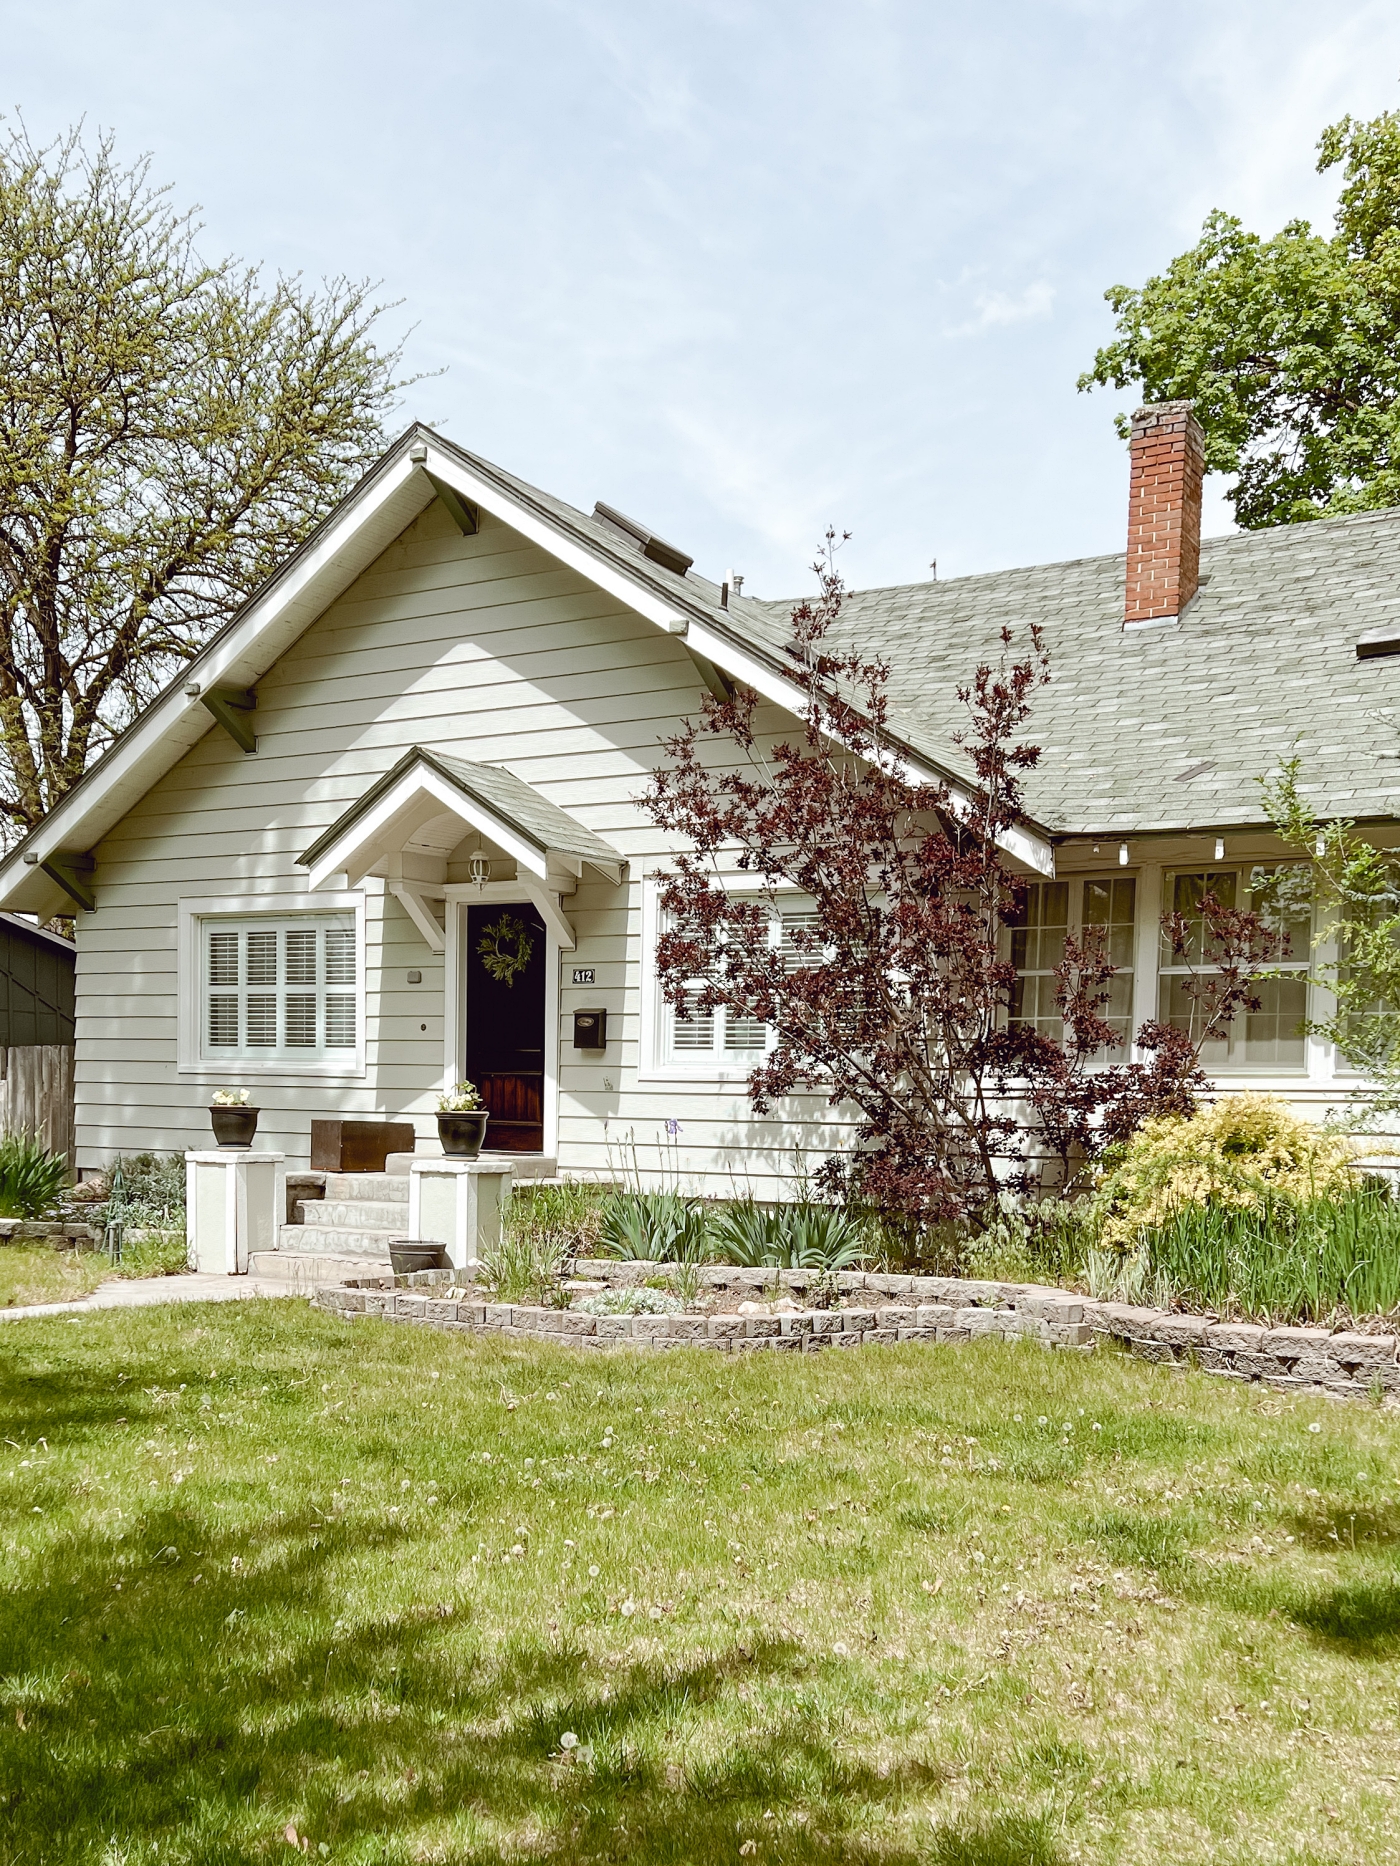
I still want to find a way to celebrate our Home turning 100 years old. I’m thinking a special plaque or maybe even getting a new cement sidewalk and engrave a 1924 in it.
PIN IT FOR LATER!
If you like today’s post, you are welcome to PIN it along with any of the images from my blog on PINTEREST. Find a Pin It button by hovering over any of the pictures.
*Disclaimer: This blog post contains Affiliated links which means that I earn a small commission for purchases made through these link.
SHOP THIS POST
What do you think? Any questions about anything? Let me know in a comment below or come chat with me on Facebook and/or Instagram.
If you like the type of decor that I share, then be sure to check out my SHOP MY FAVORITES Page. I keep it updated with all of the fun Coastal, Cottage, and Farmhouse Decor that I come across on a daily basis. I personally want EVERYTHING that I have listed there.
You can also Check out my Amazon Page HERE. It too is full of all sorts of favorites.
Thanks for stopping by,
Emily

