
I was cleaning out and organizing my closet area and I realized that I needed something to organize my shoes better with, and that’s when I remembered that I had this old shoe rack that a friend had given to me a while back because she no longer needed it. This shoe rack was currently stored away not being used.
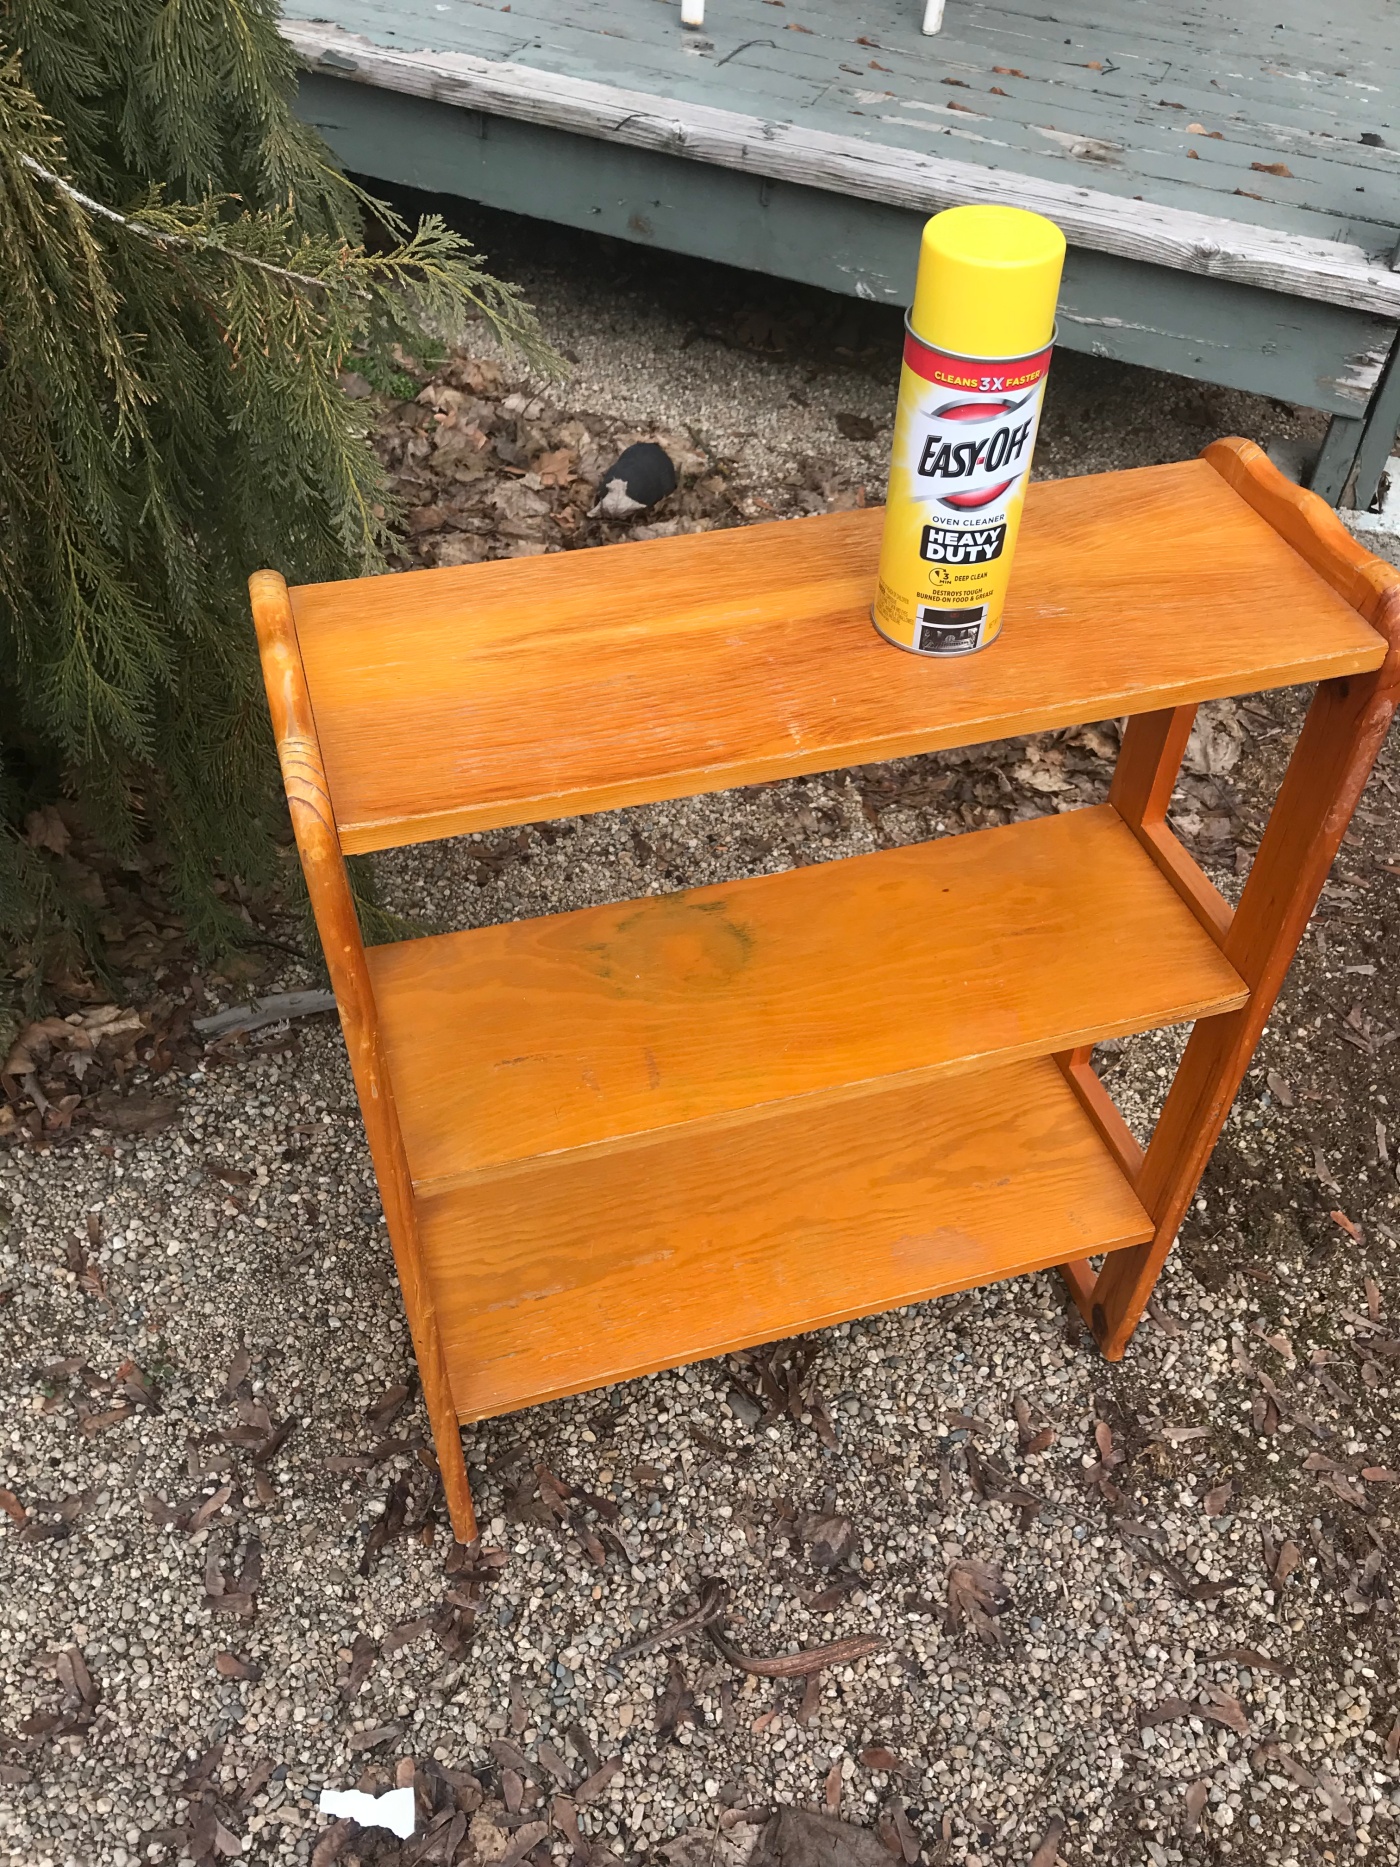
I wasn’t using this shoe rack before because I wanted to give it a makeover first. The rack had an orange color stain on it that wasn’t the prettiest, but the rack itself is made of wood and is in good condition.

I’ve seen a lot of other diy bloggers using the EASY-OFF oven cleaner trick to strip their wood furniture pieces with and I’ve been dying to try it out for myself. I figured that this shoe rack would be the perfect project to give the Easy-Off method a try on. I followed all of the tips that I’ve read; I heavily sprayed the rack with the Easy Off, completely covering the wood rack. I left it to sit for an hour or so, then I cleaned it off with soapy water and a scrub brush, sprayed it down with the hose, and then let it dry……..
The following picture is how it turned out. The brightness of the orange was gone, but it was still orange. I could have put another layer of Easy Off on it but I knew that I wasn’t going to get that beautiful light raw wood look that I was aiming for so I gave up on this whole idea. Apparently, with this Easy Off trick, you never really know what the end results will be. Sometimes it turns out gorgeous and sometimes it just ends up looking like this. HA!
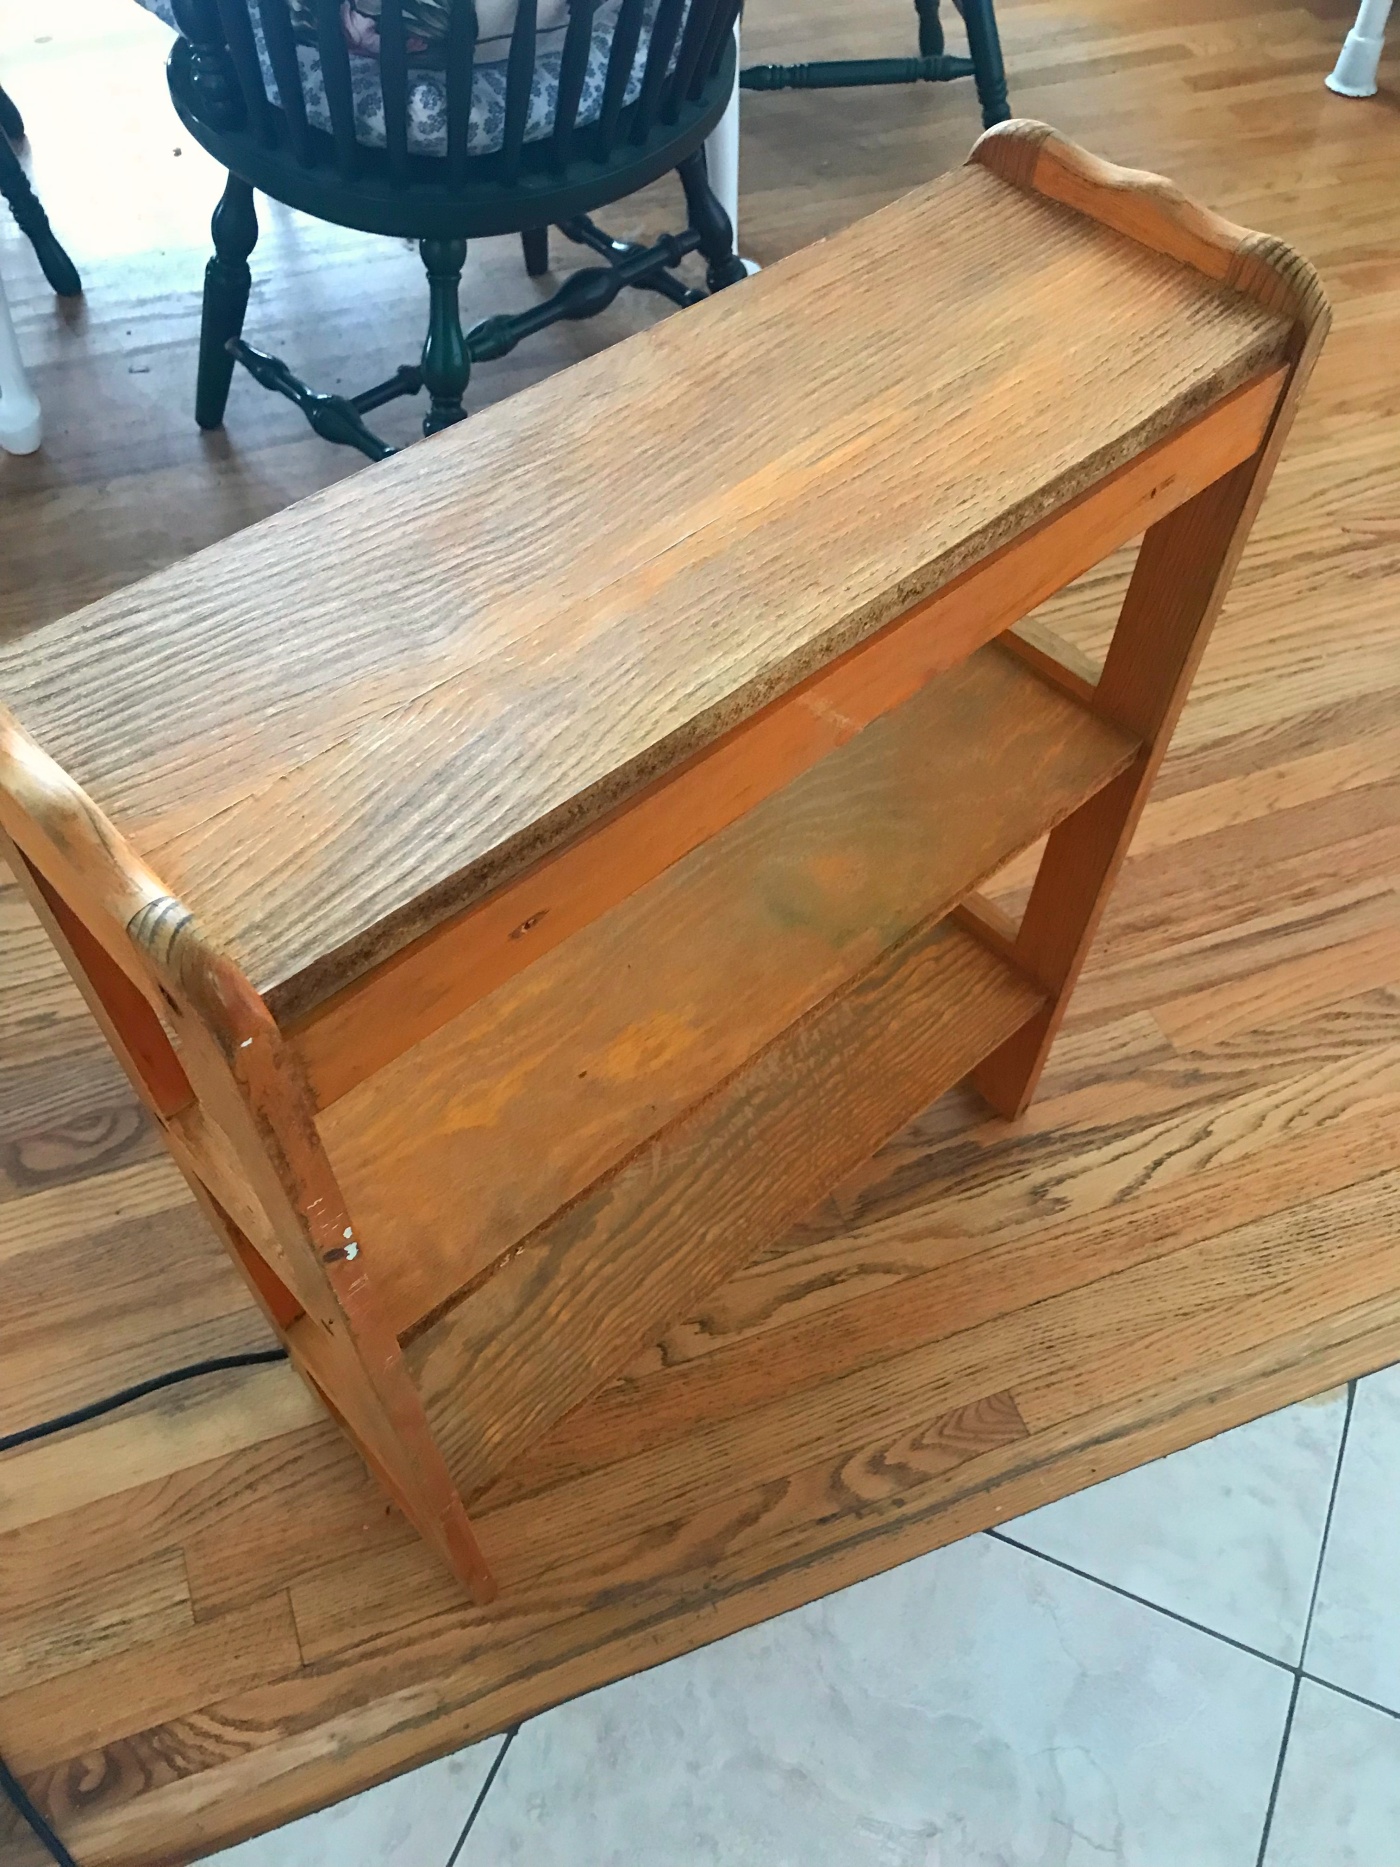
Even though I didn’t achieve the look I was hoping for with the Easy-Off, I have to admit that it was a really great alternative to sanding. The Easy-Off left a rough finish to the wood which meant that I didn’t need to sand it.
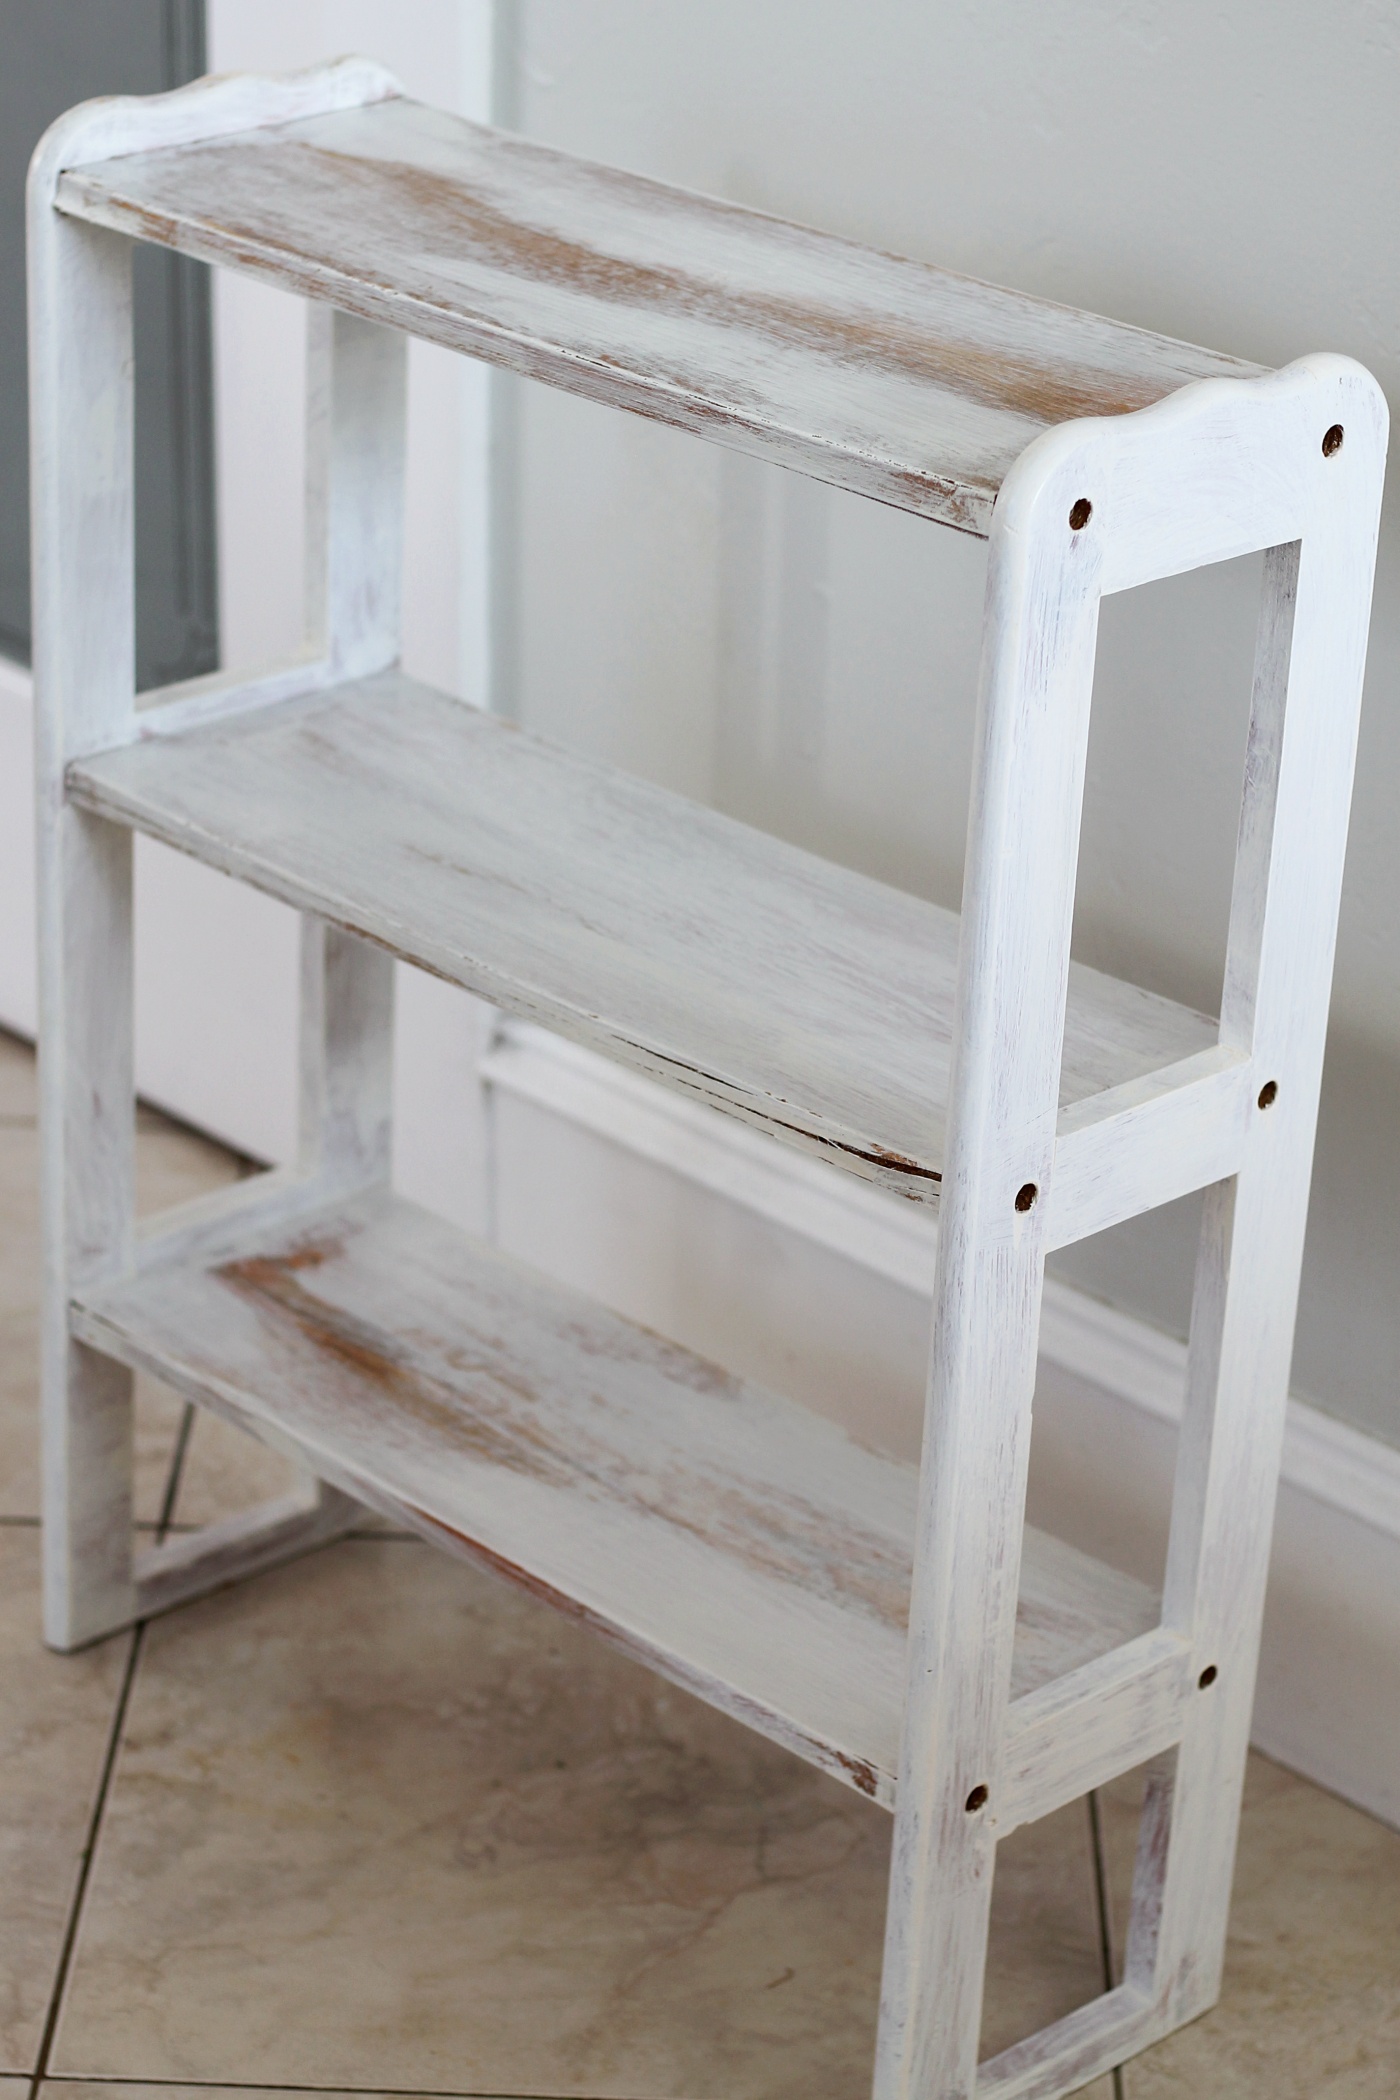
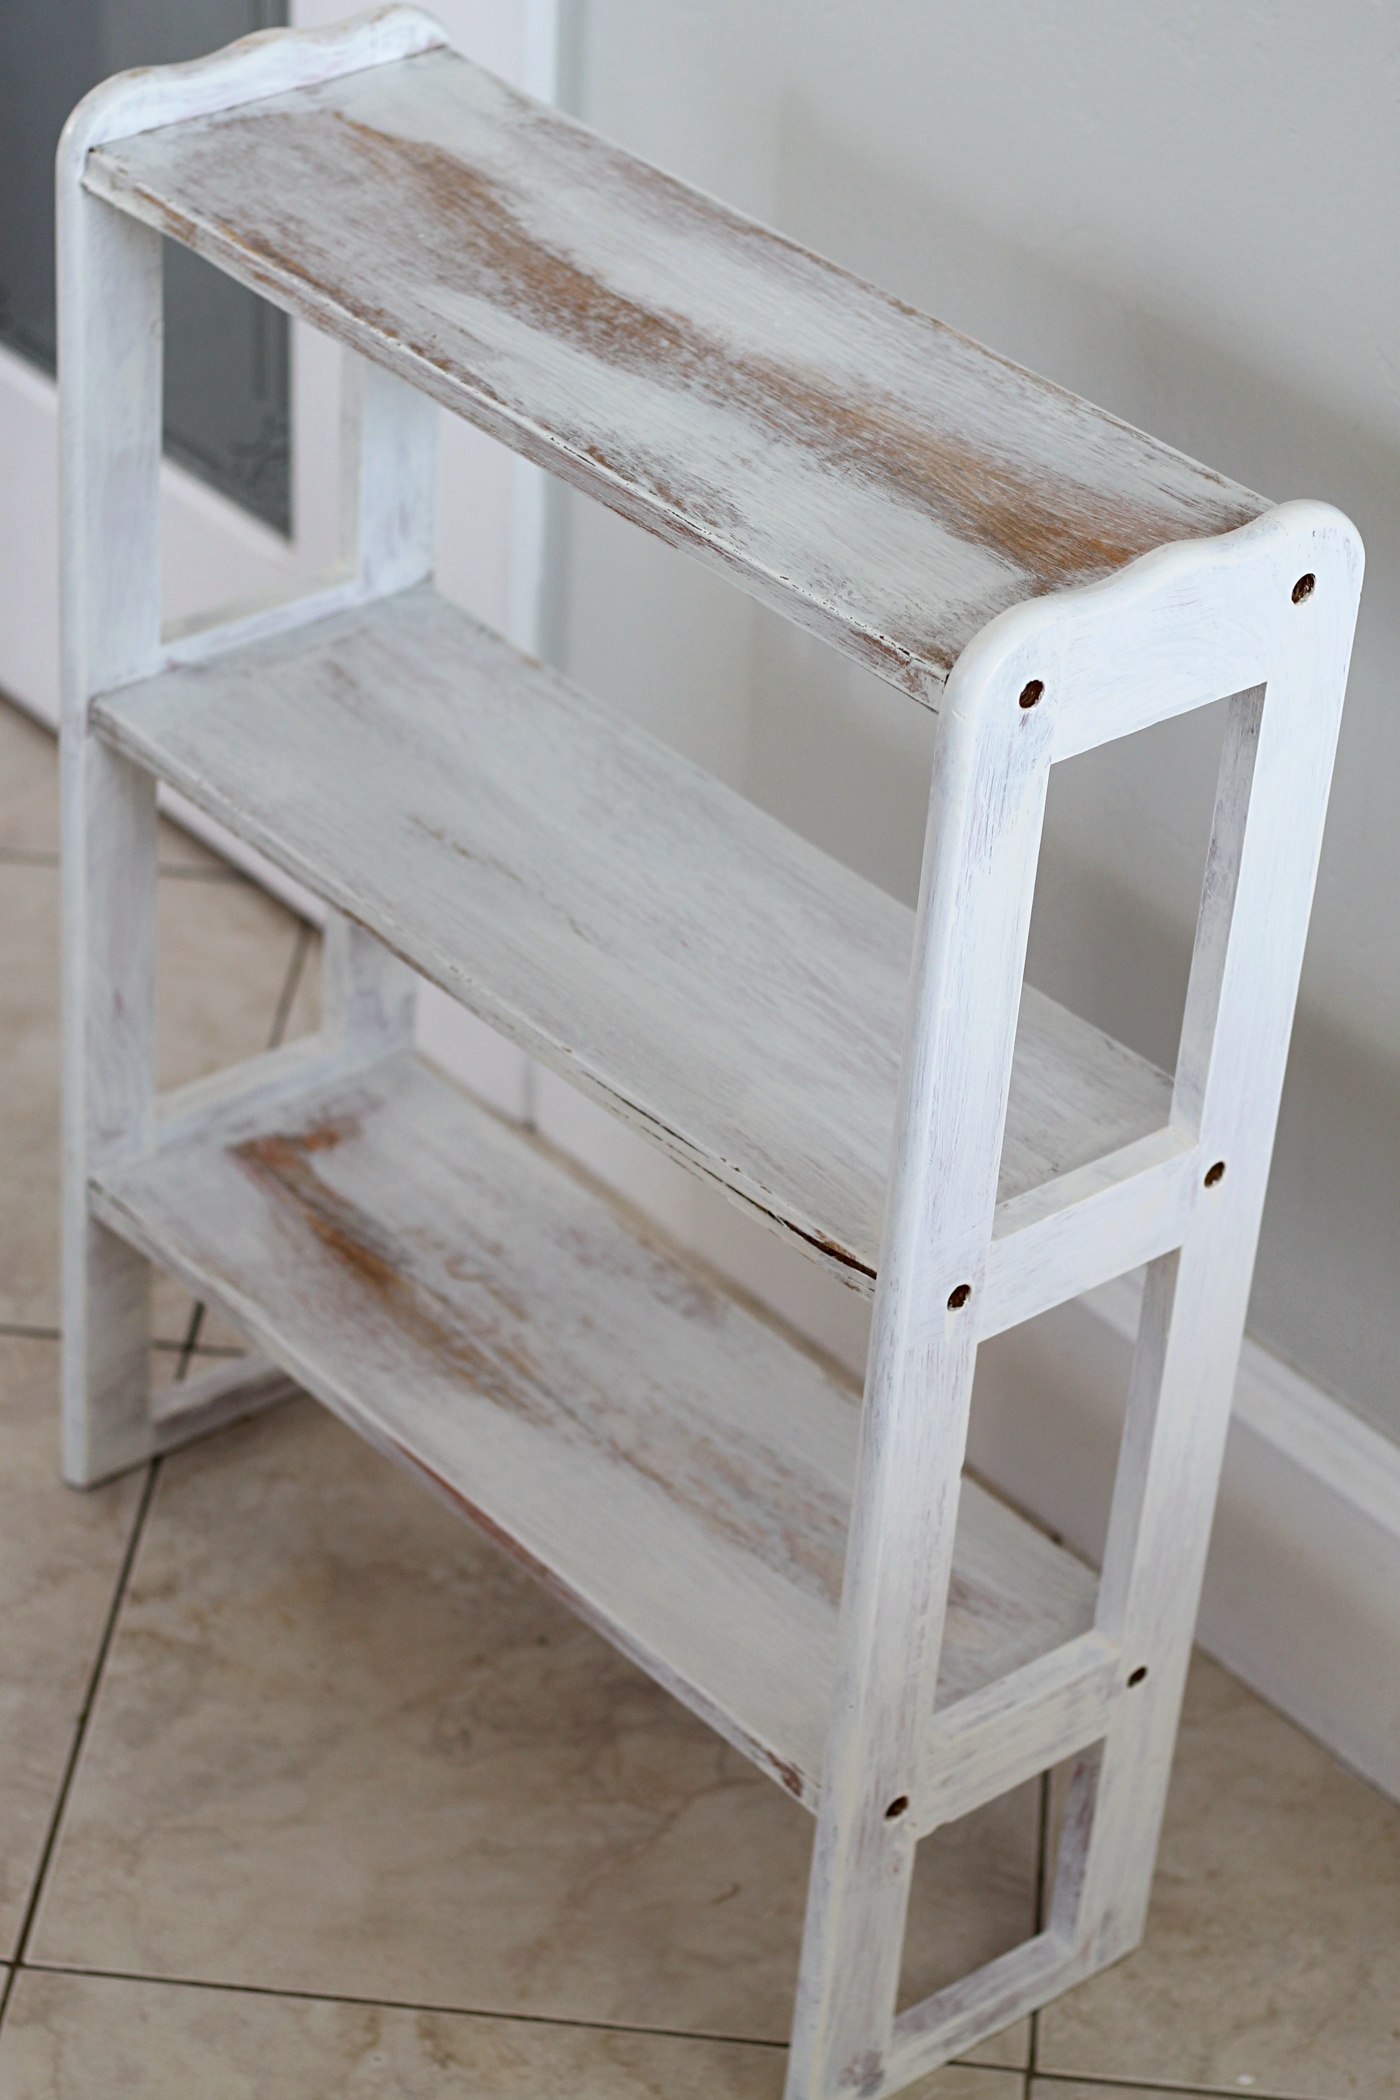
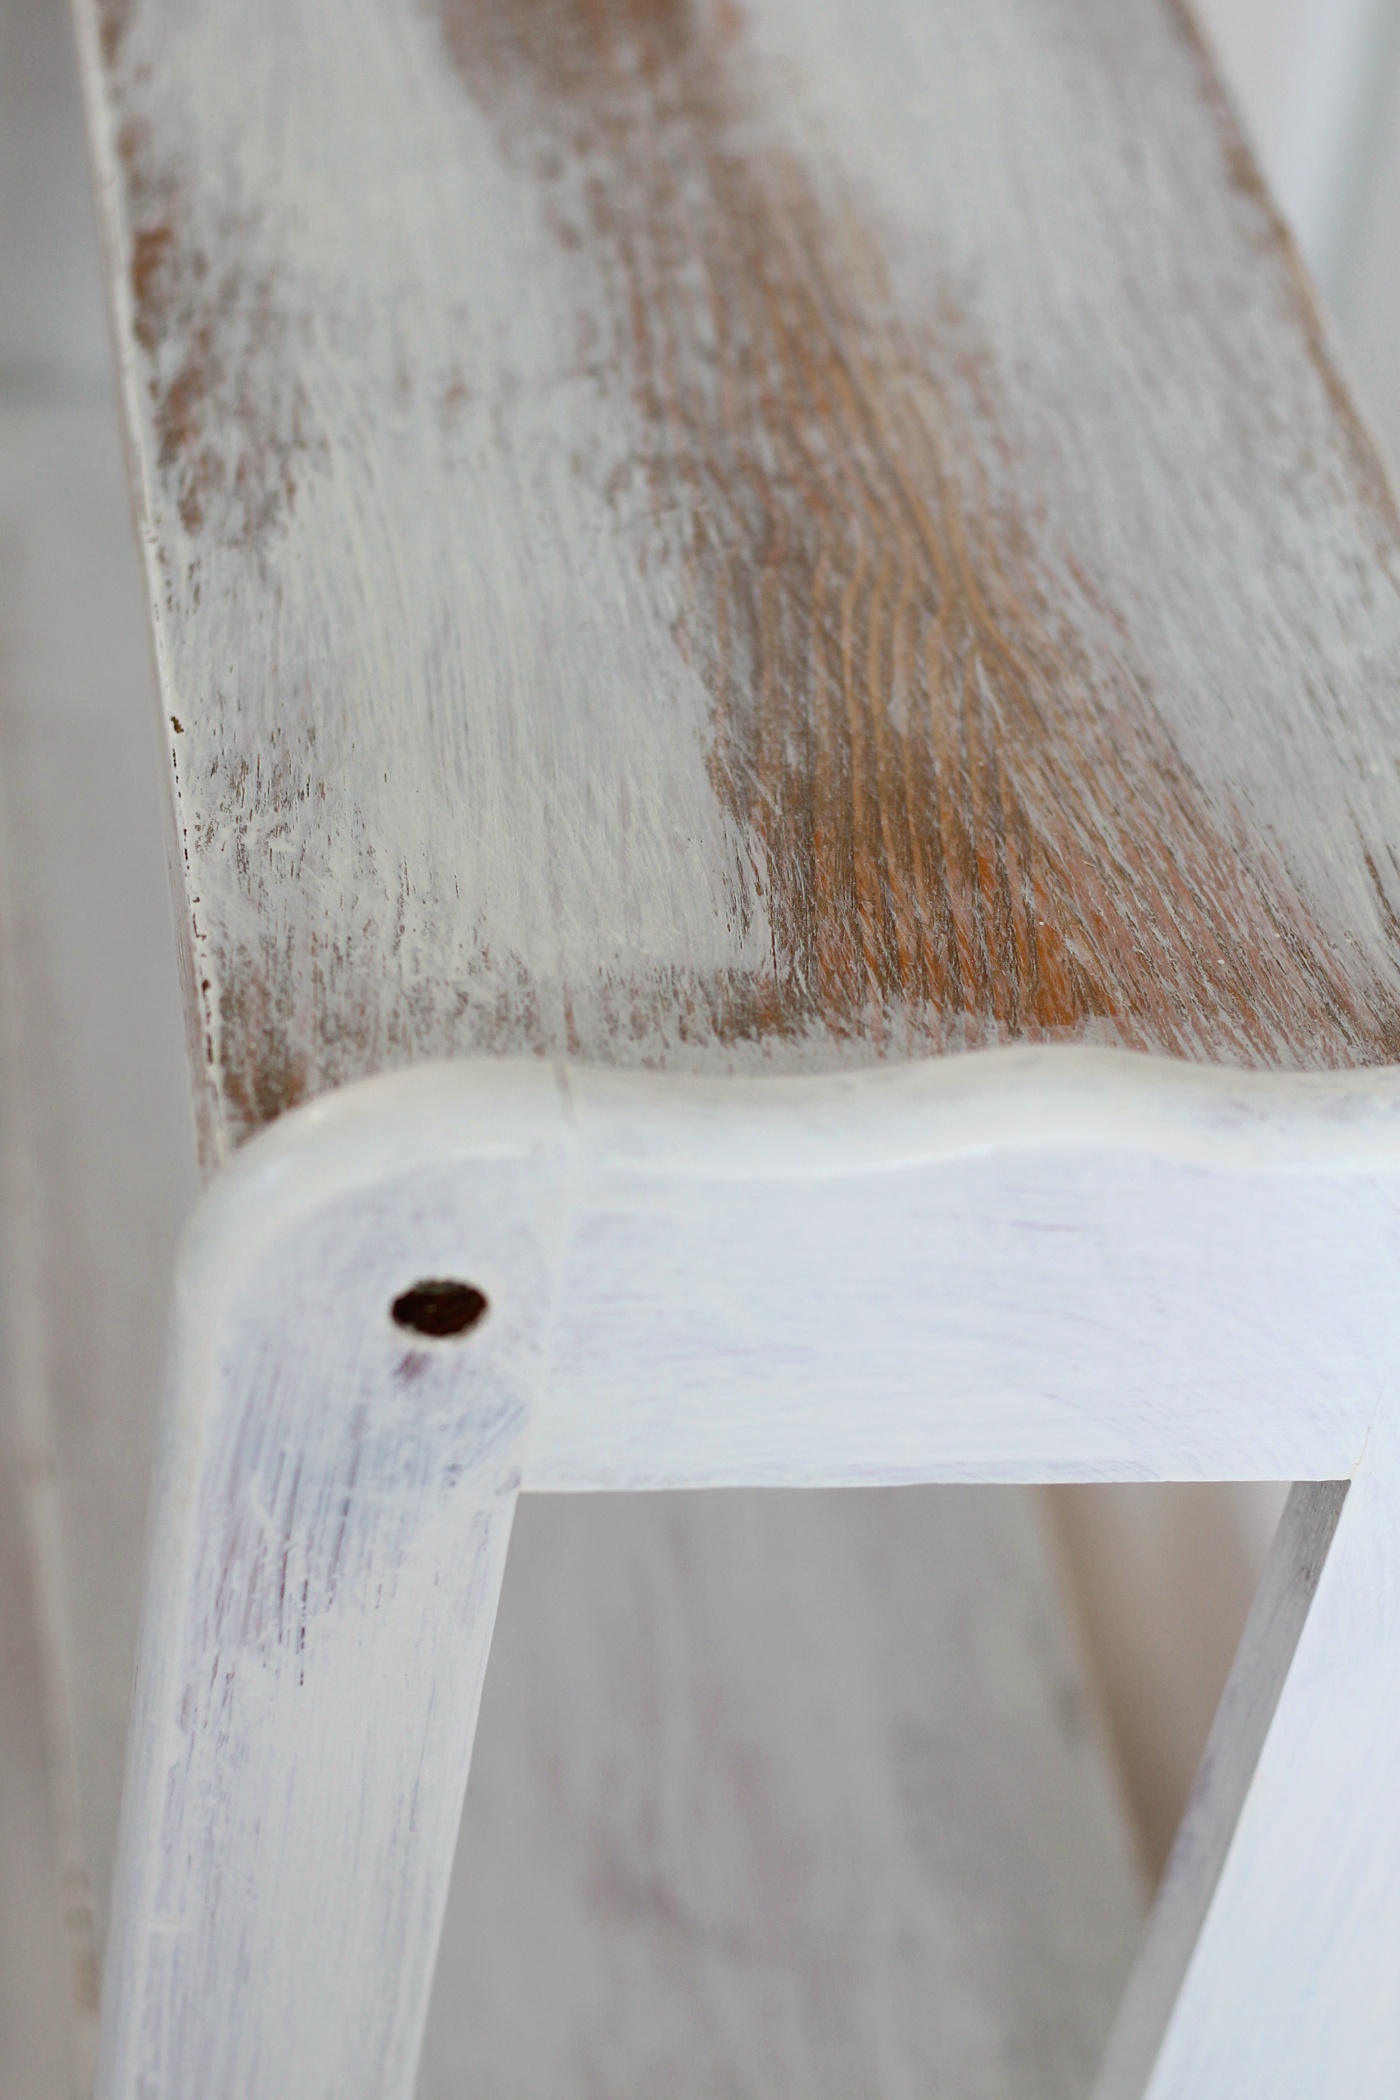
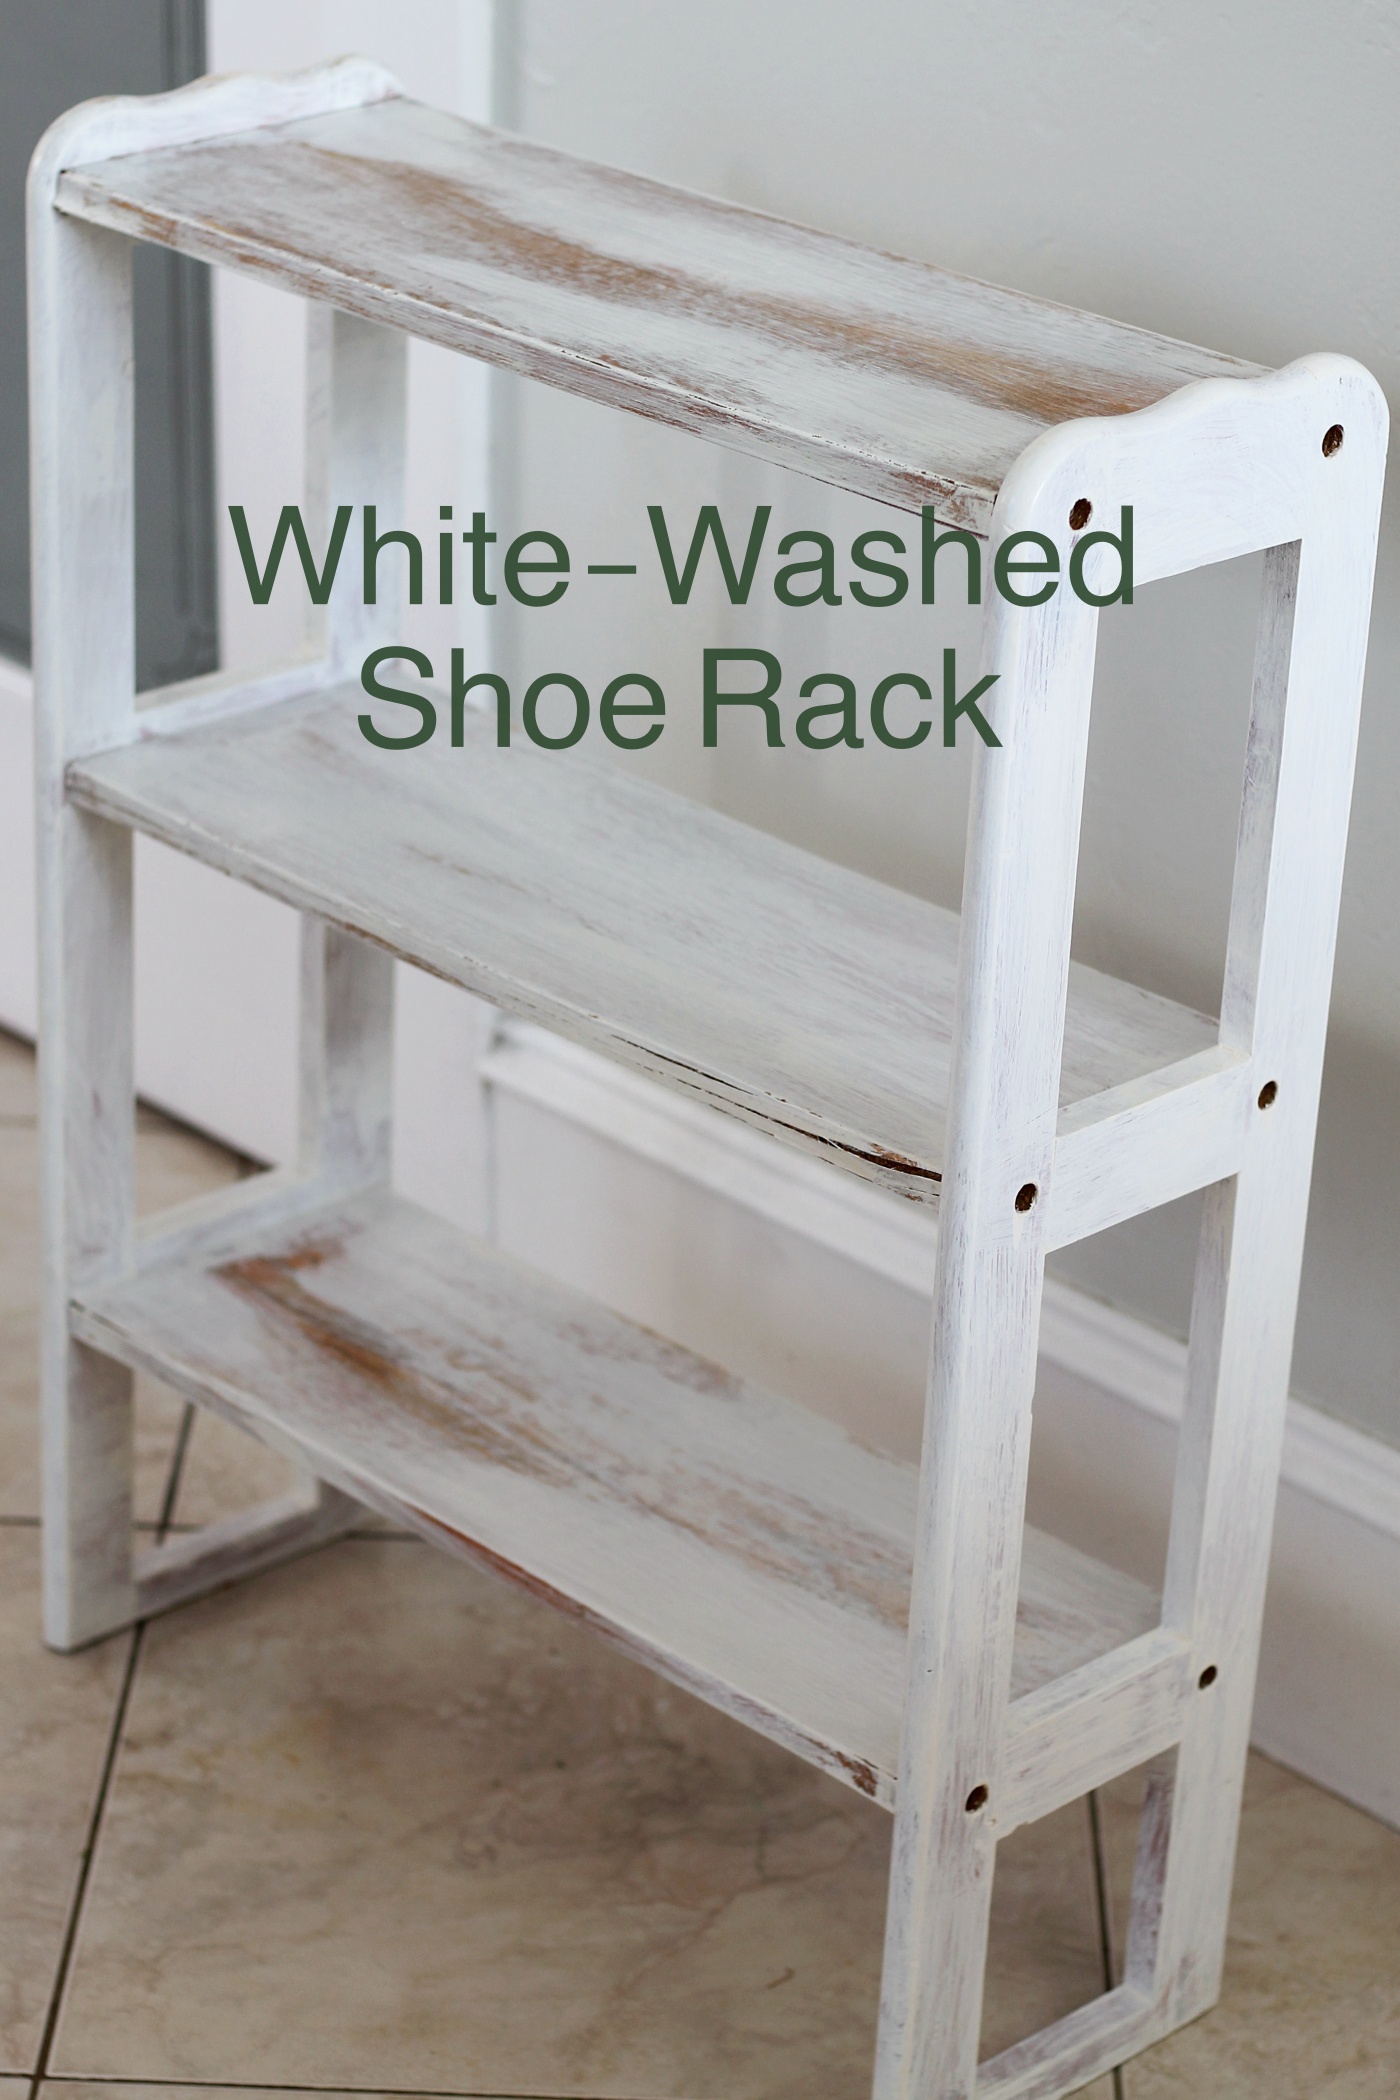
So from there I decided that if I couldn’t get this rack to a beautiful light wood finish then Painting it was the next best option. And because this piece had some beautiful wood grains to it, I decided that a White-Wash would be the best way to still get some of that wood to show through.
I had a little bit of white paint in a jar and so all I did was add a small amount of water to it and shook it up. So Easy! Putting leftover paint in jars is my favorite way to store paint. The glass jars let you easily see what the color is. Plus having the jar to mix up my White-Wash was so handy.
If you are making your own White-Wash paint, all you need is to take some white paint and mix it with a small amount of water. Not too much water or it will be too runny, but enough water to make the paint lighter than it previously is. I’d say probably about 3-4 tbs of water per cup of paint. A little bit of the white wash goes a long way so you really won’t need much at all for a small project like mine.
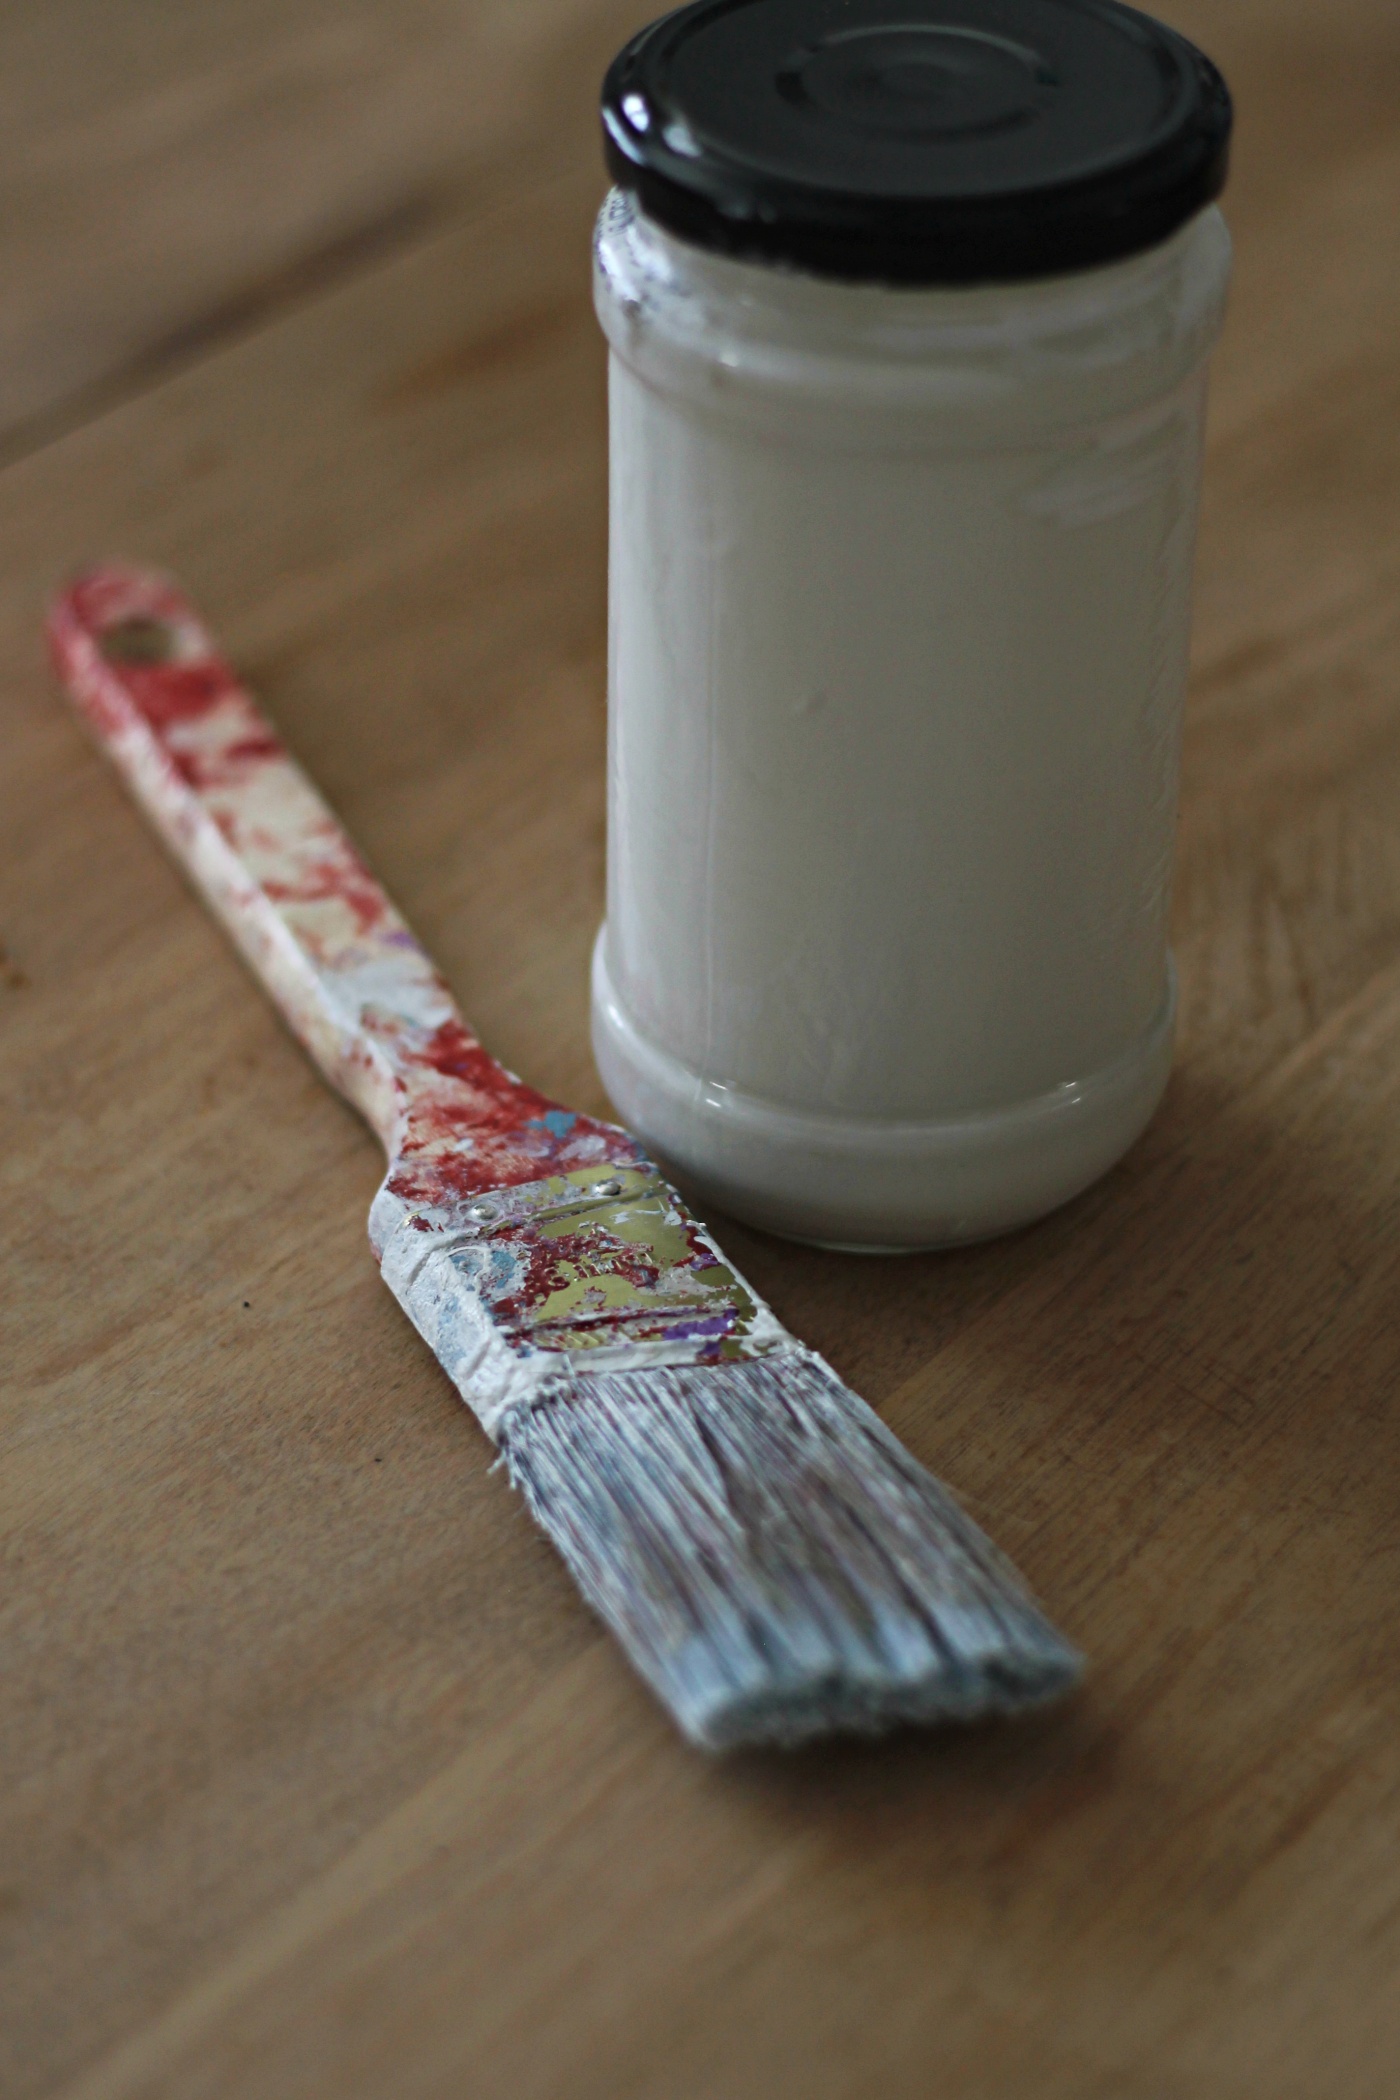
To apply the white wash, all I did was dip my paintbrush into the white wash and lightly brush it on to the shoe rack. I left some areas of the wood peeking through. And in other areas I added the white wash heavier, like on the sides, I added two coats to the sides because they were really orange before and I really wanted to cover that part up.
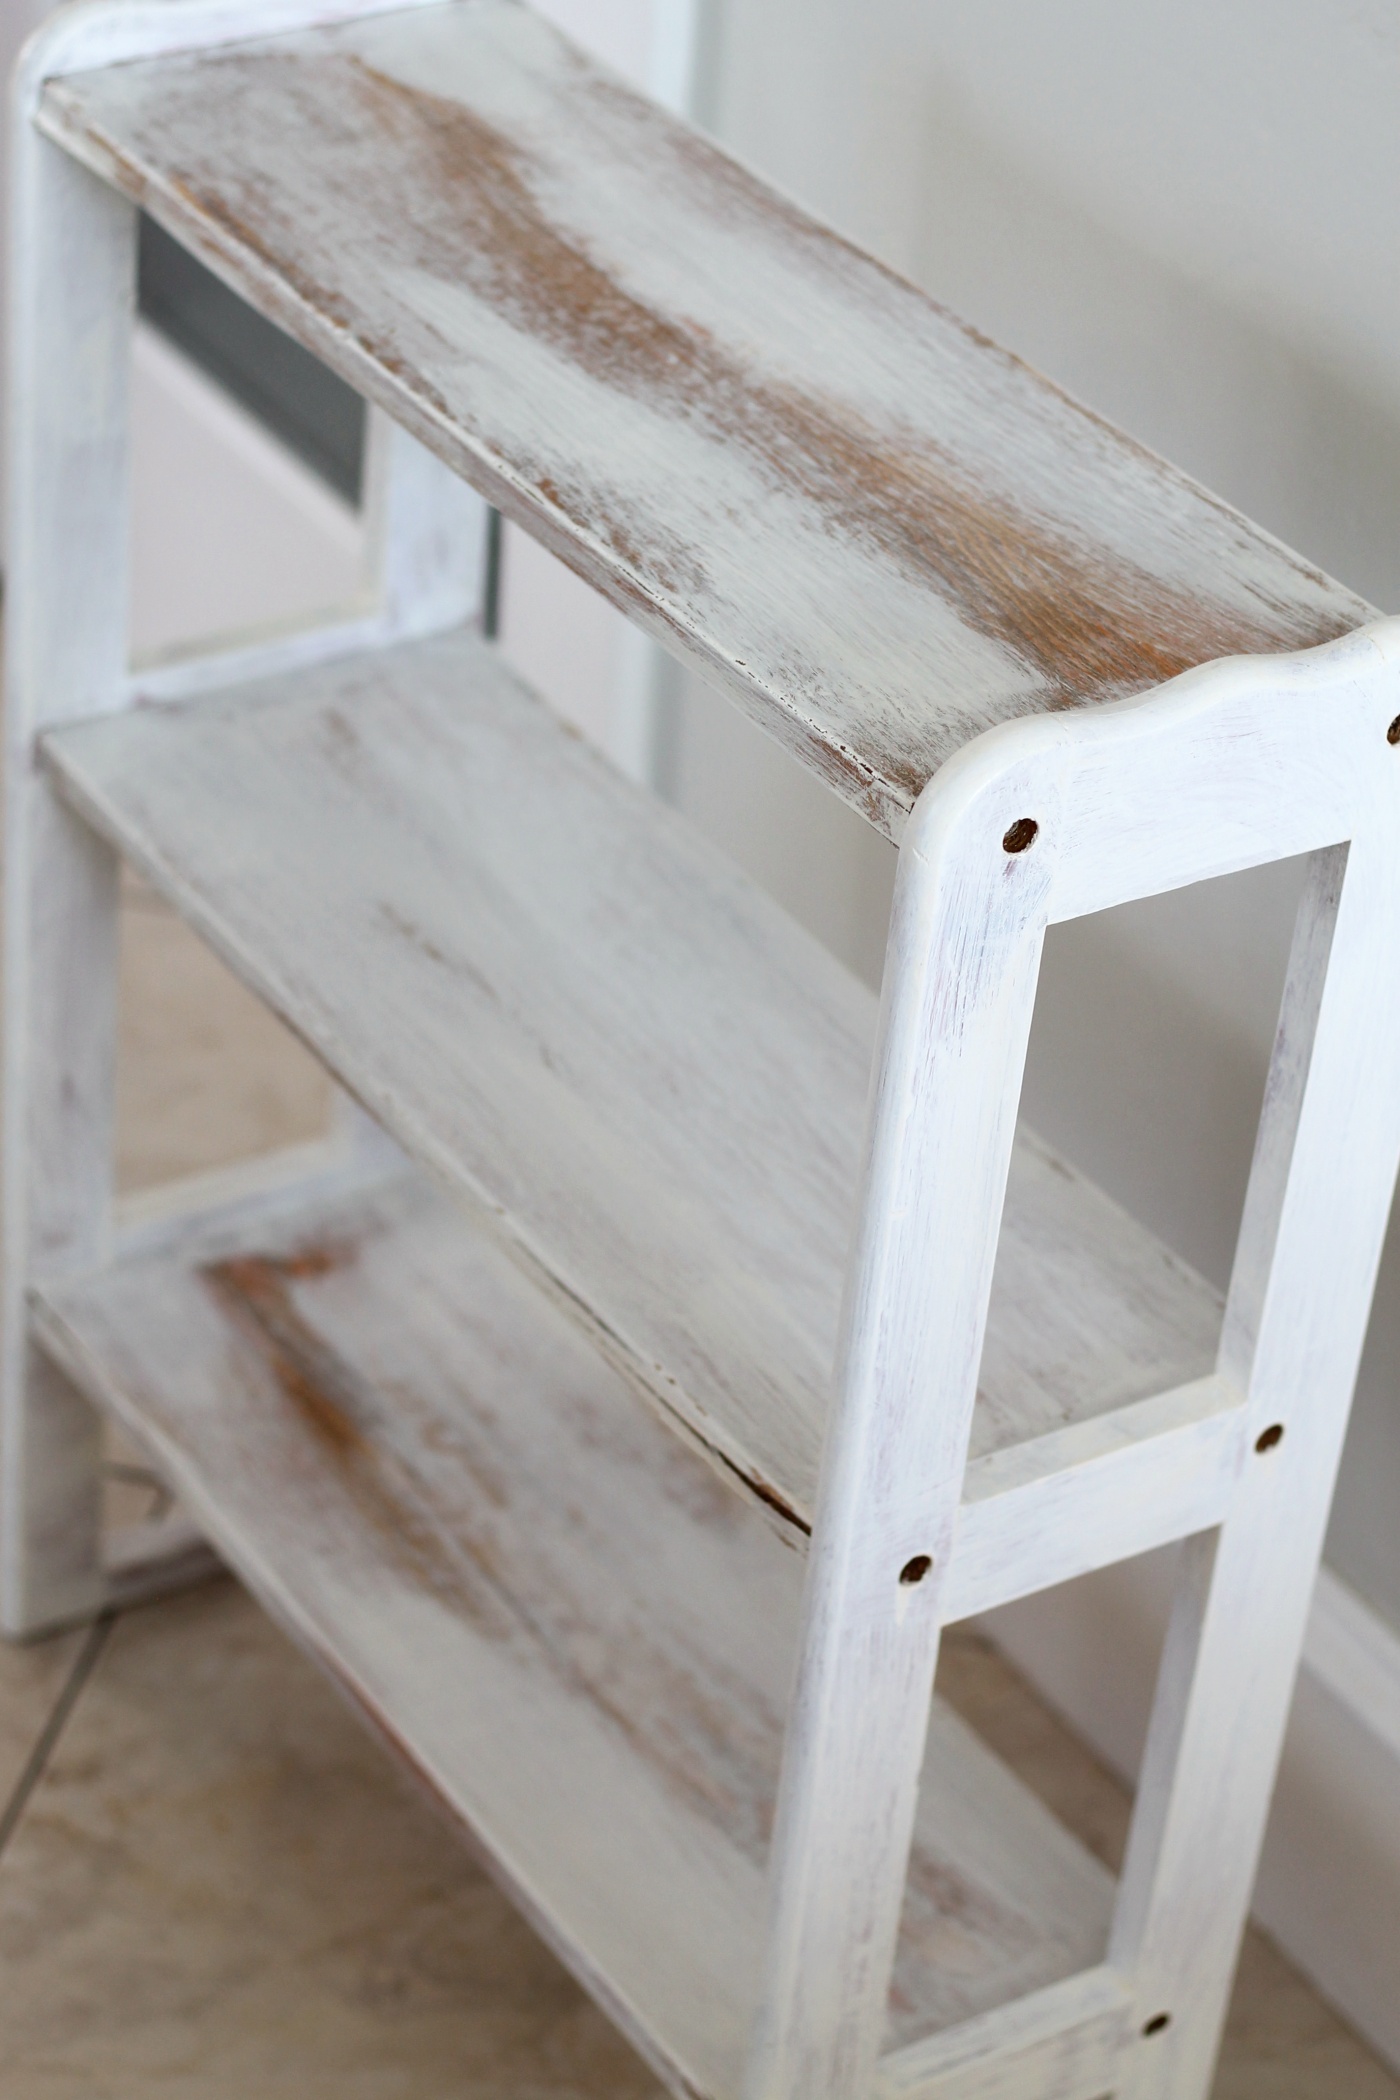
I just kept painting until I was happy with the look. Like I said, it didn’t take much paint at all to achieve this look.
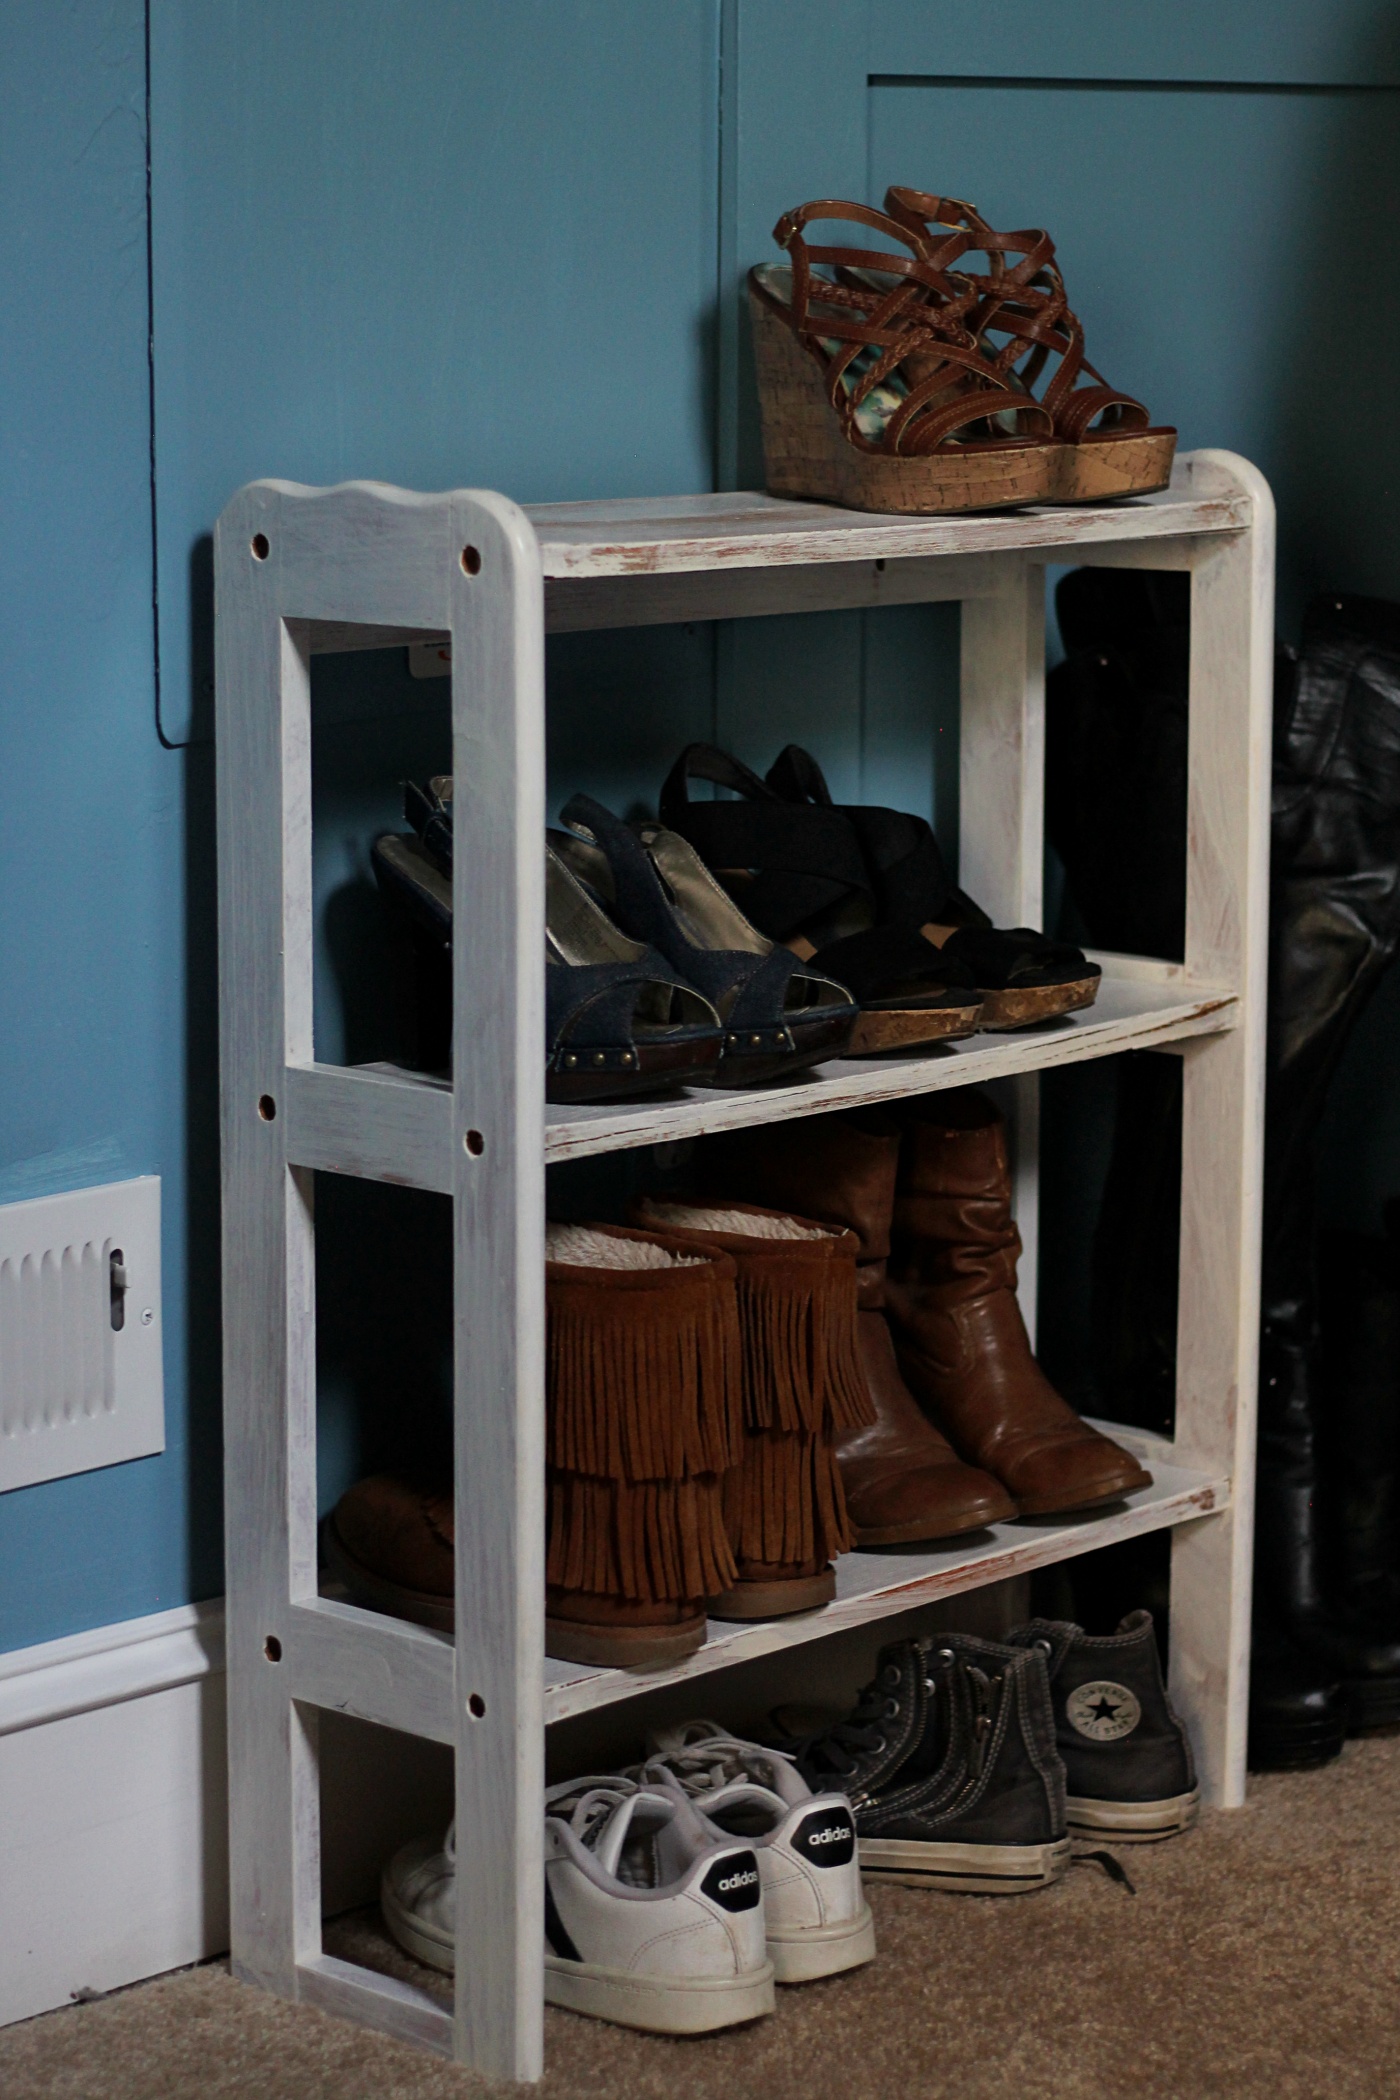
Once the rack was dry I moved it into my closet area and filled it up with shoes. The shoes cover up a lot of the cute wood parts of the shelf, but that’s okay. It still looks 100% better than it did before.
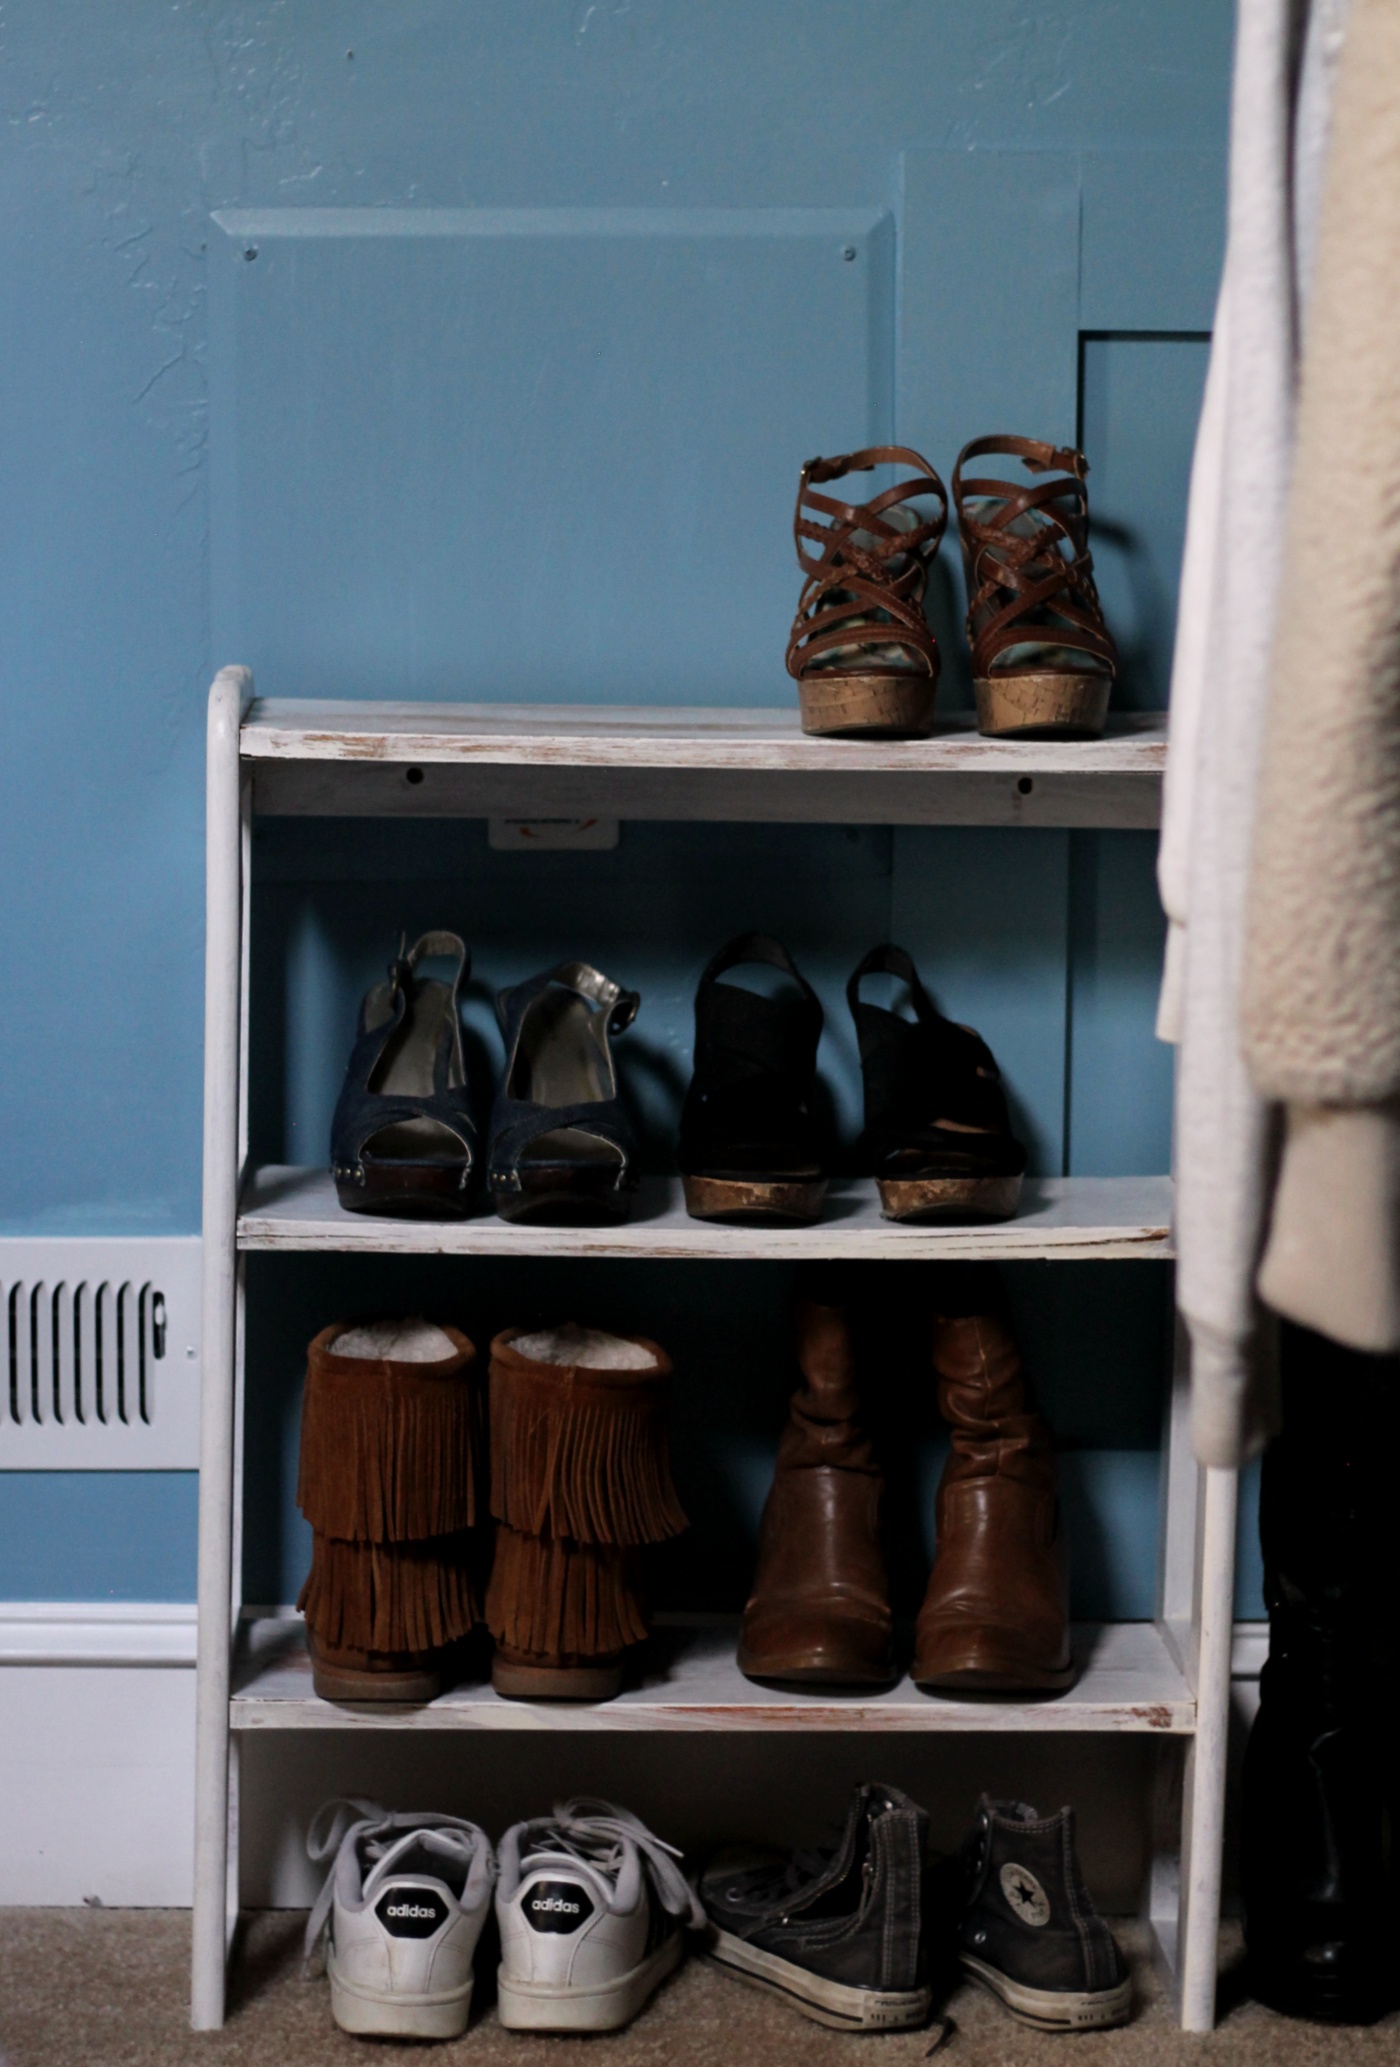
I recently painted the bottom half of my bedroom walls in this fun blue color. It’s called Whipple by Benjamin Moore, but I’ll be back another day soon to share more pictures of my bedroom. Our bedroom makeover is turning out so good and I can’t wait to share more of it with you.
Have you ever White-Washed furniture before? It’s so easy to do and I love the Beach-House look it gives to furniture. If you want to save this post for later, be sure to give it a PIN!
And remember, you are welcome to PIN any of the Images from my blog on PINTEREST. Find a Pin It button by hovering over any of the pictures.
Leave me a comment and let me know what you think about this White-Wash paint finish on a wood shoe rack, or come chat with me on Facebook or Instagram.
Thanks for stopping by today,
Emily


Emily,
This turned out great!! Back in the 90’s, I went on a white-washing frenzy painting all the cute wooden resale items I could find. After many moves, a lot of those items have now been passed on to others. I have been thinking of doing this on some old furniture pieces I already have and you just reminded me of how easy and fun it is to makeover “orangey” wood items. It is a quick process that totally transforms items and it is so much easier than trying to achieve the “raw” furniture look. Once again, thank you for the inspiration and motivation!
Author
Thank you Rosanne for stopping by the blog and leaving me a comment. I think I first learned about white-wash from Rachel Ashwell / Shabby Chic around the early 2000’s. It really is so fun and easy to do. Glad I could remind you of it 😊 Have a Lovely Day!
What color is the front door??? I love it.