I crafted up this beautiful silver and pine Christmas wreath for our mantel and I wanted to share with you today just how easy it was to make.

I recently shared here on the blog Phase 1 of our Christmas living room. Did you catch it? If not, then you may want to take a look at it before I share Phase 2. My Christmas decorating usually happens in phases and so I thought if could be fun to share the different phases with you. Stick around for Phase 2 coming soon!
So in my Phase 1 look I had a wicker deer head on the mantel that I decided I didn’t really like and so after a bit of thought, I decided a large wreath would look better. So that is how this wreath came to be.

I first went to my wreath stash and found the largest wreath form that I had. I did have to take apart a different wreath to get this form but I was okay with that.
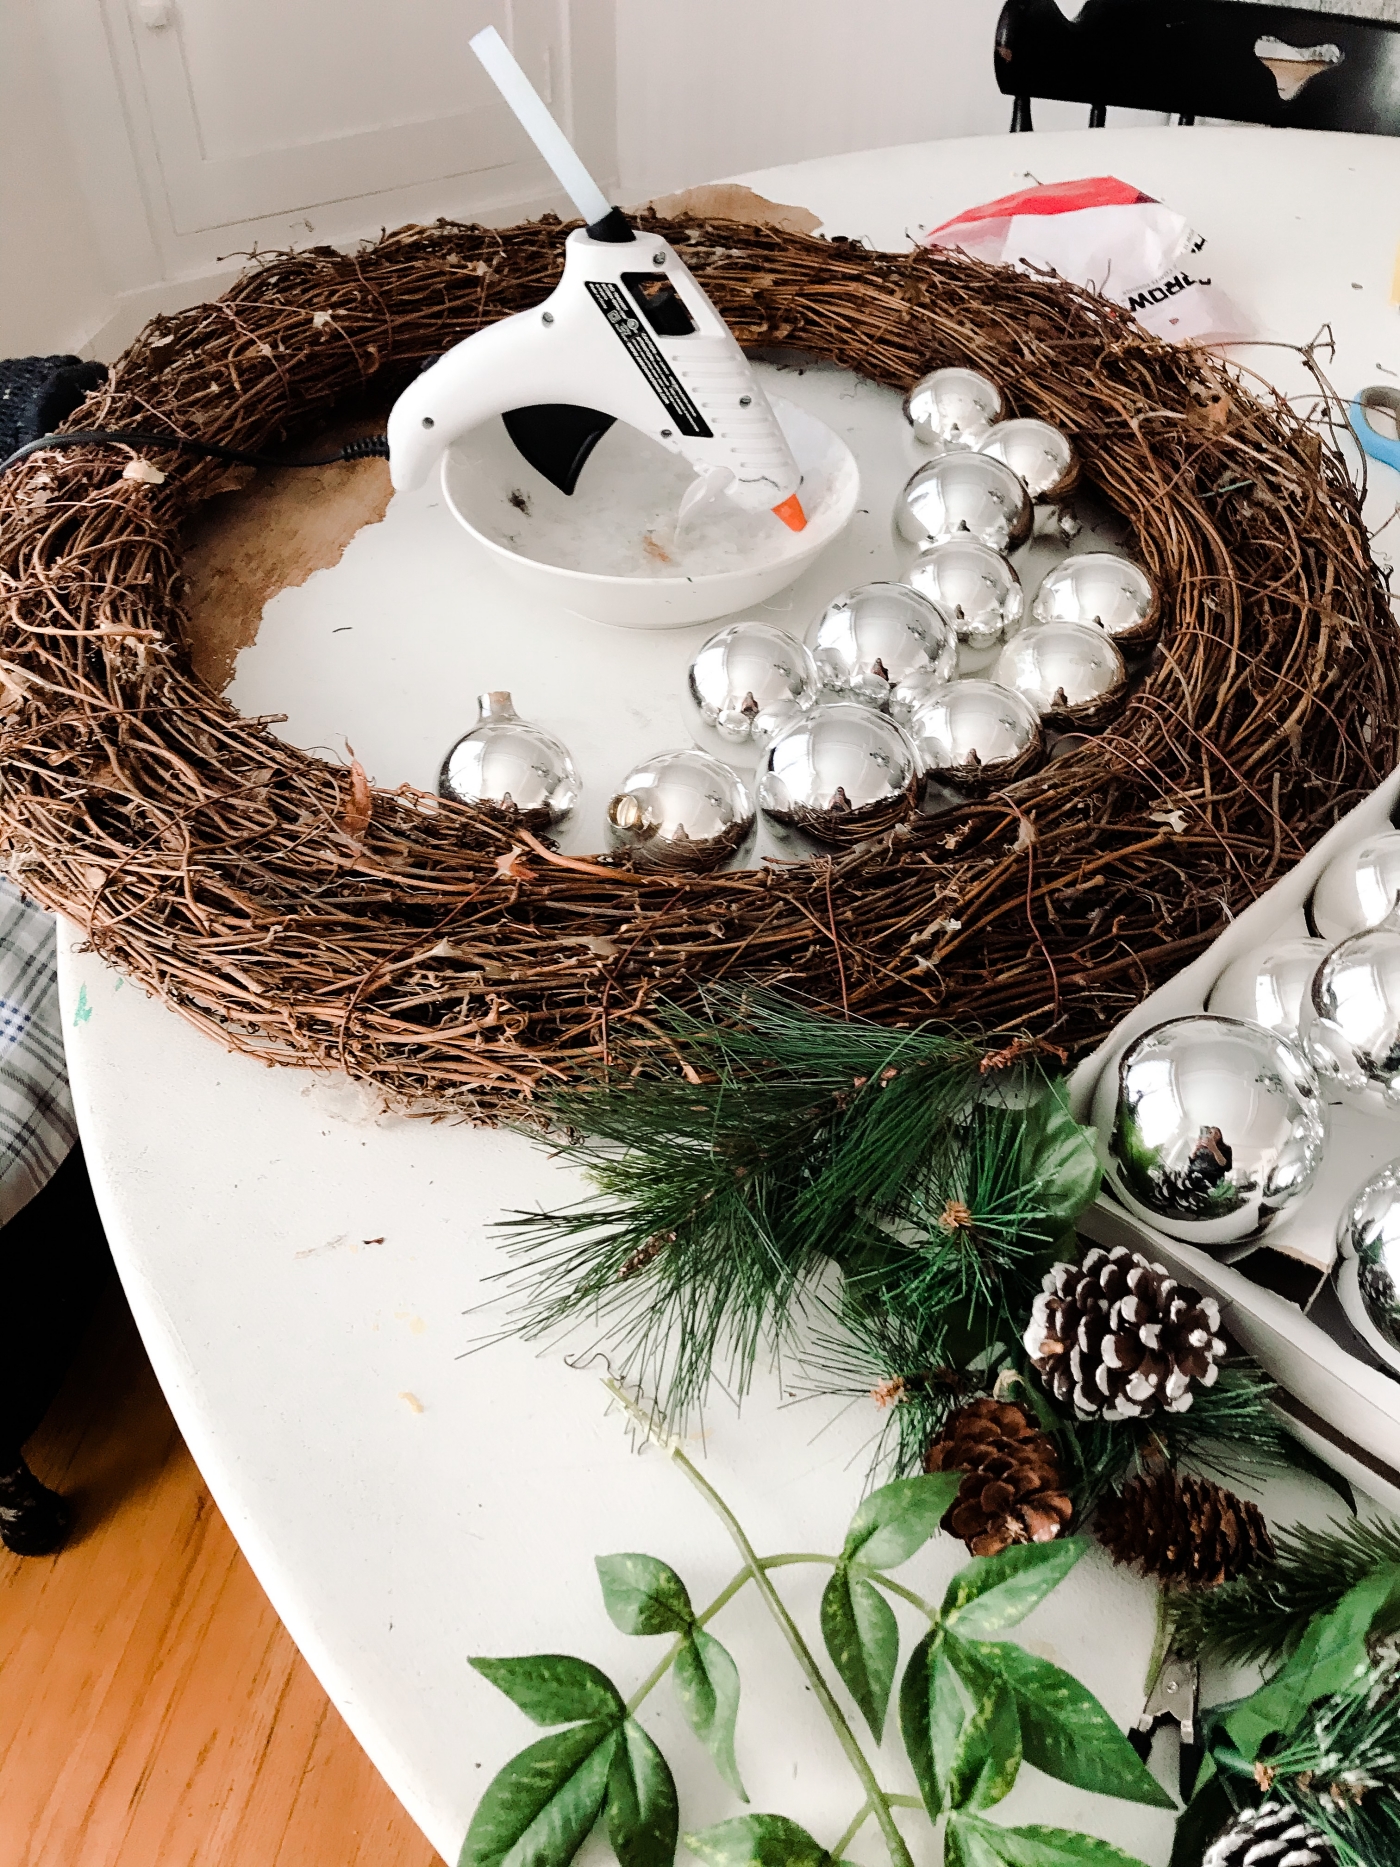
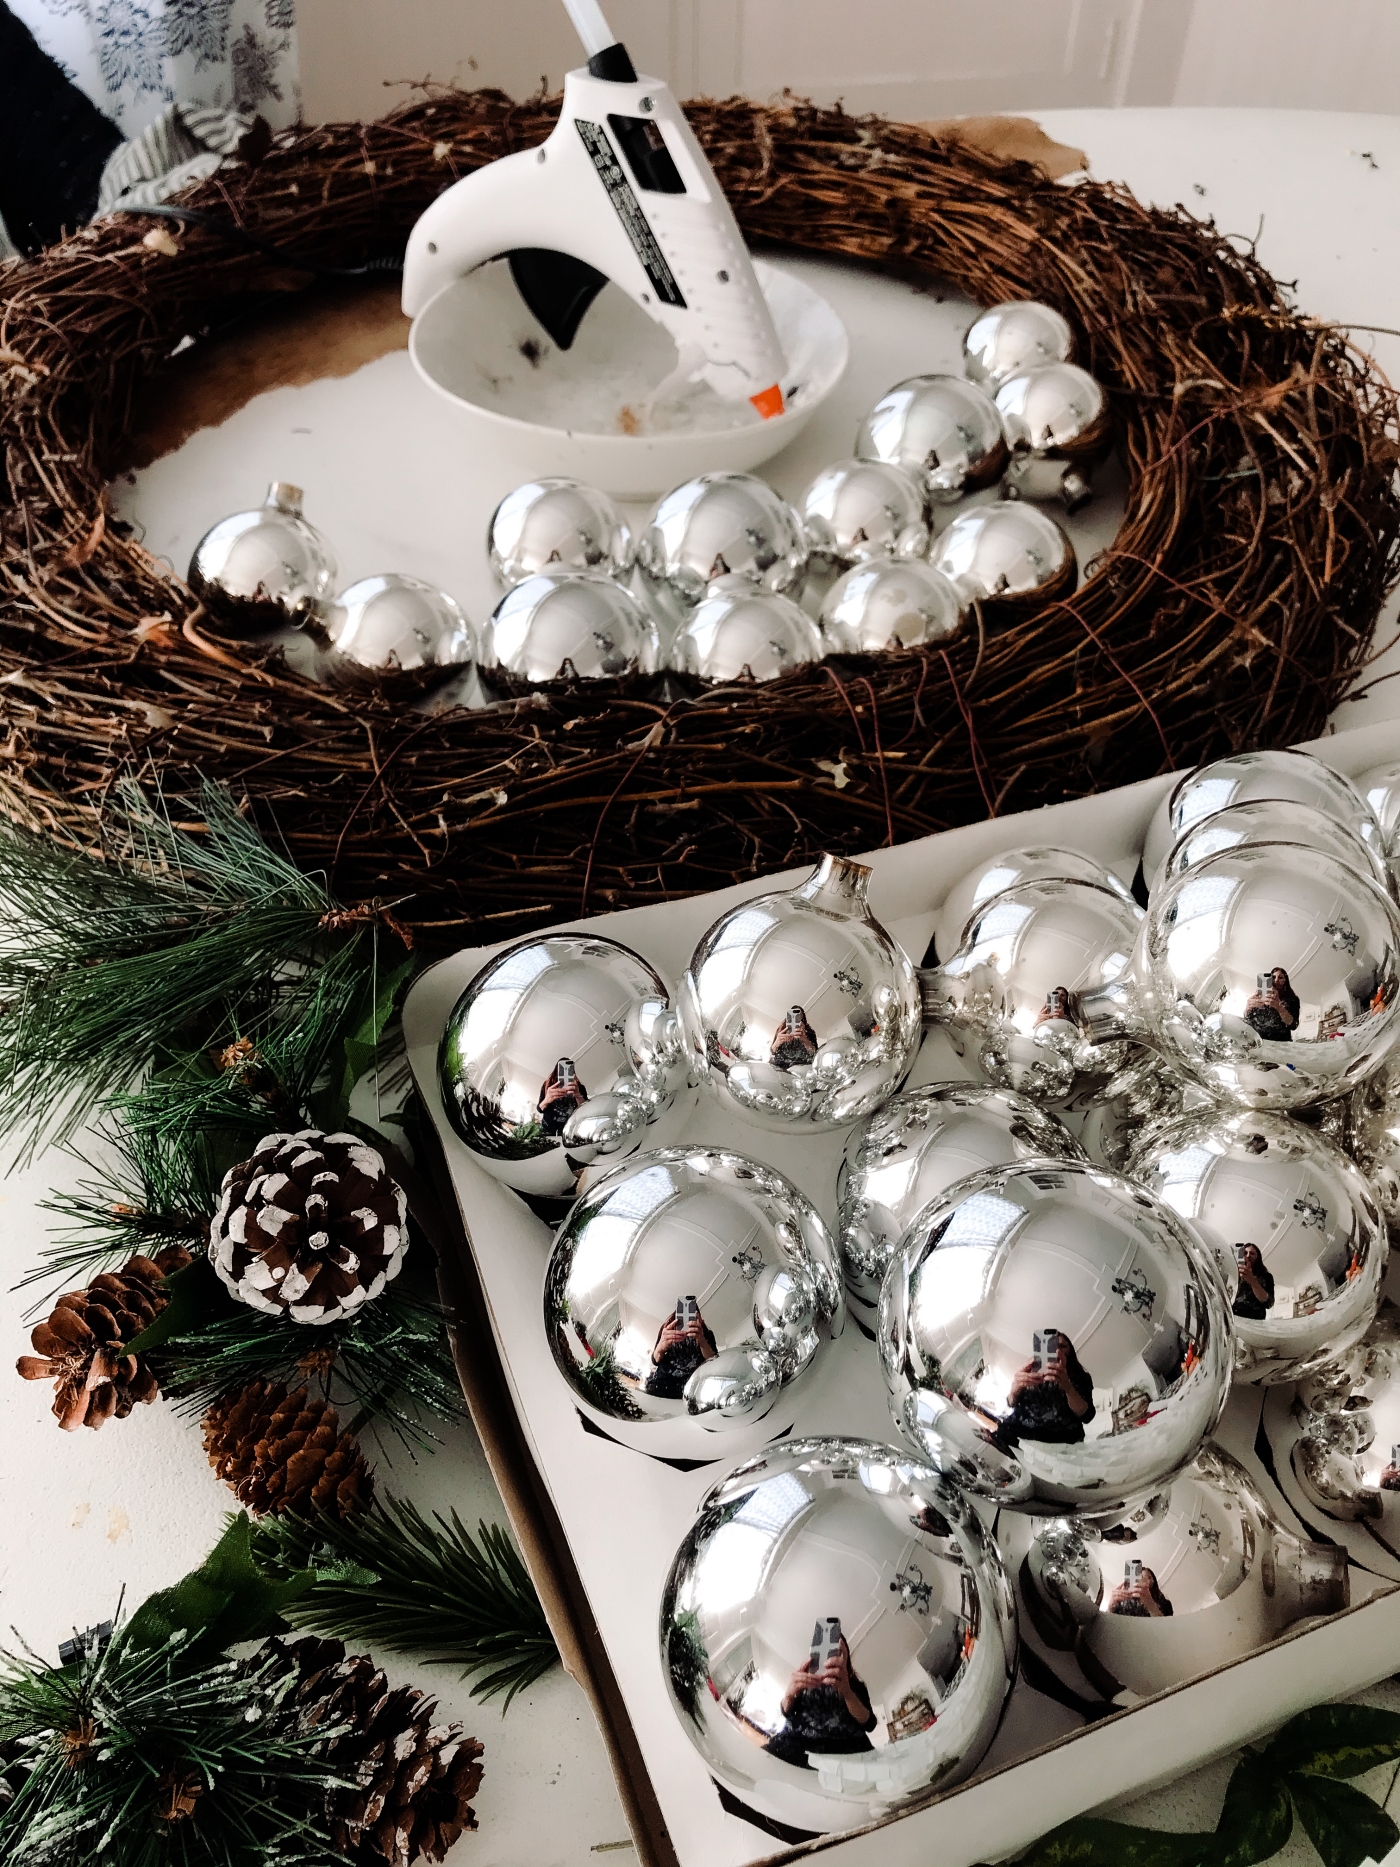
Next, I started looking through my Christmas decorations to see what I had to work with. I found a ton of small silver bulb ornaments, a pine swag, some odds and ends pieces of greenery and a bunch of pinecones. I knew that all of these things would work well for my wreath.
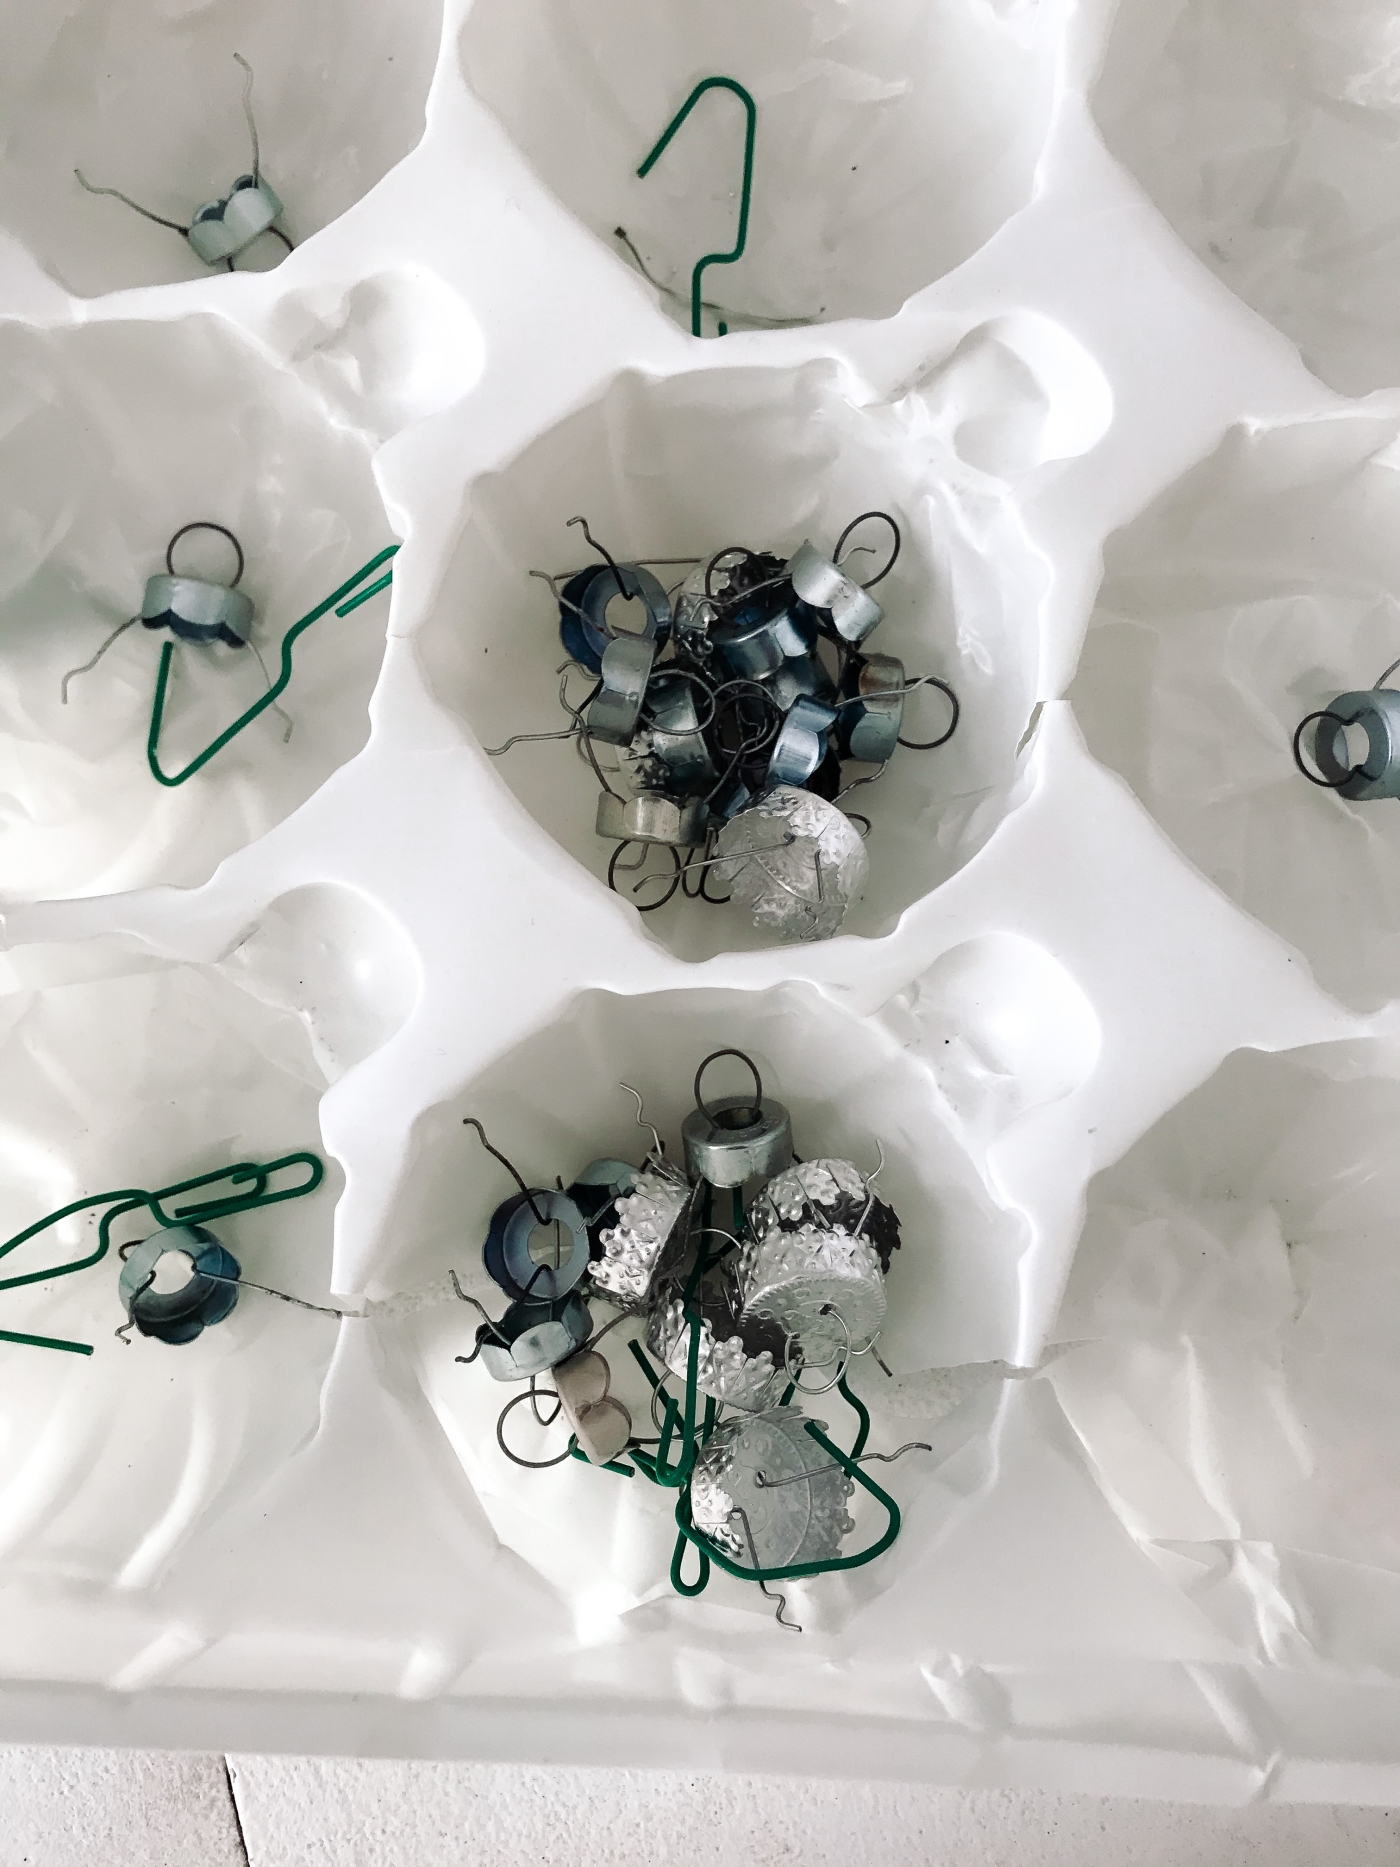
For the silver bulbs, I first removed all of the tops and then I hot glued the bulbs onto the wreath form. It took a lot of glue and I found that it helps to also glue the bulbs to each other. You want to make sure that the bulbs are all securely glued into place, but try to be gentle. I did break a bulb because I was pushing it into place a little bit too hard.
When adding the pine swag, I just arranged it to where I thought it looked good and then I wired it on. There are a lot of pretty Swags on the market (I’ll list some below) and they work so perfect for making wreaths with.
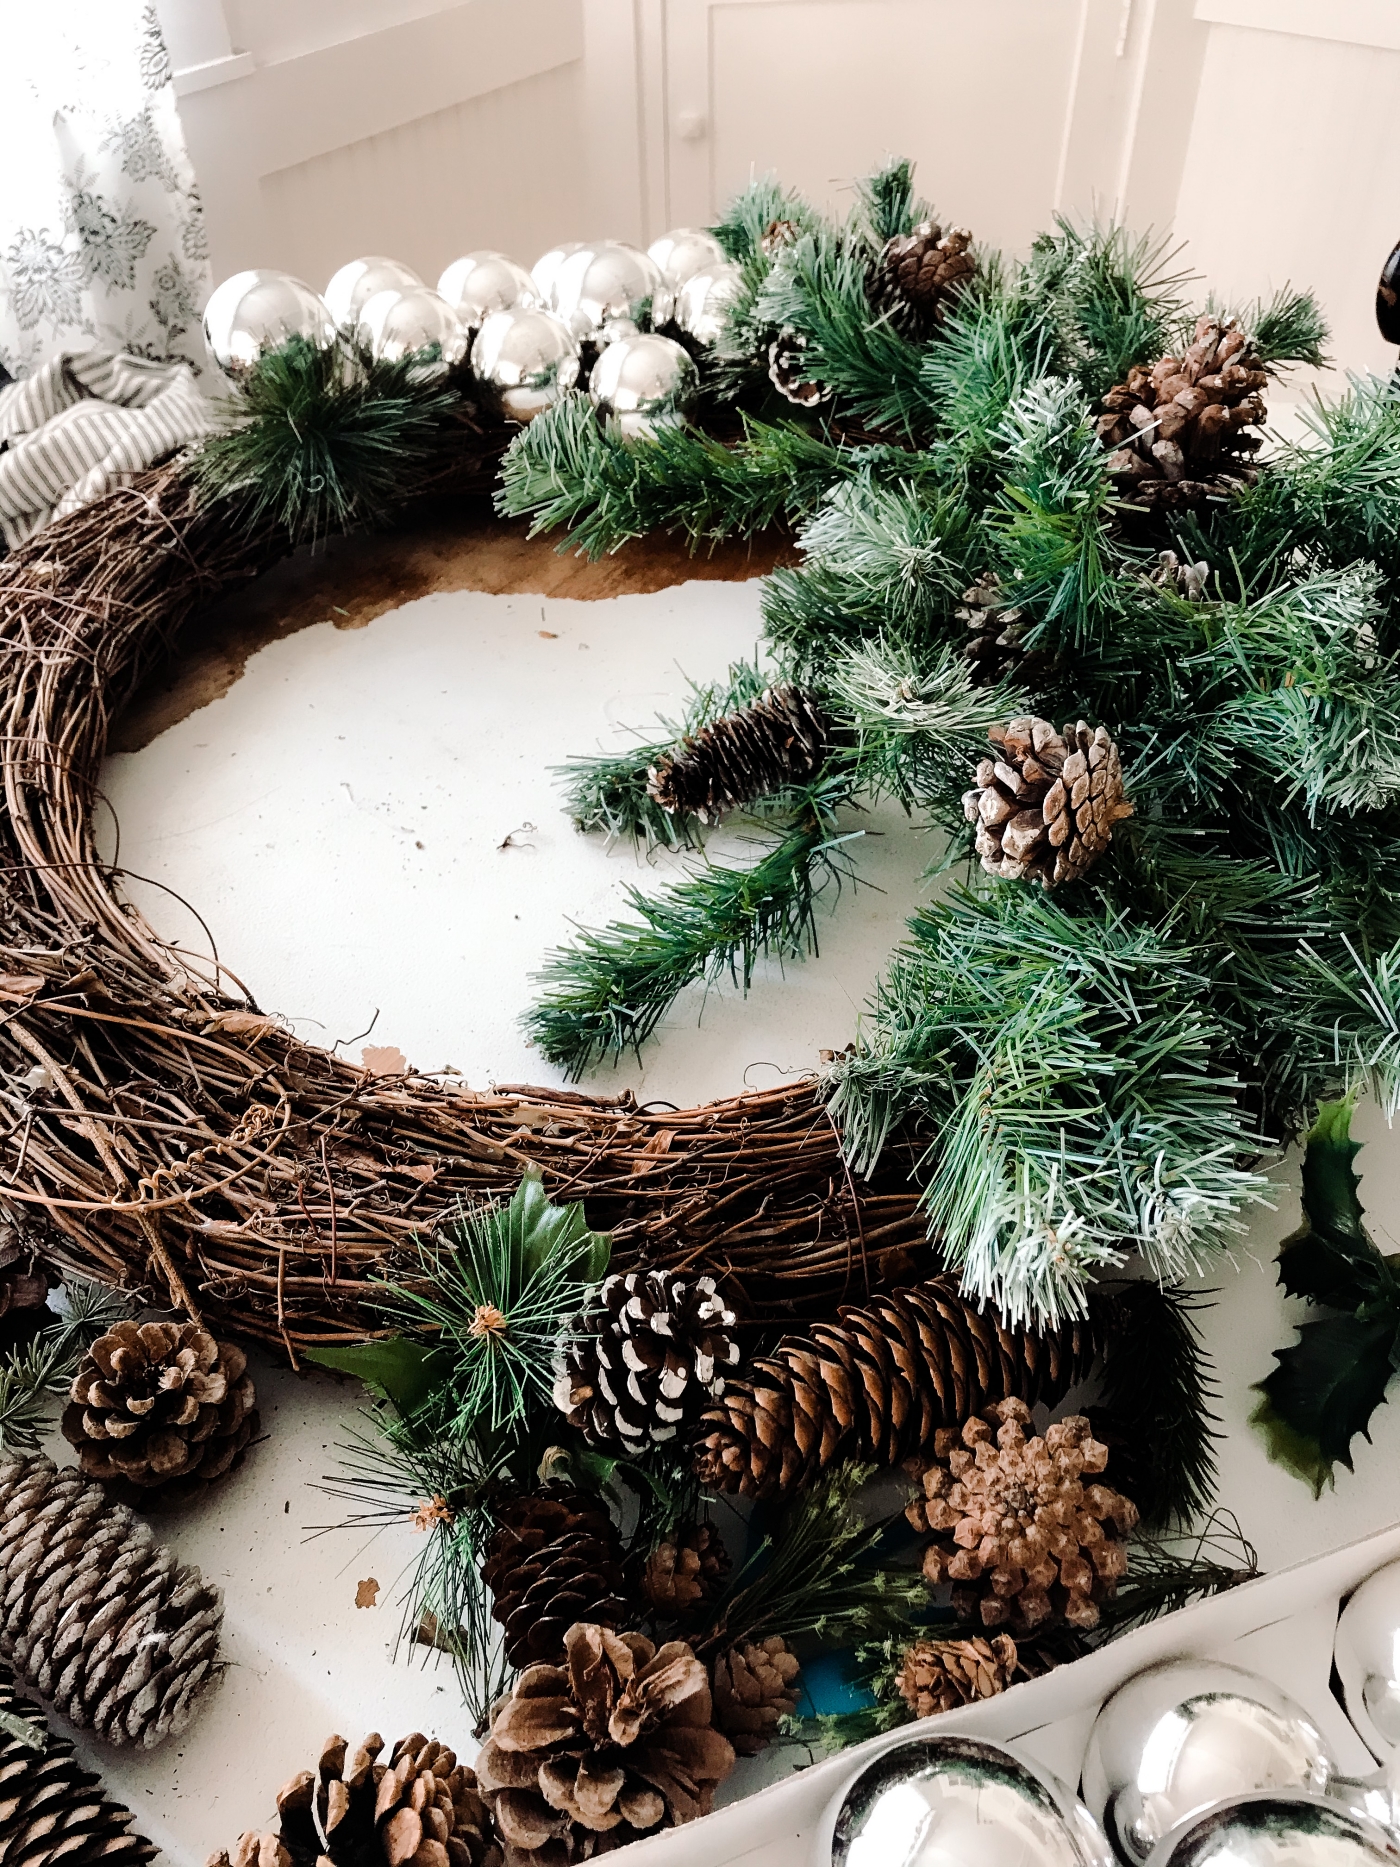
To balance out the look, I added more faux greenery to the opposite side of the wreath and then I mixed in a lot of pinecones for a natural look. I used hot glue to attach the pinecones.

And here is a sneak peek at the new wreath on our mantel. The wreath looks so much better on our mantel than the wicker deer that I had here before.

I’m excited to share more of Phase 2 of our living room with ya, but I’m still making a few other little changes first. I Wanna get it just right so that there’s not a phase 3 😉

So if you are needing a new Christmas wreath then I hope that you found today’s blog post helpful. And who knows, perhaps you might also just happen to have everything you need right at hand. But if not, here are some items that might help you out.
If you like this idea, Don’t forget to PIN IT for later. Feel free to Pin any of the images from this post. You will find a PIN IT button on the top corner or each picture.
Thank you for stopping by today.
Emily


I have such a hard time getting pine cones to stick to wreath turns using hot glue. Between the rigid textures of the two, they never stay out. Got any tips or tricks to getting them to stick?
Author
Hi Natee, Thanks for leaving a comment. My pinecones seem to have stuck well to my grapevine wreath. But I did overlap the pinecones a bit on the greenery. So you may want to try glueing a little greenery down first and then glue the pinecones on top of the greenery. Another suggestion is that I have also used some floral picks that had pinecones already attached to them and then I just stuck them in. Hope that helps.