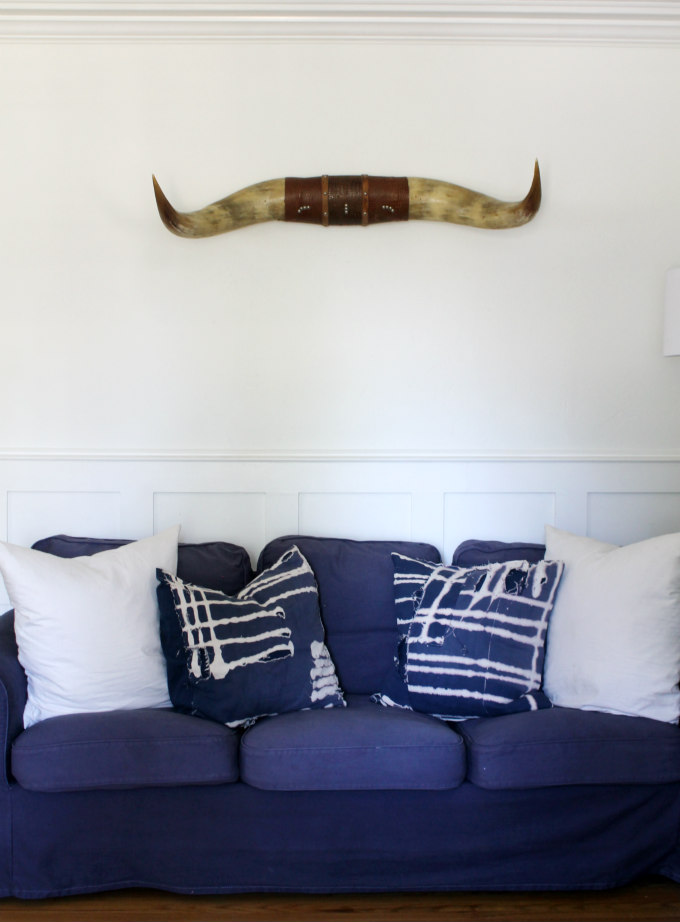
Did you happen to catch my blog post a few weeks ago about my Denim Sofa Love? I have wanted a denim sofa for years, but as you may know, I have this white Ikea Ektorpsofa.
Okay, now don’t get me wrong, I LOVE my white sofa, it’s just that sometimes I want to change things up a bit, especially for the changing seasons, and denim just feels so fitting for fall. At one time Ikea carried a denim slipcover for this sofa, but I wasn’t quick enough to get one and it has since been discontinued.
Back when I got my sofa years ago, a blog reader advised me to pick up an extra slipcover for it. The white slipcovers only cost fifty dollars, and it’s just nice to have an extra set on hand while one is in the wash or whatever. SO because I had an extra slipcover, I decided that this could be the perfect opportunity to have both, a denim/navy and a white sofa.
Win! Win!
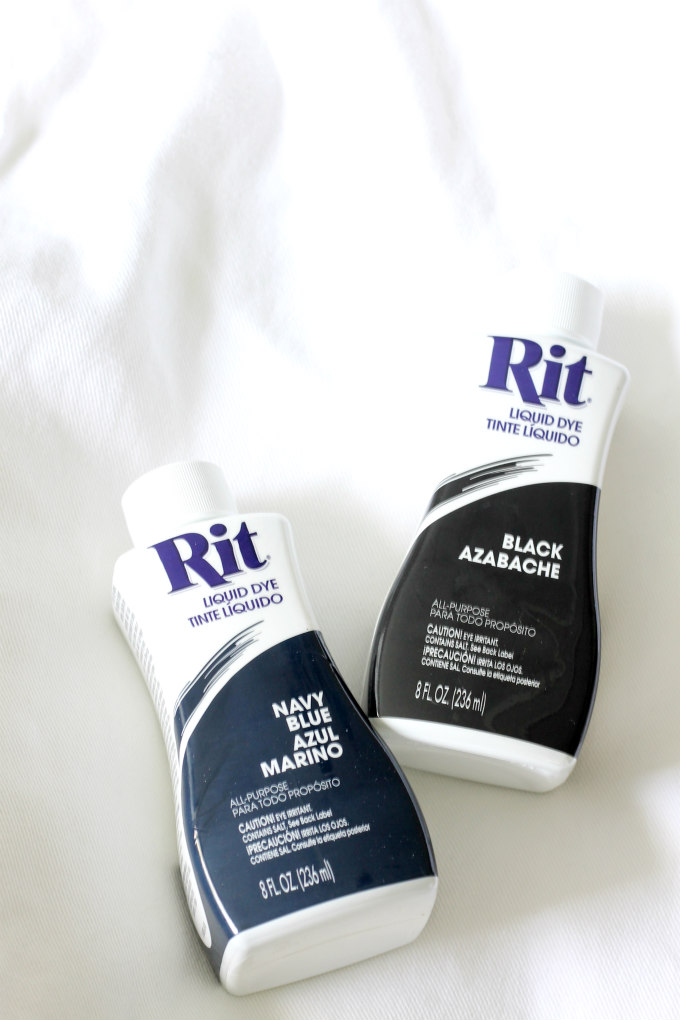
So I went to my local Albertsons and bought two bottles of Rit Navy Blue dye and two bottles of Rit Black dye. I wanted my slip cover to look like a really dark denim and that is why I decided to mix the navy with black.

I did a little research and then I basically just followed the instruction on the Rit bottle and these are the steps I took to dye my slipcover. Now I should also warn you, this process took hours!! I pretty much spent my whole Saturday dying my couch, but it was SO worth it!
STEP 1. PRE-WASH
The instructions say to wet fabric first, but because my slipcovers were dirty, I gave them a quick wash in washing machine. It takes me two loads to wash all of the covers.
I then sorted the wet covers into three piles; two piles of three cushion covers each, and one pile with the large frame cover, and then I dyed each pile separately with a total of three loads.
STEP 2. DYE CUSHION COVERS
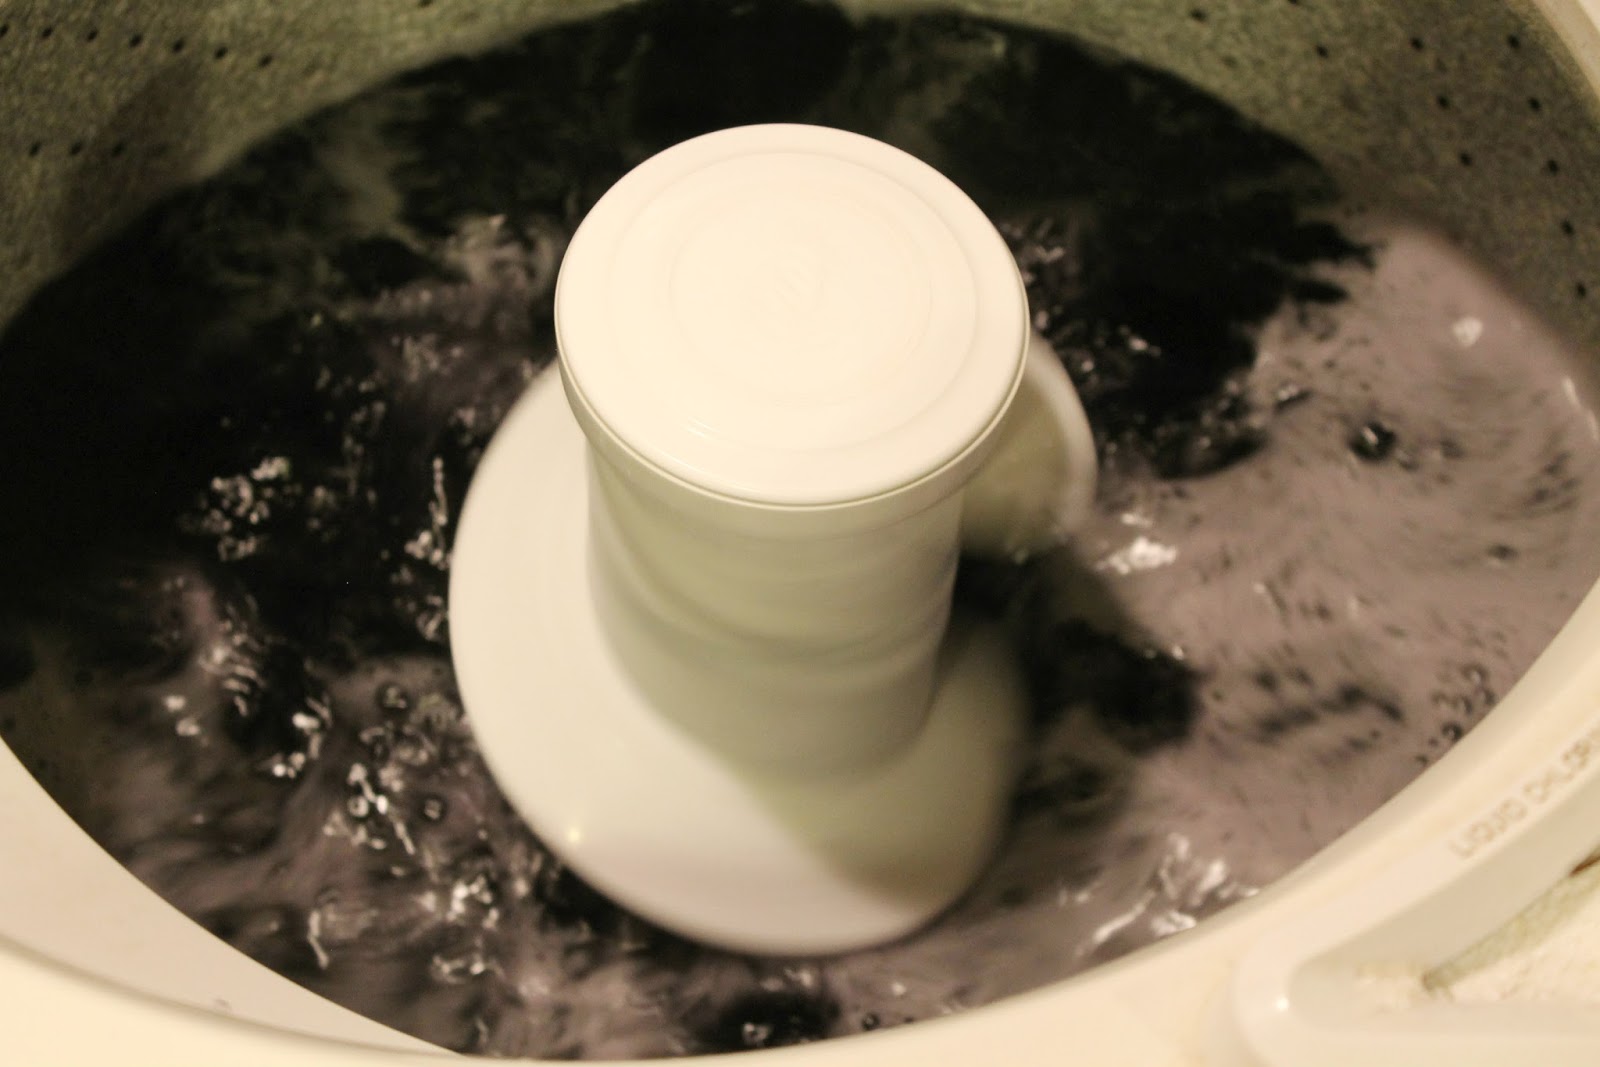
For my first pile of 3 cushion covers, I set my top load washing machine to Medium load and filled it up with the Hottest water setting. As it was filling up I added 1/2 bottle (1/2 Cup) of the navy dye and 1/2 bottle (1/2 Cup) of the black dye, and 1 Cup of salt. I let my machine agitate for a minute to mix and then I added my covers. As instructed, extended the wash an extra 30 minutes by resetting the cycle before it can rinse. Rinse in cold water.

I’m not going to lie, it was kinda scary to see such a dark color in the washing machine. The water also looked super purple-y which had me a bit worried.
STEP 3. WASH AND DRY COVERS
Once the full cycle was done, I added laundry detergent and washed the covers with warm water.
Since the weather was nice, I took my covers outside to line dry. Once my covers were almost dry, I brought them in and put them back on the cushions. I don’t know if you already know this trick, but when you put your covers on while they are still a bit damp you can smooth out all of the wrinkles with your hands and it’s also easier to put them on the couch frame because damp fabric stretches more.
STEP 4. REPEAT
Follow my directions in Step 3 for the next pile of 3 cushion covers.
STEP 5. DYE LARGE FRAME COVER
Now for the last pile, which is the large frame cover, I did basically the same steps as when dying the cushion covers, but this time I set my washing machine to X-large load. And I added a full bottle of navy and a full bottle of Black, and again, 1 cup of salt.
At first I was worried that the dye would stain my washing machine, but it didn’t. The instructions say to run a large load with detergent and bleach, but I didn’t. I just made sure that my next load was of all darks.
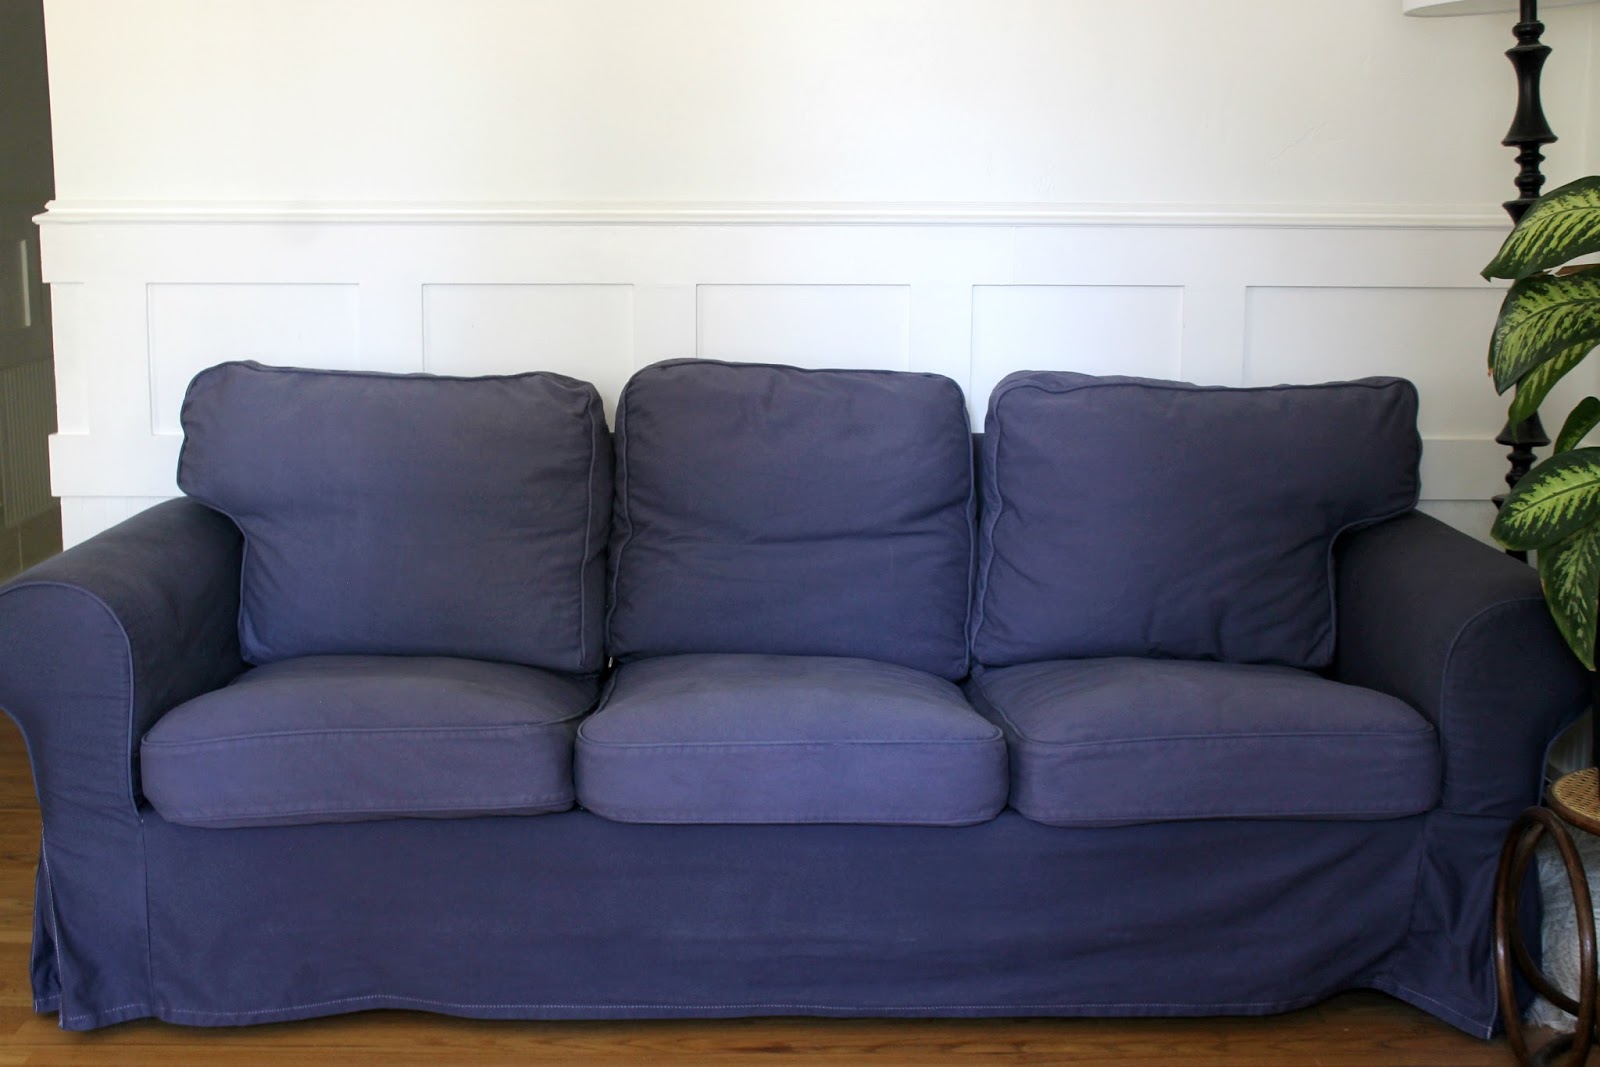
I am really excited about how my slipcovers turned out. I feel like I have a brand new couch!
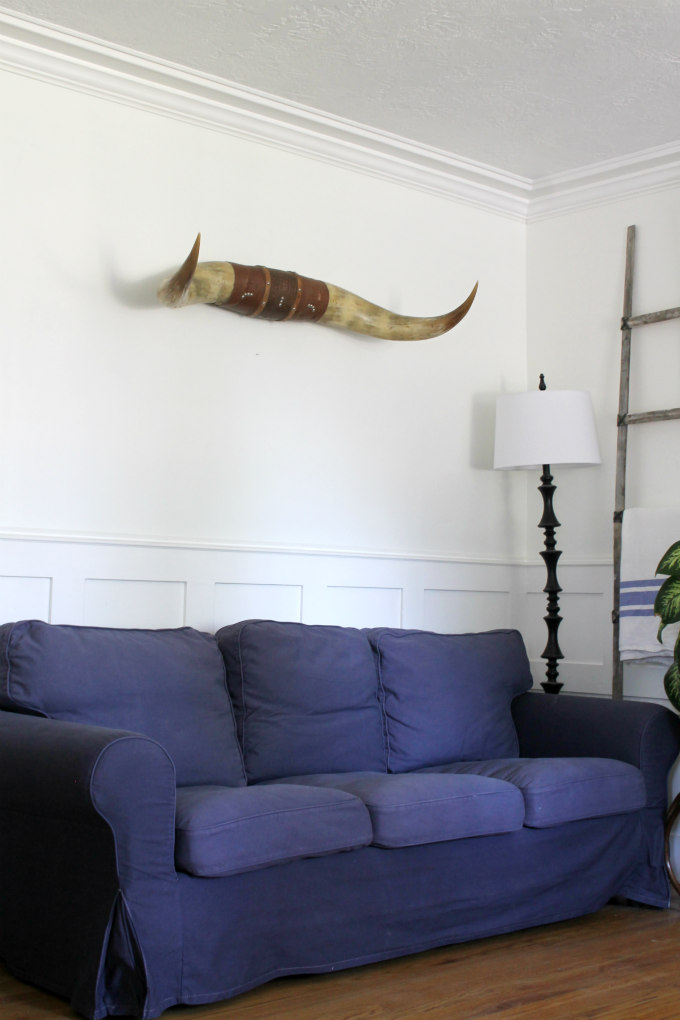
You may be able to tell from this picture that my frame cover turned out a tiny bit darker than the couch cushions. I think the reason this happened was because I didn’t extend the wash cycle on those first two loads, instead I let the covers soak for fifteen minutes. So if you do this, be sure to follow my instructions above and extend the wash cycle.
I may re-dye my cushion covers in one load with a full bottle of both the navy and the black because it really wouldn’t be any hassle.
I seriously can not believe how easy this was. I had SO much fun dying my slipcover that I’ve been looking around the house trying to decide what to dye next…. sheets, duvet cover, curtains, pillows, clothes…… the possibilities are endless!
Thanks for stopping by,
I hope that I have inspired you to dye something too 🙂
*Emily
like it? Pin it!

You may also like:


Wow! I wonder if the dye could help my actual denim sofa slipcovers to look a little refreshed. They have worn (like jeans do) and are faded in all the places where they get rubbed. There's even a faded line where the vacuum cleaner pushes under the skirt. Ugh. I thought about warning you not to buy a real denim sofa when you first posted about it, but decided to keep quiet. I didn't want to sound whiny. 🙂 I'm glad you came up with an alternative!
Great job on dying your slipcovers!!!!!!!
I really like the idea of being able to change the covers for different seasons or just to change things up a bit.
Have you had any issues with the color rubbing off on clothing after sitting on your sofa? Similar to when you wear new dark colored jeans and sit on a white sofa and the jeans color rubs off on the sofa fabric.
Thanks for sharing your ideas with your readers. I always learn something when you post make overs.
Annie B
Wow!!!!
That´s such a great idea to have two covers and now you can have one in navy! It really looks like denim! Love the look!
I love how this turned out. I'm considering dyeing my exact couch/slipcovers. Is your slipcover 100% cotton. I read that if it is a mixed blend the dye may not come out even. My slipcovers are a mixed blend, I'm not sure if I will like the results if I dye mine???