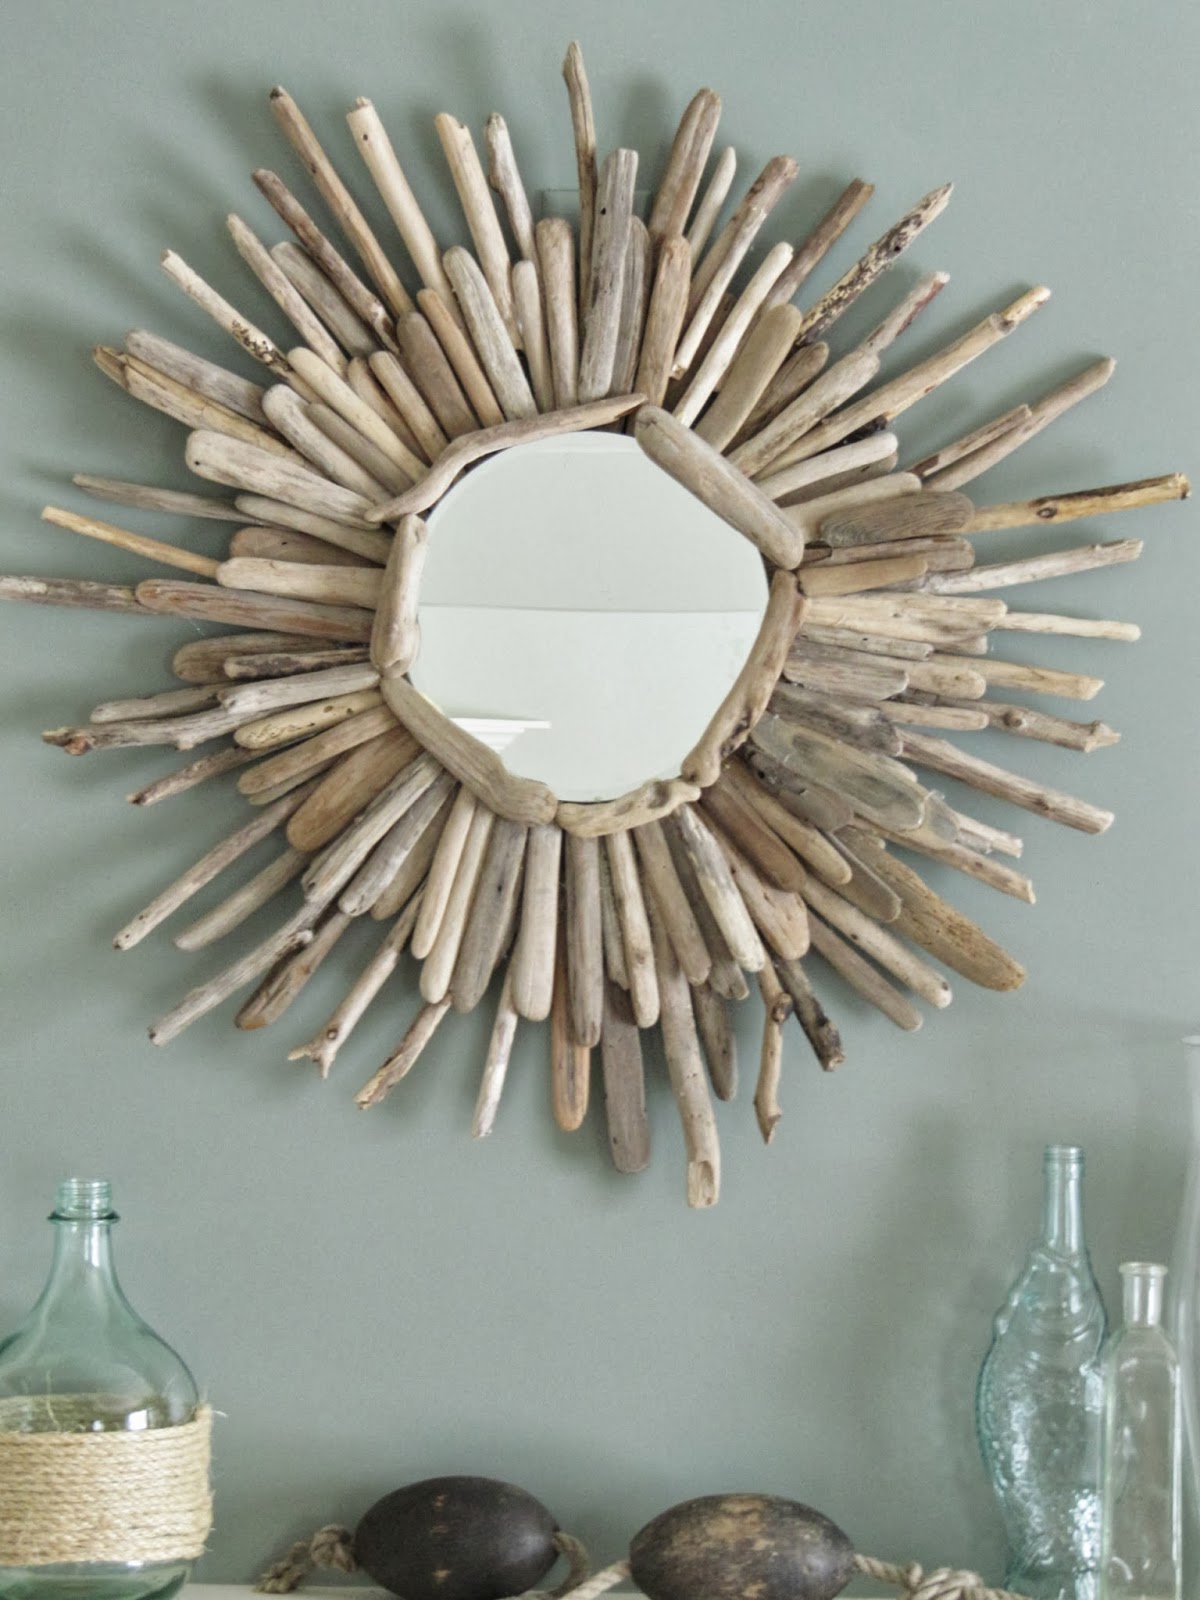
One of my most popular craft projects ever was the driftwood mirror that I made a few years back.
Well, I have recently decided to add even more driftwood to the mirror, and so it now looks like this:


To see how I originally made my Driftwood mirror, see this post HERE.
From there, I just simply glued a second layer of driftwood onto the first layer. Originally I used Gorilla glue to hold it all together, but for the second layer I was able to use hot glue. The hot glue did not work for the first layer, because it needed something stronger to adhere the driftwood to the mirror, but the hot glue works fine for gluing driftwood onto driftwood. Wood glue may have worked as well.

When I originally made this mirror, I used driftwood pieces that were around 5-7 inches long. For this added second layer I used longer driftwood. The added pieces of driftwood are about 8-11 inches long.

Because the mirror is so much thicker now, I also had to add a wire to the original hook to be able to hang it.


I’m really excited with the way it turned out.
I may even add a few more layers to it, well that is, the next time I’m lucky enough to go to the beach to get more driftwood.

Like I shared in my last post, I have hung the mirror up on my fireplace.
To see more pictures of my Living room, click HERE.

Search”Driftwood”here on the blog to see even more craft ideas I have for using driftwood.
If you do plan to make a Driftwood Mirror then I found everything you need listed below.
And if you do make a Driftwood Mirror, Please let me know how it turned out.
Thanks for stopping by,
Emily

That turned out so pretty. I love the extra layer.
I love the update! It looks awesome!
Love this! I have a couple of little mirrors layin around that would be perfect for this. Now I just need to get to the beach for some driftwood! Ha. Thanks so much for the inspiration!! 🙂 Love your oceany theme decor! 🙂 I made a fish out of drift wood last year and wrote about it on my blog, thought you might get a kick out of it 🙂 bicoastalstateofmind.blogspot.com/2013/08/gettin-crafty-with-driftwood-twineart.html
It looks beautiful. Now I know my next driftwood project.
Love it Emily, looks great! I like the new additions better, bigger & bolder is best 🙂
Hi Emily,
this mirrow looks fantastic. Thank you for sharing it.
Have a great time and best wishes from Austria
Elisabeth
Hi, Emily
I found your lovely blog and just drooled over (almost) every post. As I was drooling I love your driftwood post because I made my own driftwood and I would love to make this project. I know this is from last year, but is there anyway you can email me a pic of the back. I am not sure how you added the wire to the back. I am trying to visiuals it but its not working, lol. If you can I would appreciate it so much. Thanks so much and have a great week.
poet
did you have to clean the driftwood before using the glue
I believe I lightly wiped the driftwood down with a wet paper towel first.
Hi I'm really struggling can anybody help me please. I am making a huge driftwood mirror and have stuck it to the frame with no nails extra strength but half of it won't stick. And I'm getting so frustrated. Any ideas welcome . Thanks Bev xxx
Your mirror is beautiful! Can you tell me what size mirror you used? Thanks, Mary
Your mirror is beautiful. Thank you