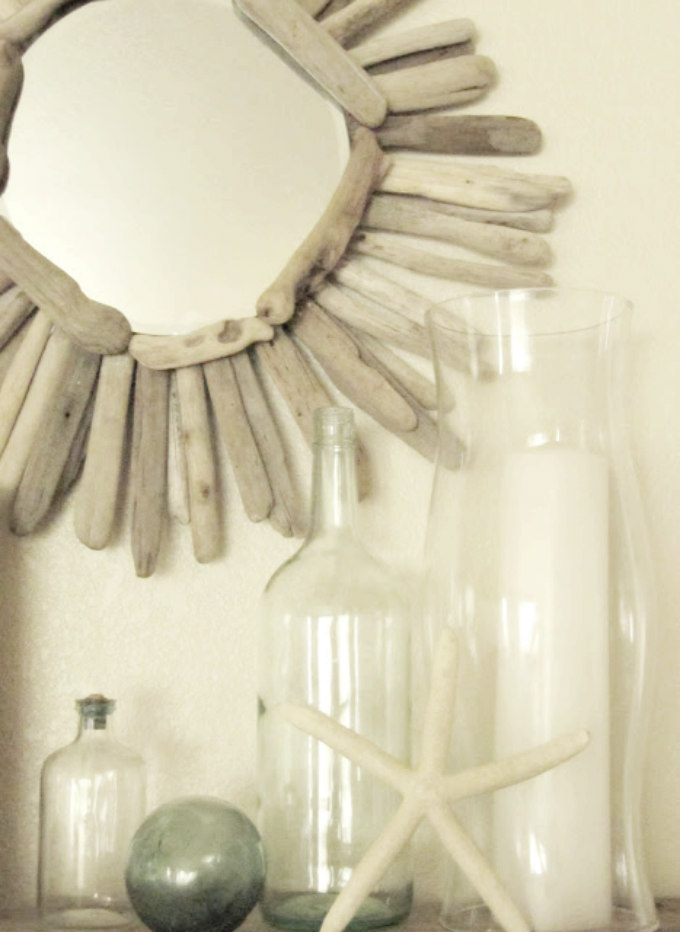
Today I wanted to share with you how I made this beautiful mirror out of driftwood.

I recently took a trip to the Oregon Coast and I brought home a ton of driftwood from the beach.
I knew I wanted to make a mirror out of the driftwood after seeing this one that was hanging up in our beach house rental.

This one was from Crate and Barrel and Cost $200.00

By the way, this is the cute beach house that we rented. click here to see more of it.

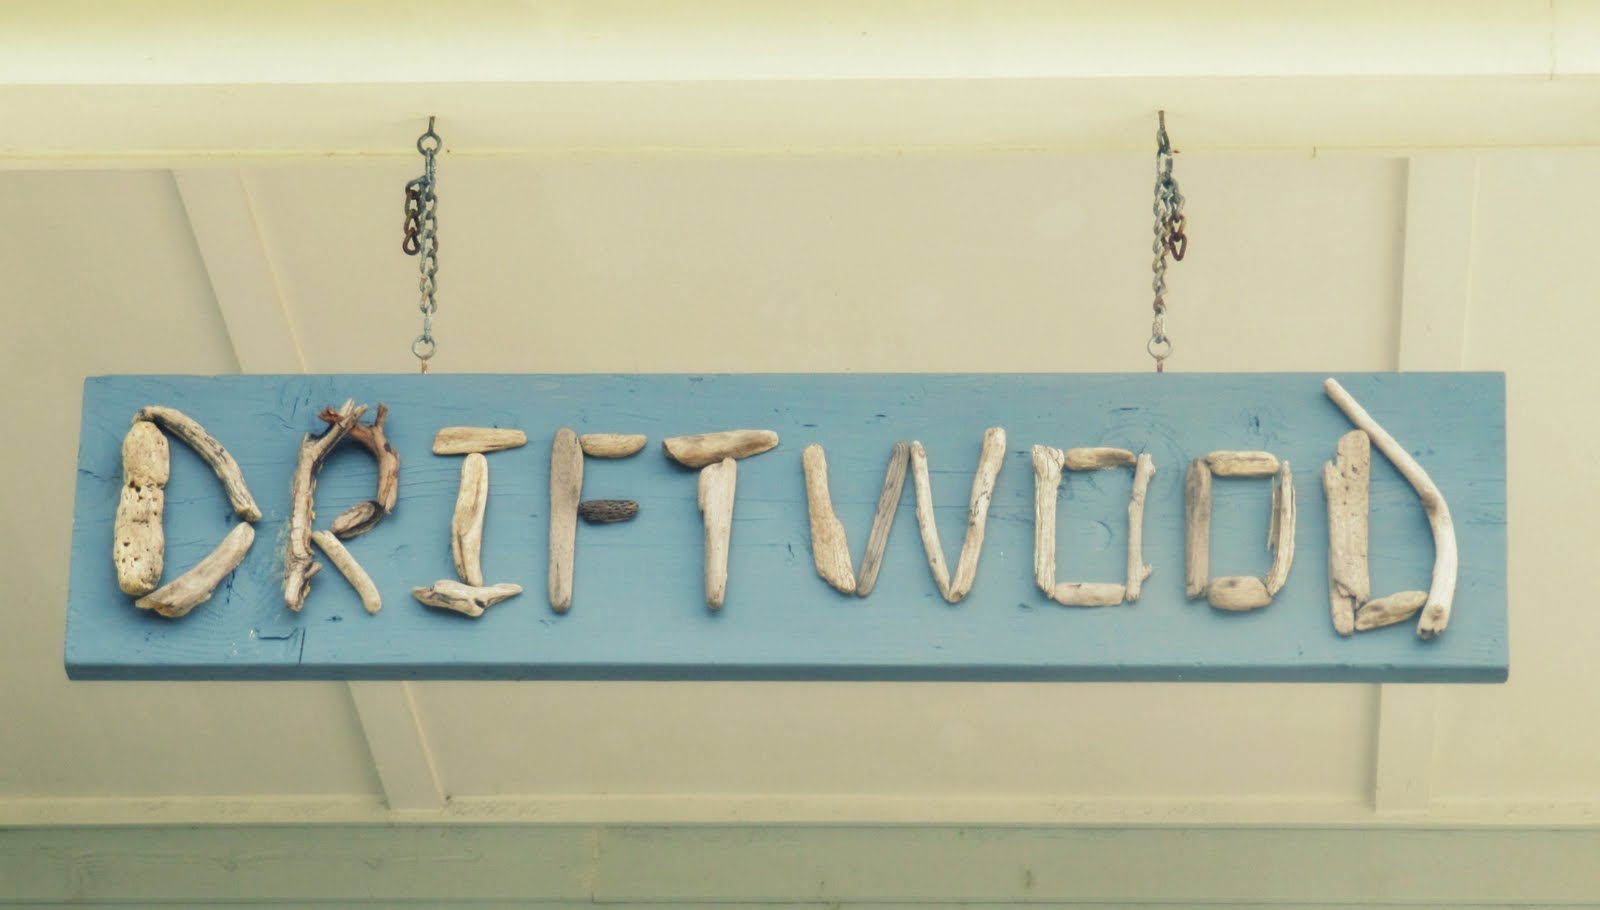
And guess what? This beach house that we rented was named, Driftwood!

How fun is this ‘Driftwood’ sign that was hanging on the front porch? I was going to try and make one like it, maybe have it say “Beach” or “Welcome” but I didn’t pick up enough small and curvy pieces, so maybe I’ll save that for a project next time I get to the beach.

I really did bring home my share of driftwood. This picture is of me filling up my purse with driftwood. I did this every day that we were at the beach.
Here are my steps to making a Driftwood mirror.
Step #1
Go to the beach and collect as much driftwood as you can haul home. Try to find pieces that are all about the same size.

Step #2
Find a mirror in whatever size you would like. I picked this one up at Hobby Lobby. It was originally 6 dollars but on sale for %50 off. So this whole mirror cost me only $3.00 to make. That is a Huge difference compared to the $200 one at Crate and Barrel wouldn’t you agree?
Step #3
Trace the mirror onto some paper. I just used the paper Hobby Lobby used to wrap the mirror up in.
Step #4
Lay out your driftwood around the traced circle. This is so you will have a good idea of what it will look like when it’s finished. You may want to move some pieces around. Just play with the layout until you’re happy with the way it looks.

You could leave it like this, but since I was going for a more layered look, I also added driftwood to the front of the mirror as well.

Step #5
Now you need to glue it all together. At first I used hot glue gun…but this Did NOT work. The hot glue was not strong enough to hold it all together.

So next I used Gorilla Glue, and it worked so much better. Just remember to only use a small amount and do not use it by any edges since this glue does puff up and turn yellow when it dries. Although I just found out that Gorilla glue also comes in clear and so I will link that for you below.

I also used the Gorilla glue to add a hook to the back of the mirror so that I could hang it up.

Pleas Note:This mirror has been update since this post. It now has even more layers of driftwood on it. To see how it currently looks clickHERE.
Interested in making a Driftwood Mirror for yourself?
Below are some (affiliated) links to help you get started.
Let me know if you do make a Driftwood Mirror and how it turns out.
Thanks for stopping by,
Emily

I love it! Great job with a great price!
Thanks for the info love your mirror.🤗
It looks great. One thing we have here on the coast is a lot of driftwood – shell mirrors are everywhere, but I haven't yet seen anything like this, and I love it.
It looks great!
Very, very cool!!
I have got to find me some driftwood! 🙂
WOW..i love the mirror you made!! the driftwood sign and the house you rented are gorgeous!
cheryl x
Yay for you! I have been working on a huge on for a year now, the problem where I live all the driftwood is all so large. I love what you did!
Emily! That's awesome! And for $3, even. Great job!
What a great reminder of your trip!
Love it! I have been wanting to make a driftwood mirror forever but we don't live near the beach anymore. I asked my siblings to ship me some when they hit the beach next – there is so much on the WA and OR beaches!
That's ingenious! Love it!
Looks fabulous – great job, I love it!!
Hugs,
Marie
lovely! i'm going to feature this on friday!
beachhouseinthecity.blogspot.com
Love your driftwood mirror, looks so nice. Thanks for stopping by Beach Cottage Good Life Wednesdays and joining the party.
Love this mirror , I'm off to get driftwood ! Love your refreshing blog xx Ava ( your newest Australian follower)
I'm glad to know I'm not the only one that drags home driftwood… now I know what to do with it all! Love this!
Love it! Where did you find the round mirror?
Excellent tutorial!!! One of these would look great in my family room….now to find driftwood.
Great job! I love driftwood, and I also love to bring something natural home from a vacation to remember it by, so this was awesome!
bjdhausdesign.blogspot.com/
This is incredible! I live in bonnie Scotland and about to embark on my first driftwood project and stumbled across this article.
Well done!
Love the driftwood mirror! Did you glue the wood pieces to the back of the mirror?
Thanks,Deanna
Adorei a ideia e ficou um arraso a sua moldura! Parabéns!
Qdo puder visite o meu link no:
keimosaics.wordpress.com/
Abraço.
ok it looks great! congratulations, but I am in Brazil, and here we do not have "gorila glue"!!!
so, how can I glue it properly? super-glue,maybe?
amazing tips thankyou! Beautiful mirror and inspiration! X
This comment has been removed by the author.
I got an interest with that gorilla glue, how much is it and where it can be found? Thanks.
residential painting detroit
Lovely mirror! I am infatuated with drift wood. Living in Arizona I don't see too much of it, but I snagged a few pieces on my vacation to Newport Beach, CA this summer. Thanks for sharing.
Hi Emily!
I'm totally making this soon! With gorilla glue, don't you have to apply water to the surface beforehand? Did that work, since you applied the water to the mirror side? I'm assuming… if you could let me know that would be great! THANK YOU!
Kirsten