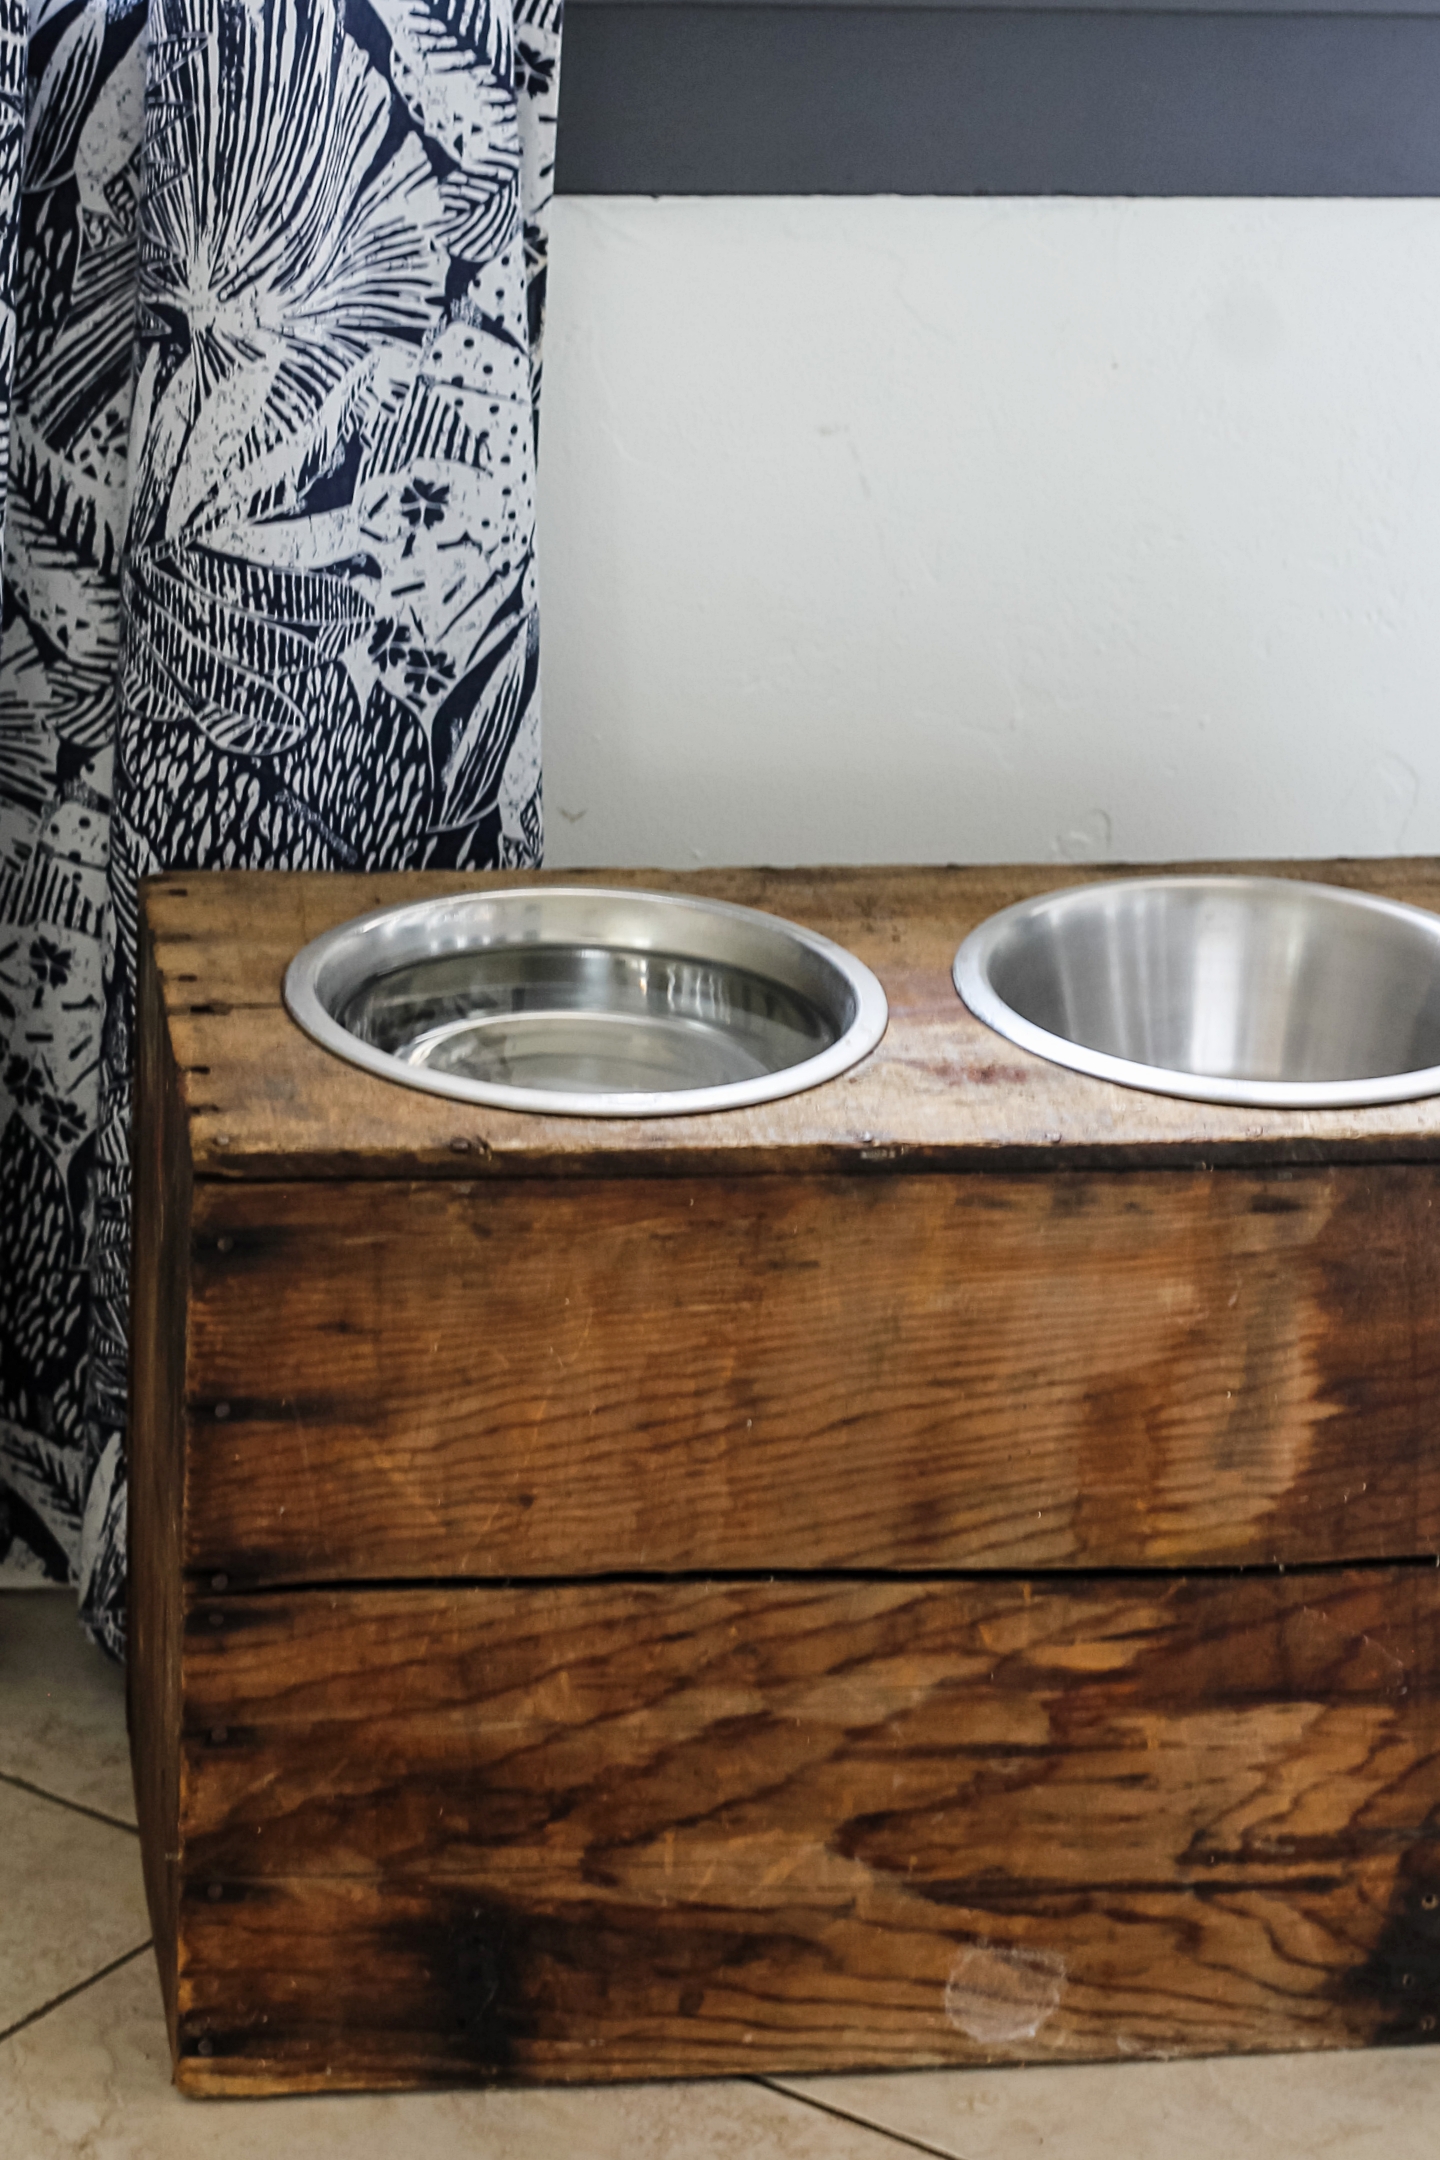
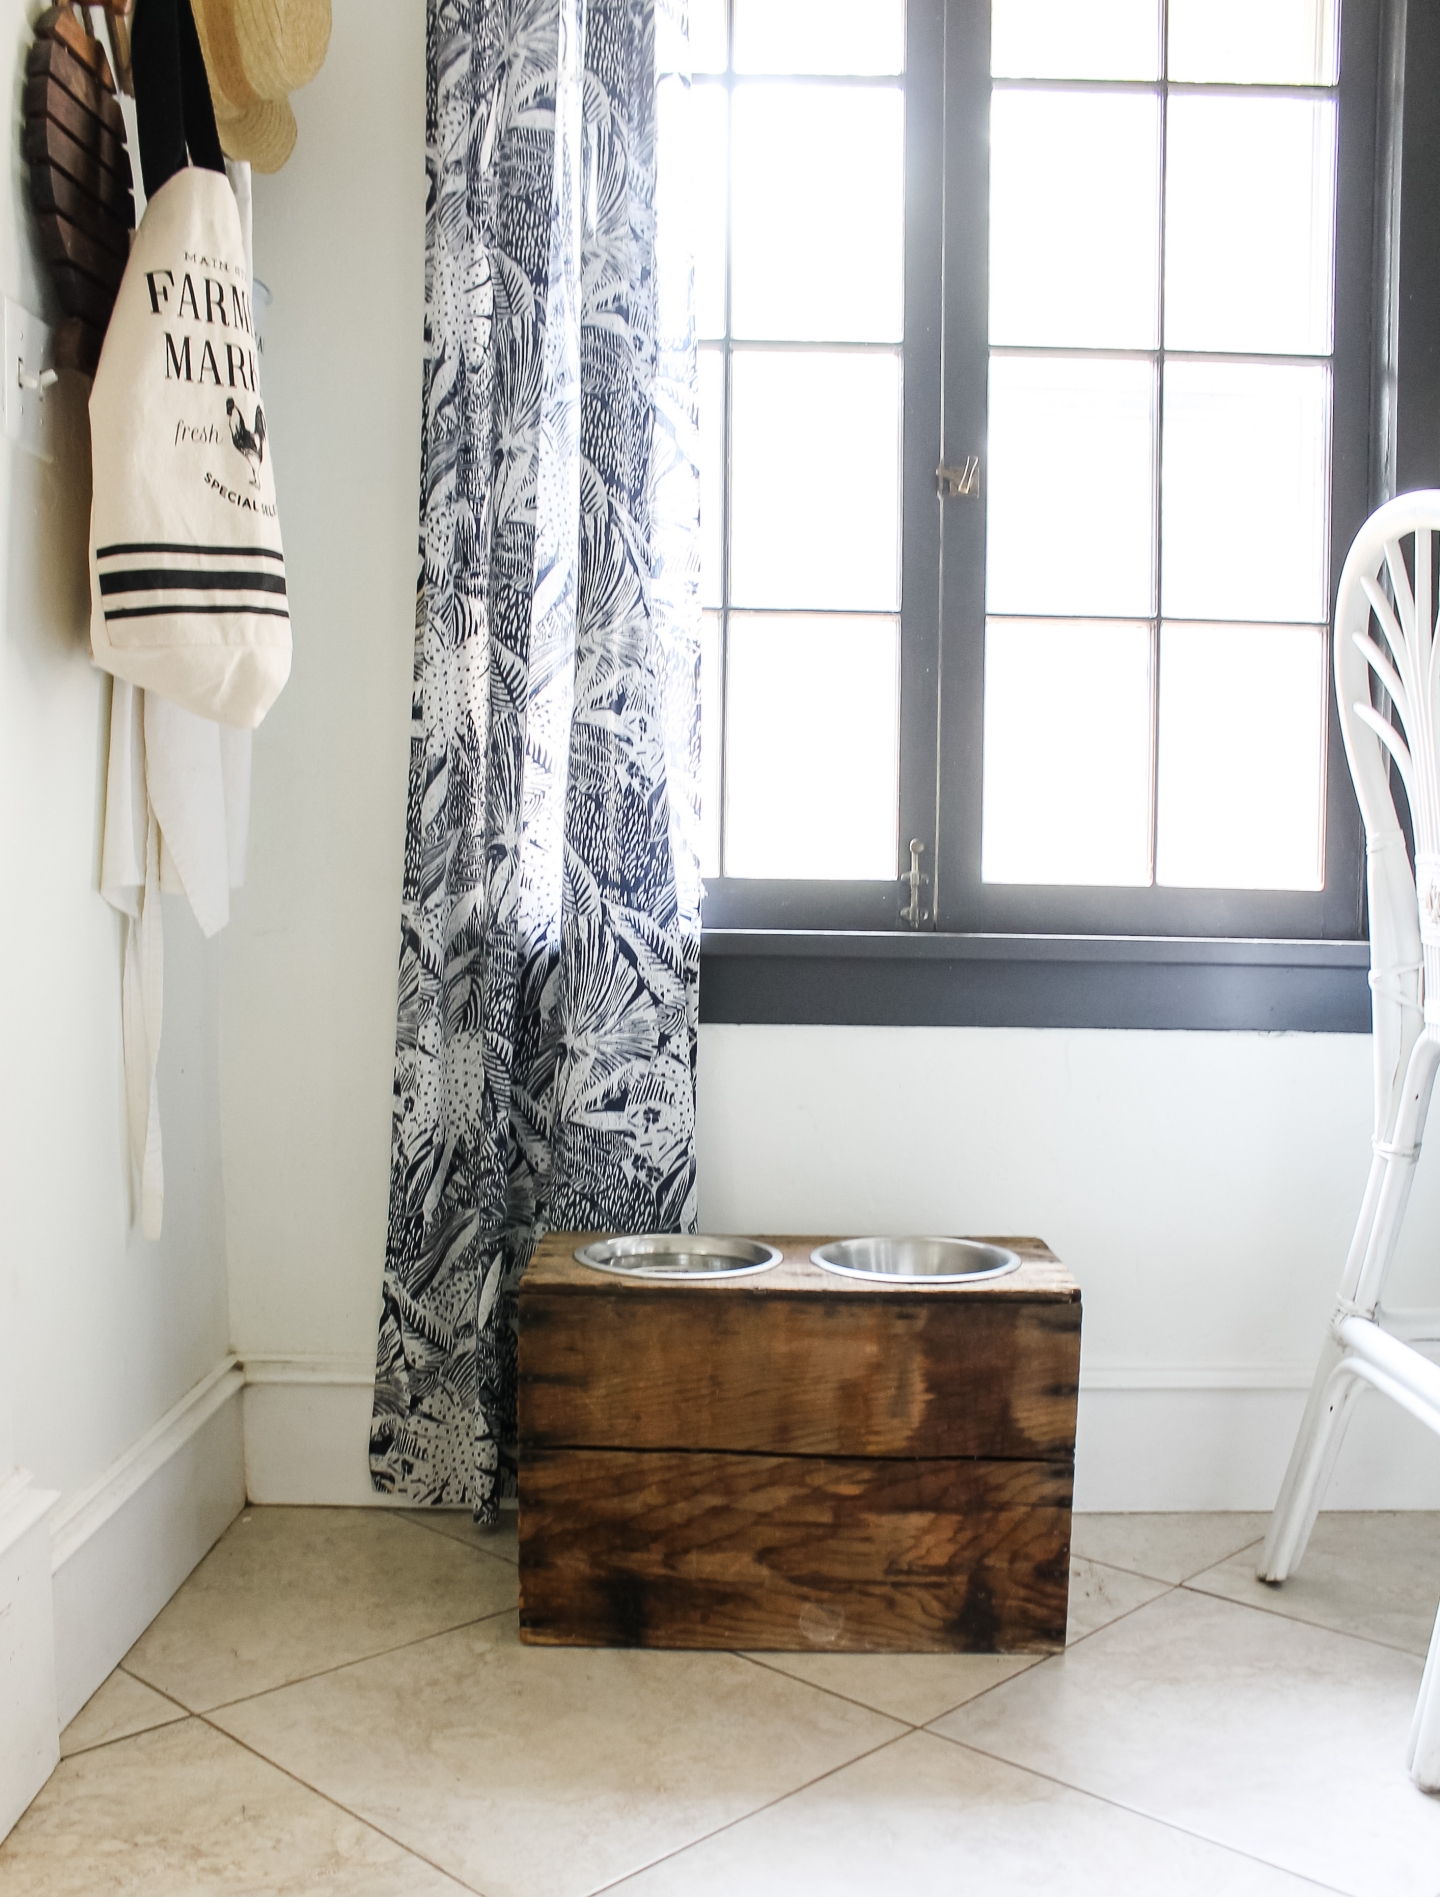
As you may know we have a Great Dane Dog named, Stormy. Stormy is a big girl and so she needs to have an elevated food and water dish stand. The food stand that she had before was fine, but it just wasn’t the prettiest thing to look at, and so I made her a new one using an old wood crate. I’ve had this old antique crate for years now and I think it’s really neat, it even has some type of gasoline logo on the side of it. But if you can’t get your hands on an antique crate, I think any type of crate that has the right dimensions should work great too.
To know what’s the right dimensions for your feeding station you just need to take a good look at your dog when she is eating. Your dog should be able to eat comfortably without lowering her neck too far down or stretching it too high up. The dimensions of the crate also need to accommodate the food and water bowls. So those are a few things to keep in mind when choosing a crate to use.
How to make a Dog Dish Stand in 5 steps.
Step 1. Trace around one of the dog bowls that you will be using.
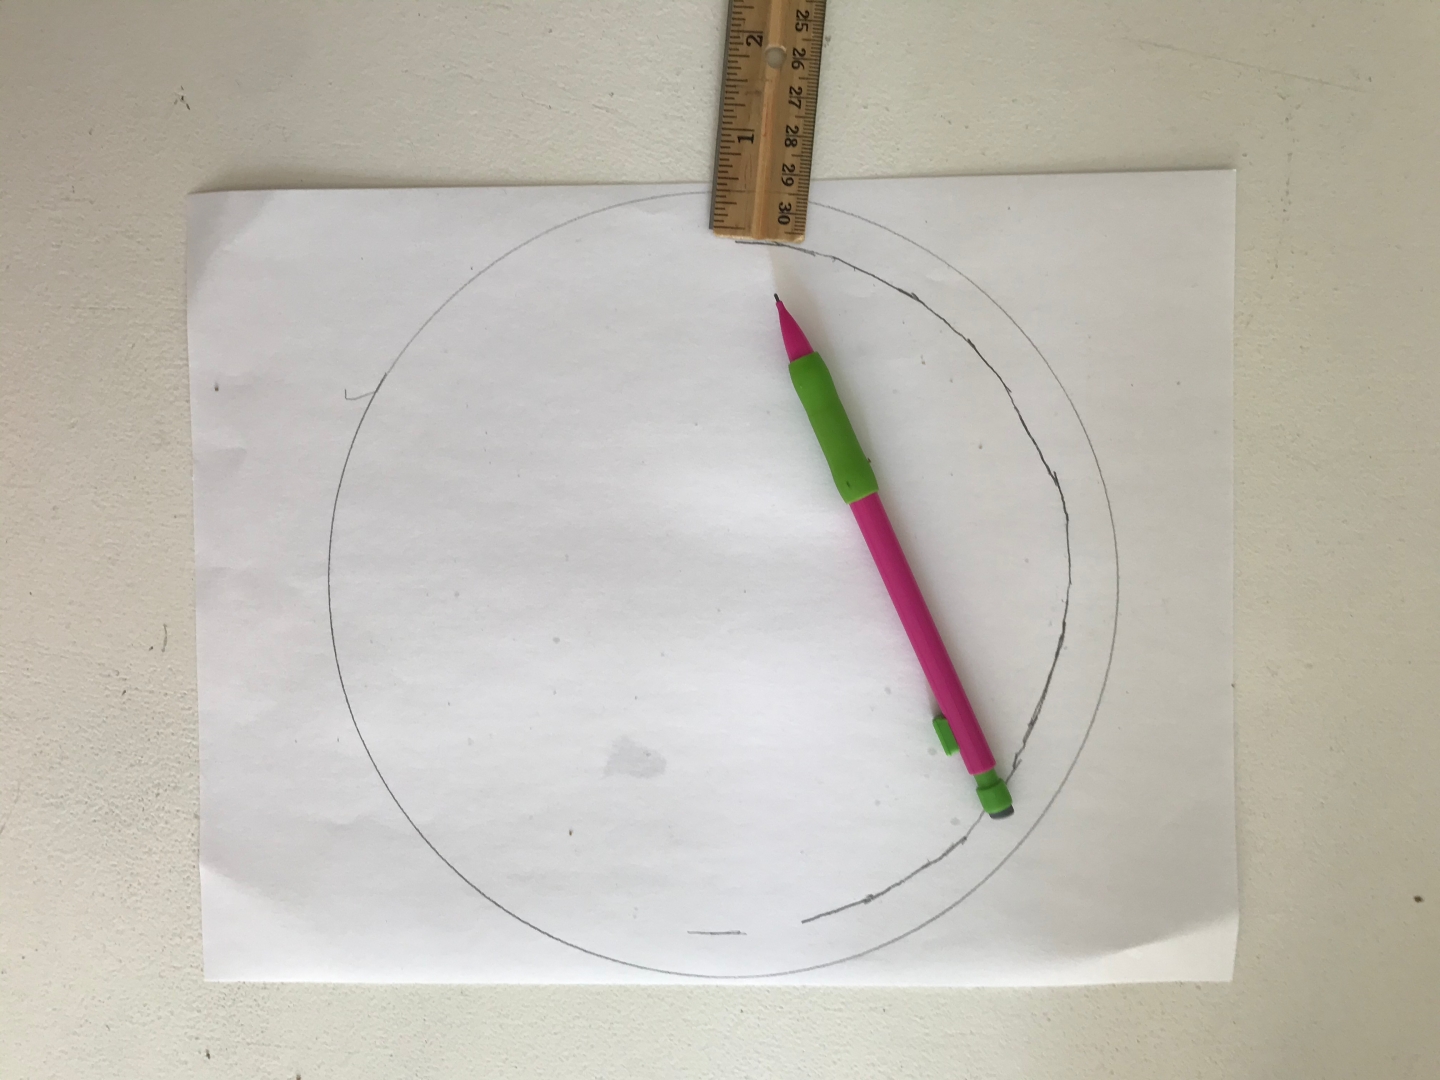
The first step is to lay one of the dog bowls that you will be using onto a piece of paper. Lay it down so that the top of the bowl is touching the paper. Trace around the outside rim of the bowl onto the paper with a pencil. Next, use a ruler to mark a 1/2 inch circle inside of the previous circle and then cut out the inner circle. *Note: This is a very important step because the inner circle creates a lip for the bowl to hang by, otherwise the bowl will fall right through the hole.
Step 2. Trace Circle onto crate.
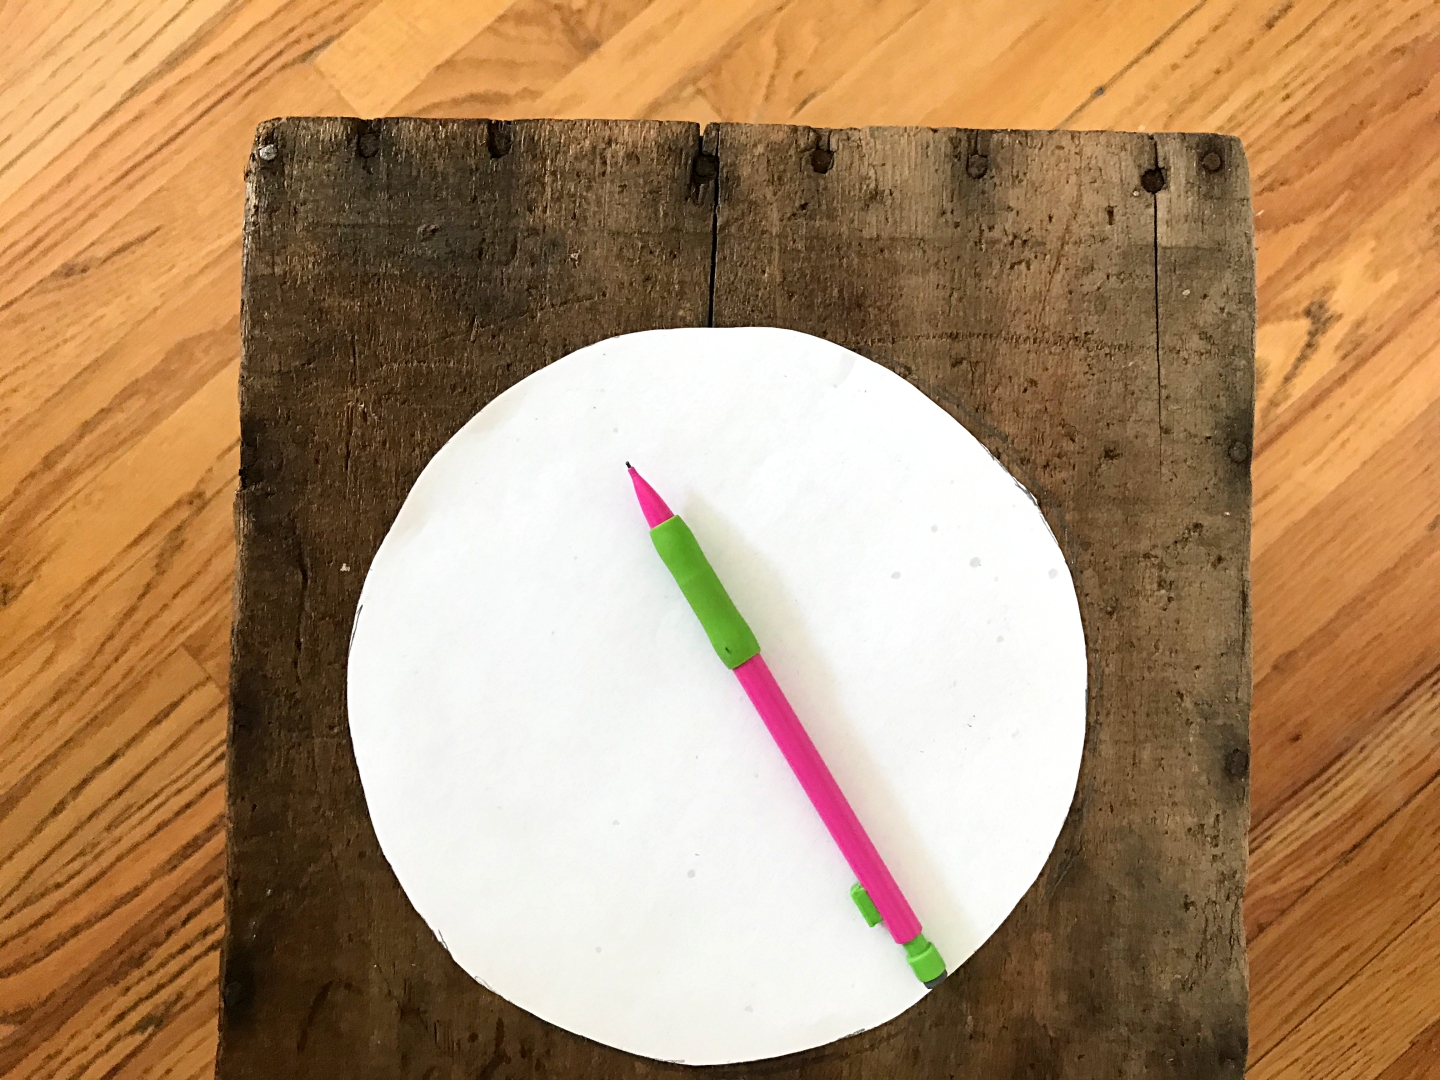
Lay the circle template that you just made onto the crate and trace around it. You will need to trace out two circles; One for the water dish and one for the food dish. Just be sure to leave enough space between the two circles so that the bowls don’t touch each other in the end. *Note: also keep in mind that each bowl will be 1/2 inch larger than circle template.
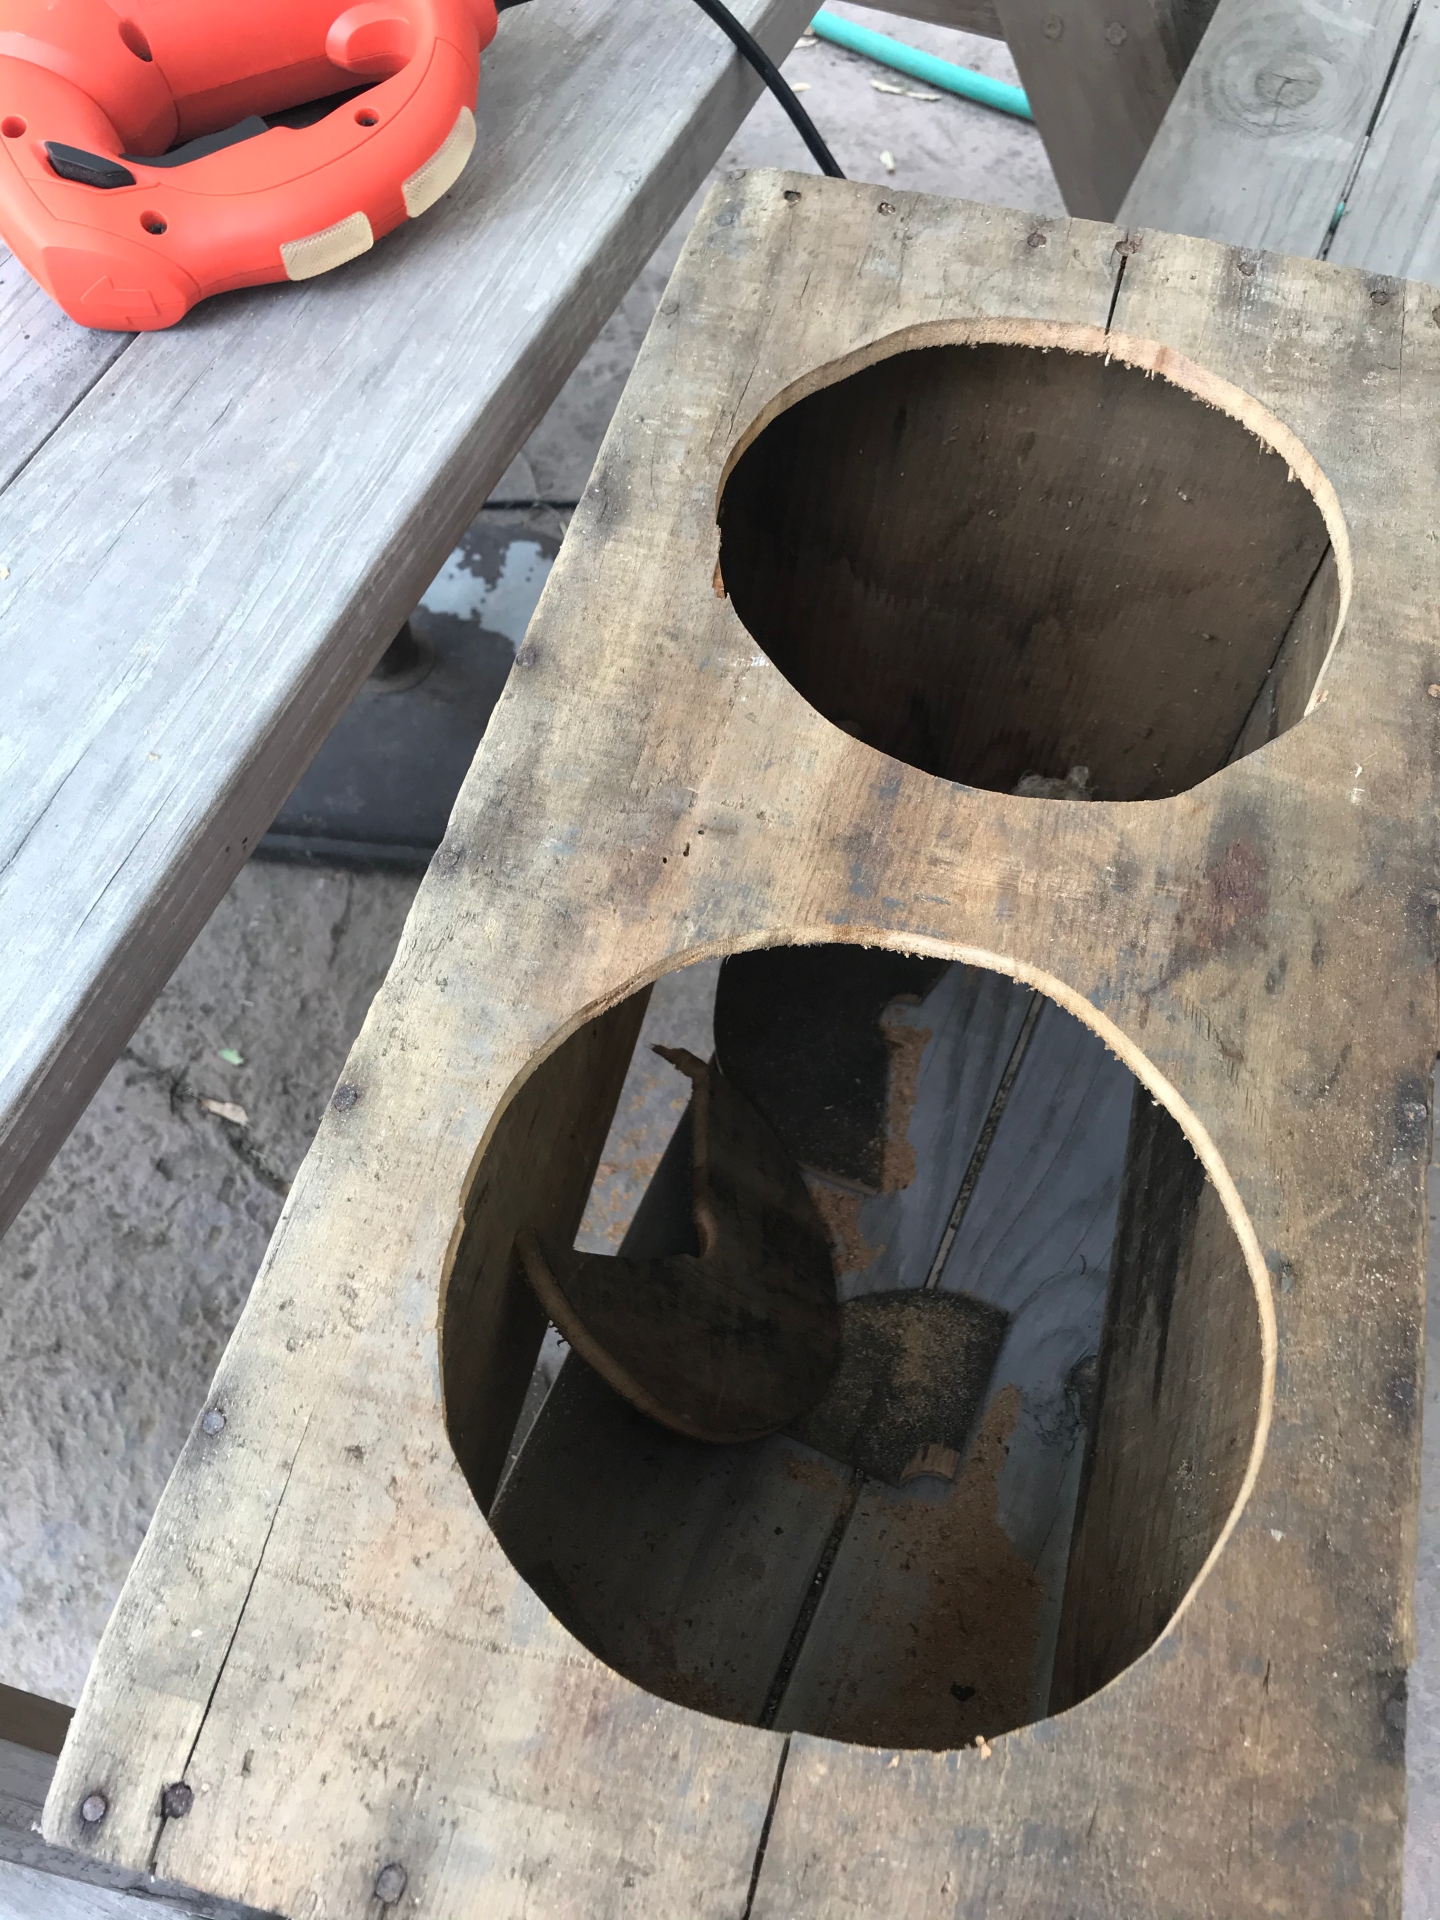
Step 3. Drill two large holes into crate.
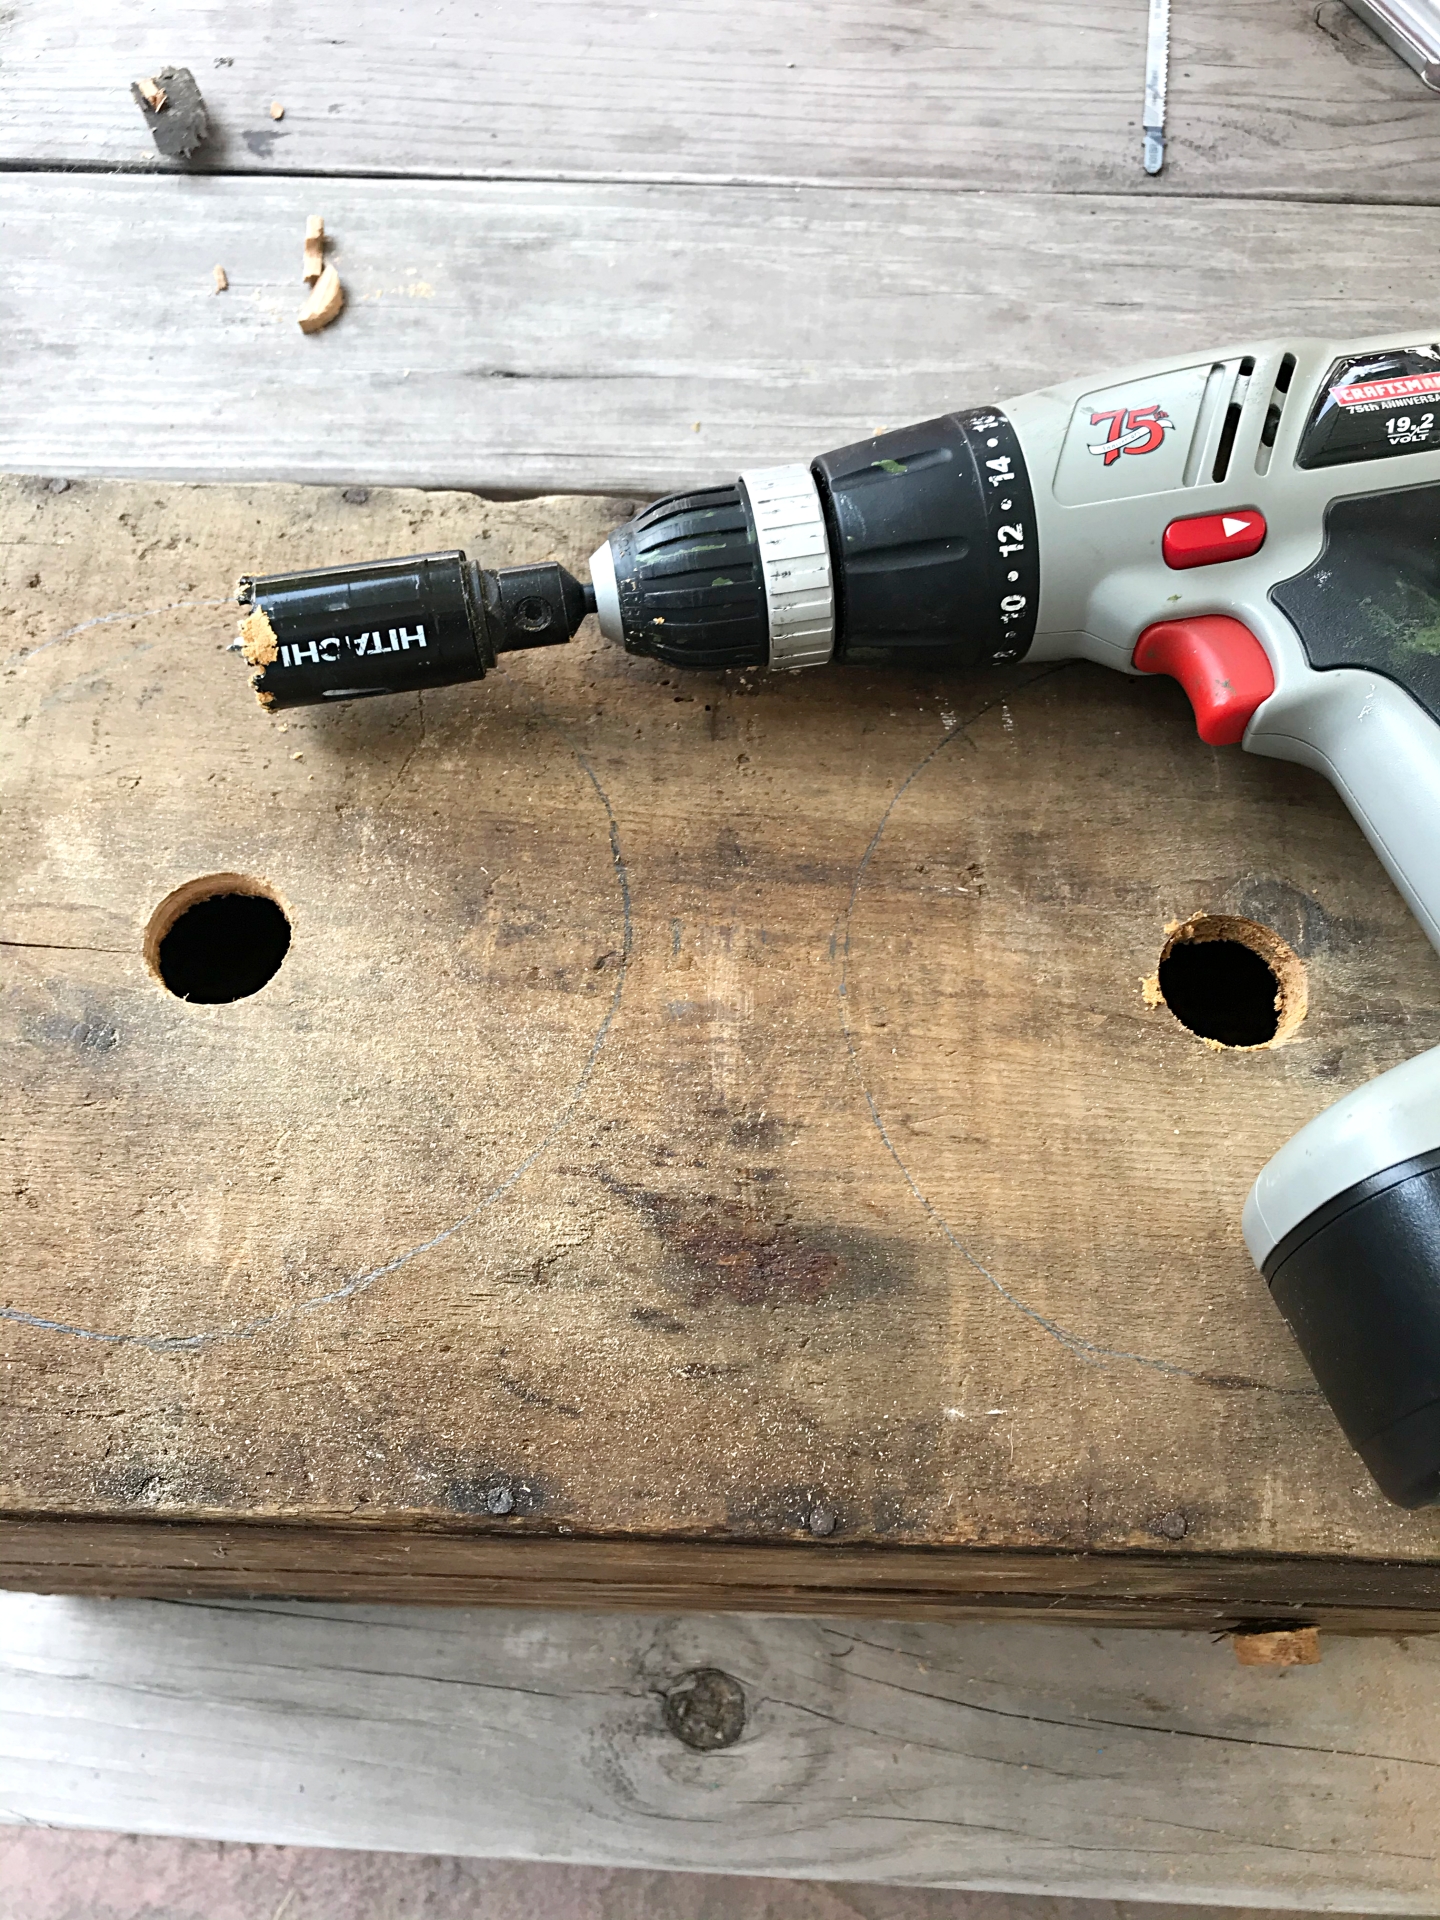
Using the largest size of drill bit that you have, drill a hole in the center of each of the circles that you traced out.
Step 4. Using a jig saw, cut out the two circles.
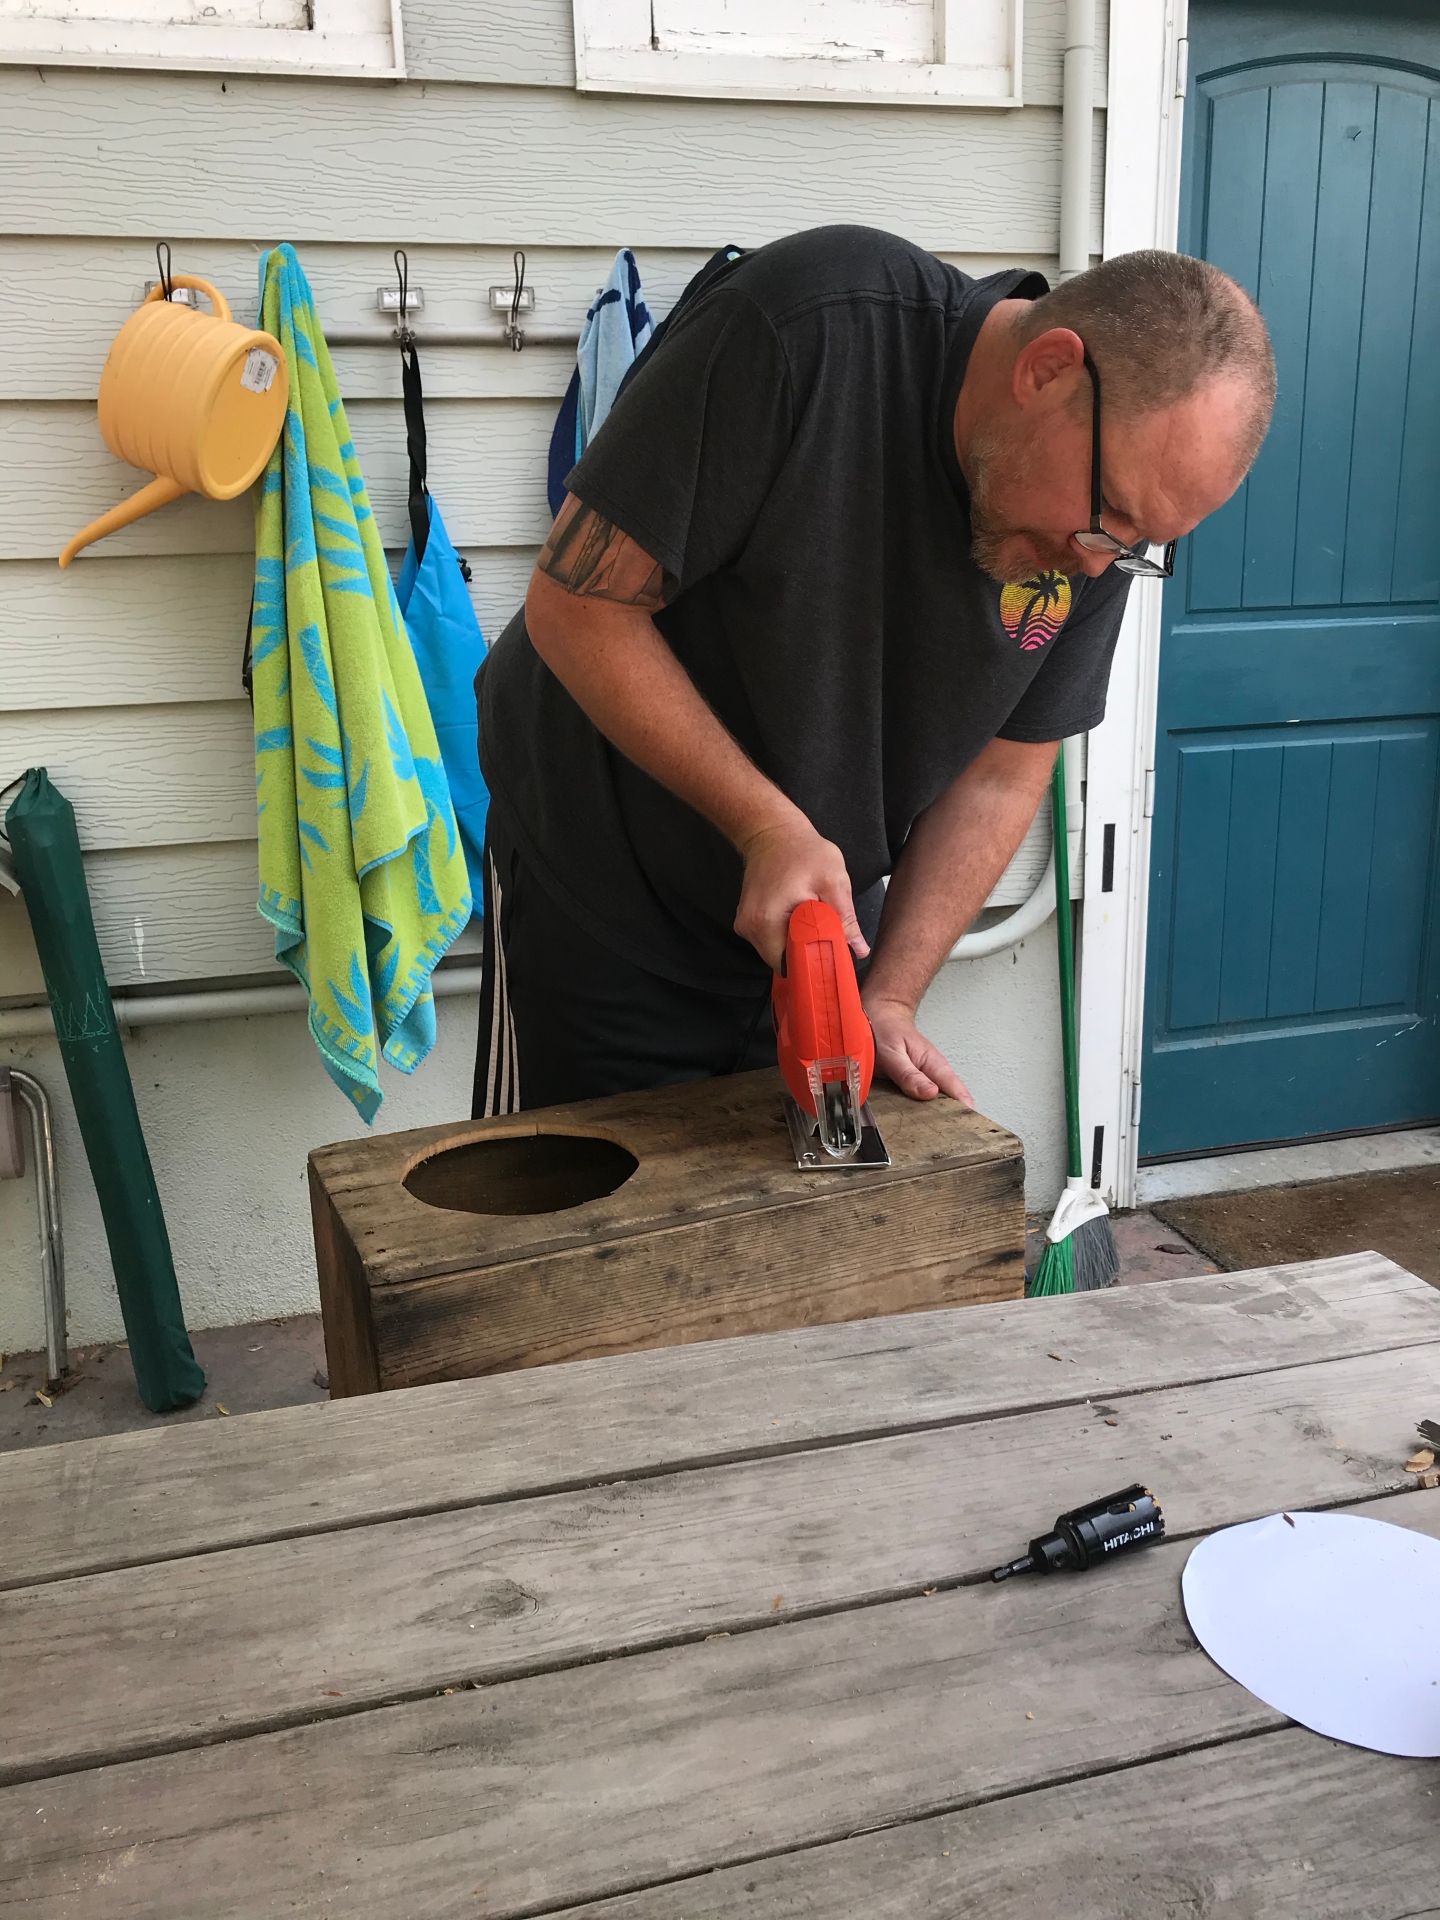
I get a little freaked out using a jig saw and so this is the part where I get my cute hubby to help me out.😊 So the next step is to cut out the circles. The holes that you just drilled into the center of the circle will be your starting points.
Step 5. Insert dog bowls and fill with dog food and water.
Once your holes have been cut, insert the dog bowls into the holes.
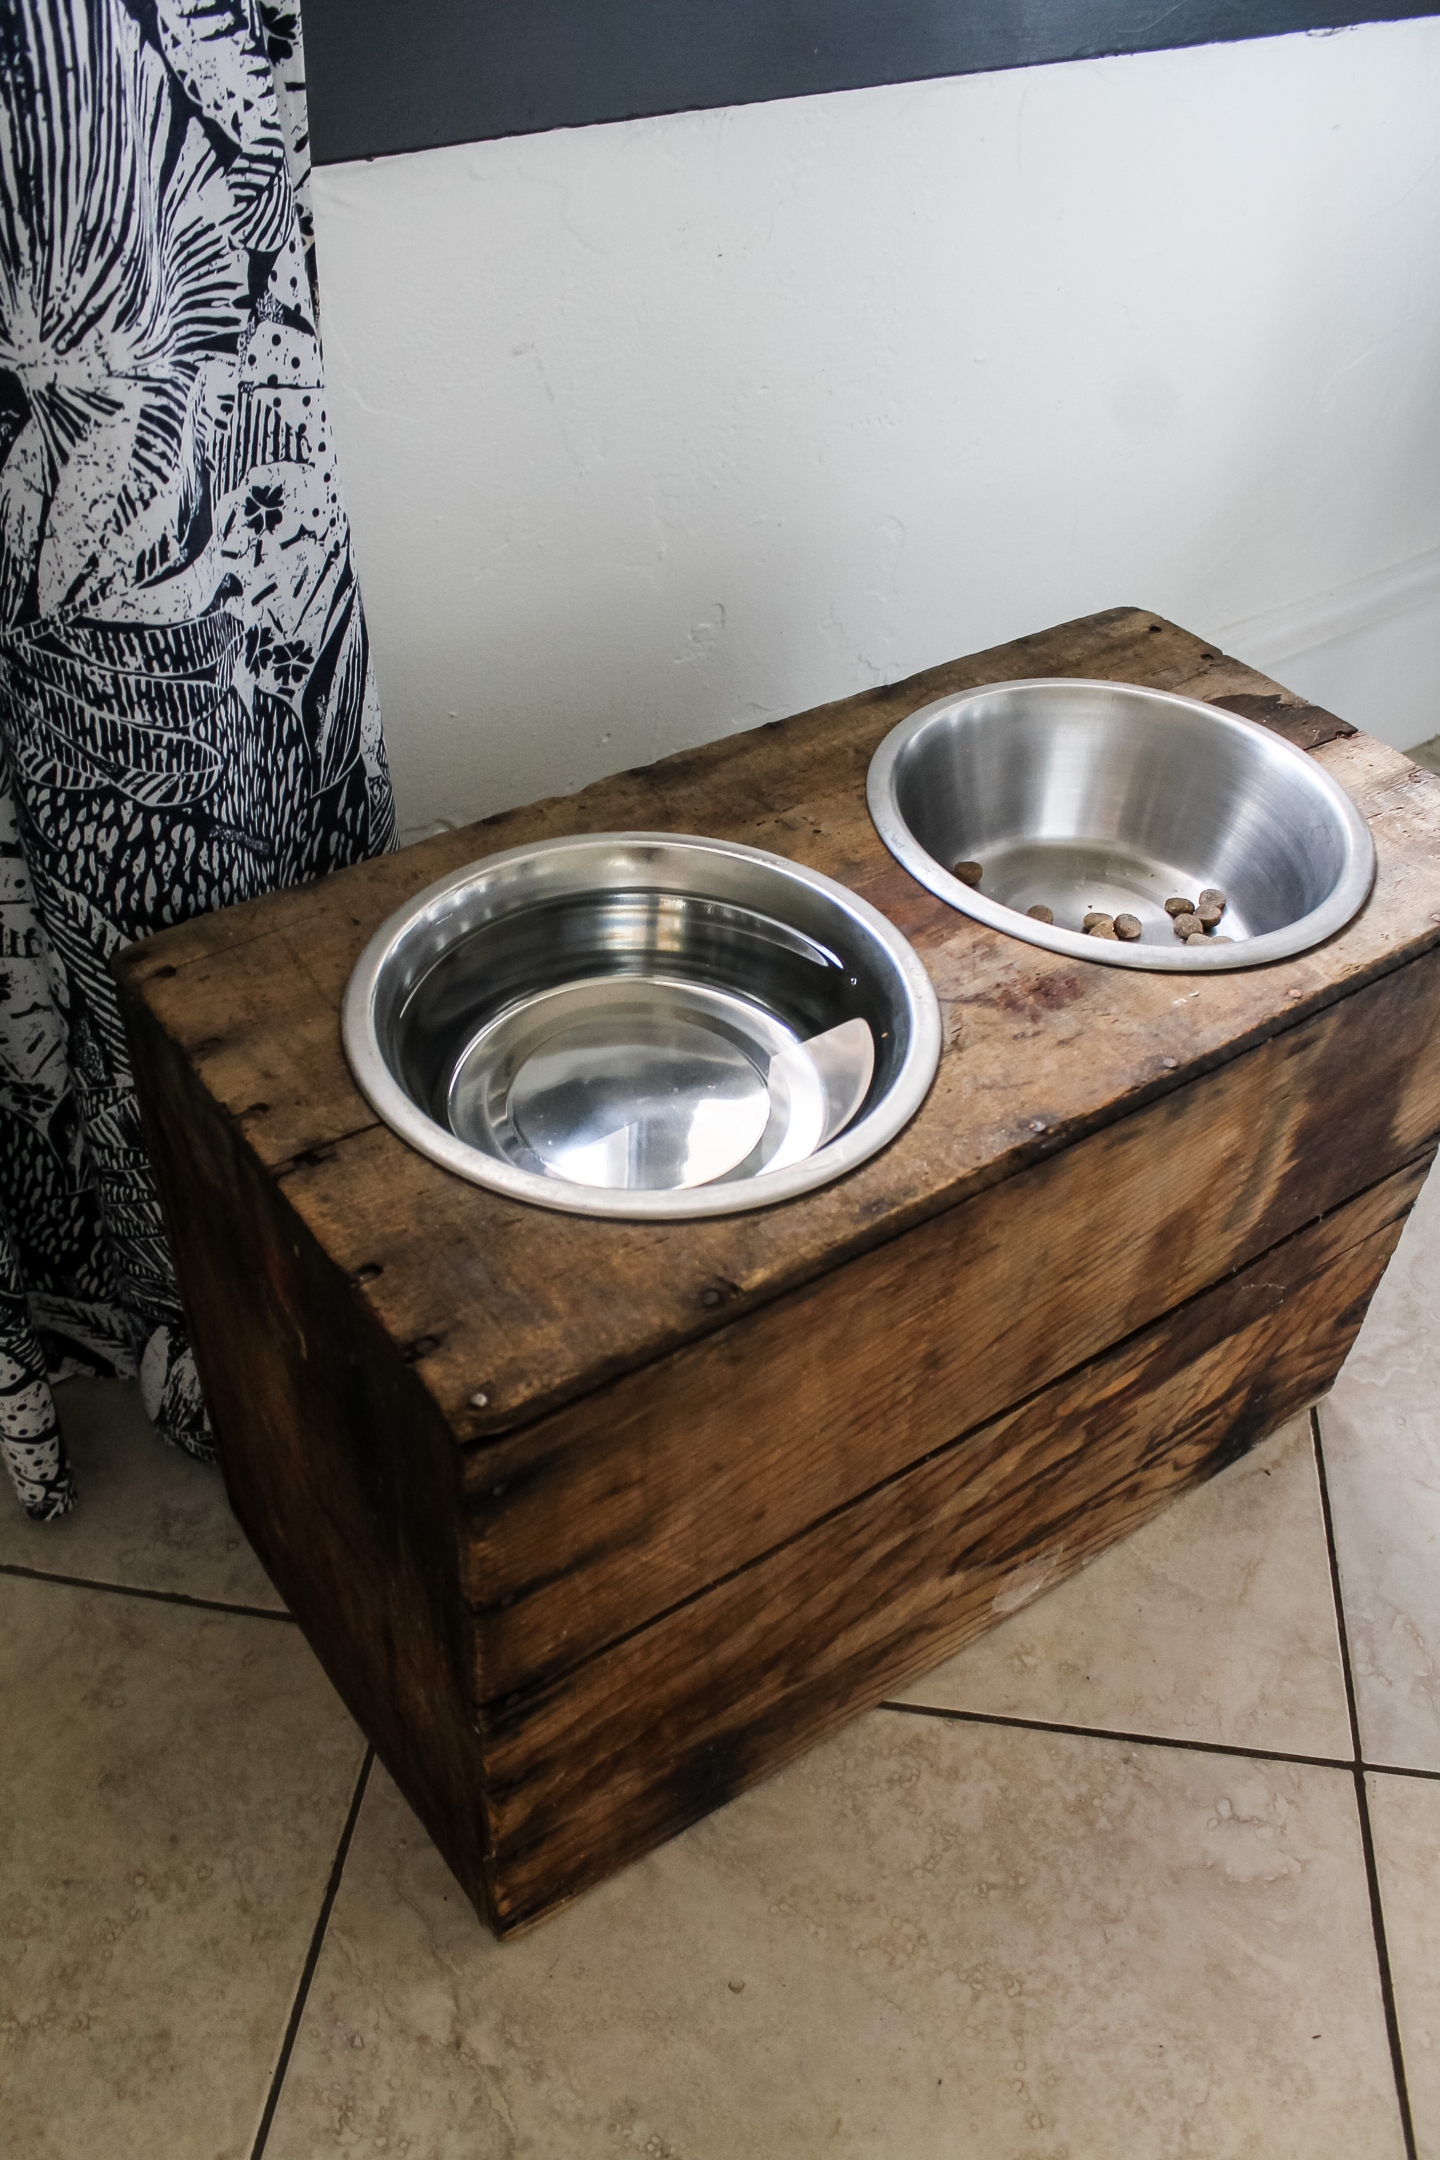
I think that this crate/dog feeding station turned out great! It’s so much cuter than the stand that we were using before, and it just looks cute in the kitchen, like a piece fo furniture rather than an eyesore.
Want to make one too?
Here are the tools needed, in case you don’t own them already.
(affiliated links)
Just be sure to measure your crate before hand to make sure that it will work with your dog dishes…..and of corse, make sure that it will work for your dog 🐶
After taking a better look at my dog while she was eating, I’m thinking that I should probably make her an even taller food stand. Perhaps I might even make a new one out of a bench instead of a crate? Using the same instructions, that too should work. I’ll keep you posted if I do.
If you like this idea, Don’t forget to give it a Pin on Pinterest!!
EMILY

