Did you see my latest Kitchen Makeover that I just blogged about HERE? It turned out so cute, Right? I added the cutest wallpaper, painted the walls blue, and hung this Fun DIY Awning. As promised, today, I’m going to share how I made this awning. It’s really easy to make and I think it’s a fun alternative to just using a curtain.
*Disclaimer: This blog post contains Affiliated links which means that I earn a small commission for purchases made through these links.
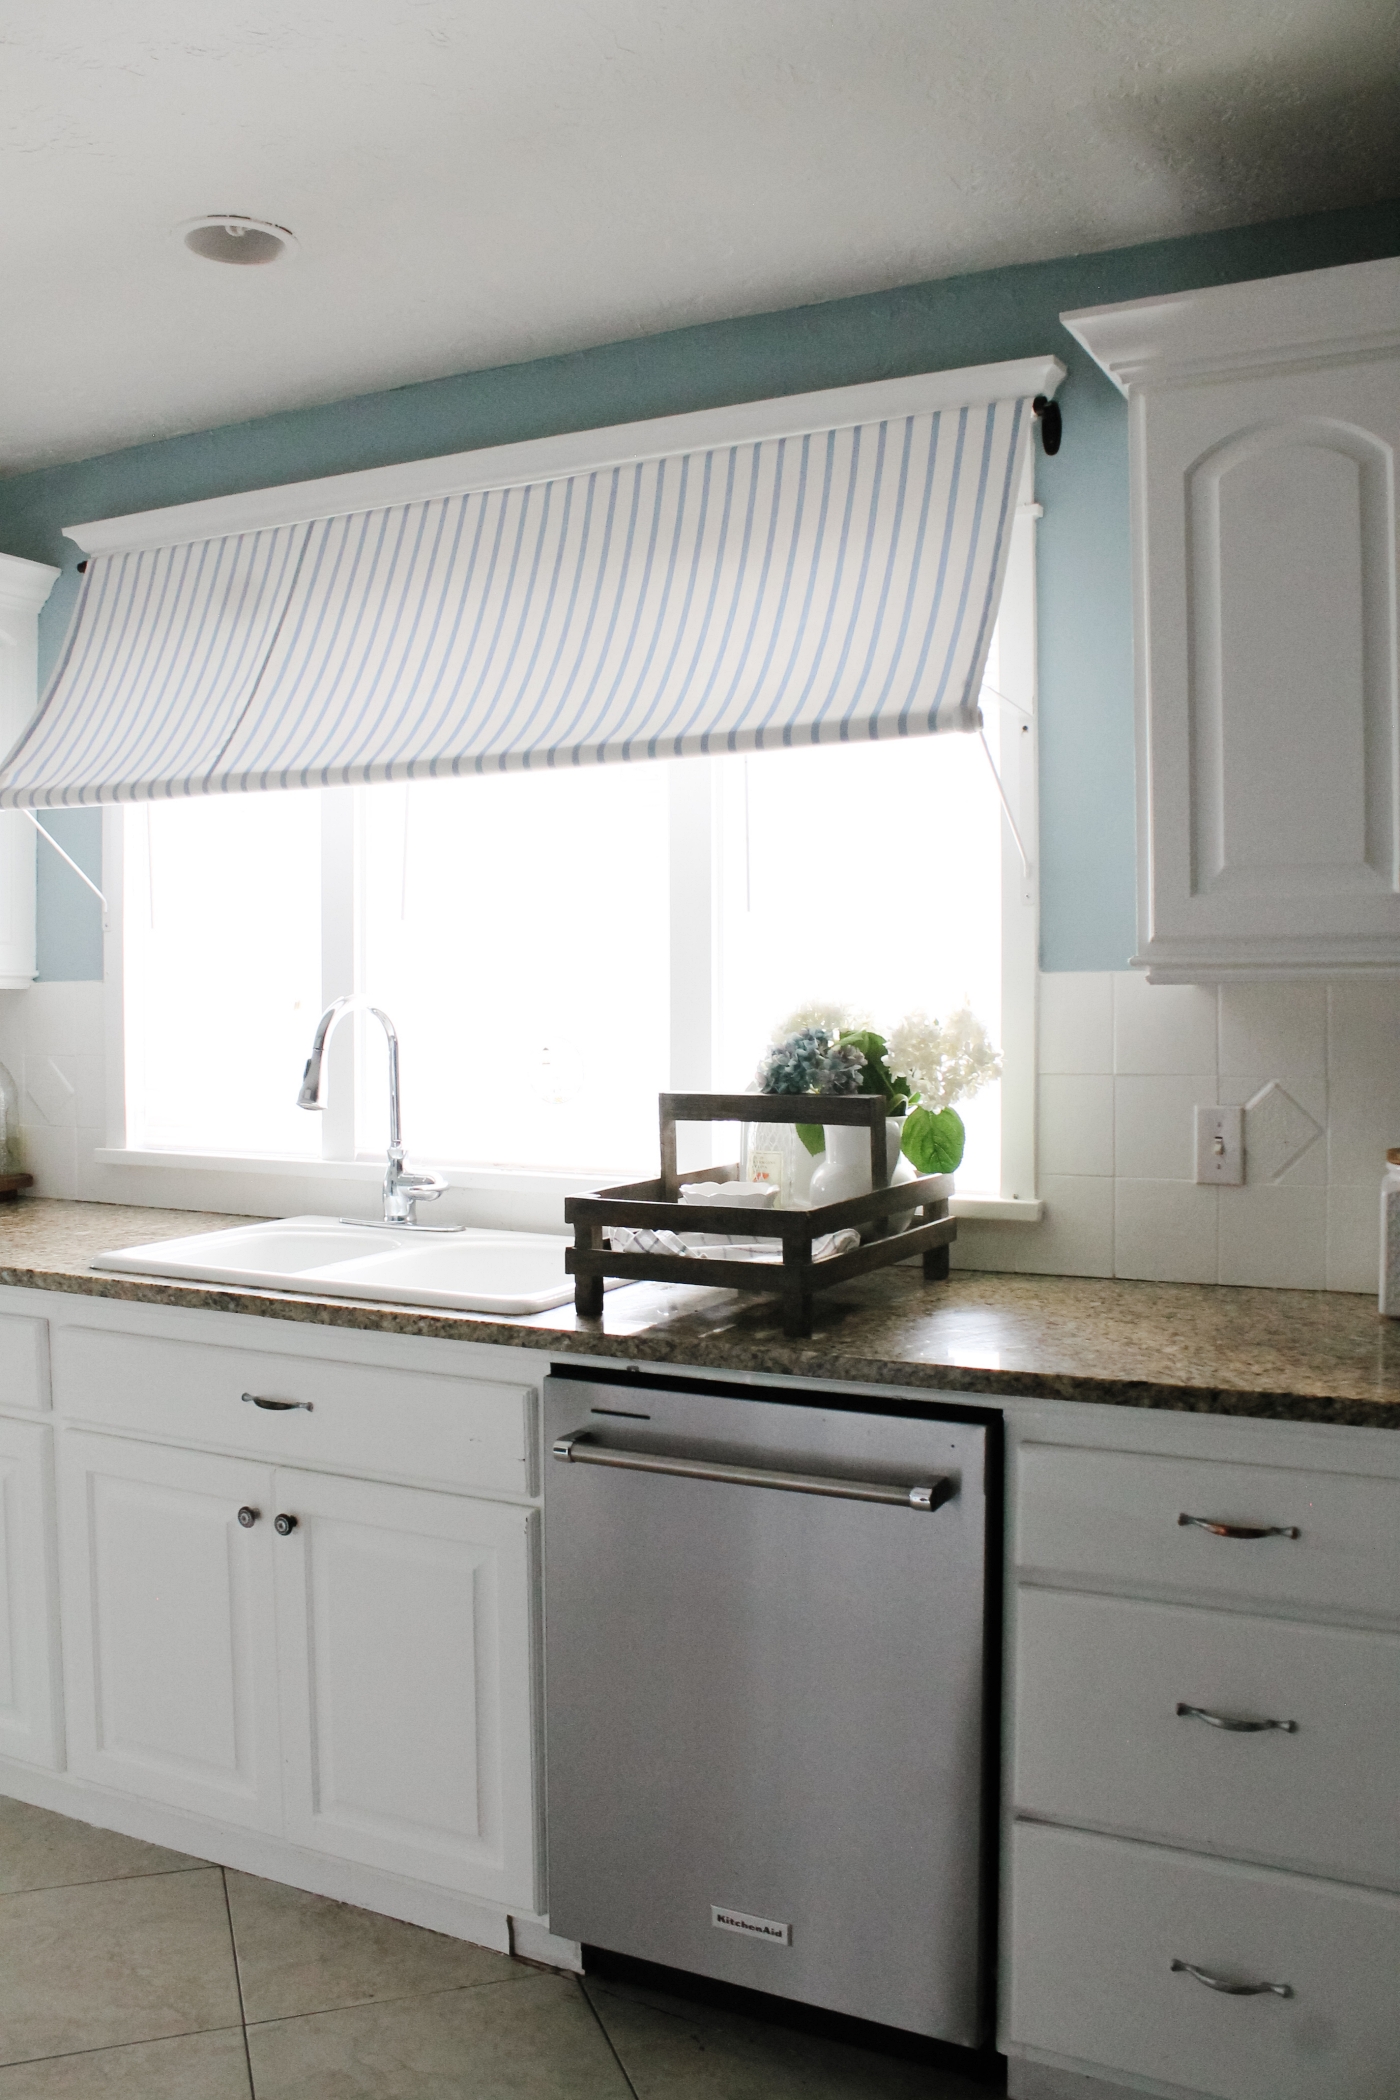
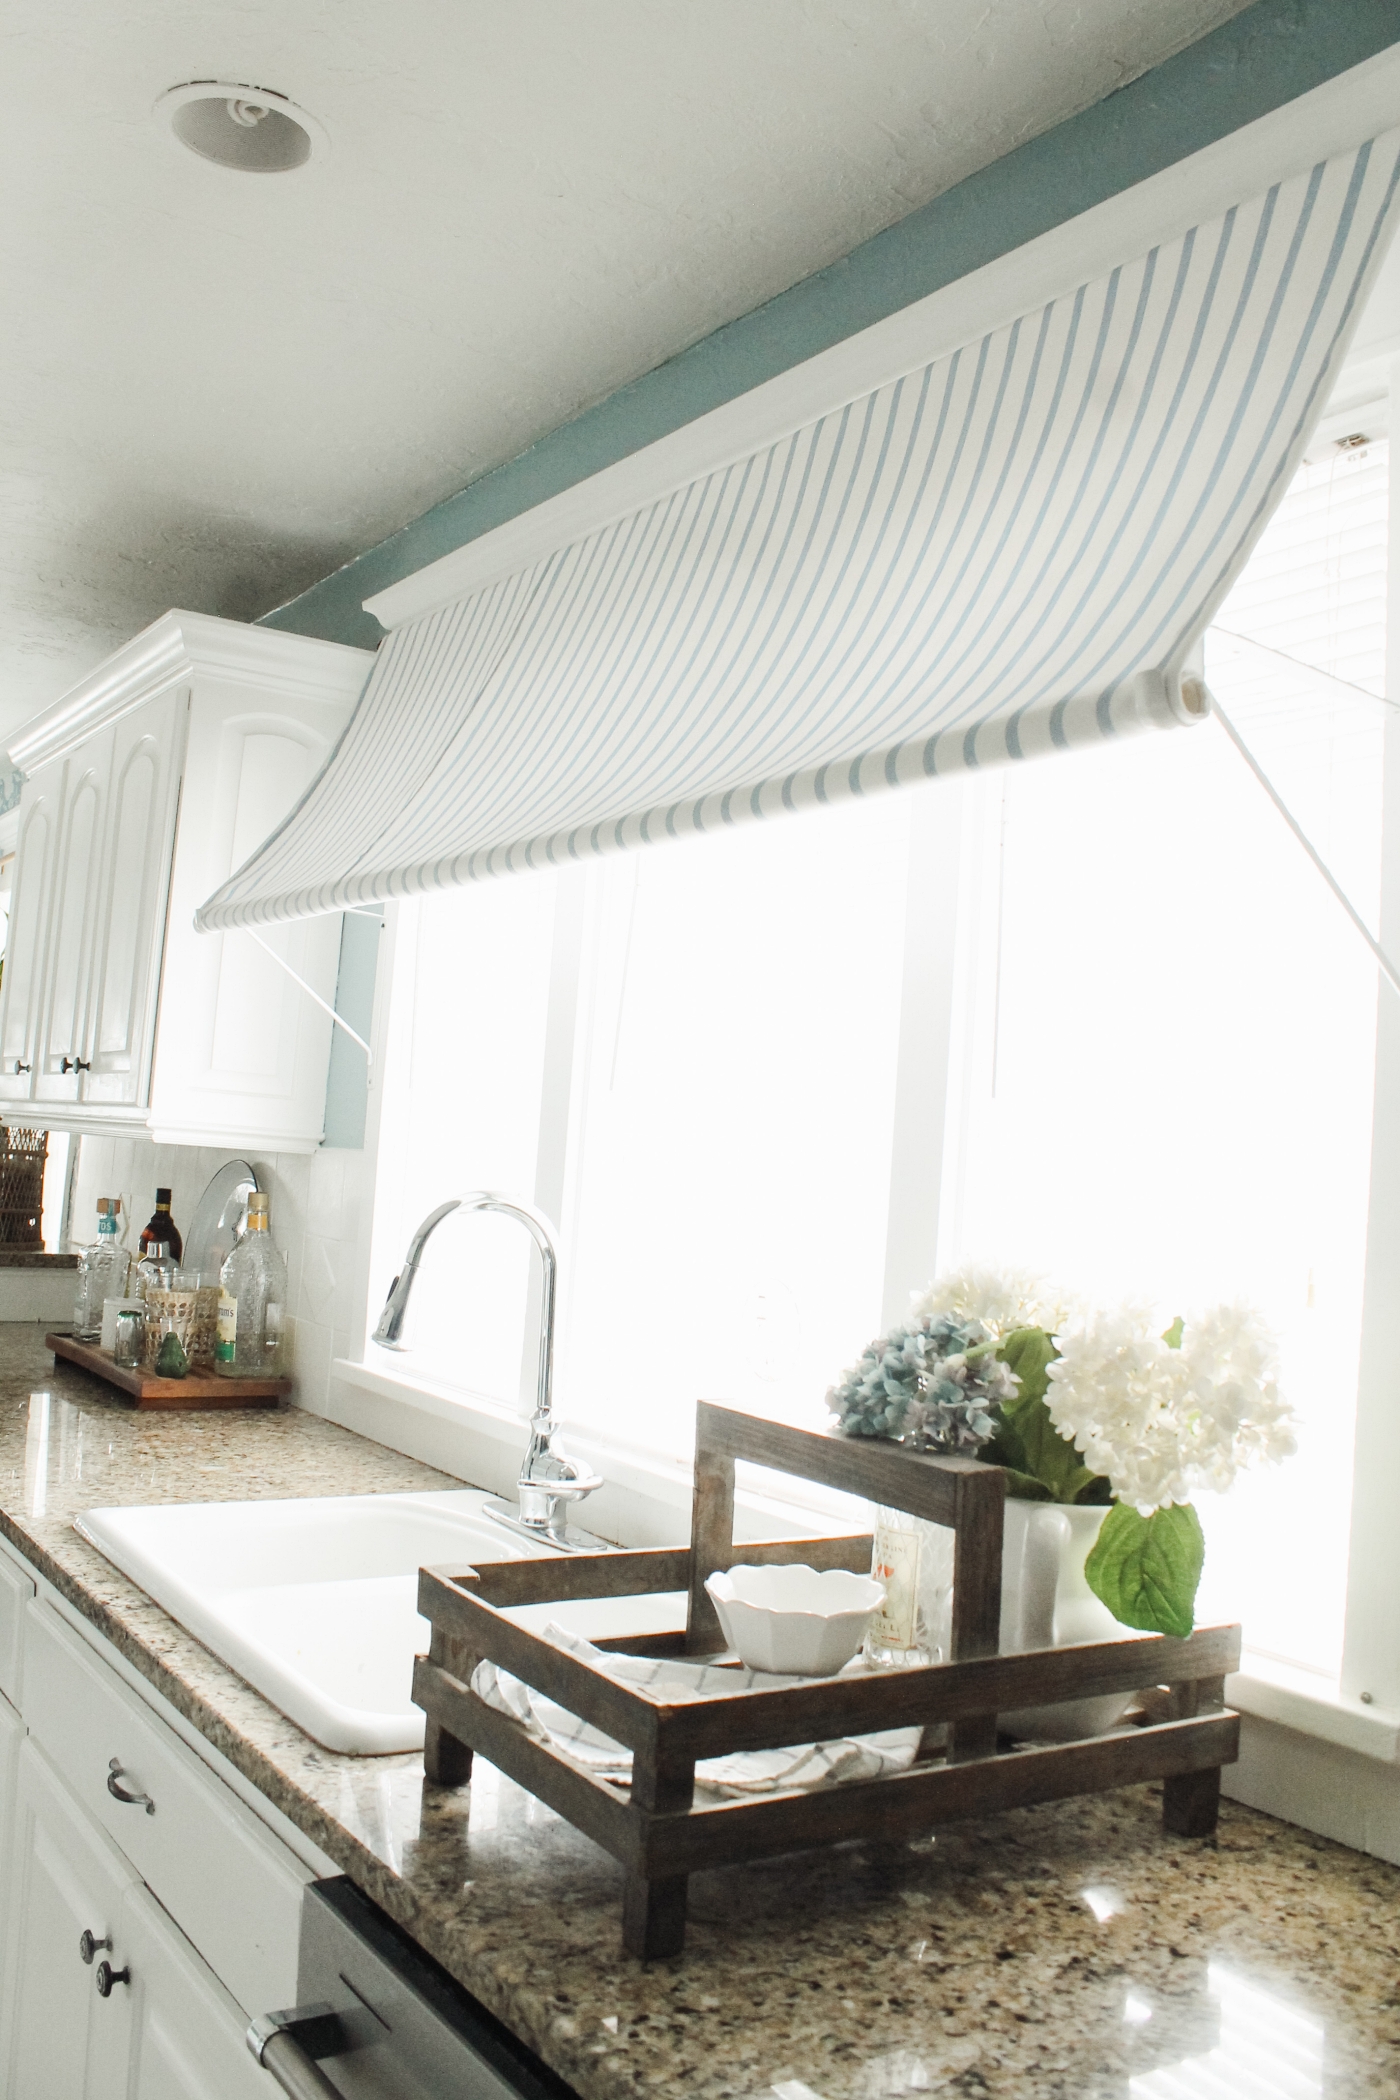
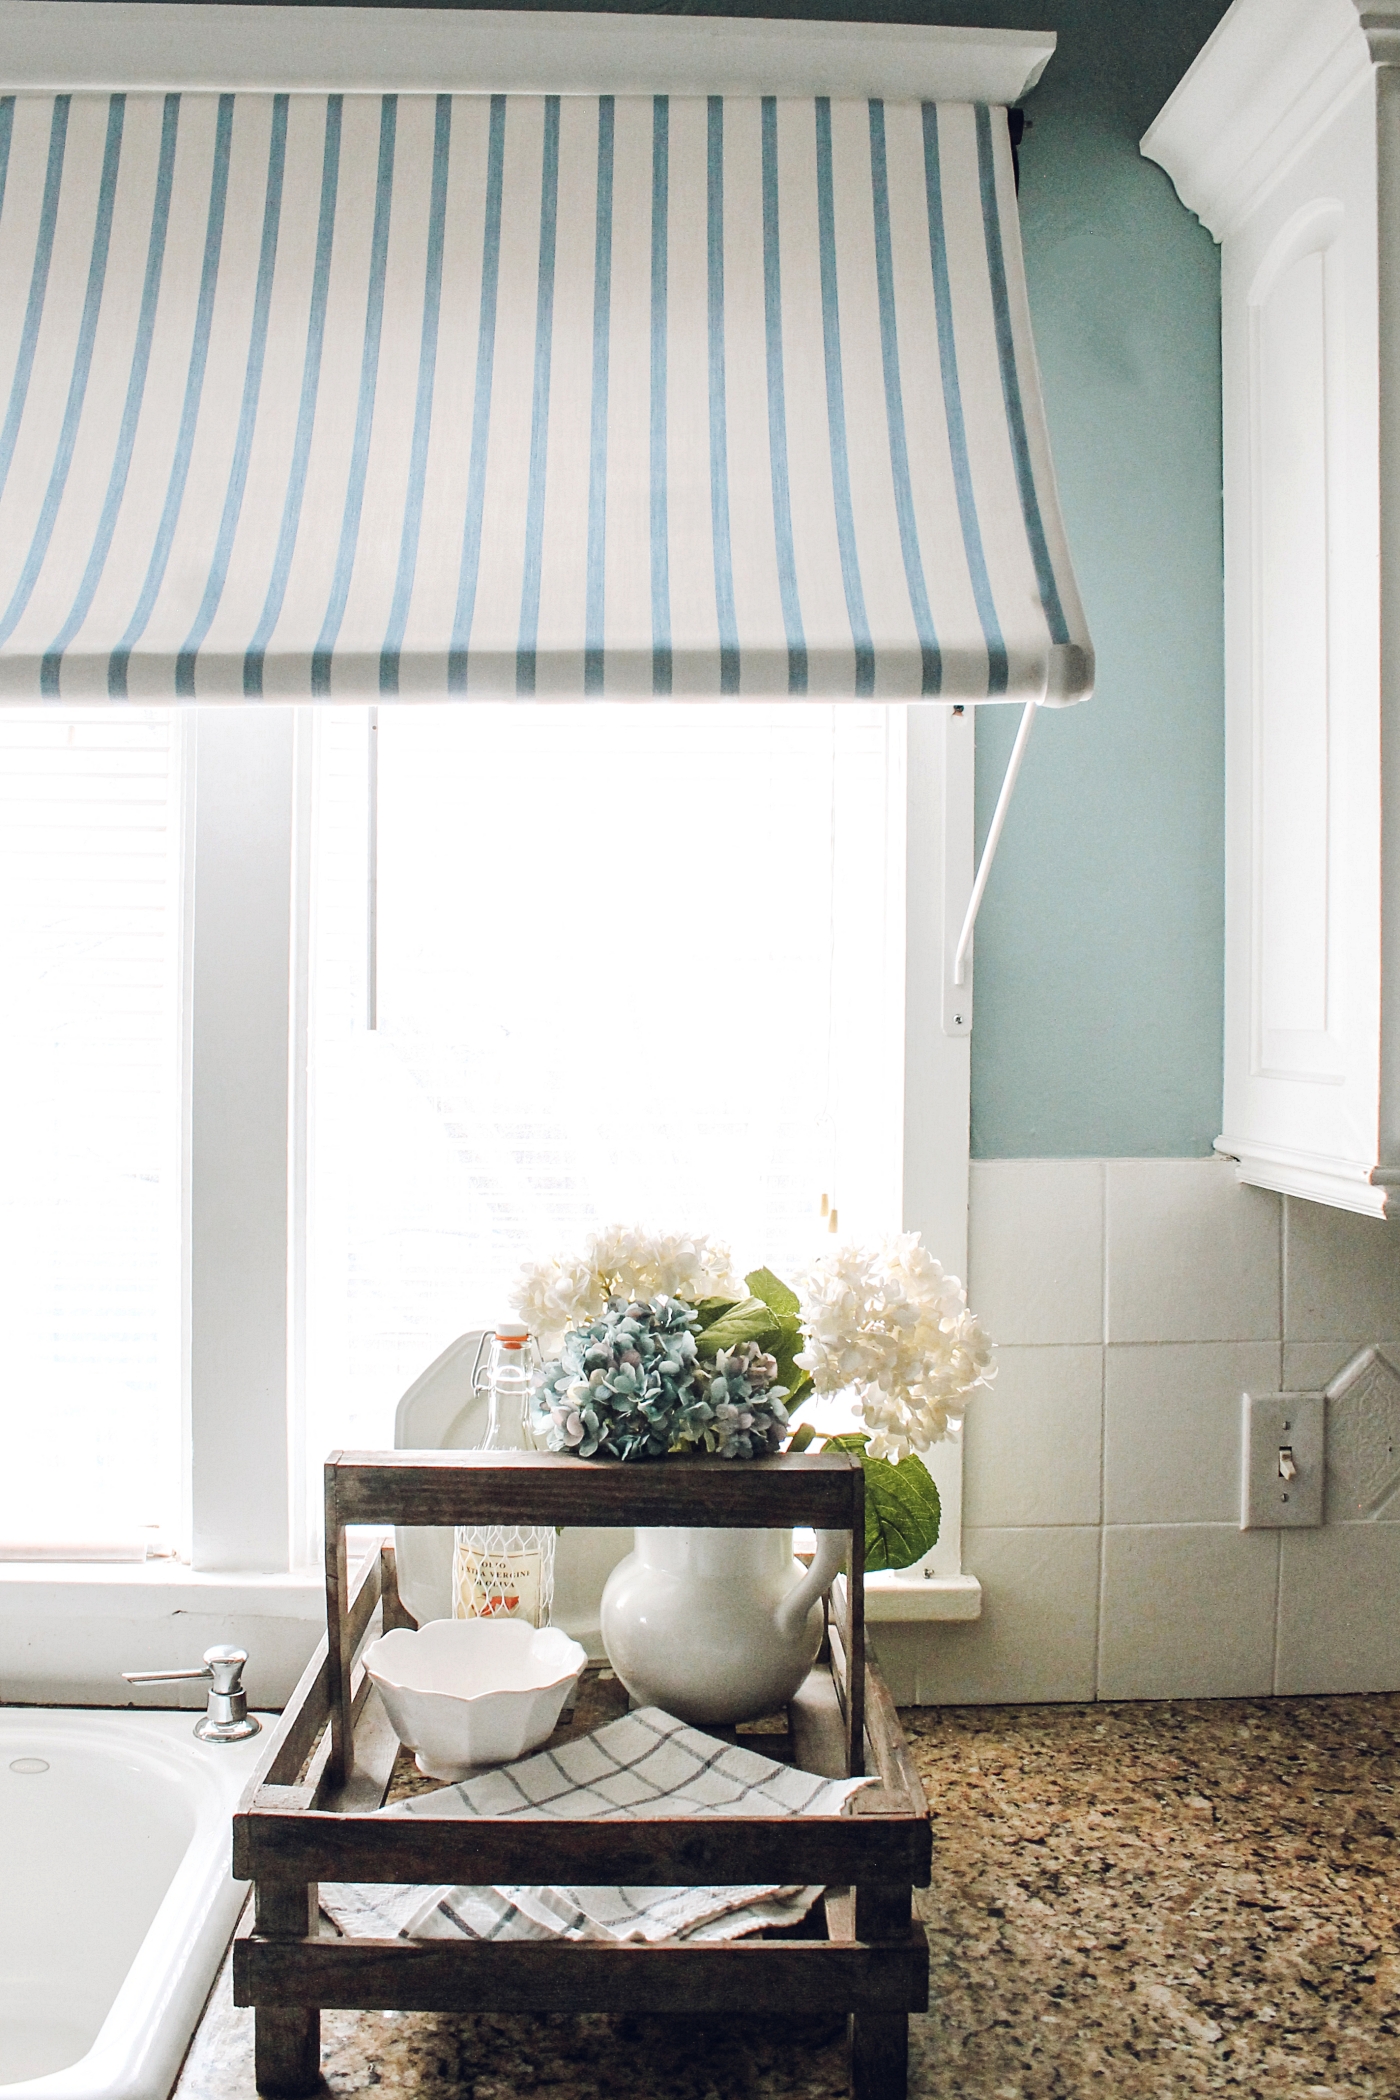
The Awning gives our kitchen a really sweet bistro / cafe / bakery look that I’m really loving right now.
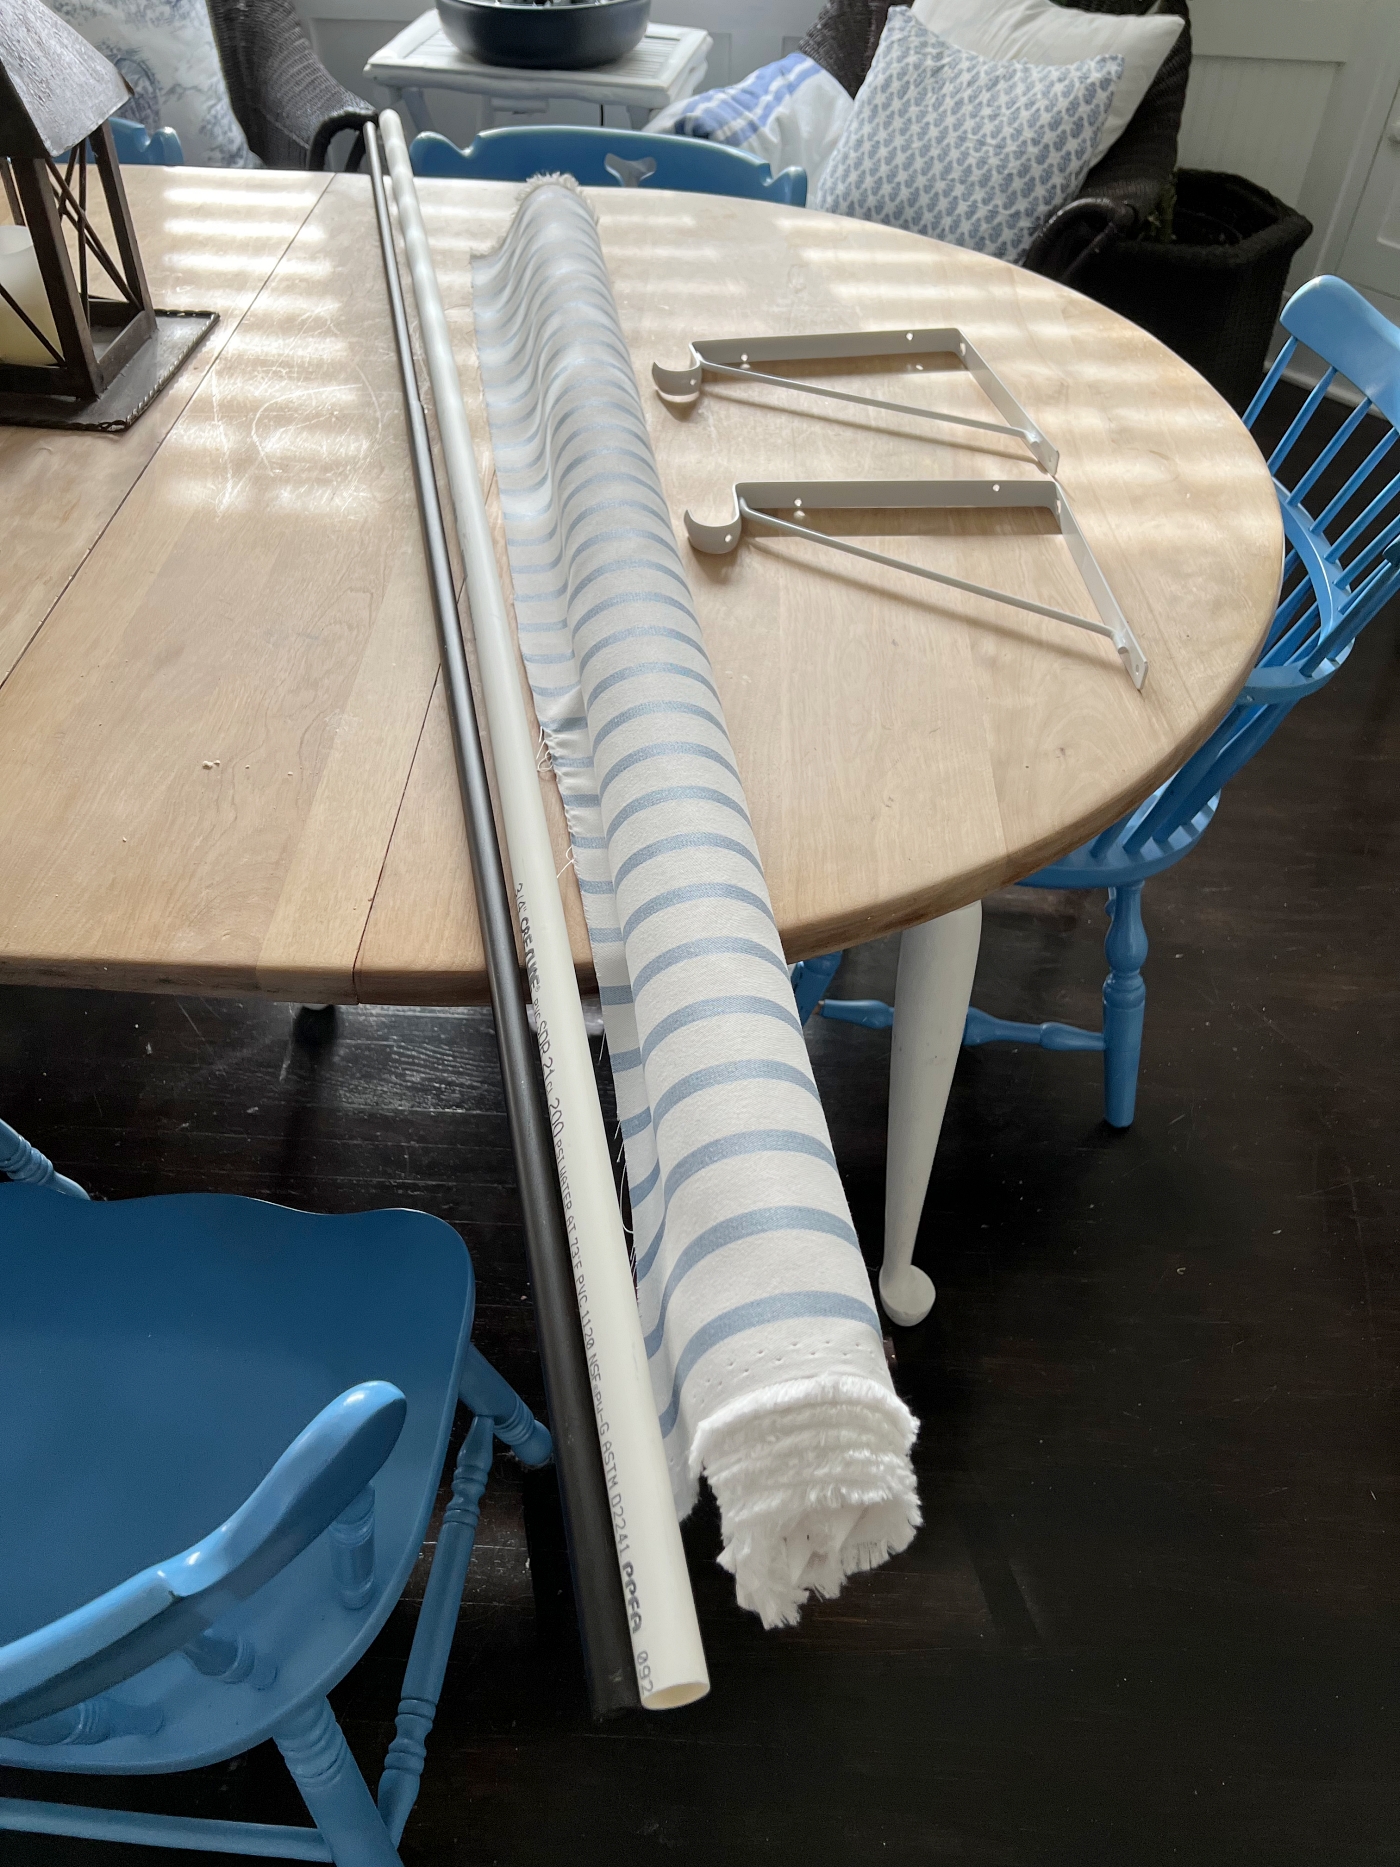
What you need:
- Fabric. You’ll need a sturdier upholster fabric. Mine is Sunbrella brand and I got it from HERE. Measure your window to determine how many yards of fabric you will need.
- Curtain Rod for up top. I’m using one that I had on hand, but I’ll list some options at the end of this post. I’d pick white if I were to buy a new one.
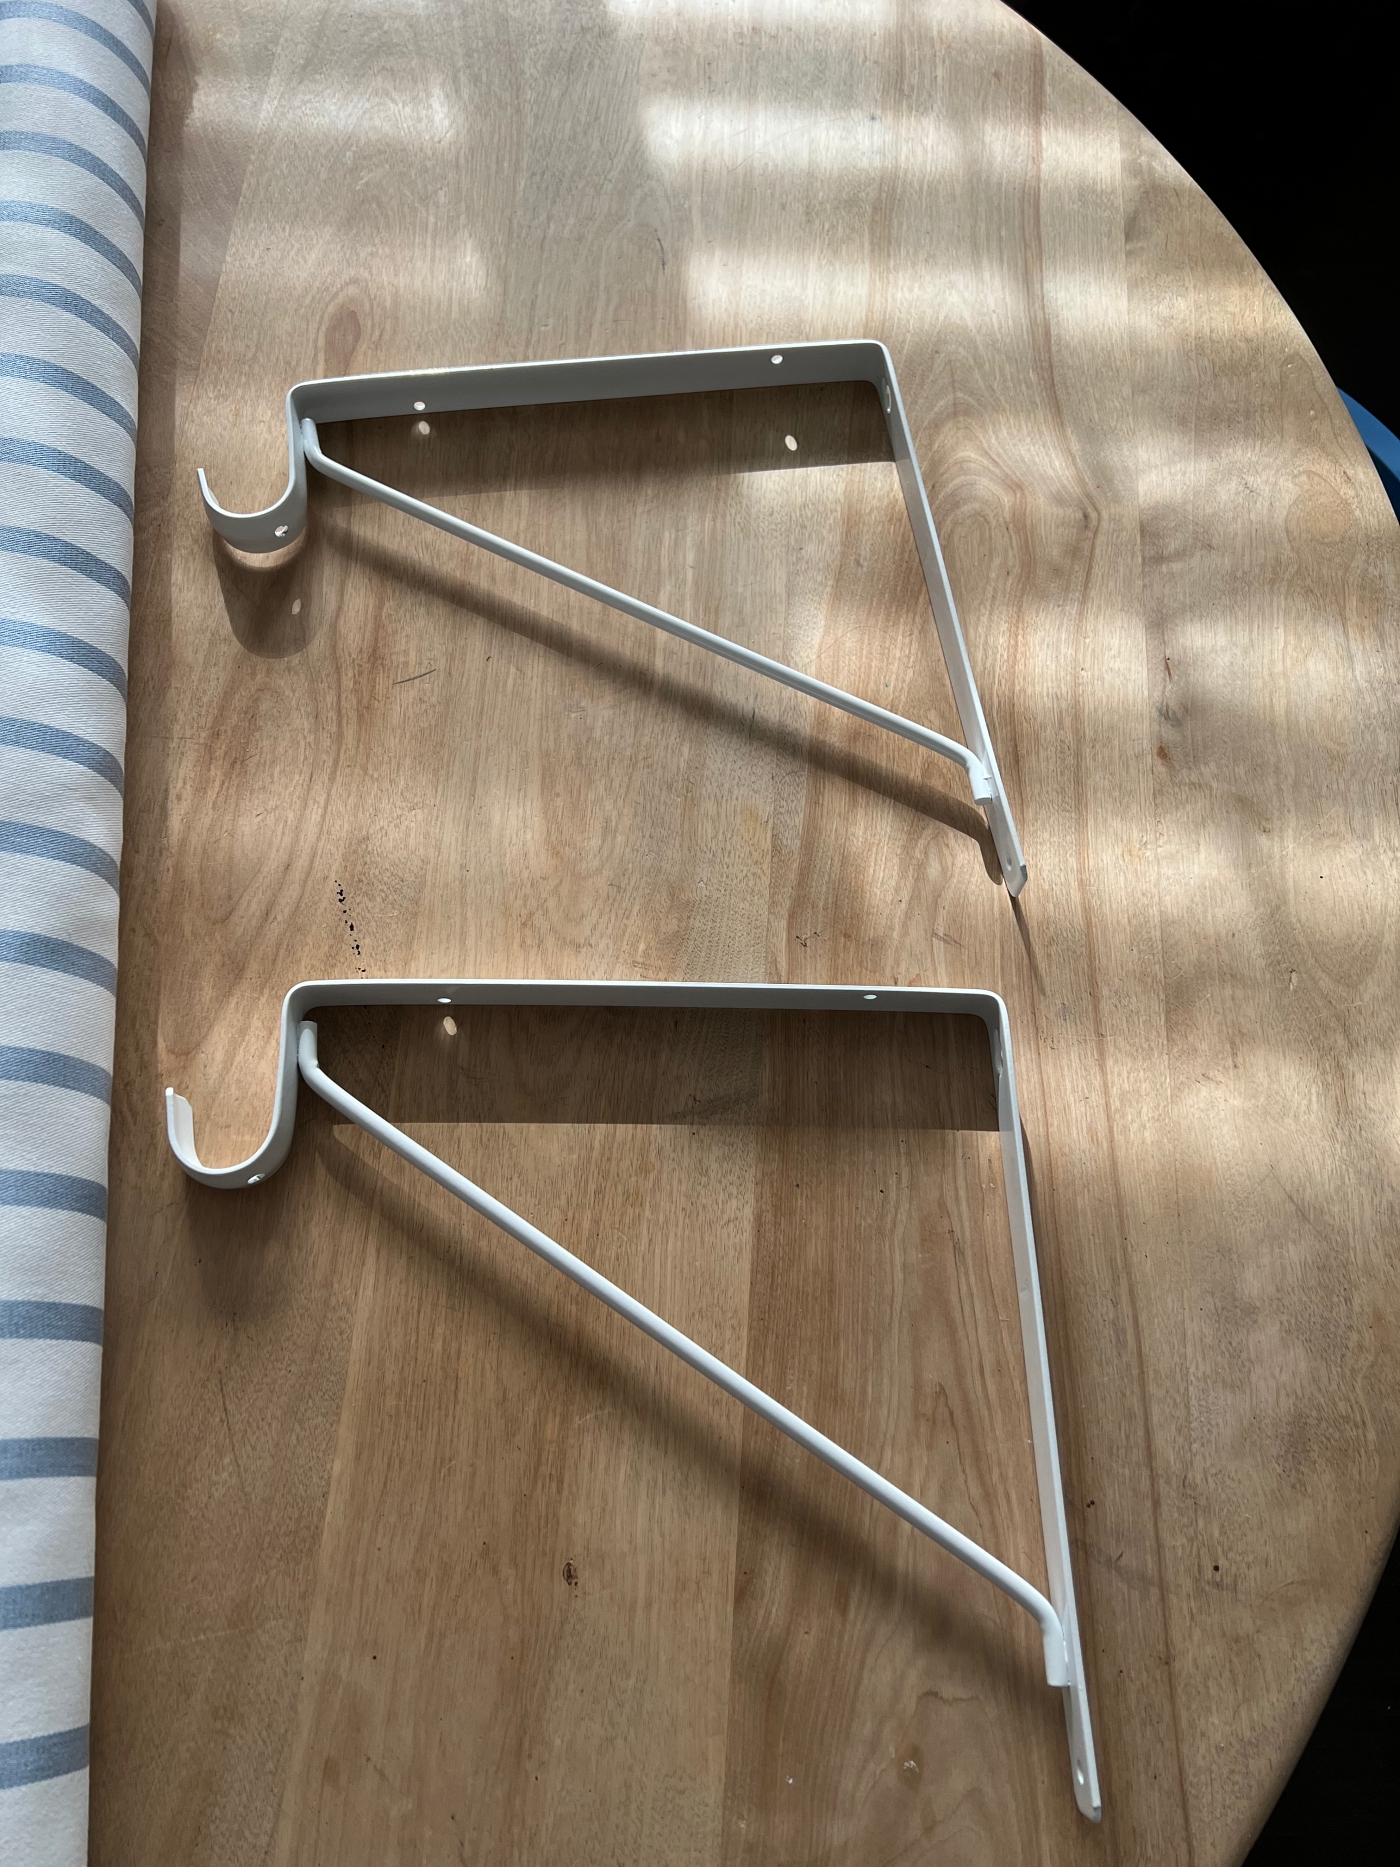
- 2 Closet Rod Brackets. I bought mine at True Value for 6 dollars each. They are pretty standard.
- A Pole for the Bottom. You could use a closet pole, a PVC Pipe, or a second curtain rod. It just needs to be long enough to cover the window and fit into the brackets. I used a 1 inch PVC Pipe.
- A Hot Glue Gun and Glue Sticks – (This one is a popular one).
- Scissors to cut fabric – (Like these)
- Screwdriver and Screws – (The is the one I use)
- Bag Clips. (I used this type)
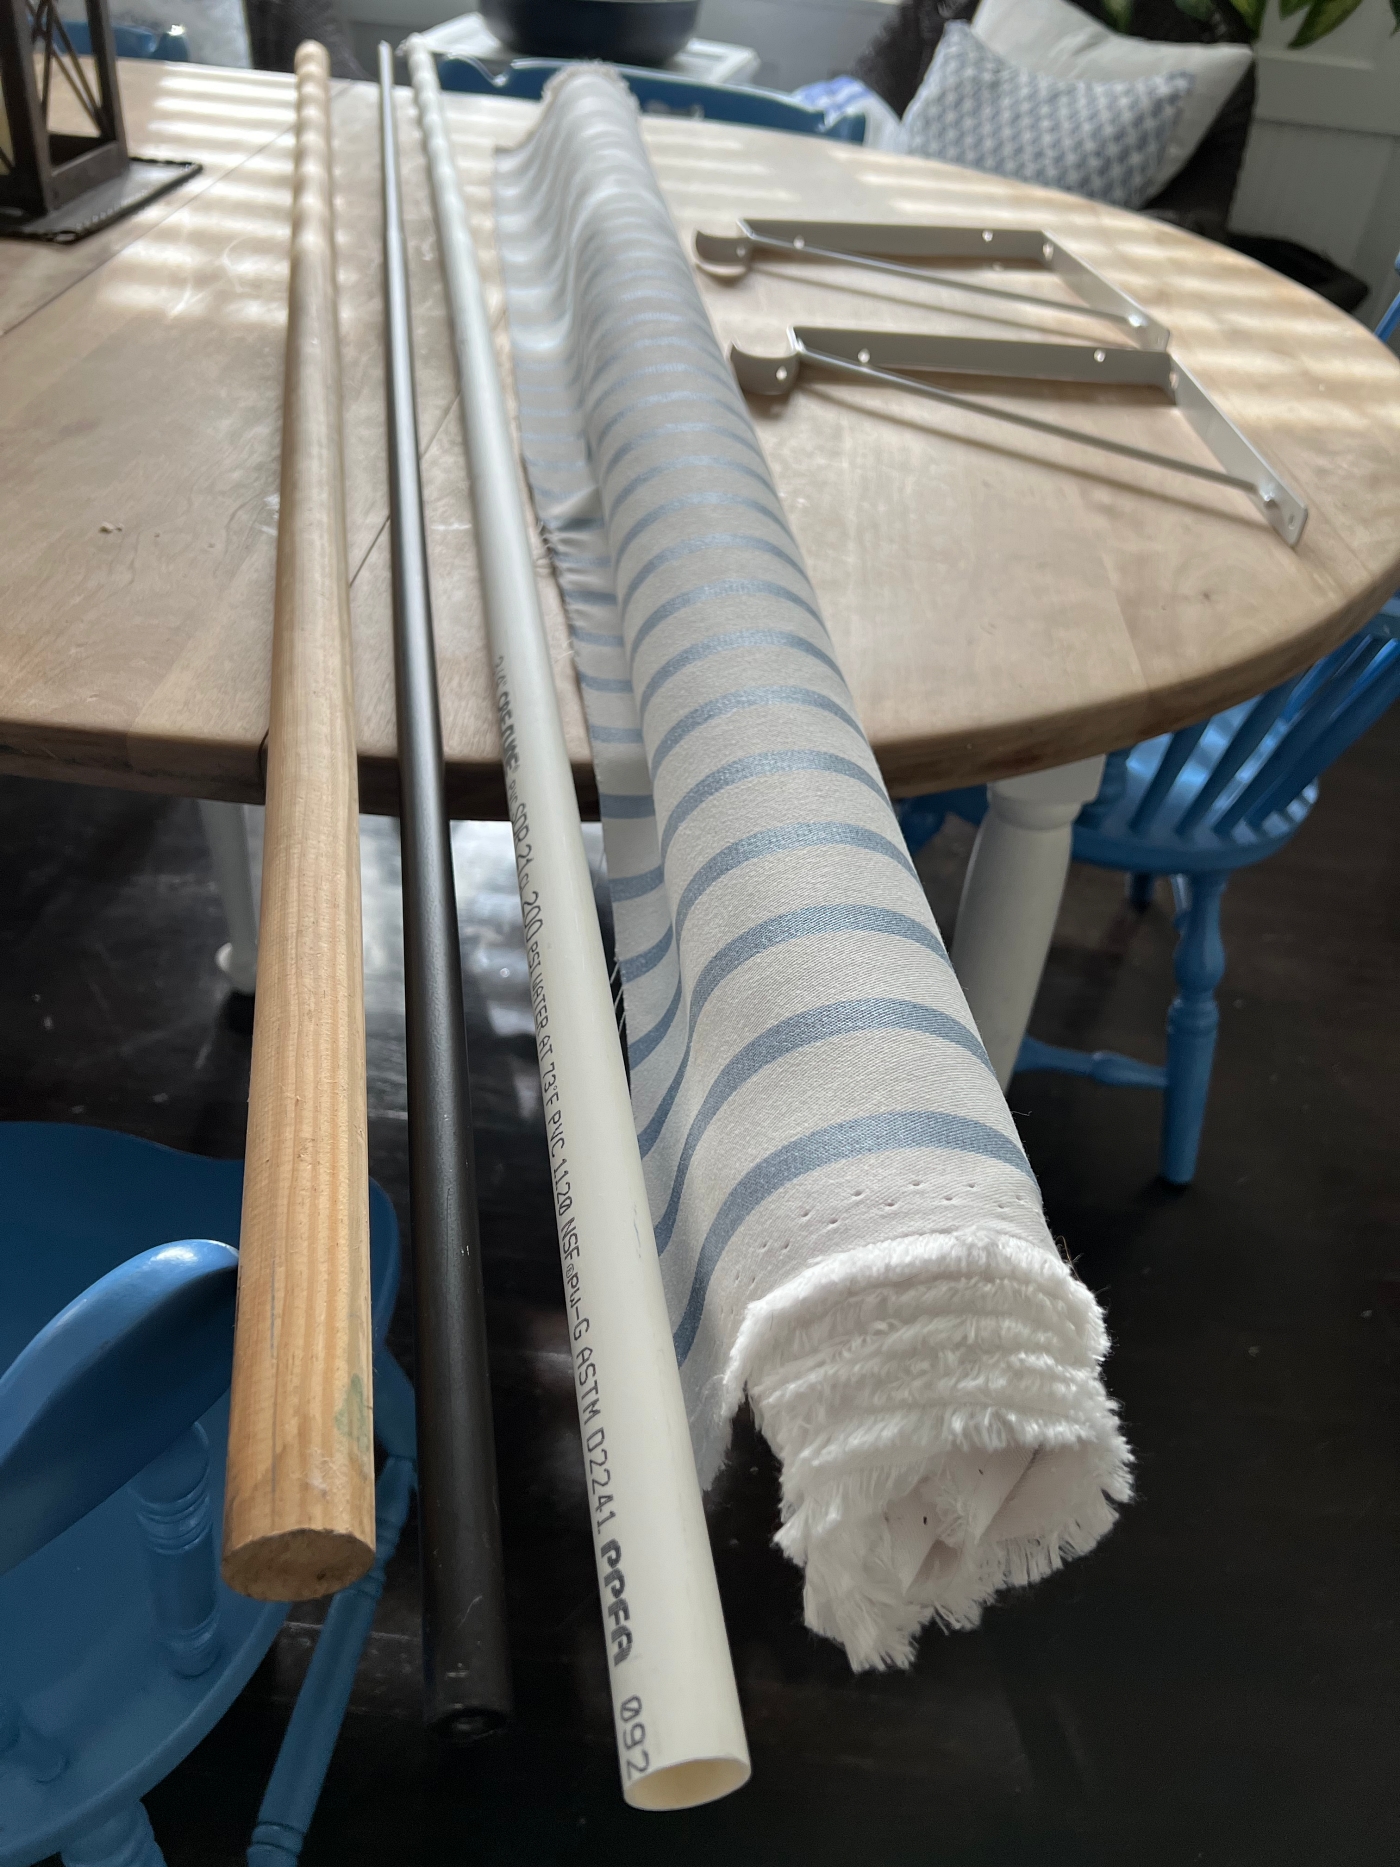
Kinda a funny story, I found in our garage a wood closet dowel that I had planned to use, not the one pictured above, that one was too short, but another one up in the rafters, all I needed was to get my husband to get it down from the rafters, get out the big table saw, cut it down to size….. all while finding the time to do so. But then…. Low and Behold, I found the perfect sized PVC pipe just laying next to our trash can. We had just gotten a new HVAC System put in, and when the guys were cleaning up they placed some trash next to our trash can to haul away. The Pipe turned out to be Perfect size for my Awning! Well actually, I did have to cut a few inches off but I was able to do so easily with a hand saw.
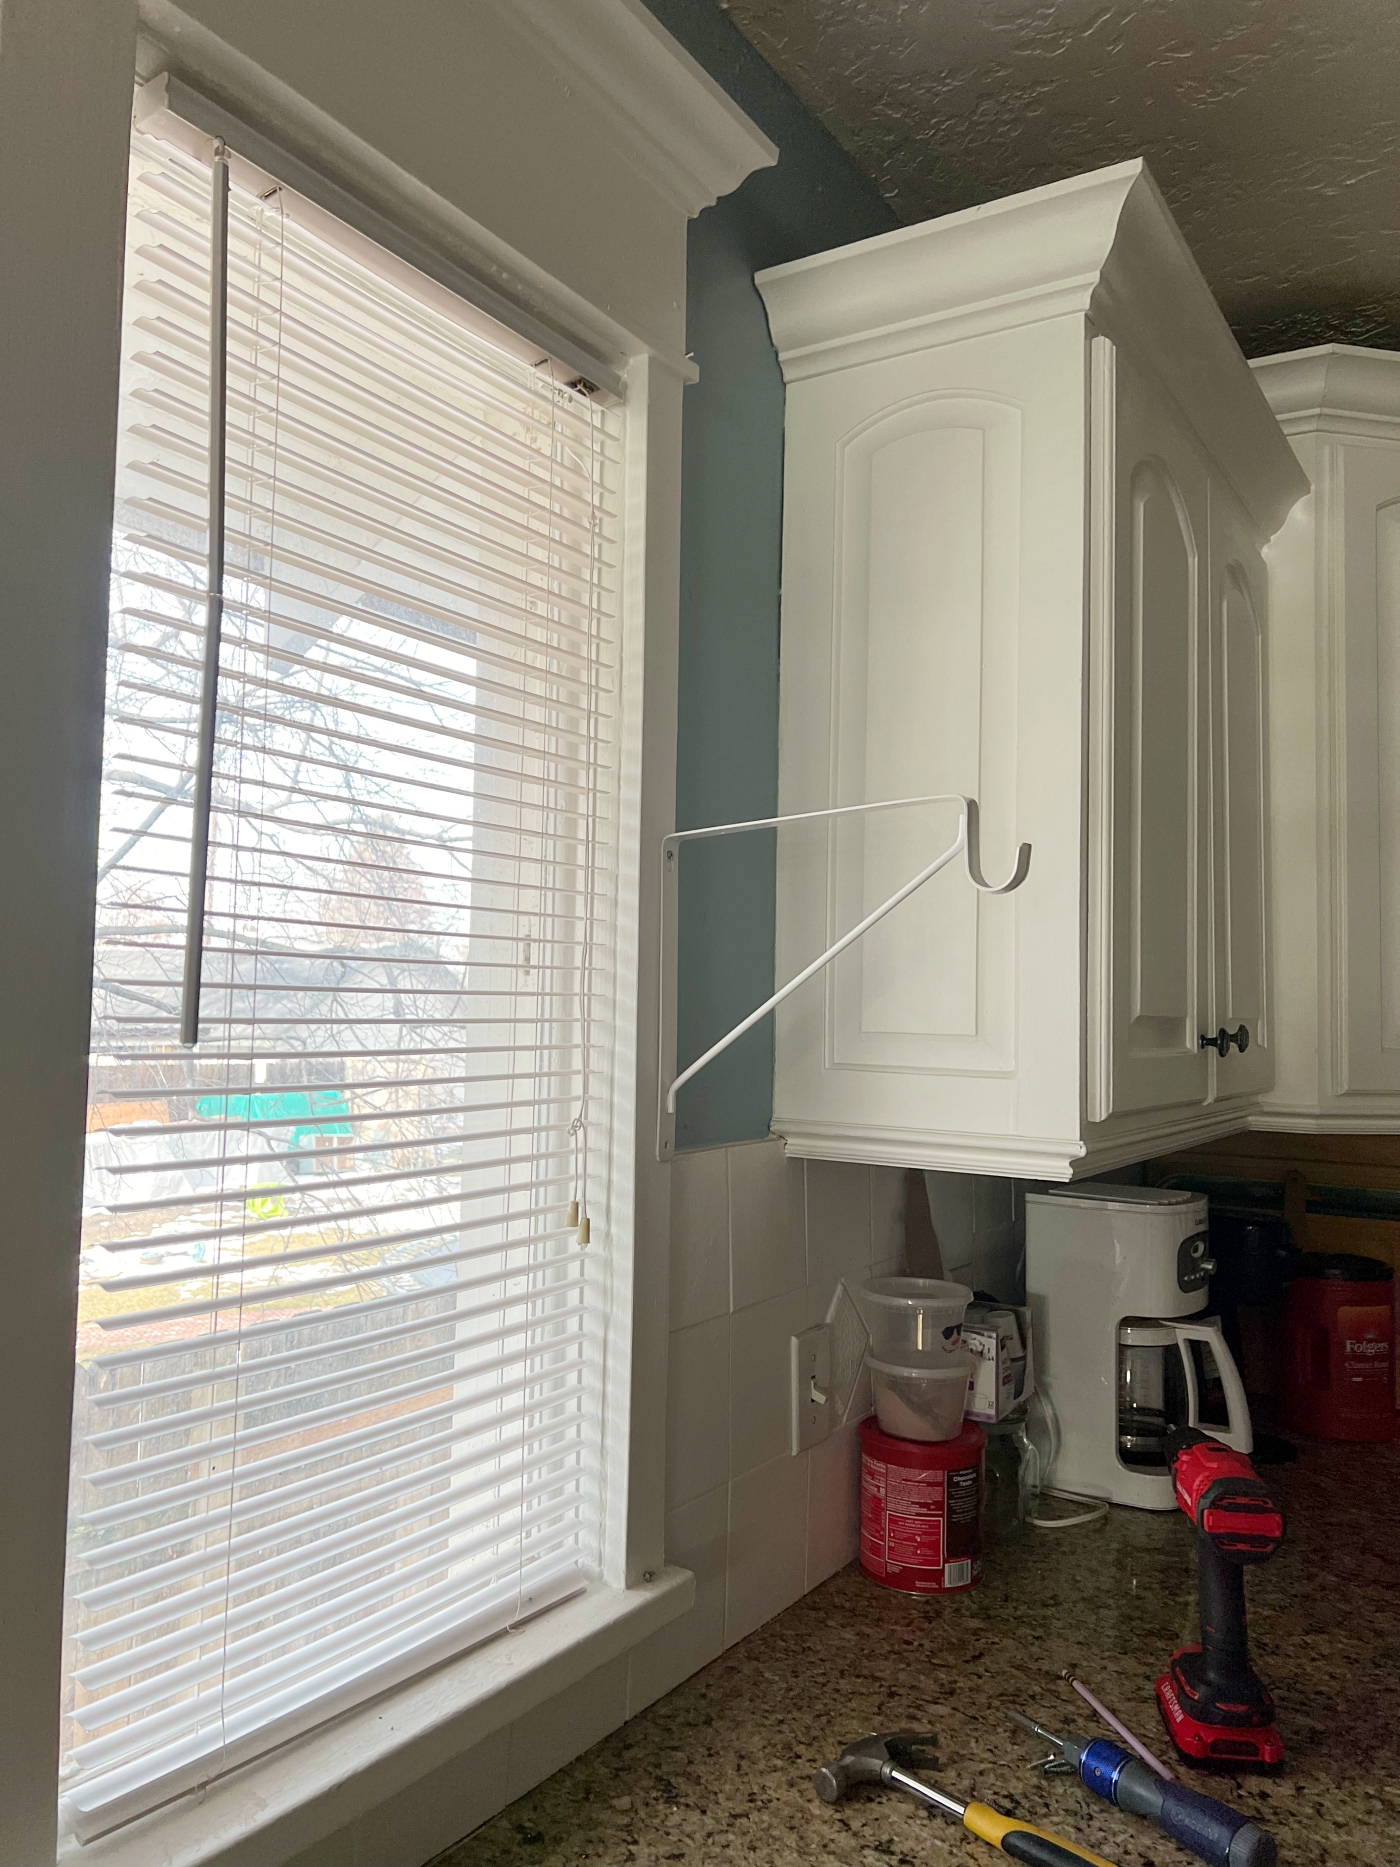
Step 1 – Hang brackets & Rods
Start by hanging the brackets. Hang the curtain rod up top and the two side brackets at about the middle point of the sides of your window. Try to keep both rods at the same length.
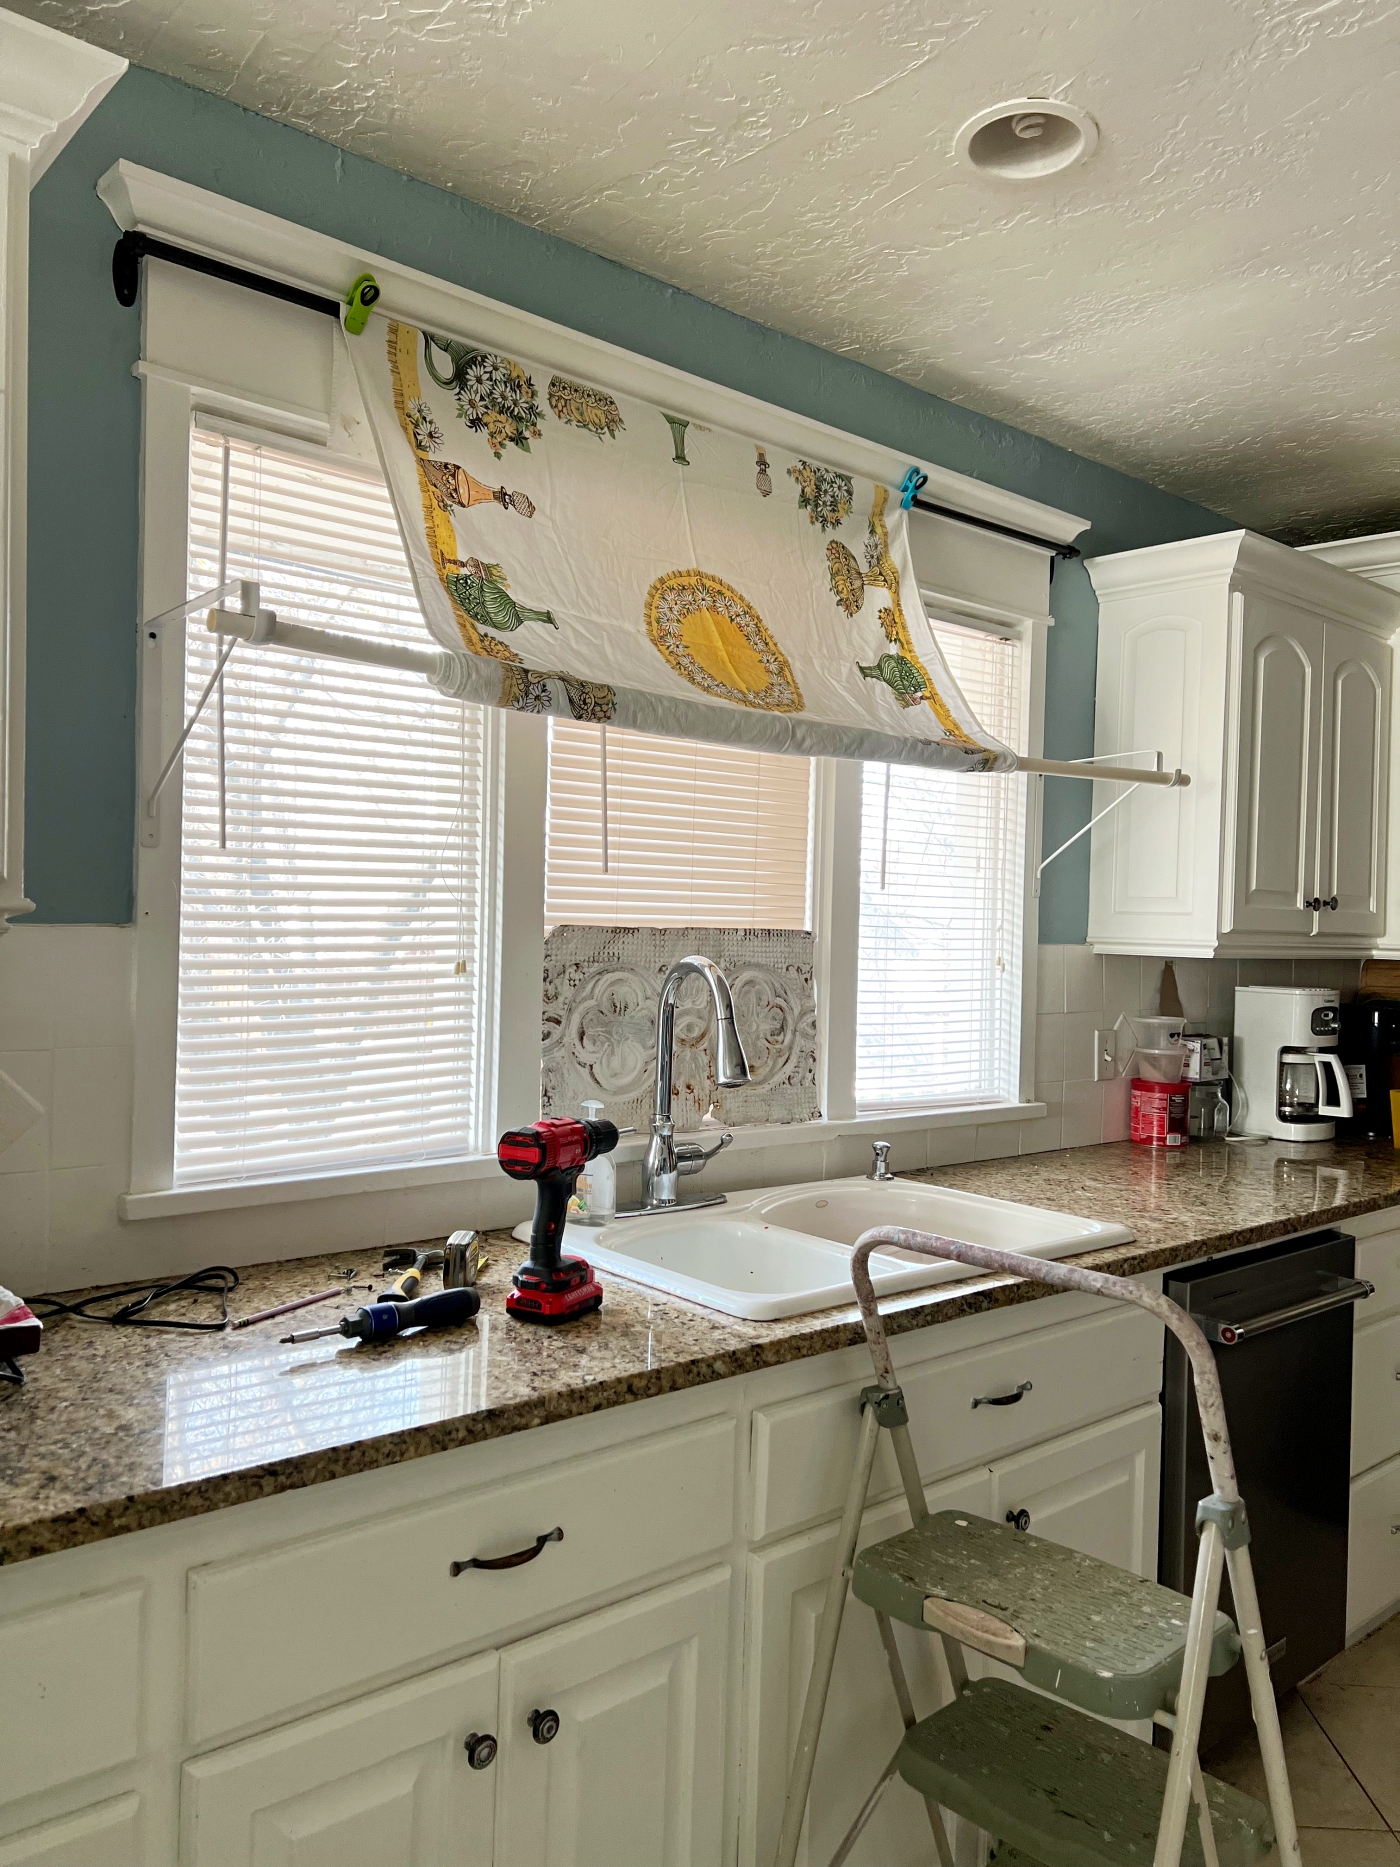
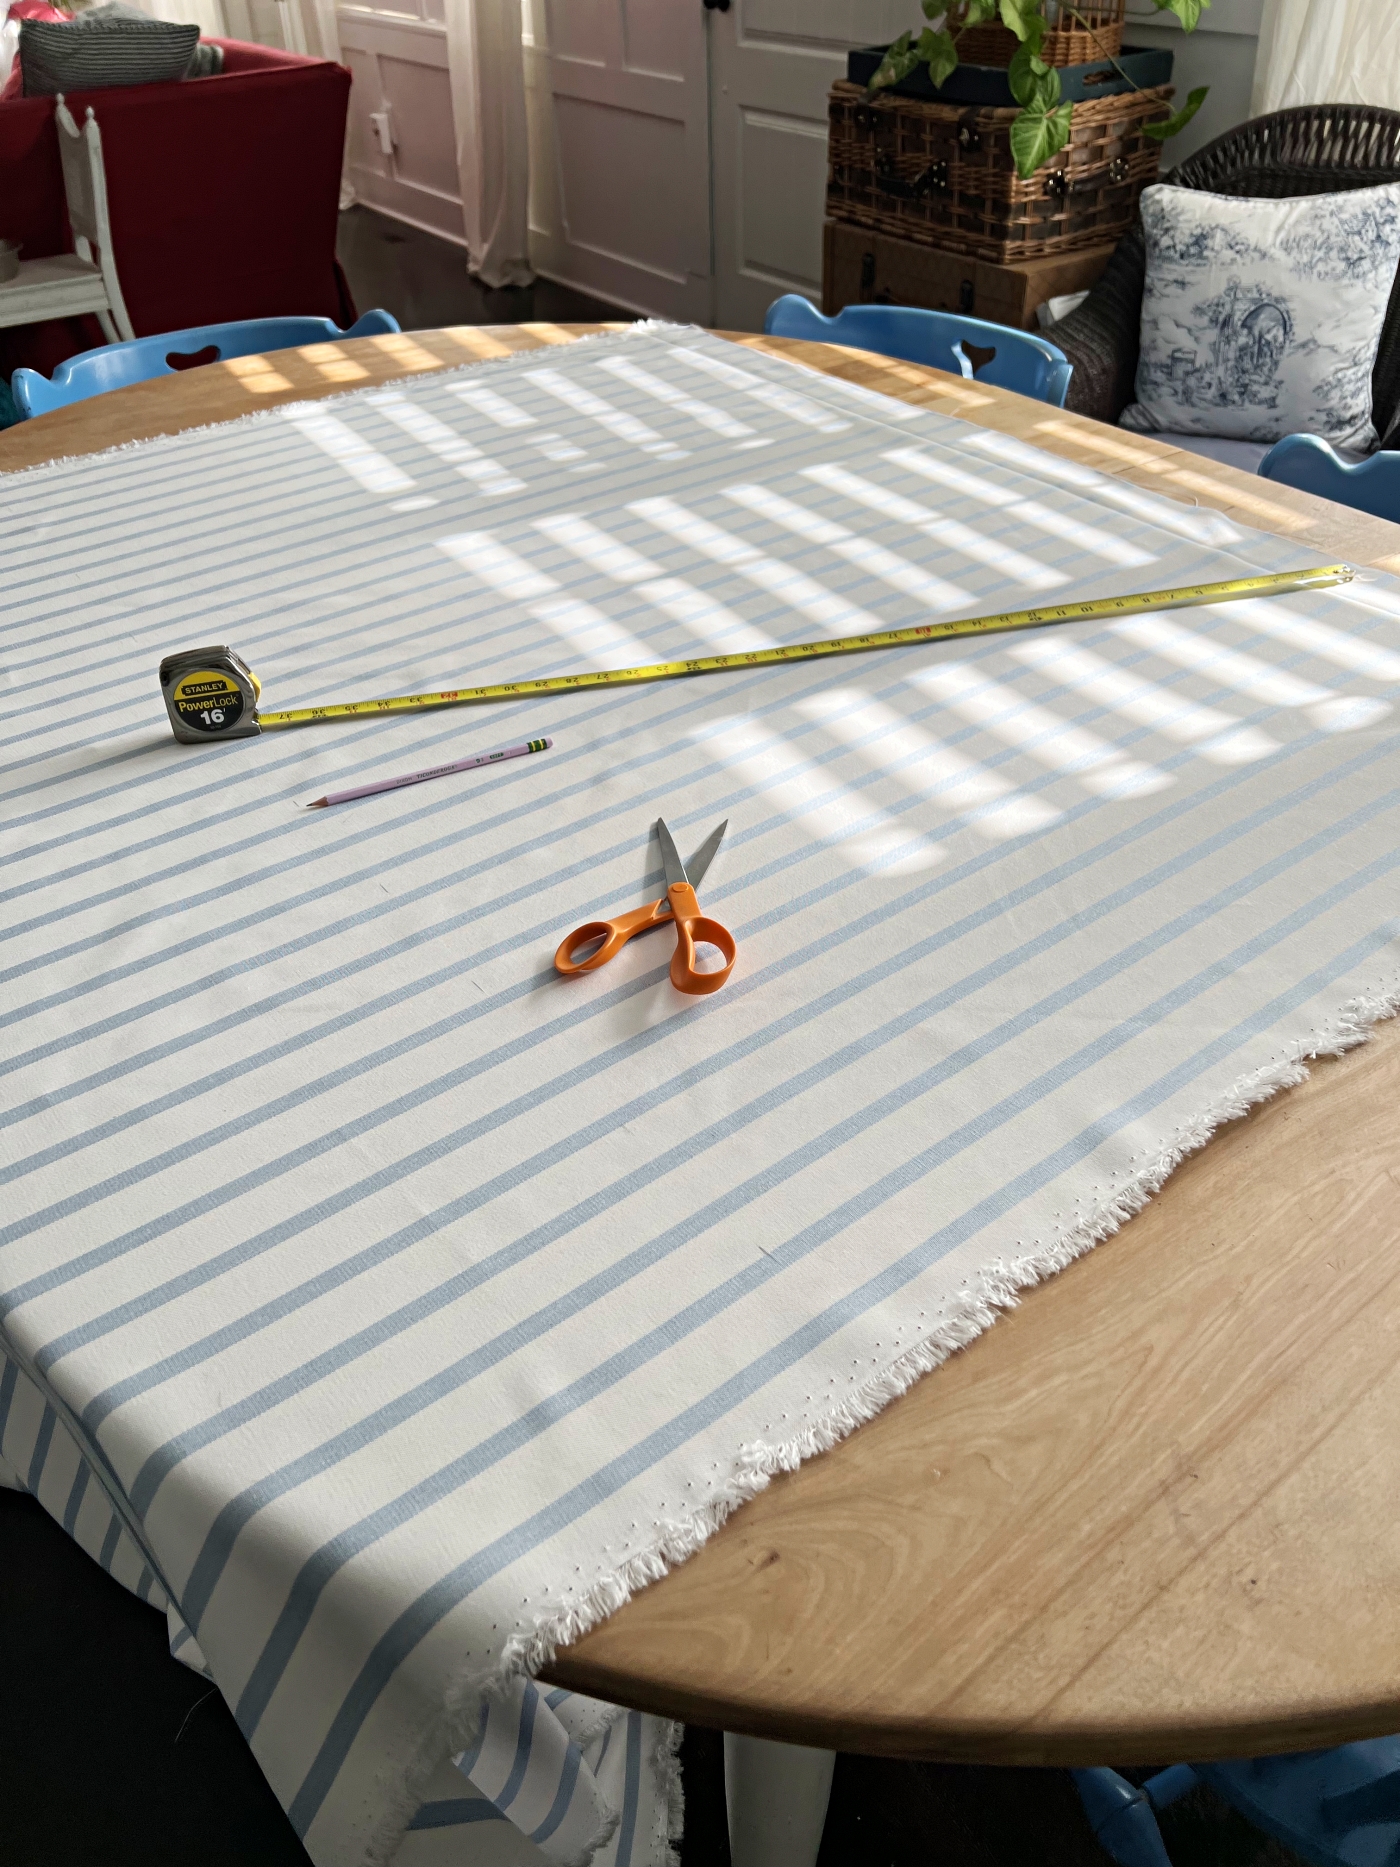
Step 2 – Determine Fabric Length.
Here I used an old tablecloth and some bag clips to decide the length I needed to cut my fabric. I also learned that I had my brackets too low at first. My husband and boys would have hit their heads on the bottom pole while they were at the sink, so I raised the bottom brackets up a few more inches.
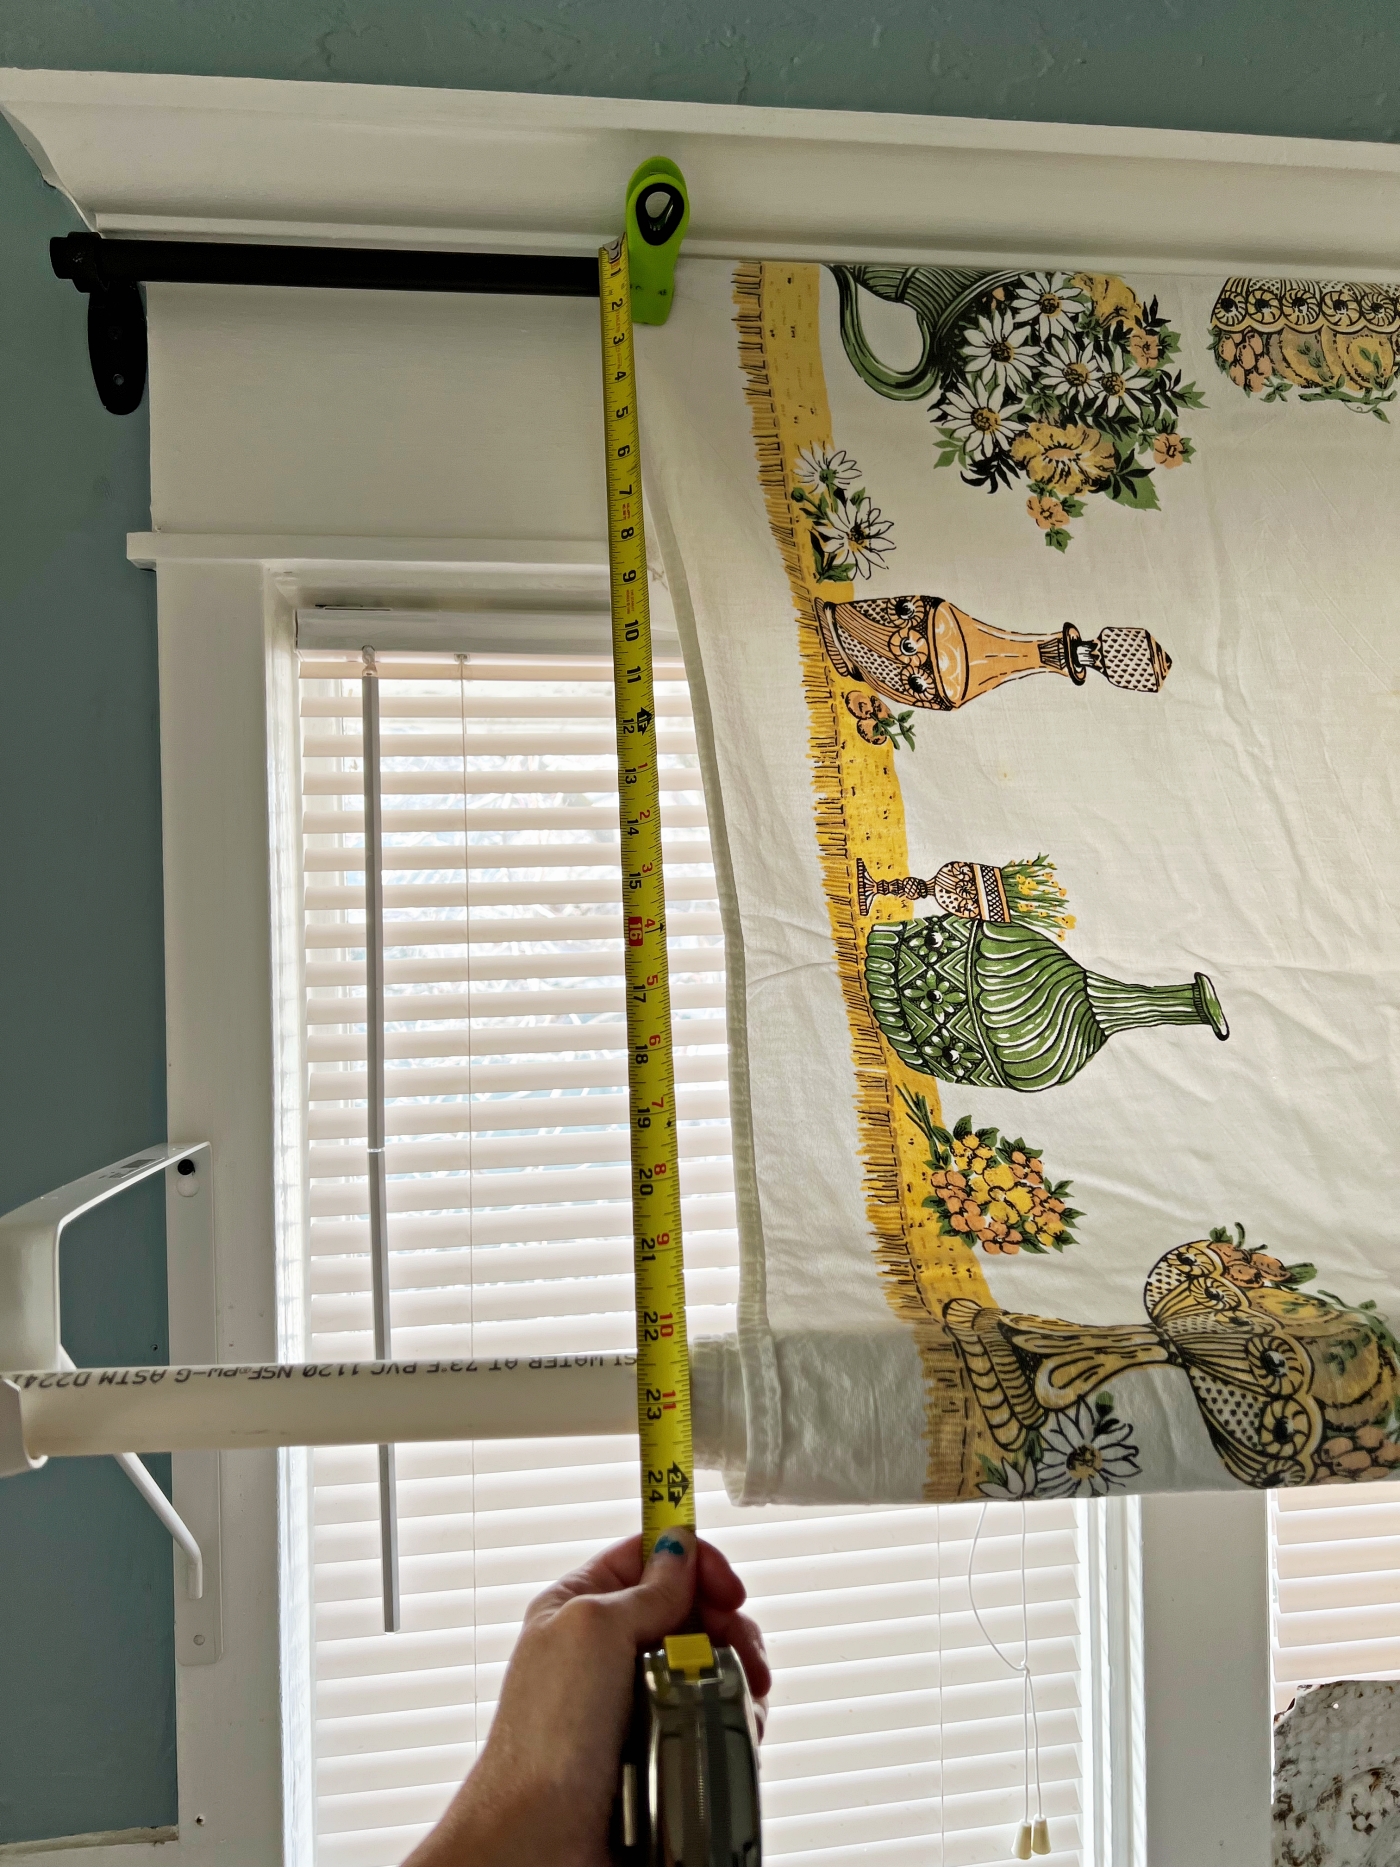
Once I had the tablecloth in place, I measured it so I knew what size to cut my fabric. Note: I measured my tablecloth at around 2 feet. I then added an extra foot to that to make sure that the fabric could wrap around the poles a few times.
I ordered this beautiful blue and white stripe Sunbrella fabric from Serena & Lily found HERE. This fabric is a little more expensive but it was just what I had been envisioning for our awning. I would suggest using a heavier upholster fabric so that it will hang nicely, but I also think if you love something that is lighter in weight, you can probably make it work. When it comes to fabric, you can always think outside of the box as well. If you find a curtain, shower curtain, tablecloth, etc.. that you like, use it instead. I think Stripes work best for awnings, but you don’t have to stick to that.
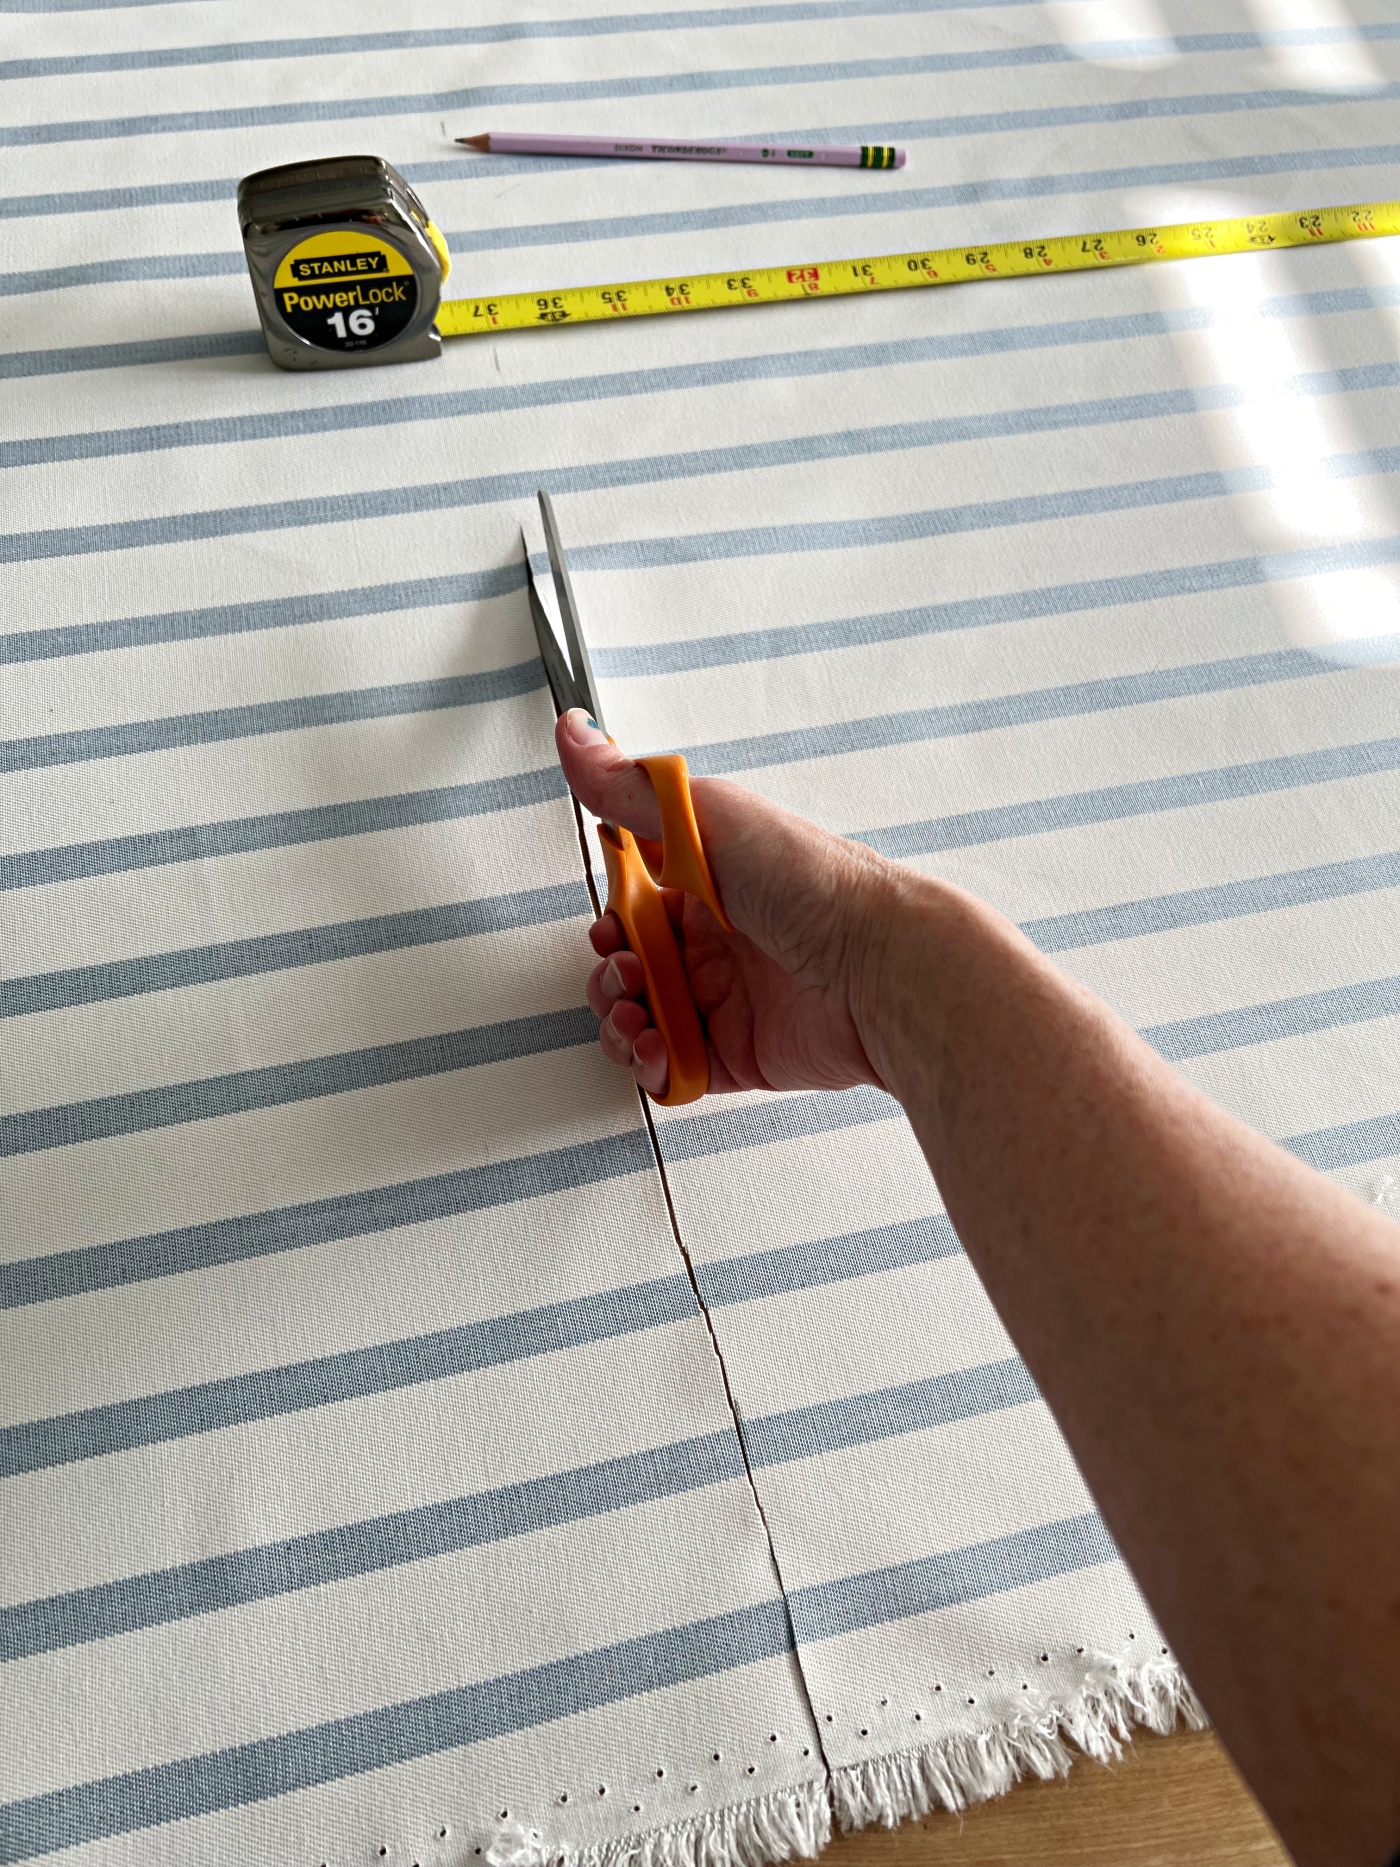
Step 3 – Measure and Cut Fabric
So I ended up cutting my fabric to be 3 feet long. Allowing an extra foot to wrap around the rods. So an extra 6 inches for at top and at the bottom.
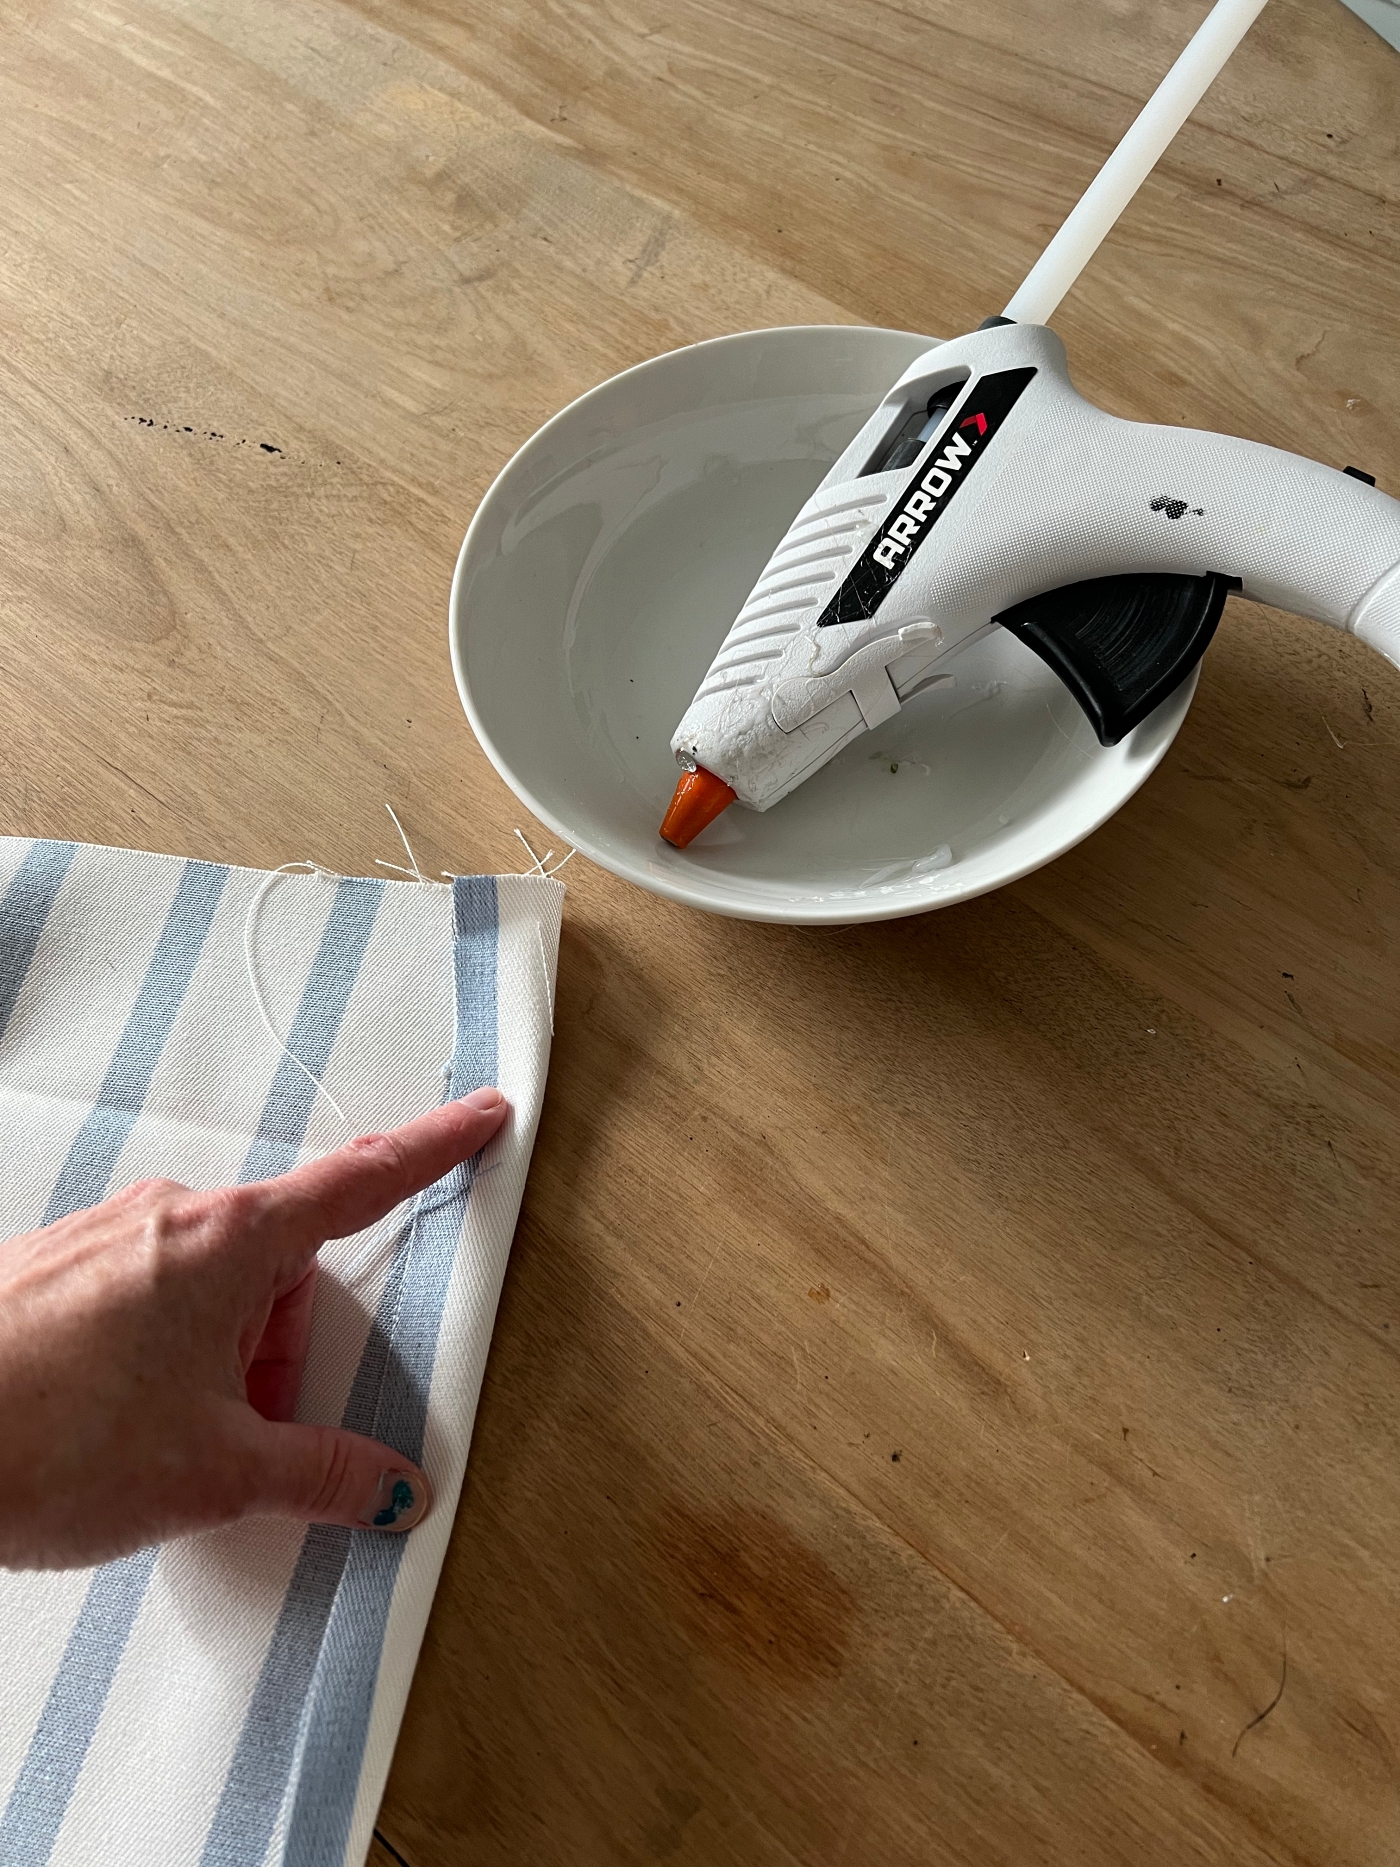
Step 4 Hot glue fabric ends.
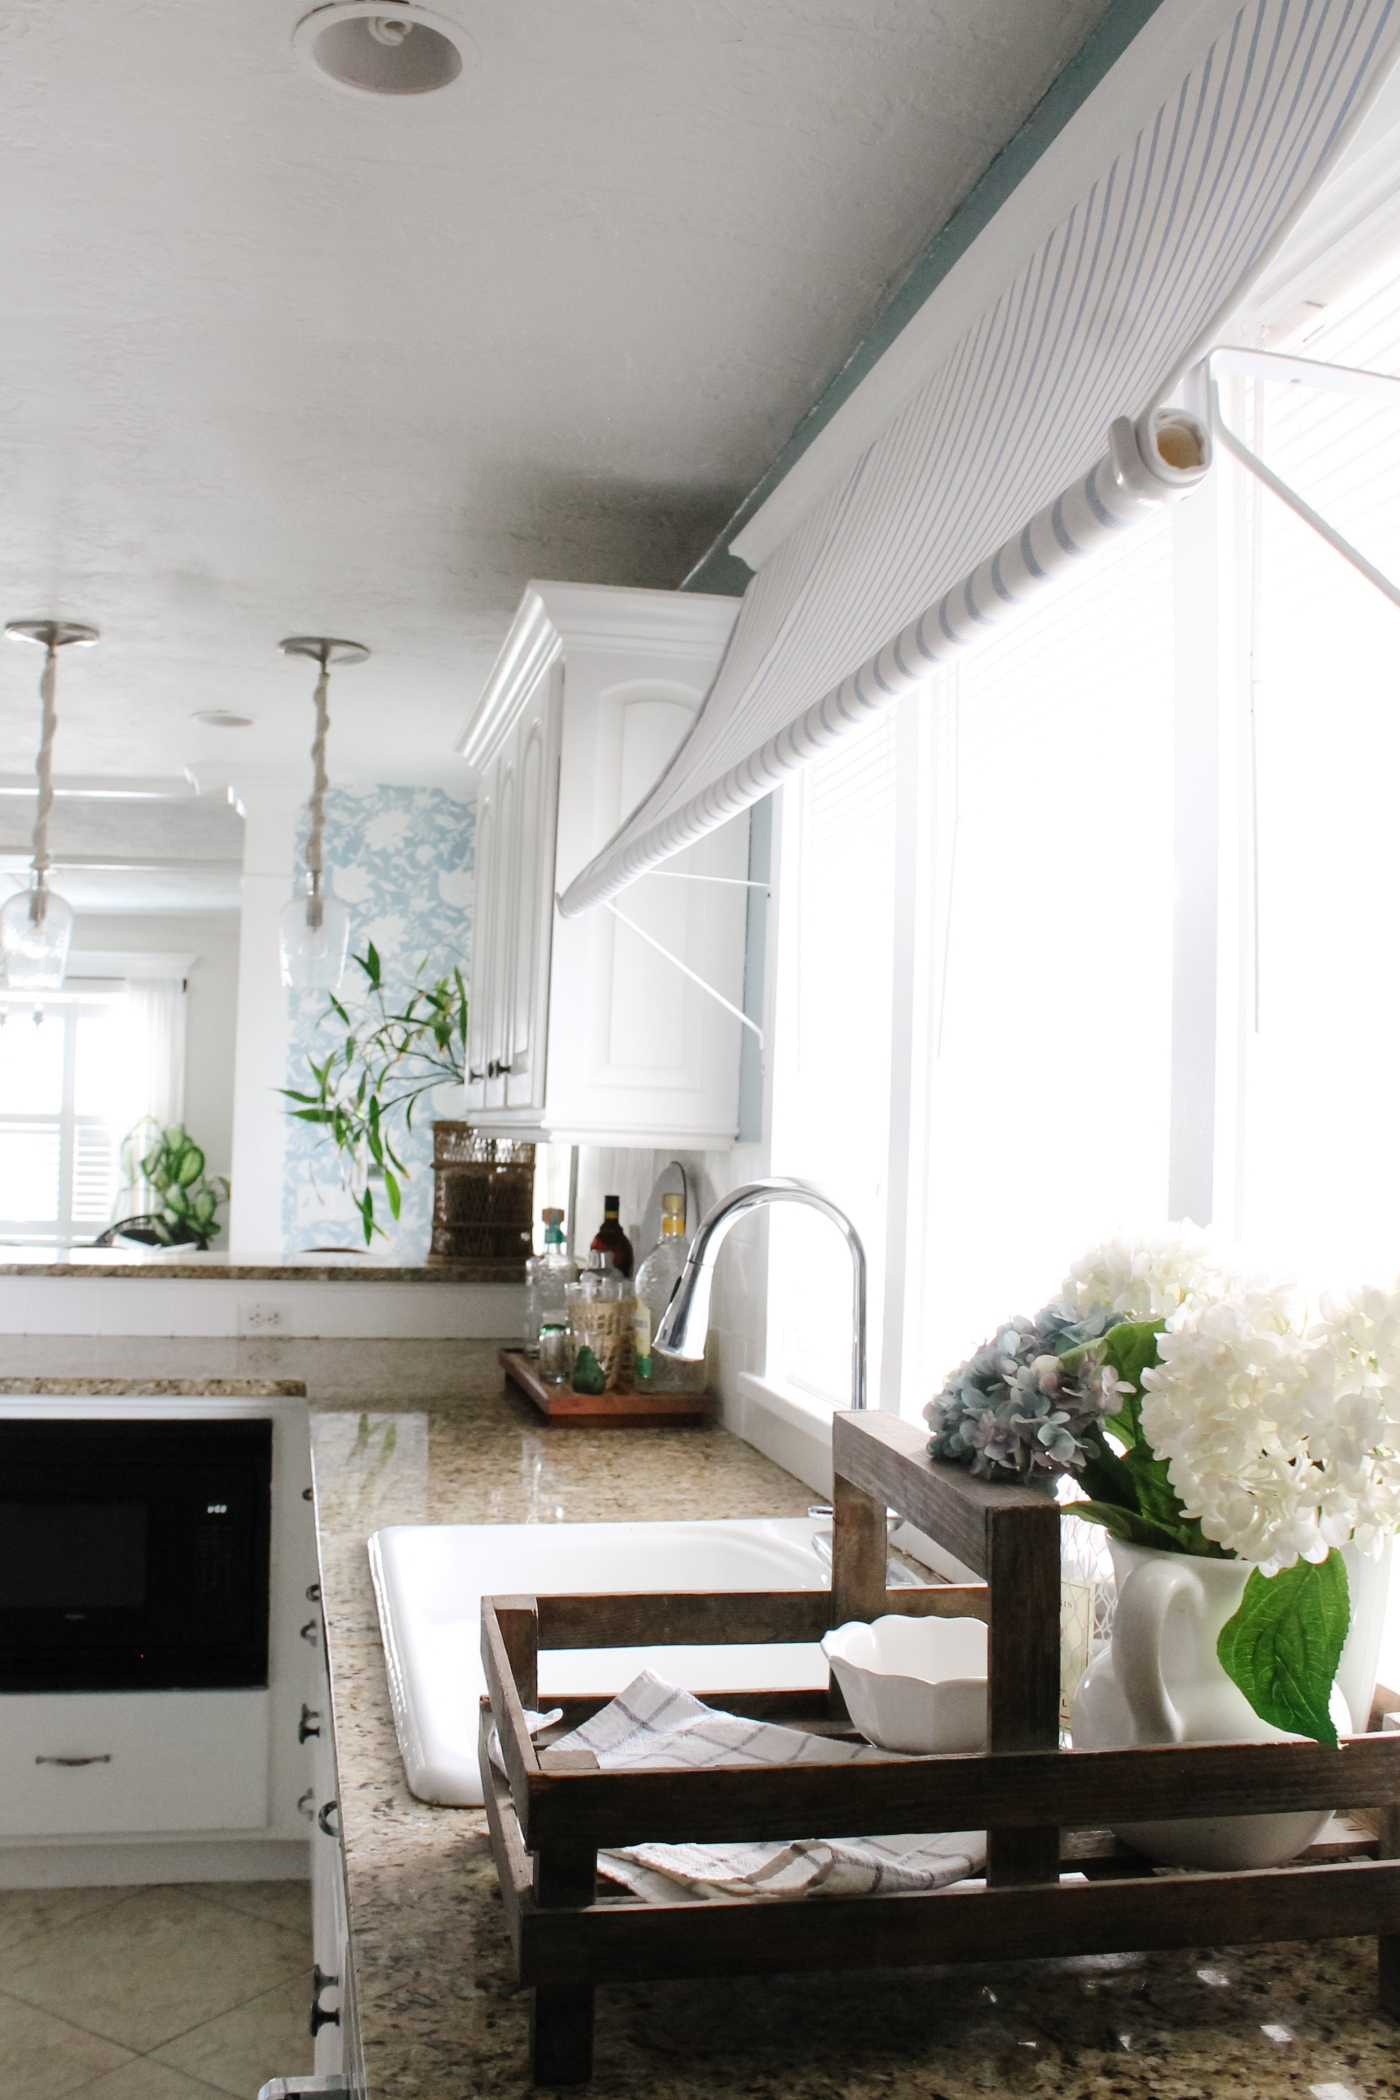
Since my window is a large window (6 feet wide) I had to piece two pieces of fabric together to run the length of the window. I used my hot glue gun to attach the two pieces together. I only overlapped my fabric by one stripe and if you look at my awning you can see where this was done because there is one stripe that is darker than the rest. I only overlapped by one stripe because if I did it any more than one stripe it would have shown through and been even more noticeable. Does that make sense? Ideally a longer piece of fabric would have been better, that’s another reason why I suggest using a tablecloth or shower curtain. then you may find it to fit better and there would be no need to piece together the fabric.

I also used hot glue on both of the raw edges to give it a nice hemmed look on the sides.
Step 5 – Hot Glue fabric to rods.
I found the Bag clips to be so helpful here. I first clipped my fabric onto the rod to hold it in place. Then working in small sections I added hot glue to the rod and then glued the fabric onto the rod.
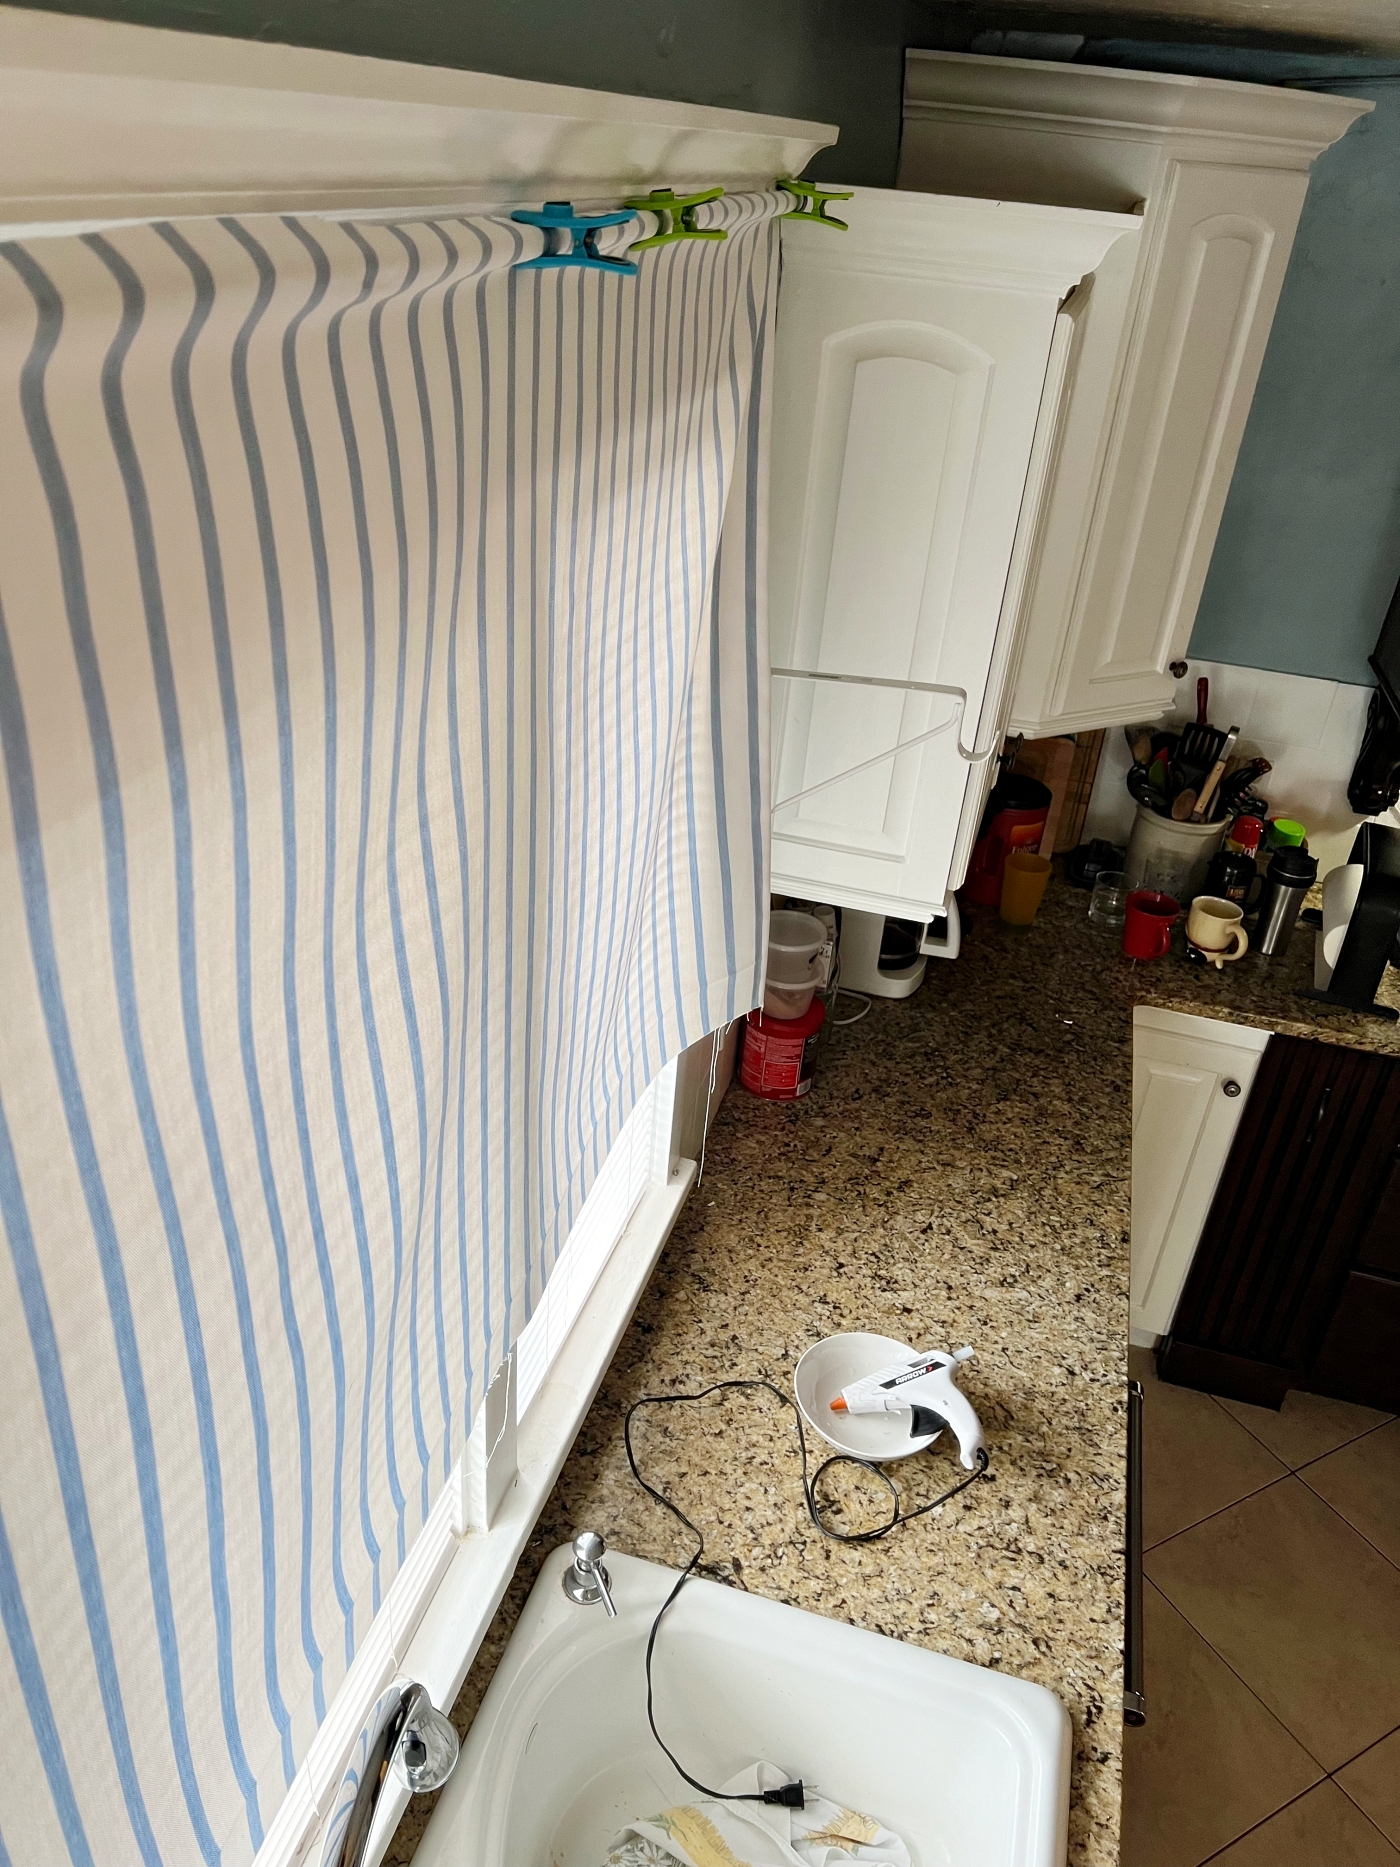
I just glued the very edge of the fabric to the rod as pictured in this next picture. Once the fabric was glued onto the entire rod, I turned the rod a couple of times so that the fabric wraps tightly around it, holding it into place even better and giving a nicer look to the rod.
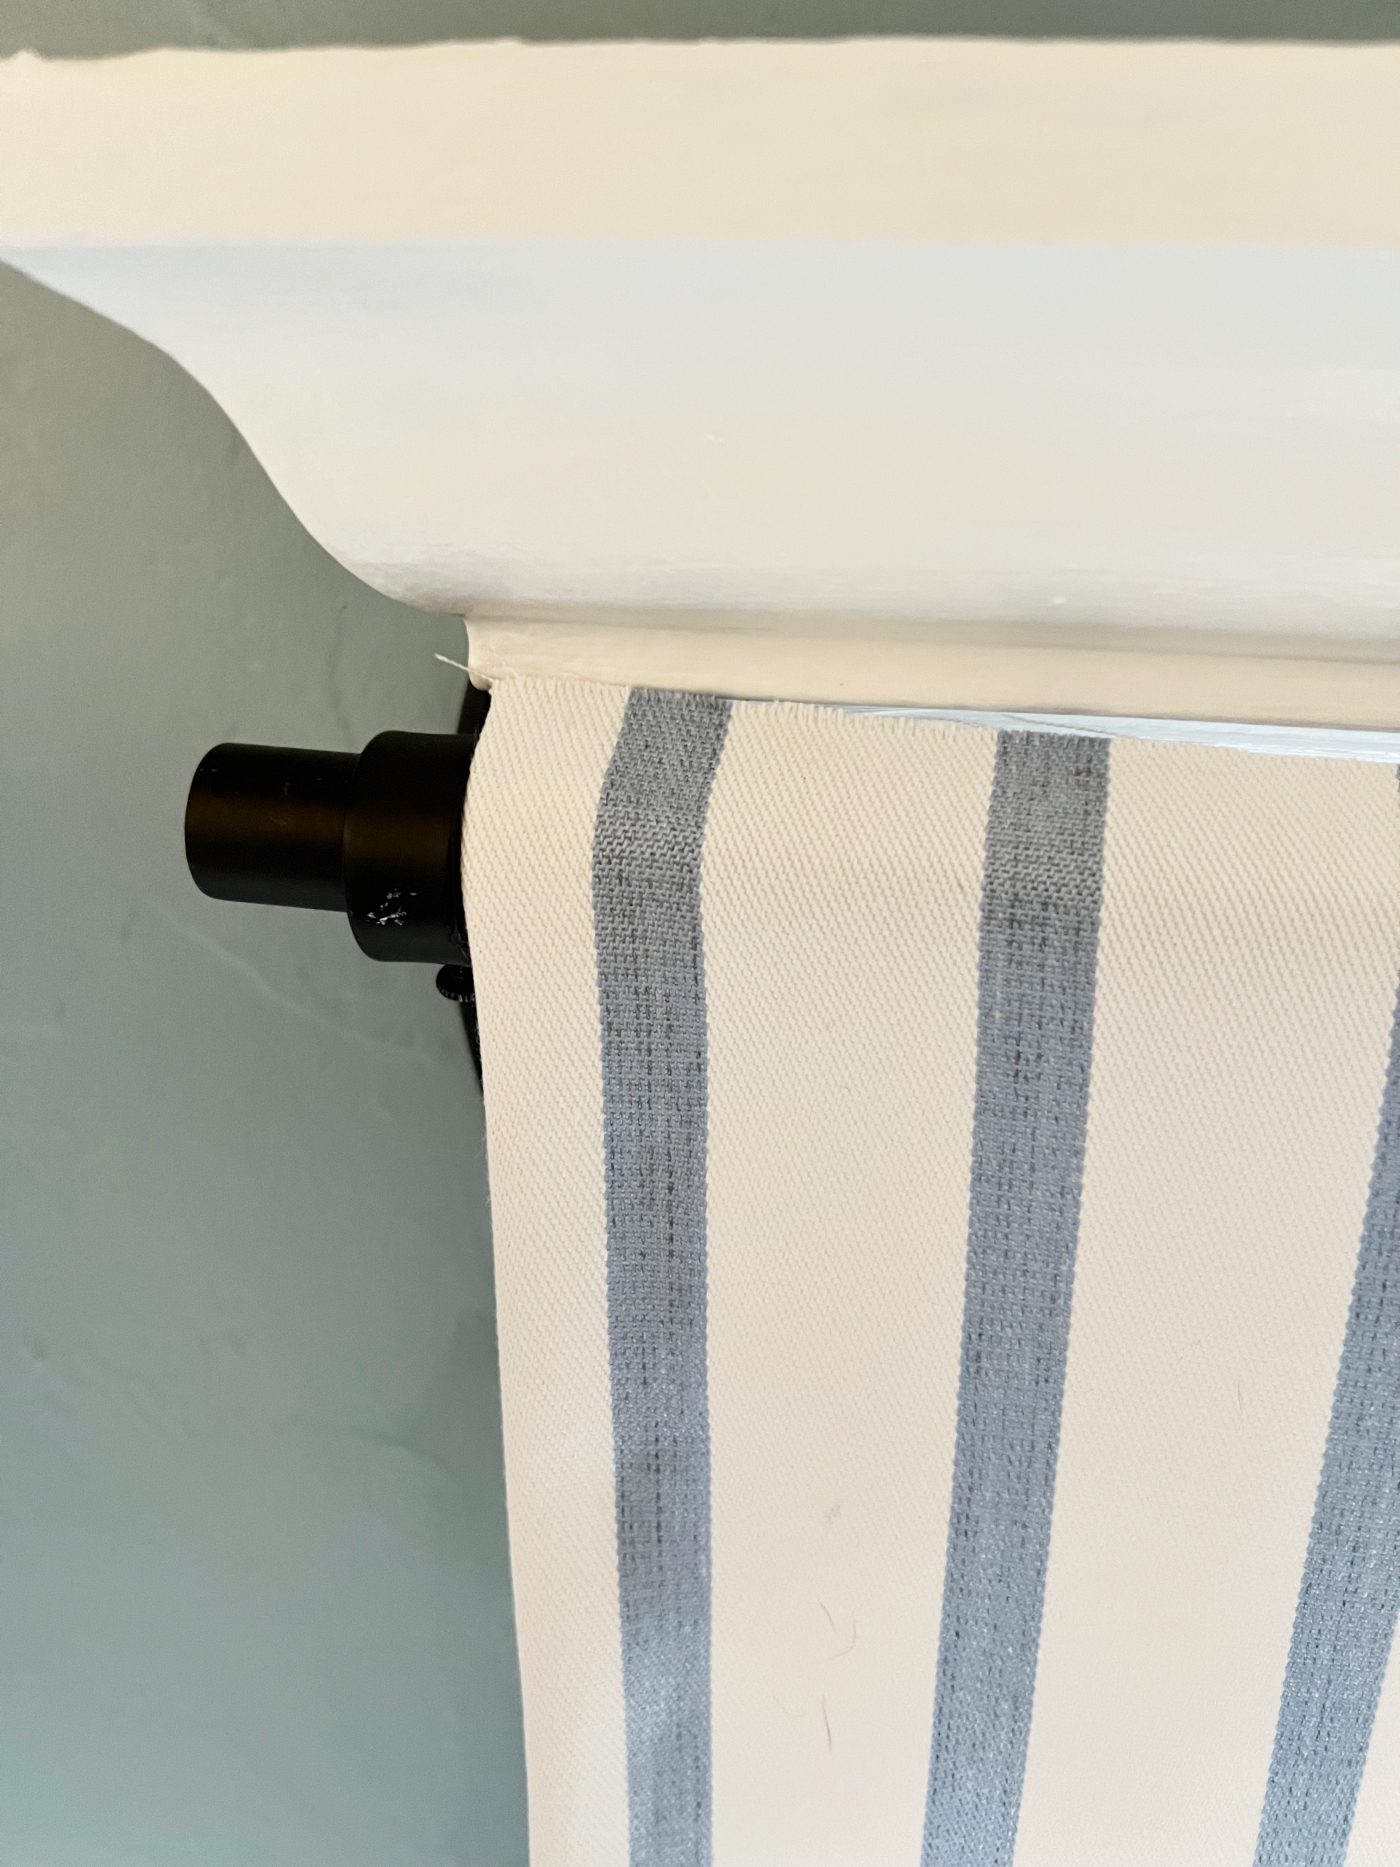
Repeat the same process on the bottom pole. Once it’s rolled a few times place into the brackets. You can also screw underneath the brackets into the fabric covered rod to keep it in place. I did not do this, but I still may later on if I find it is needed.
I also may see if I can find some end caps to go onto my PVC pipe so it looks nicer rather than a hole on the end.
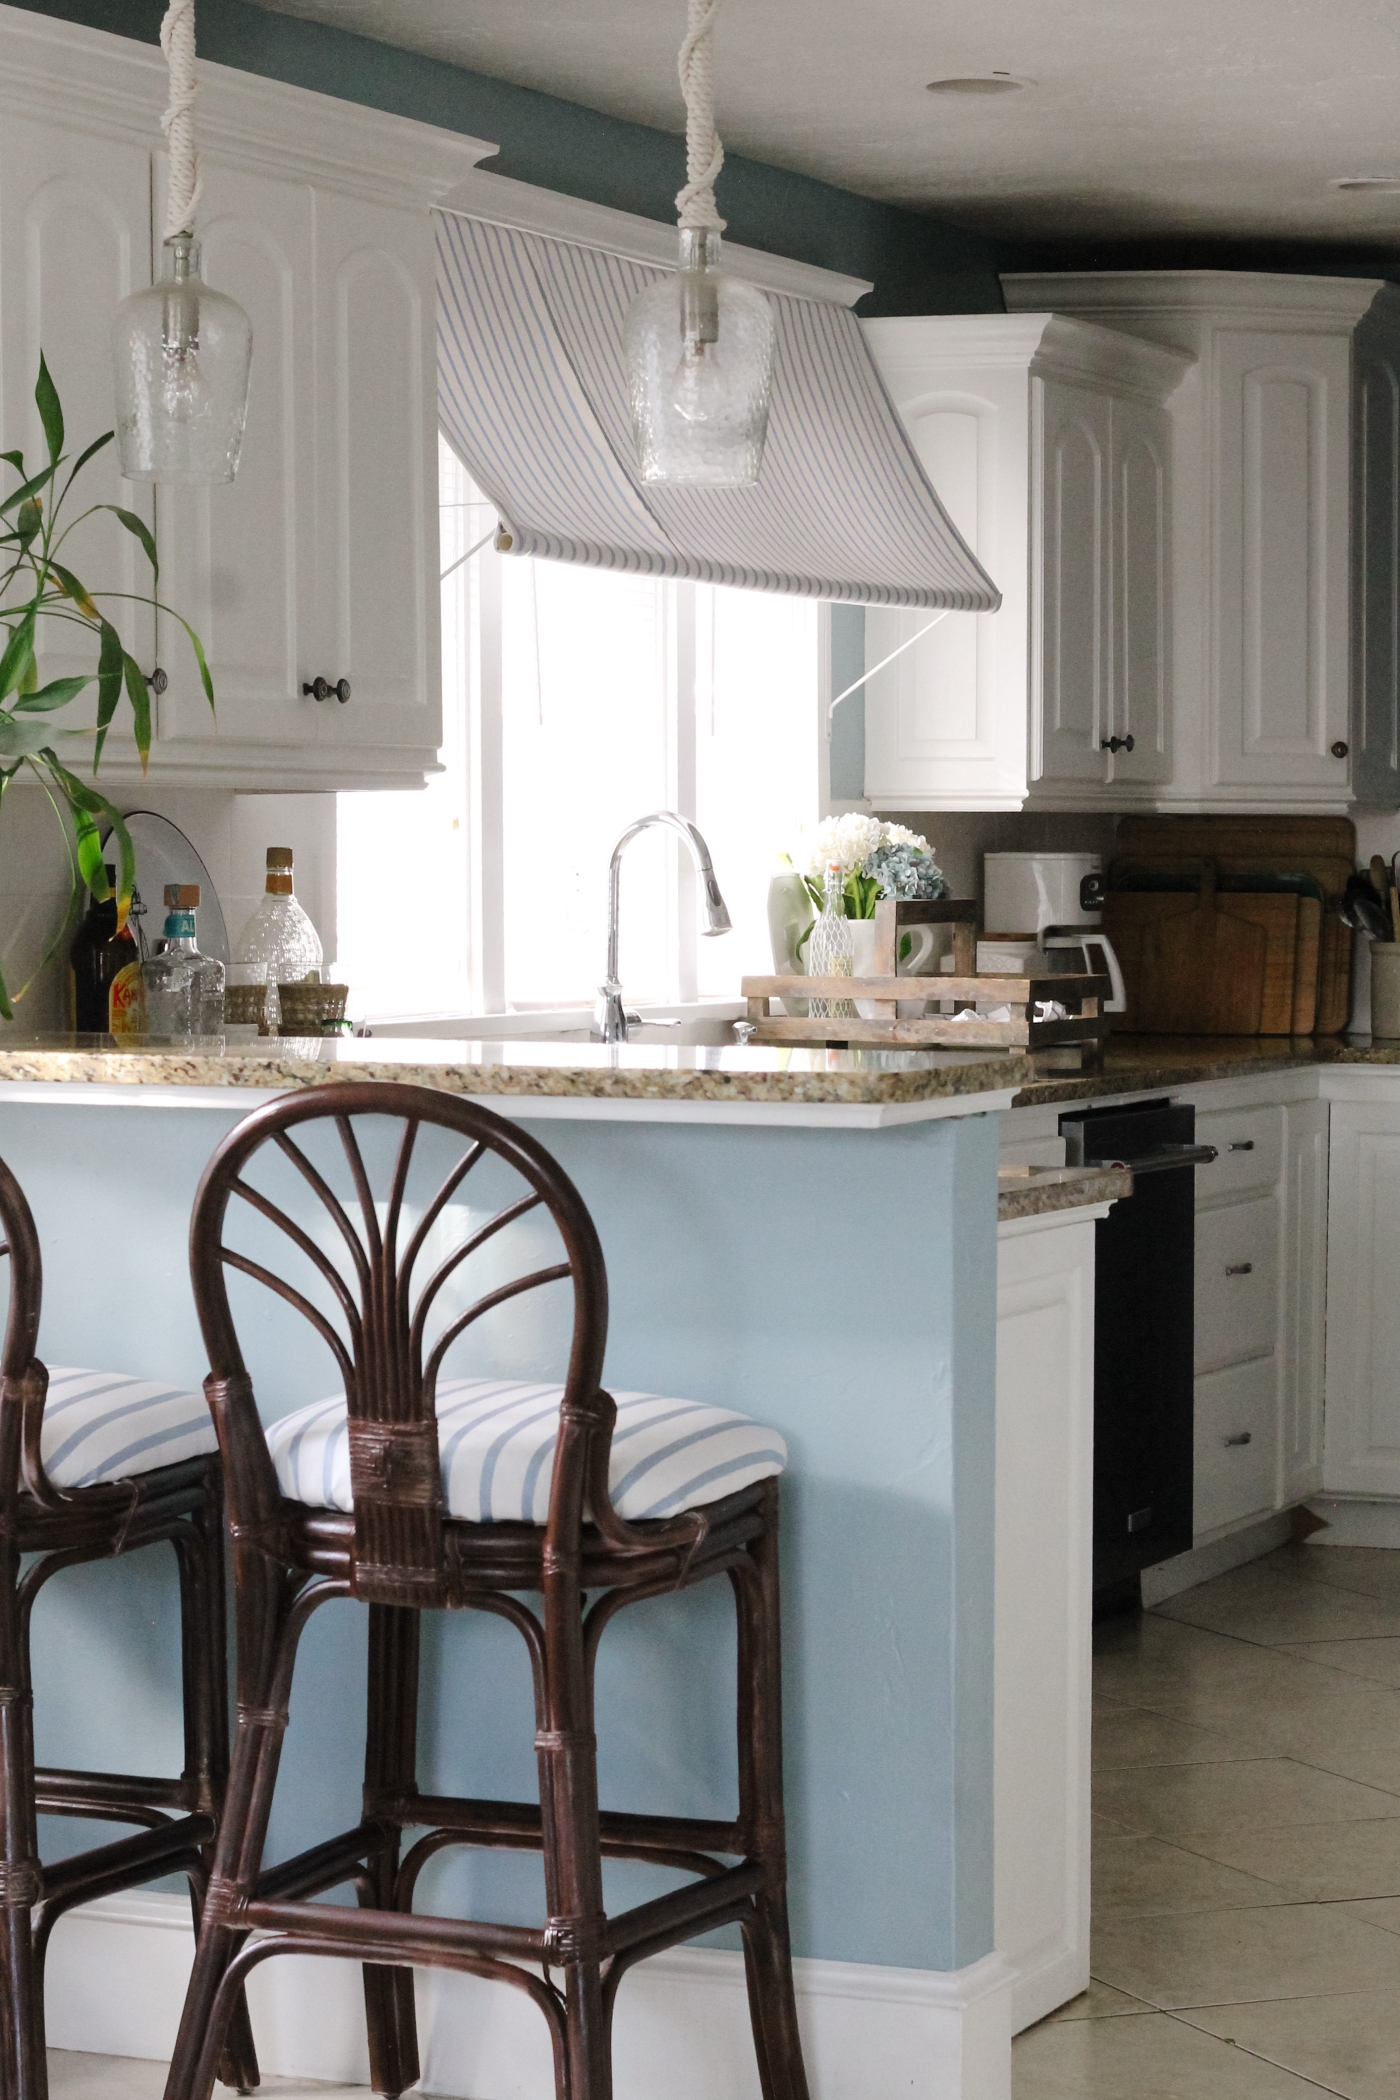
I absolutely love how my awning turned out. It looks just like I had envisioned it to look. As you can see, I also used more of the same fabric to cover my bar stools. I plan to write up a blog post more about those next.
So What do you think? Any questions about anything? Let me know in a comment below or come chat with me on Facebook and/or Instagram.
If you like today’s post, you are welcome to PIN it along with any of the images from my blog on PINTEREST. Find a Pin It button by hovering over any of the pictures.
If you like the type of decor that I share, then be sure to check out my SHOP MY FAVORITES Page. I keep it updated with all of the fun Coastal, Cottage, and Farmhouse Decor that I come across on a daily basis. I personally want EVERYTHING that I have listed there.
You can also Check out my Amazon Page HERE. It too is full of all sorts of favorites. I have an Amazon Page all about KITCHEN, Be sure to check it out!
Thanks for stopping by.
Emily
shop the look:

