As you may know, I love to makeover our kitchen with paint. This, I believe, is the 7th time I’ve given our kitchen a makeover. To see all of the different looks, search “KITCHEN” here on the blog. These cabinets have been painted; red, dark blue-grey, shamrock green, cream, and white, and the walls have been painted several different colors as well. I think it’s fun to totally change up our home with paint, and dare I say, this newest look in our kitchen may just be my favorite one yet.
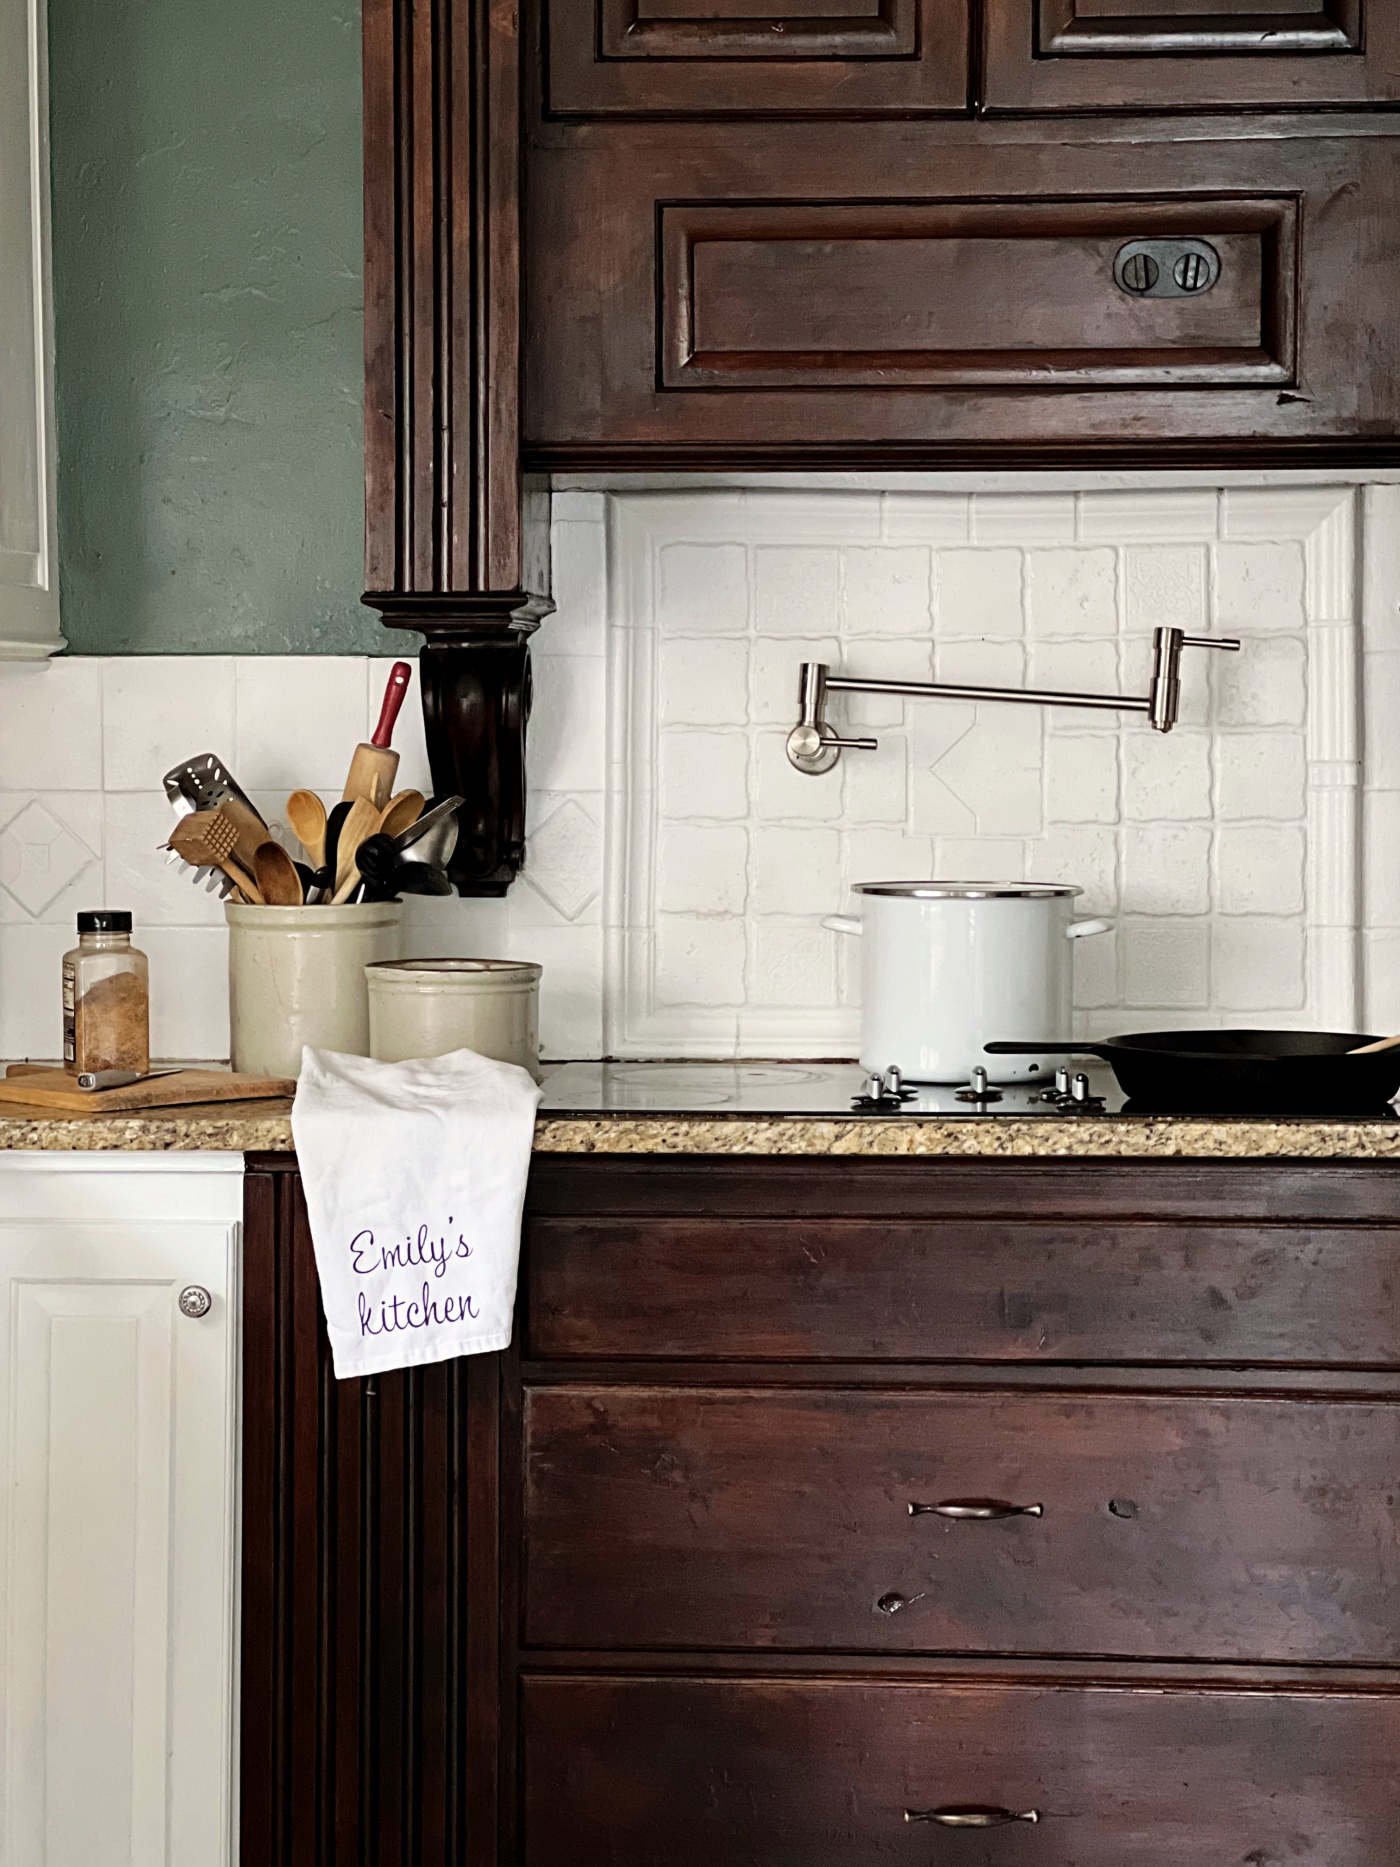
If you missed my last kitchen blog post, then you can catch up HERE. This is where I shared how I Stripped off 4 layers of paint and Gel-Stained this wood stove mount. It too has been painted in several different colors over the years, but with 3 bottles of paint stripper and a whole lot of work, I was able to make it wood again.
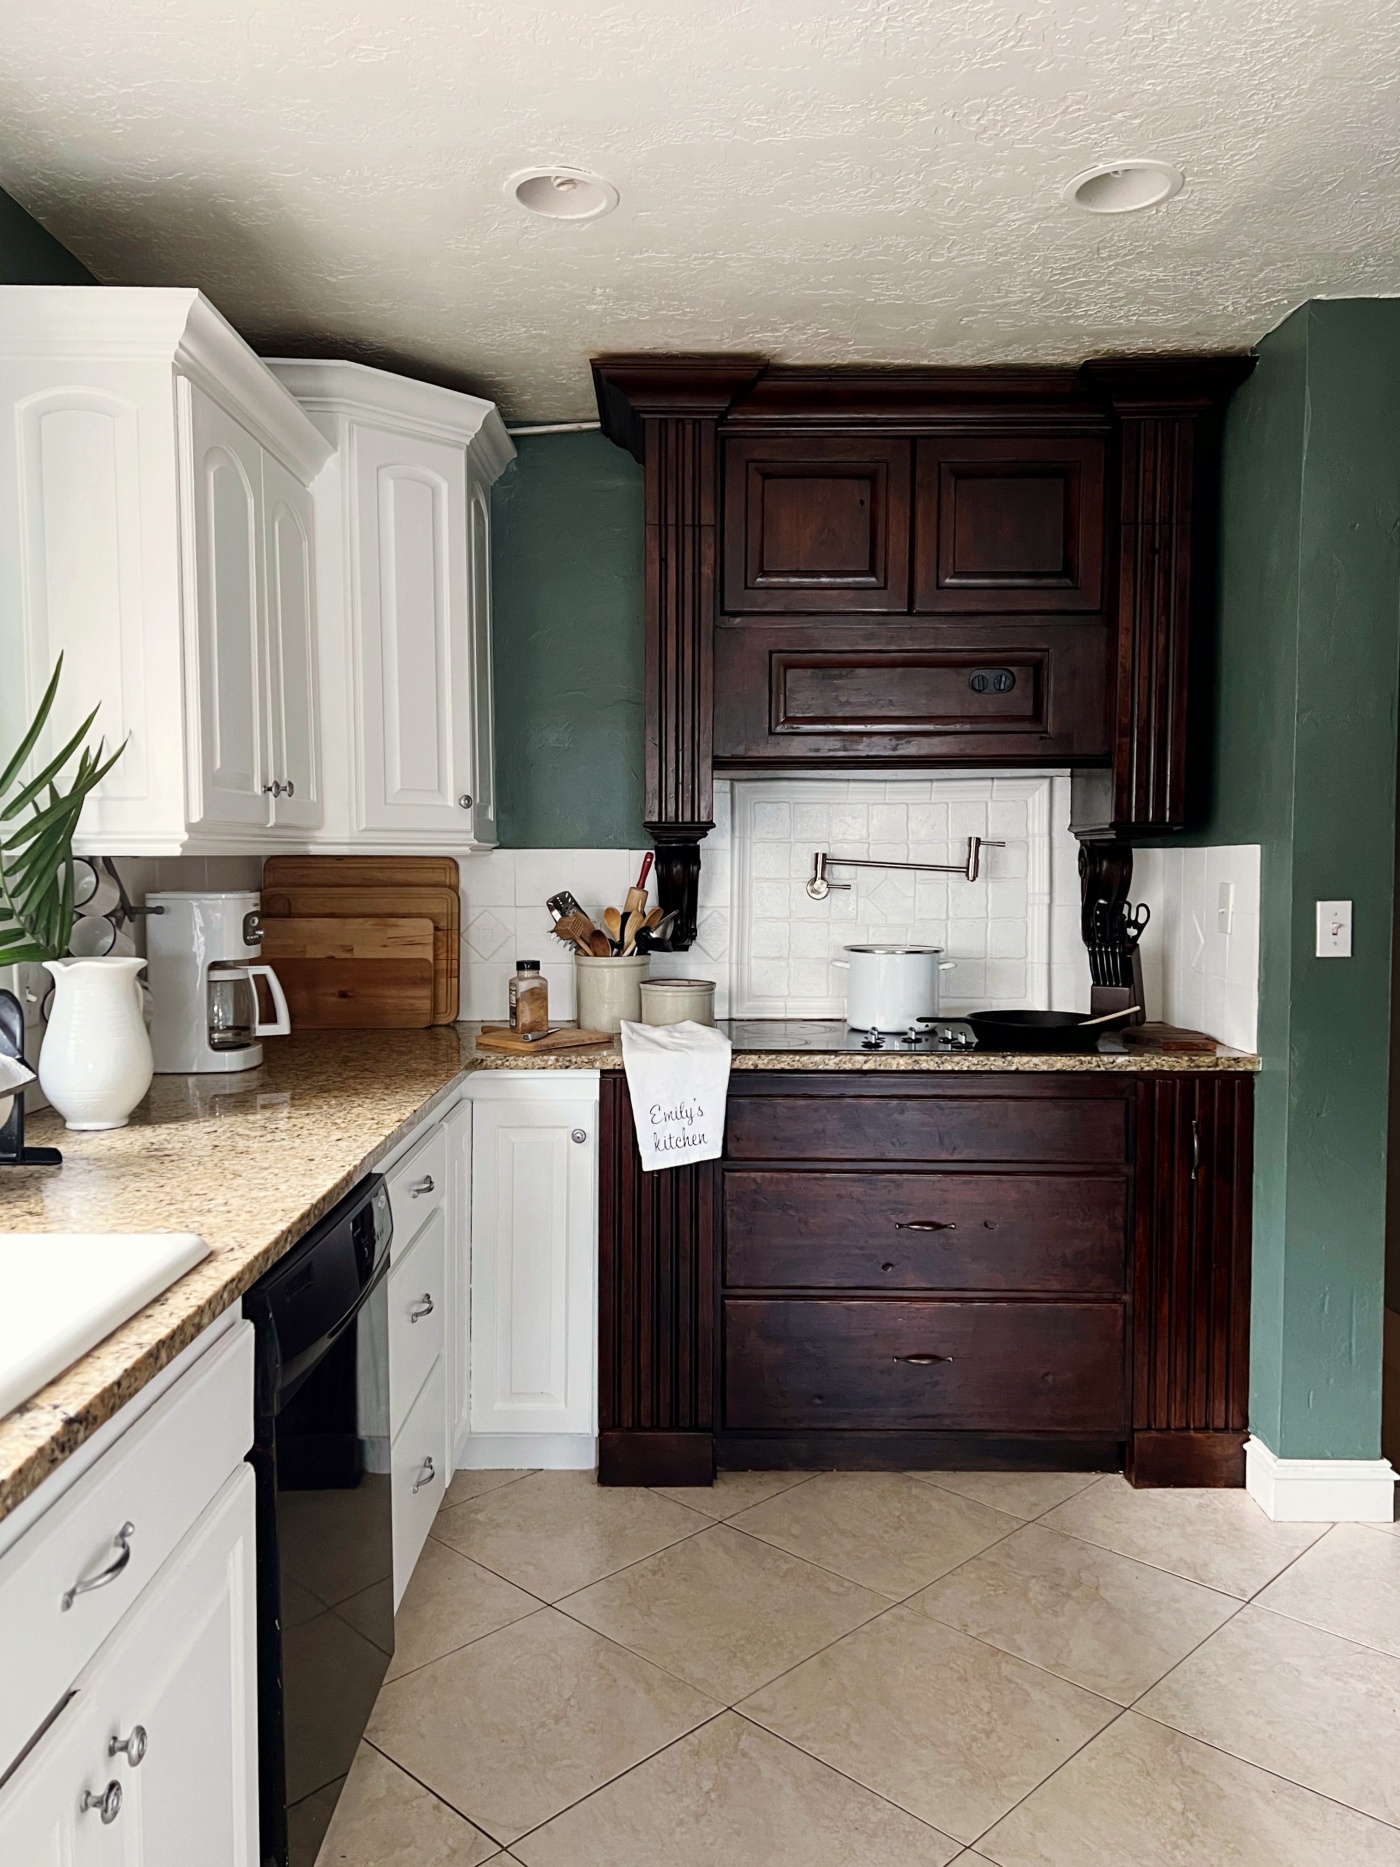
The finished stove mount isn’t perfect and for some reason it looks a little more blotchy here on camera than how it looks in person, but I have to say, I really like it! I think the dark wood is so beautiful and adds so much warmth to our kitchen.
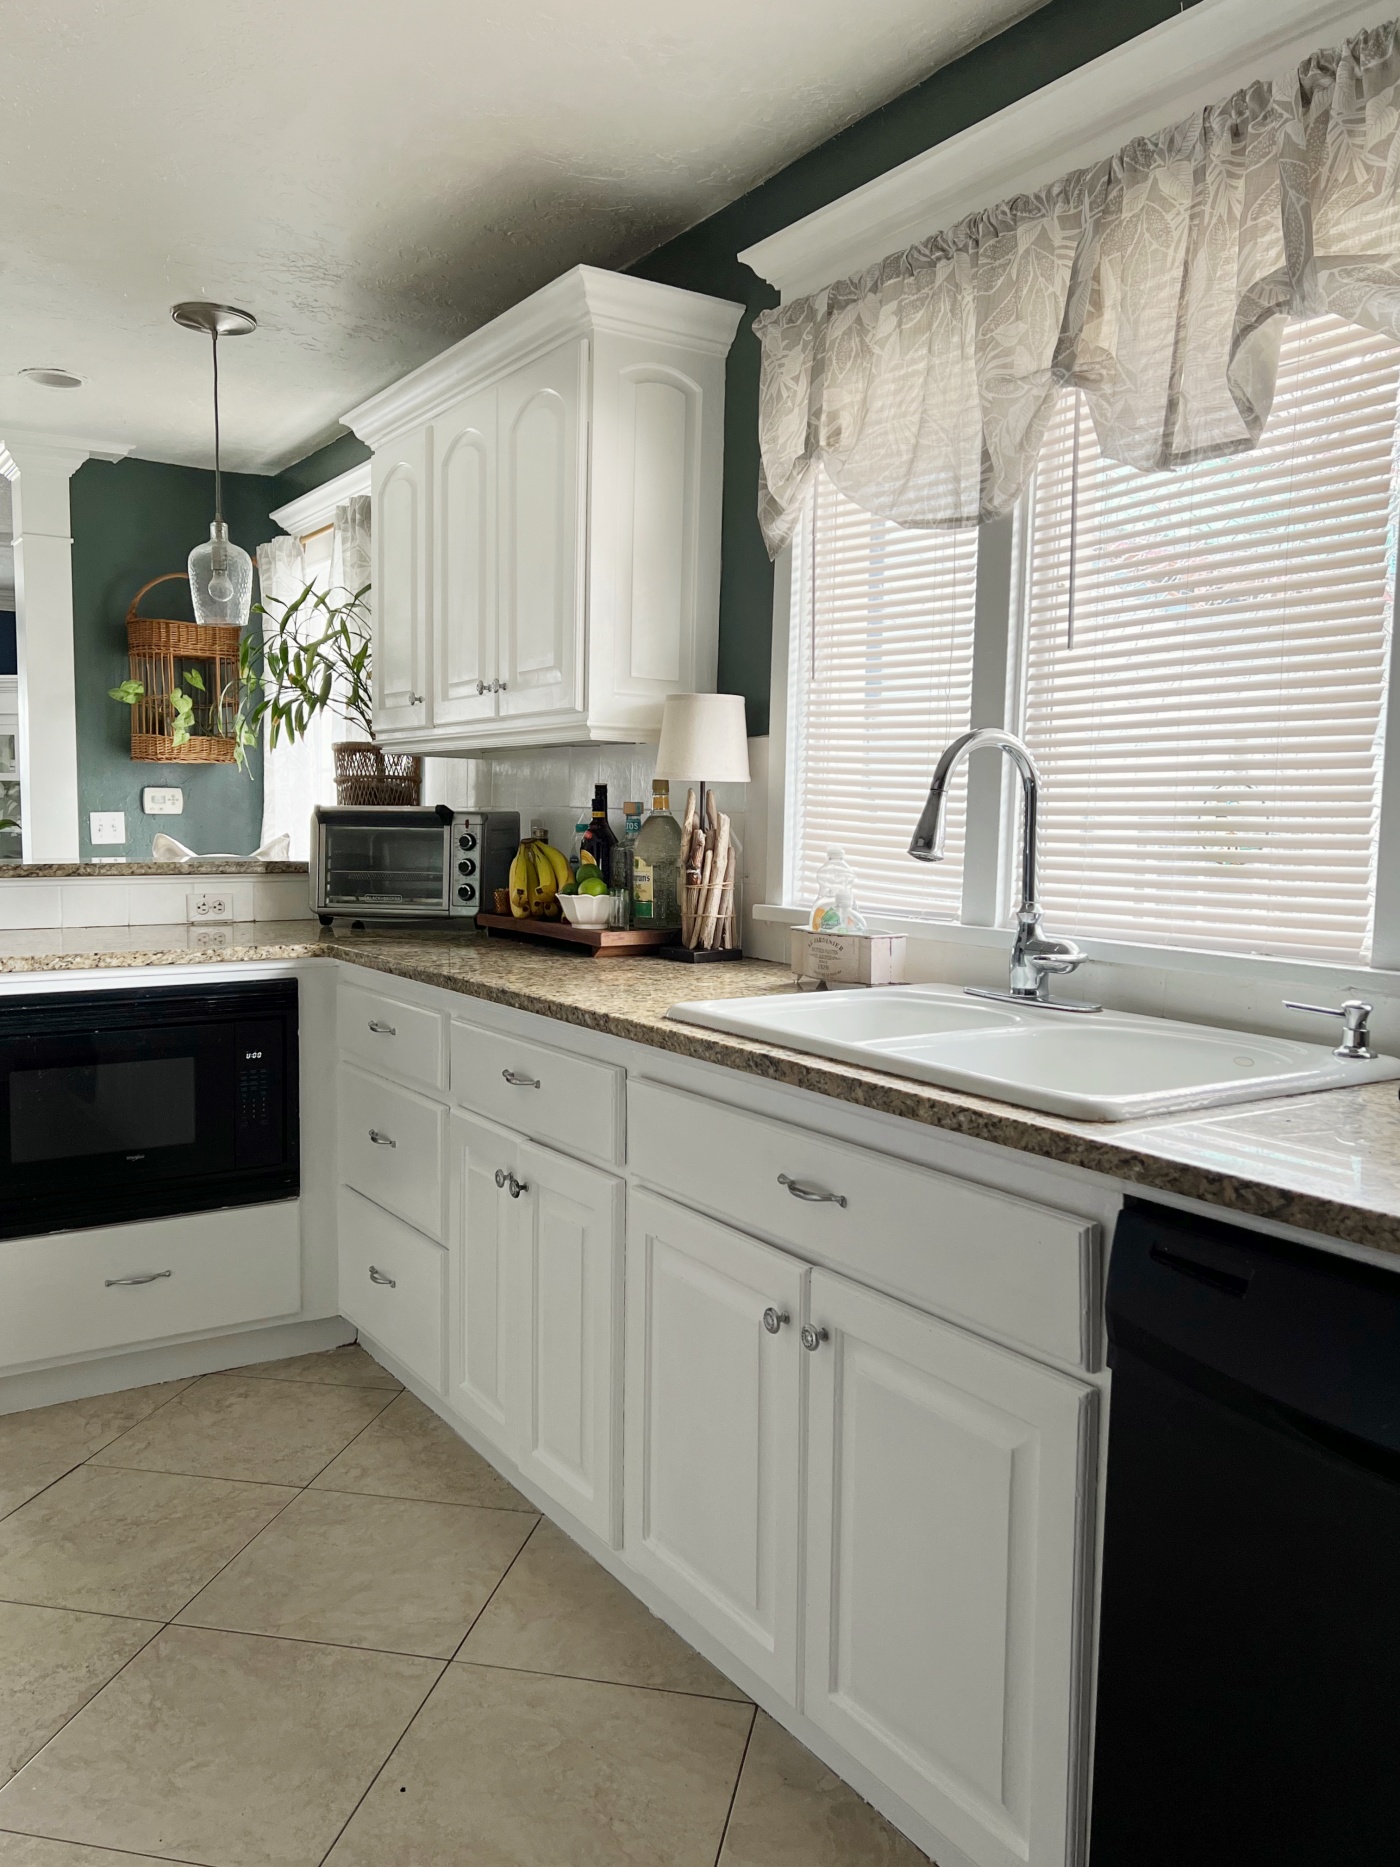
After I was finished with this wood stove mount project, I knew I wanted to paint the cabinets back to all white to add a pretty contrast against the dark wood and to lighten up our kitchen. The white paint I used was Valspar – Ultra White in a Satin finish. This is the color straight from the can, I didn’t even have to get it tinted. If you are wanting the brightest white possible, buy it straight from the can. This is how I always buy my white paint. I’ve used several different brands of paint too, and they all have the same bright white that I love.
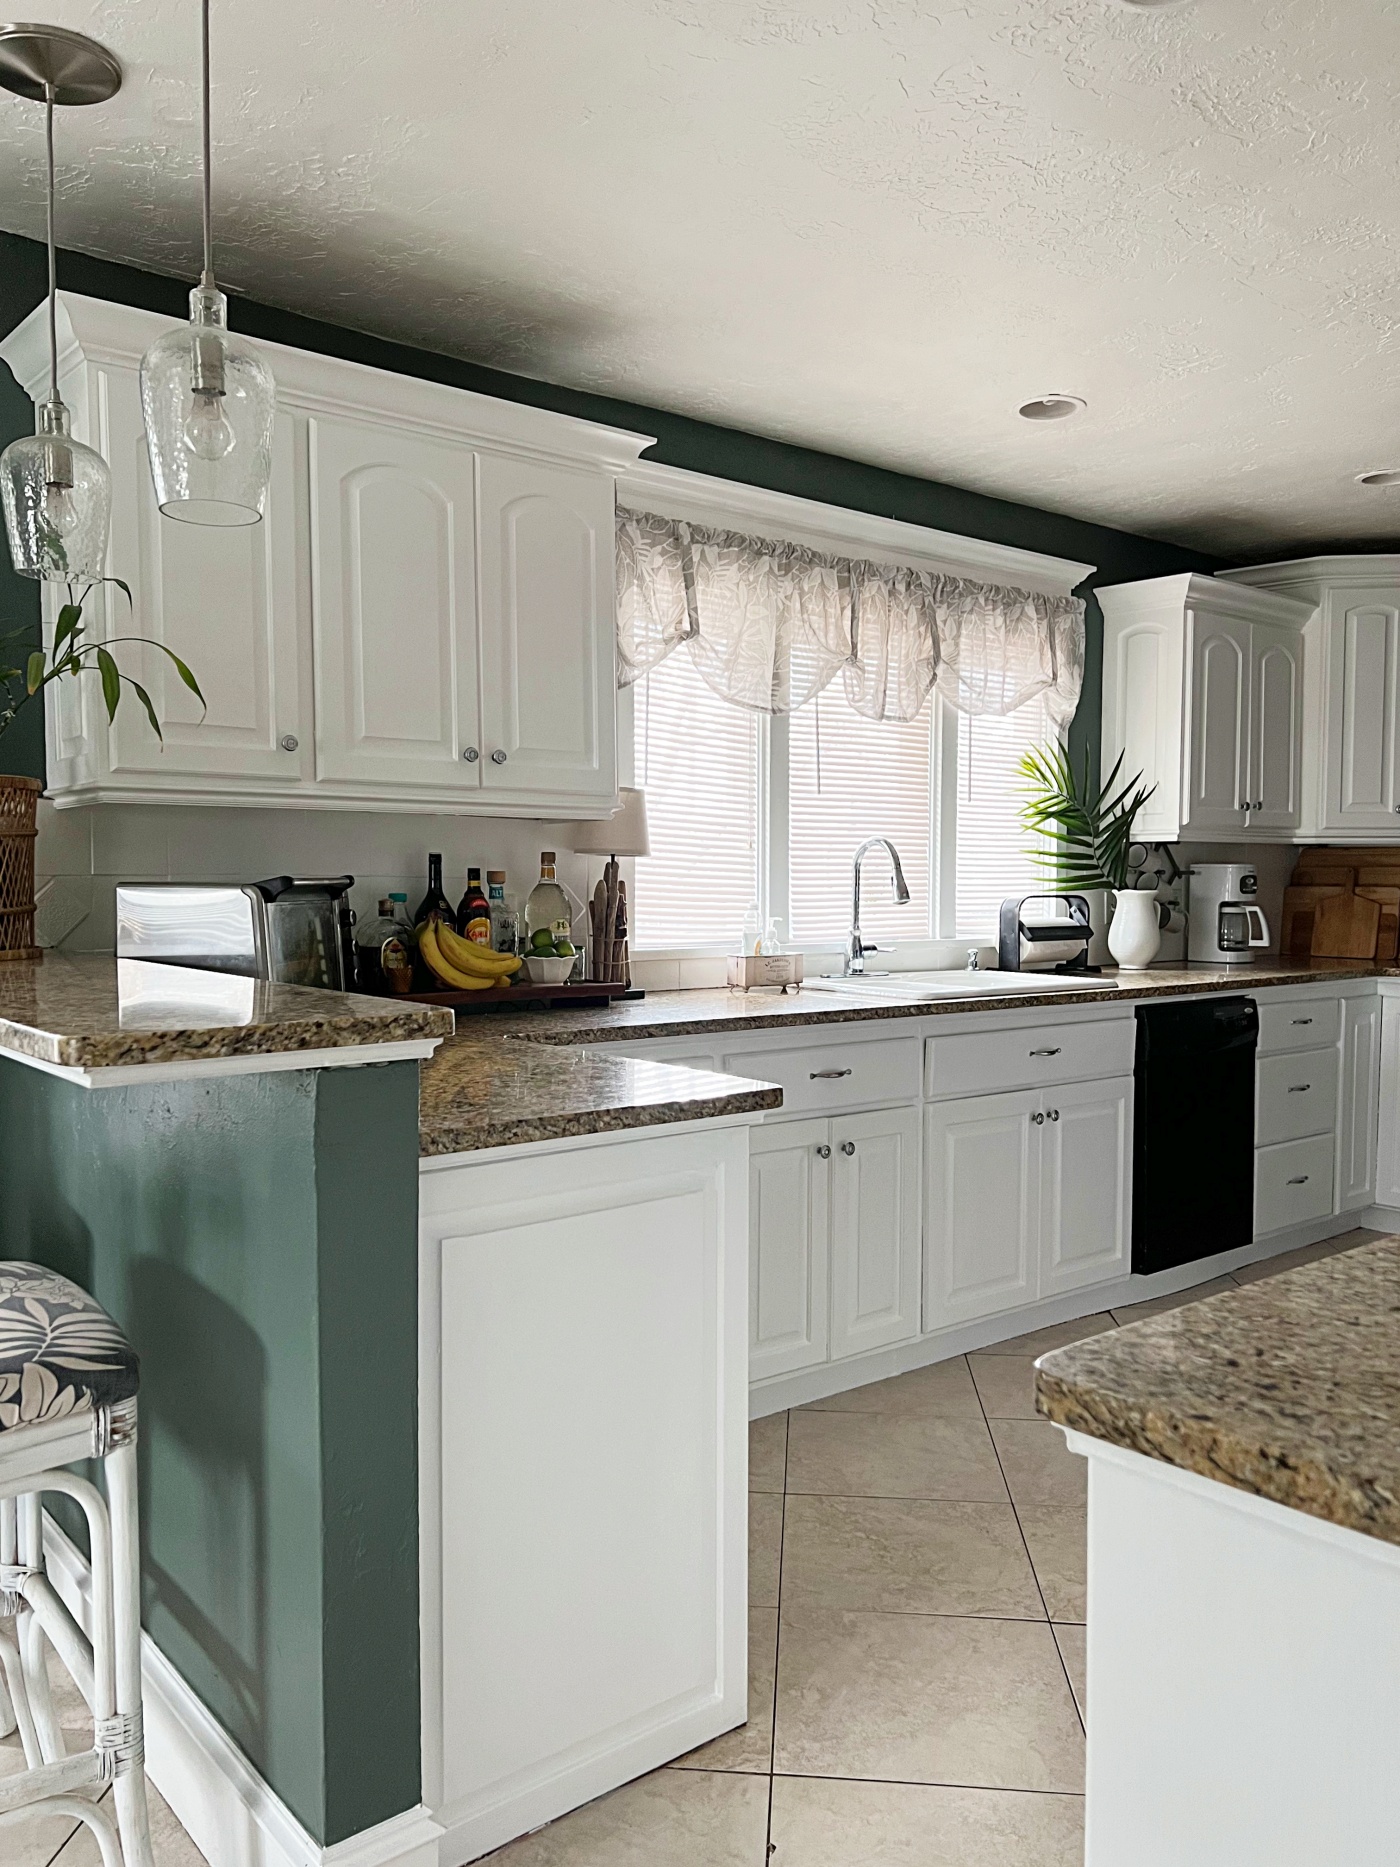
Our kitchen is on the west side of our home which makes it kind of a dark room. I was hoping for a sunny day when I took these pictures, but it’s been pretty gloomy here lately and I was too anxious to share this room with you so I did my best. This is another reason why I’m happy I decided to go with white cabinets, to lighten the room up a bit more.
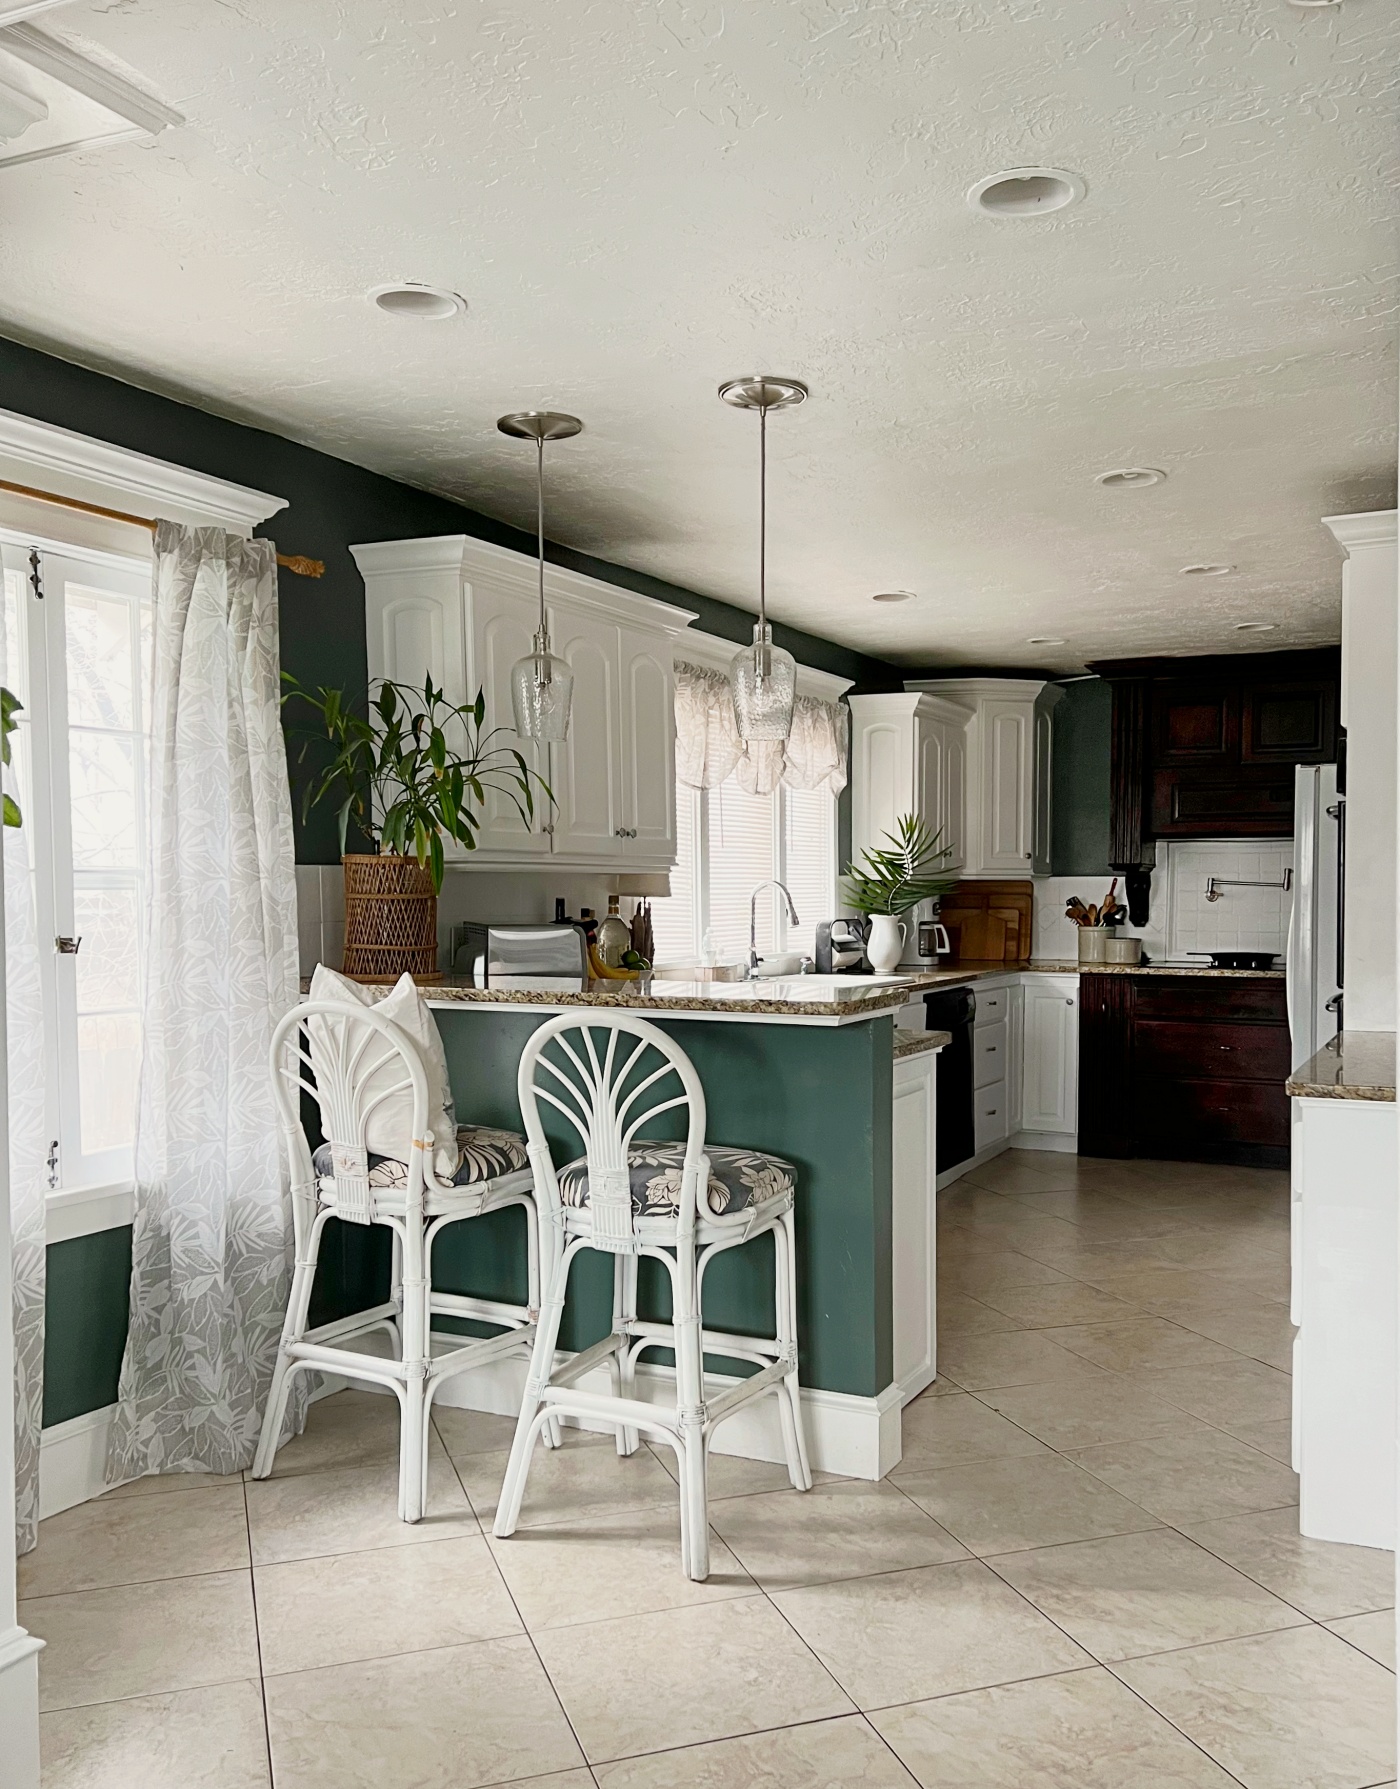
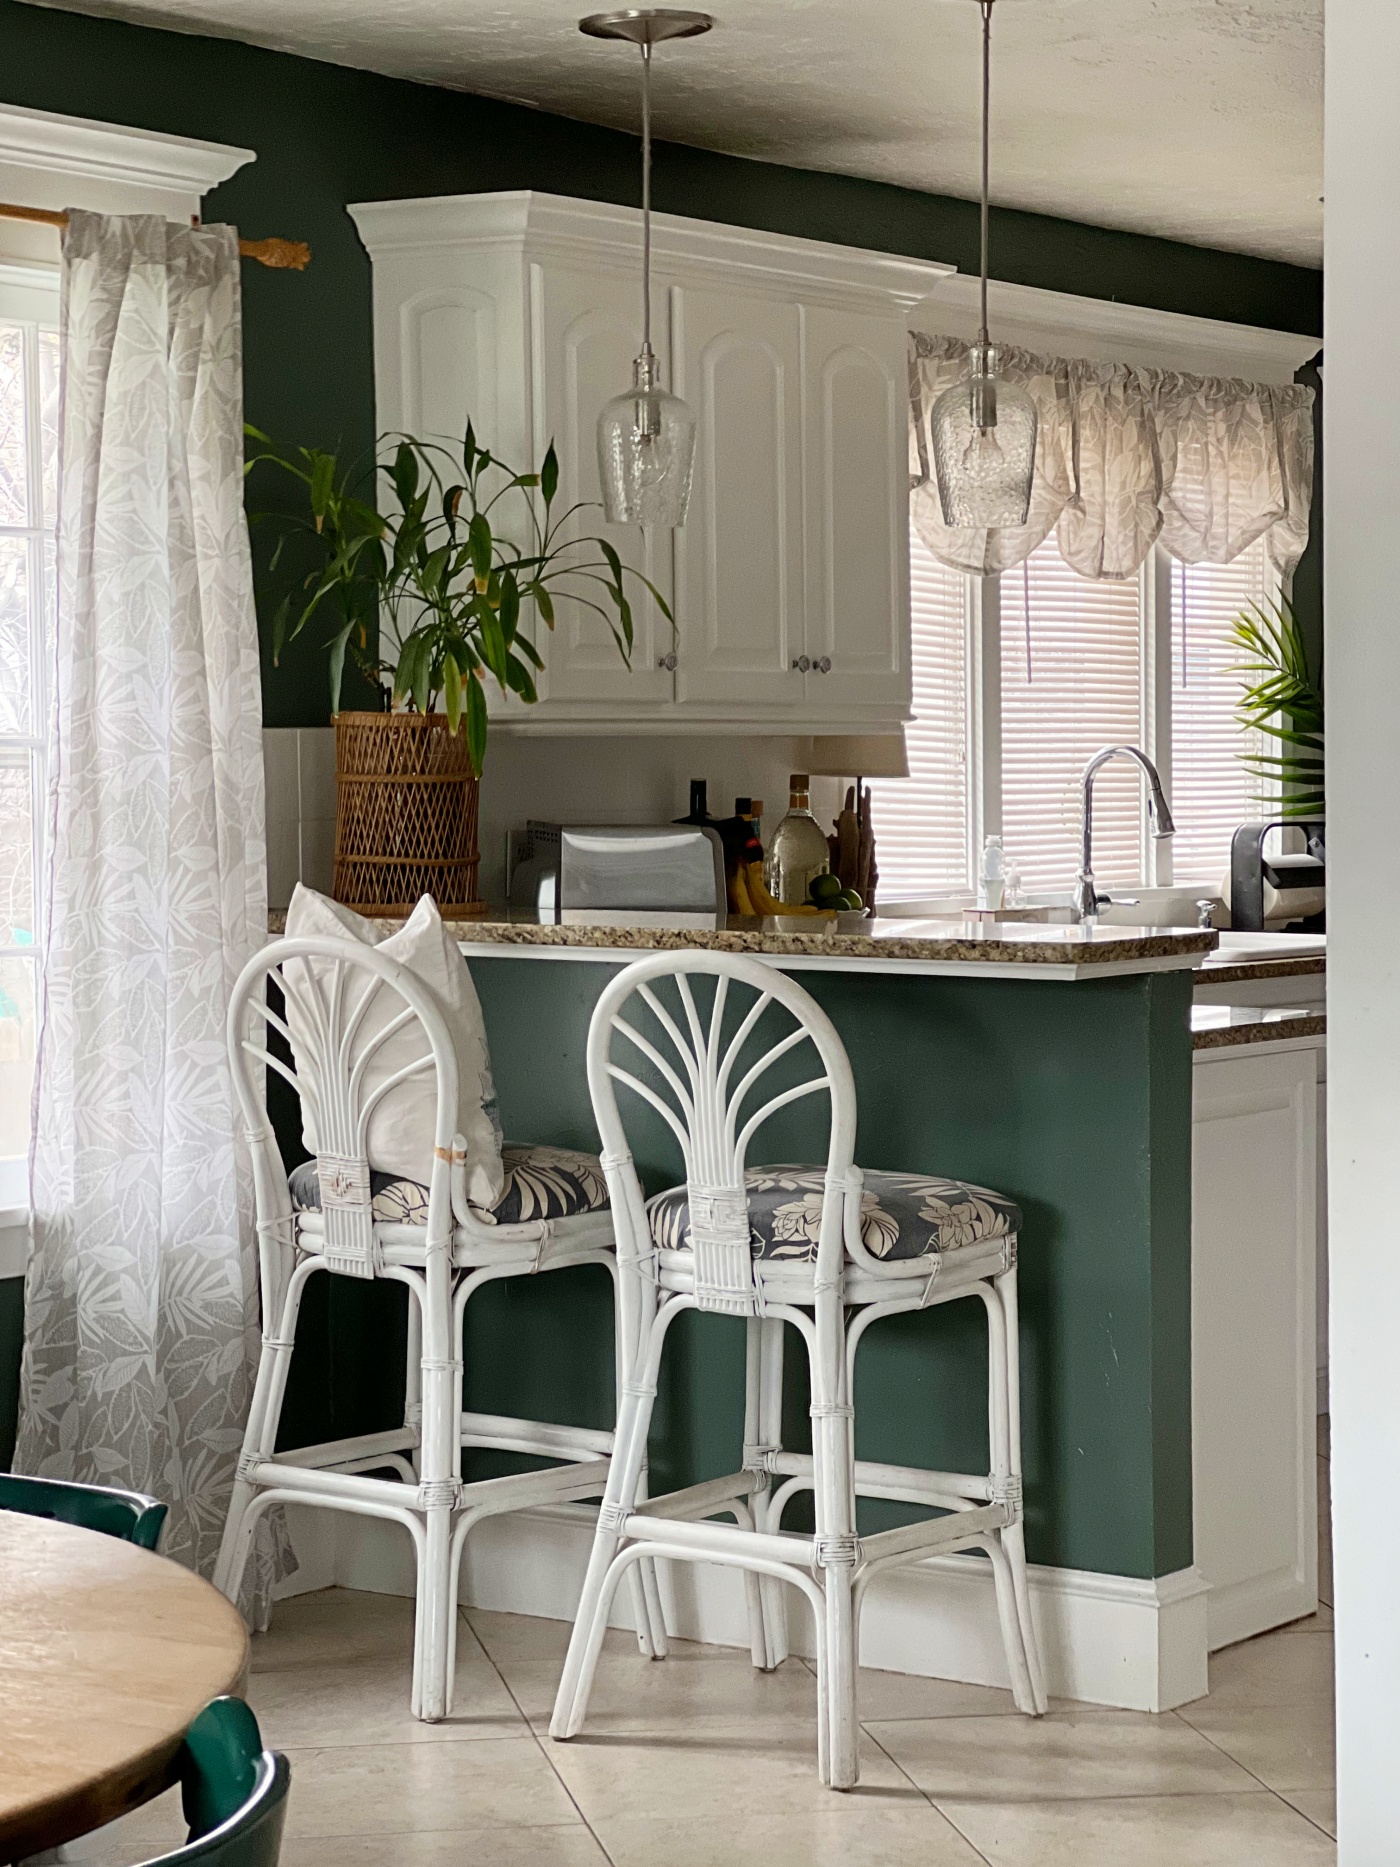
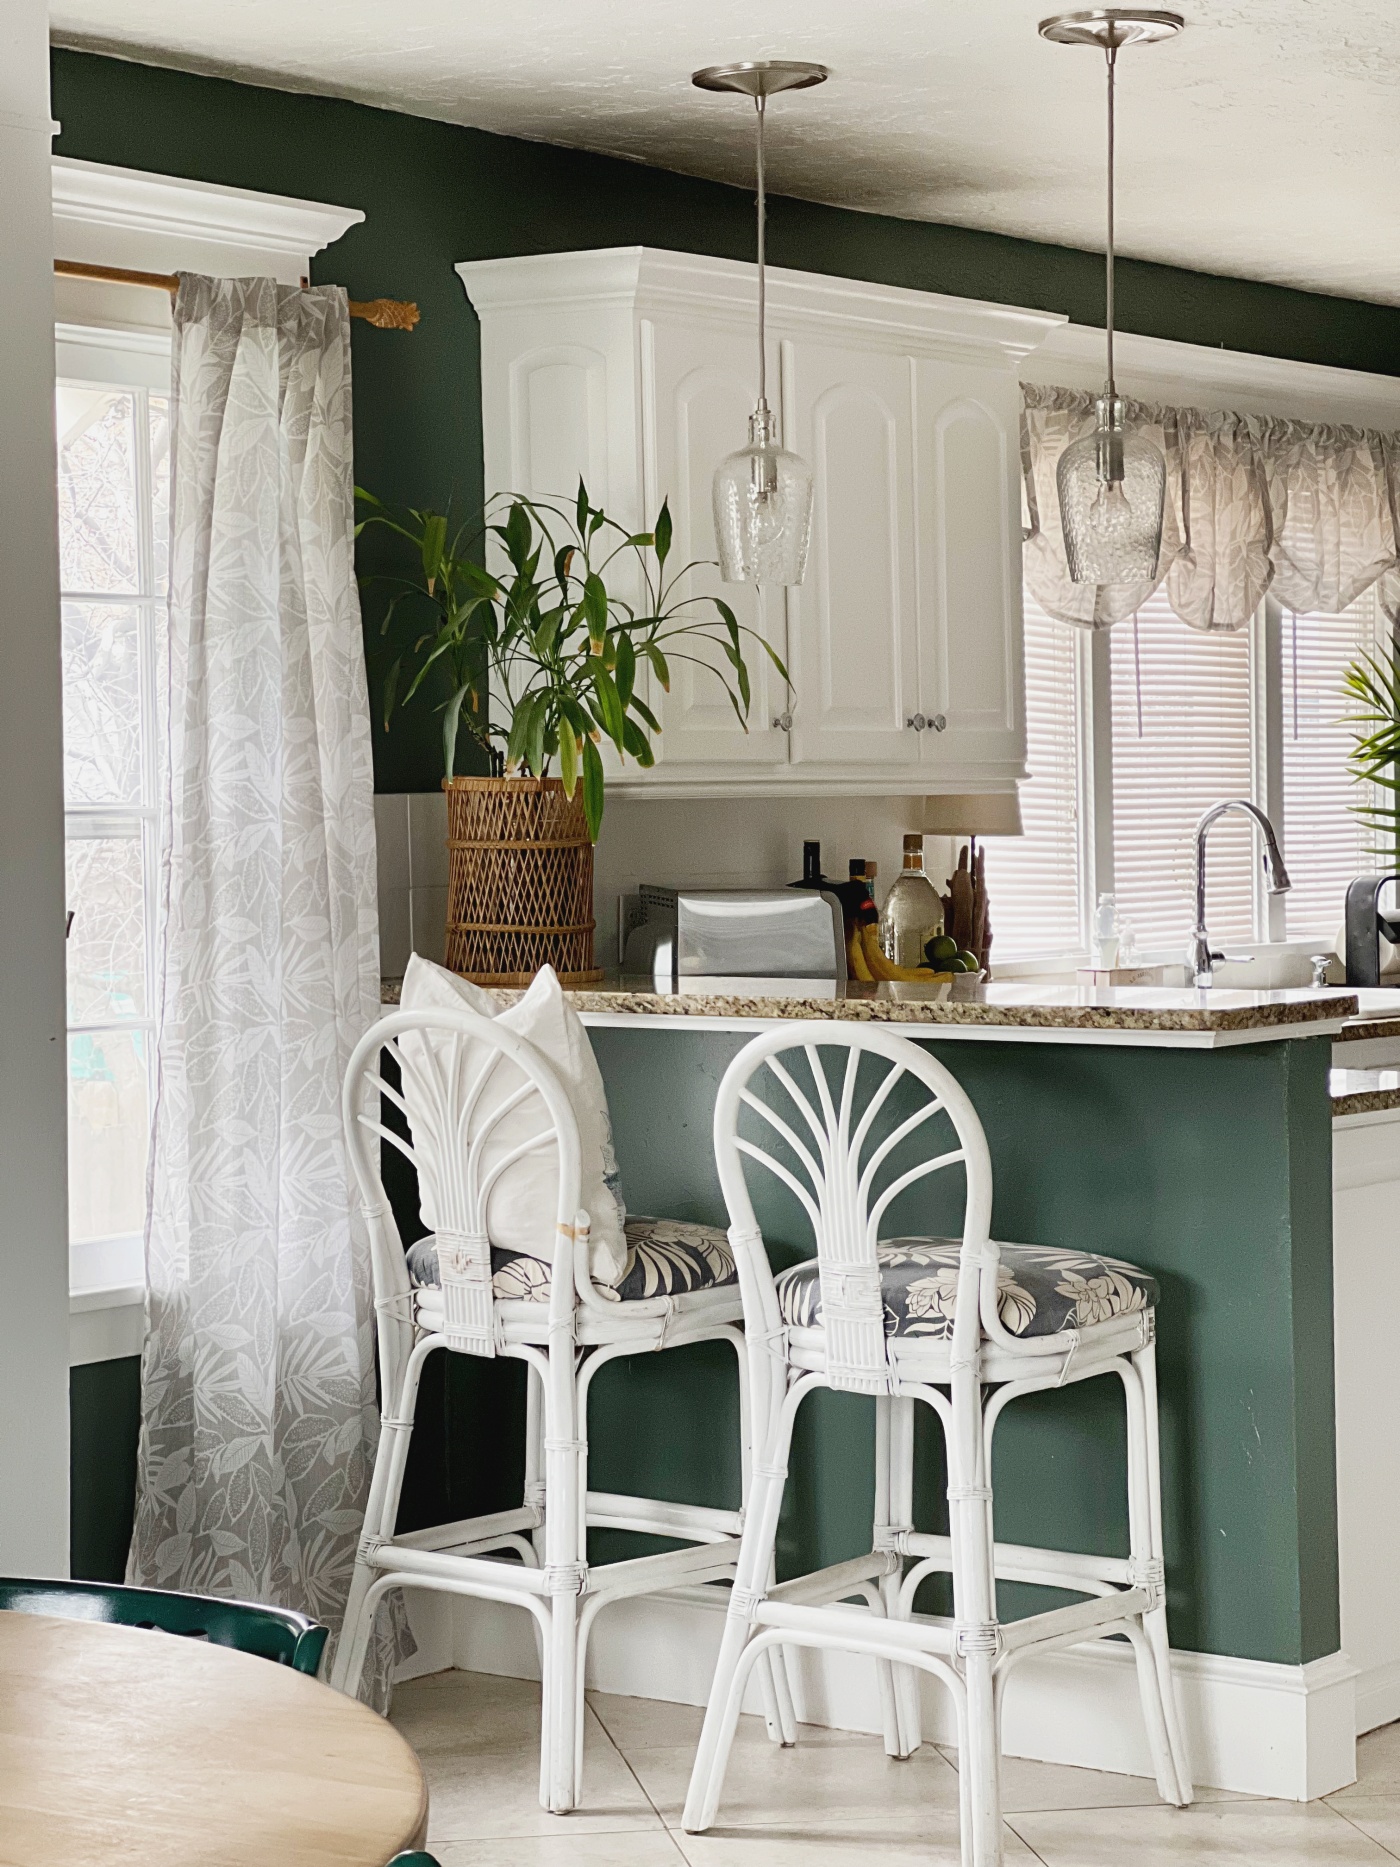
As you can see from the above picture, I also got some new curtains for this room. I picked out some long ones for the nook area and then some valances for the window above the sink. I am in love with these curtains and I feel like they add so much charm to our kitchen.
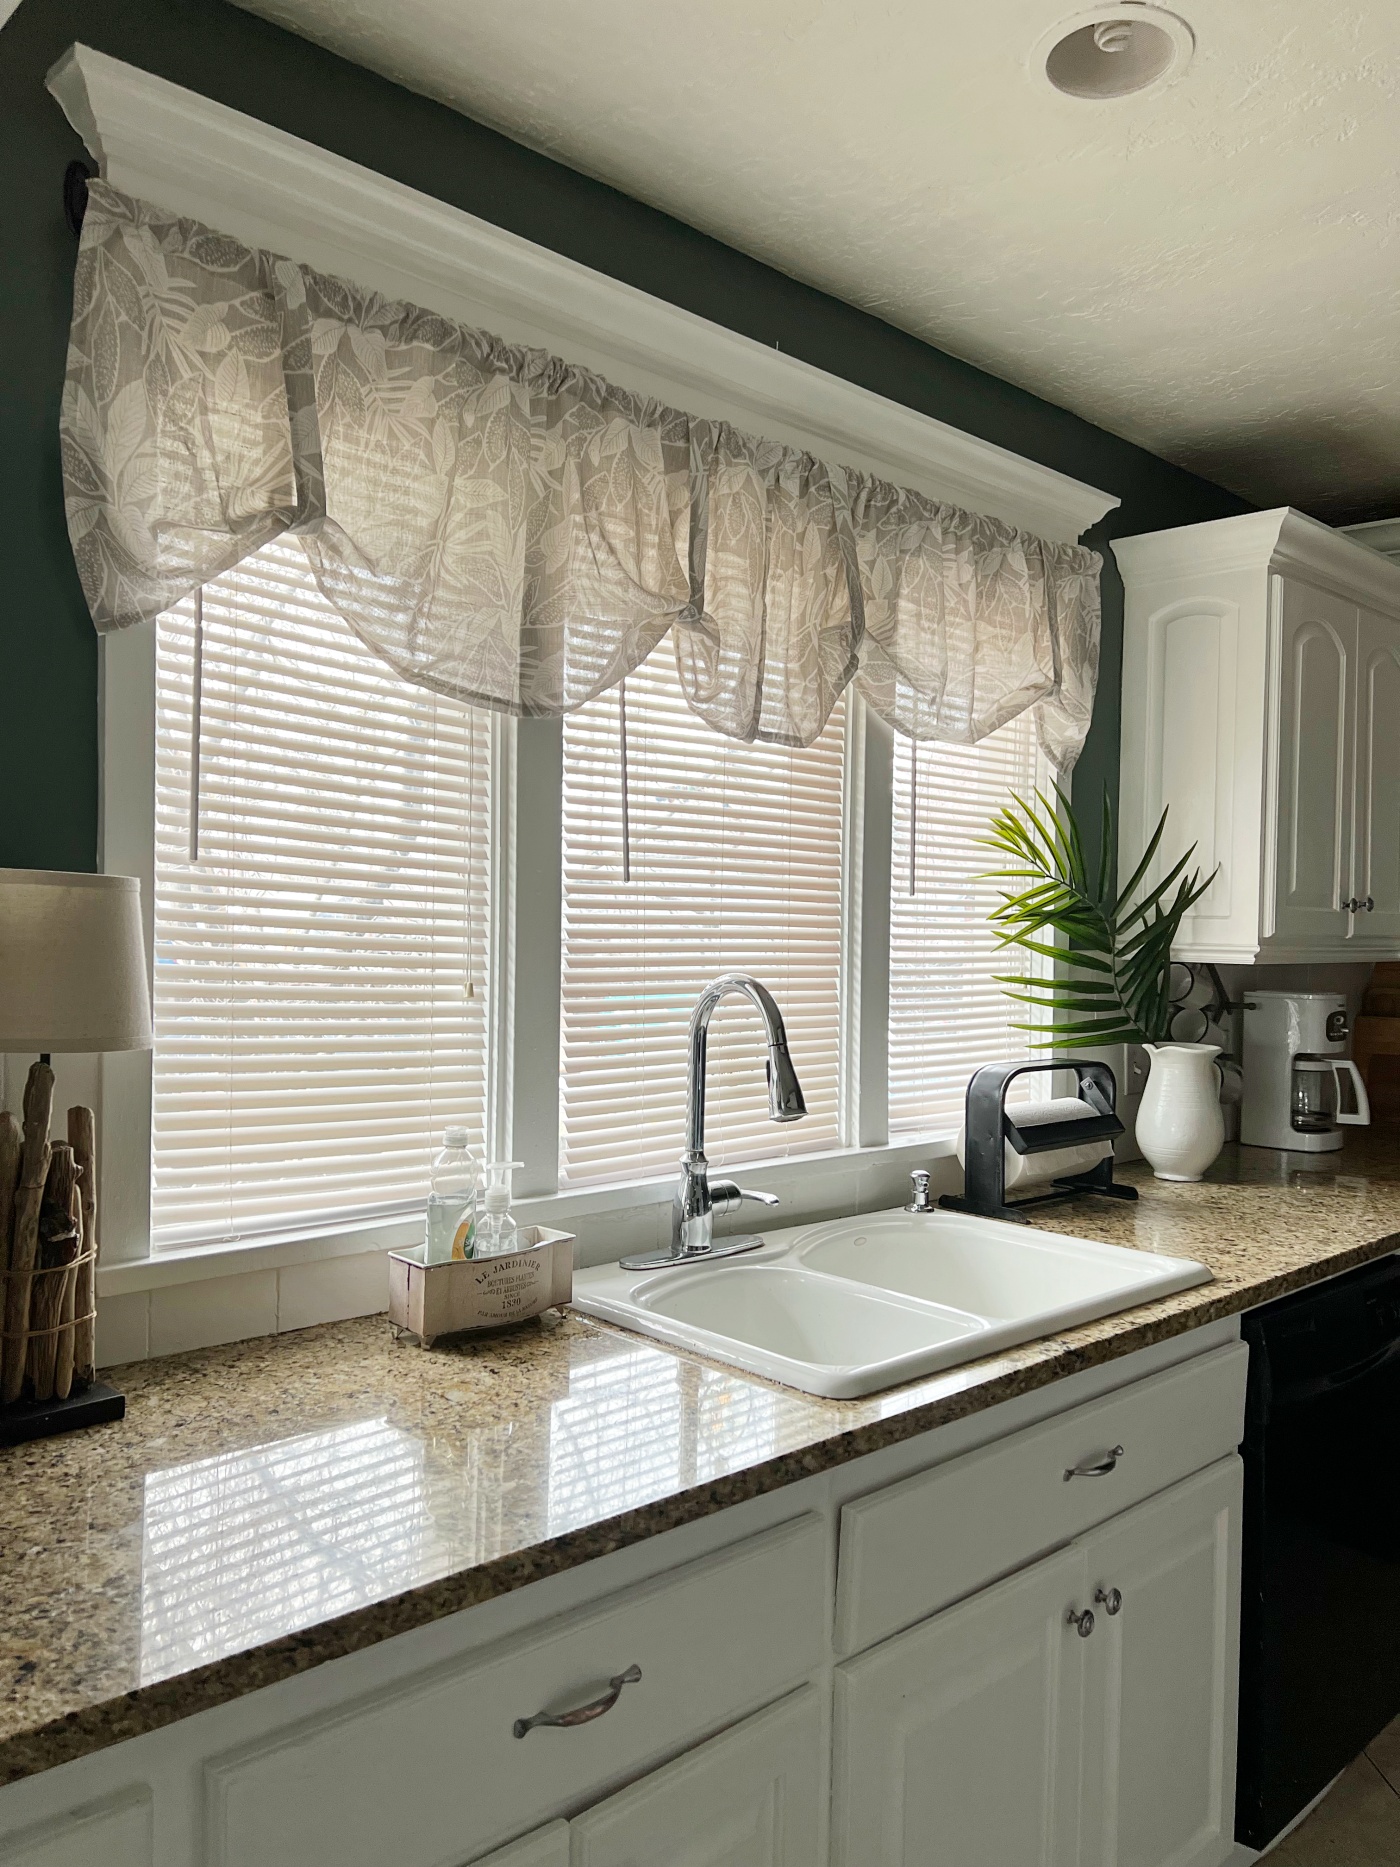
I ordered two of THESE Valances for our kitchen window. These are a linen-Polyester blend in grey and they have a pretty leaf print on them which feel very tropical to me. Even though these valances are made to go on an individual window, I felt like I could get two of them and make them work for our 3 pane window and I think they turned out great!
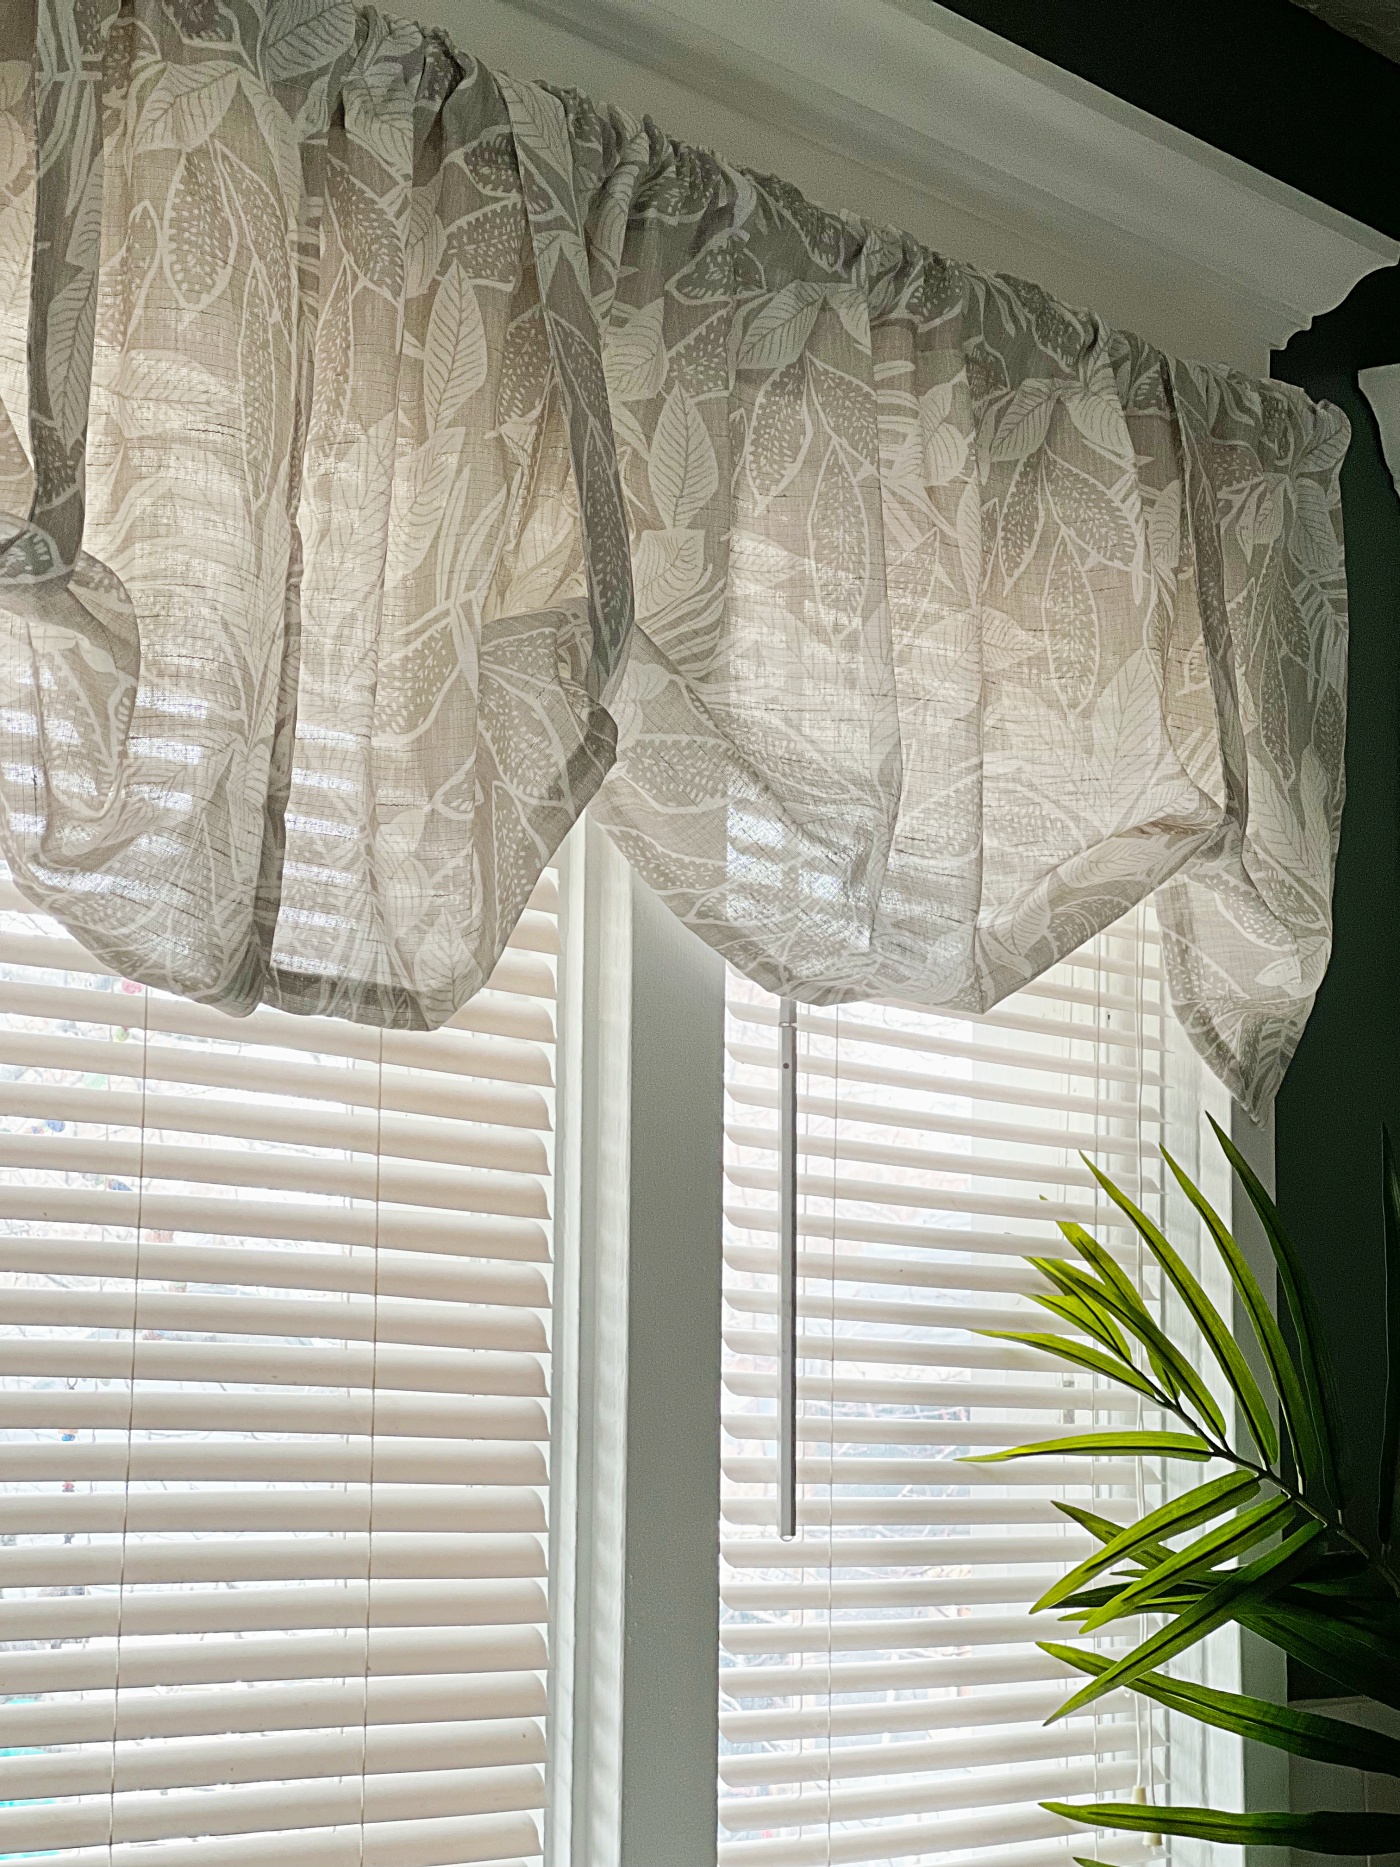
I chose valances for these windows because I really love my blinds. Our view out these windows is nothing pretty to look at, and so I like the option to adjust the blinds to let in as much or as little light and view as I wish. The valances just add a pretty touch so the window coverings are not just straight up blinds. Also, I have the option to pull the blinds completely up and hide them away under the valances.
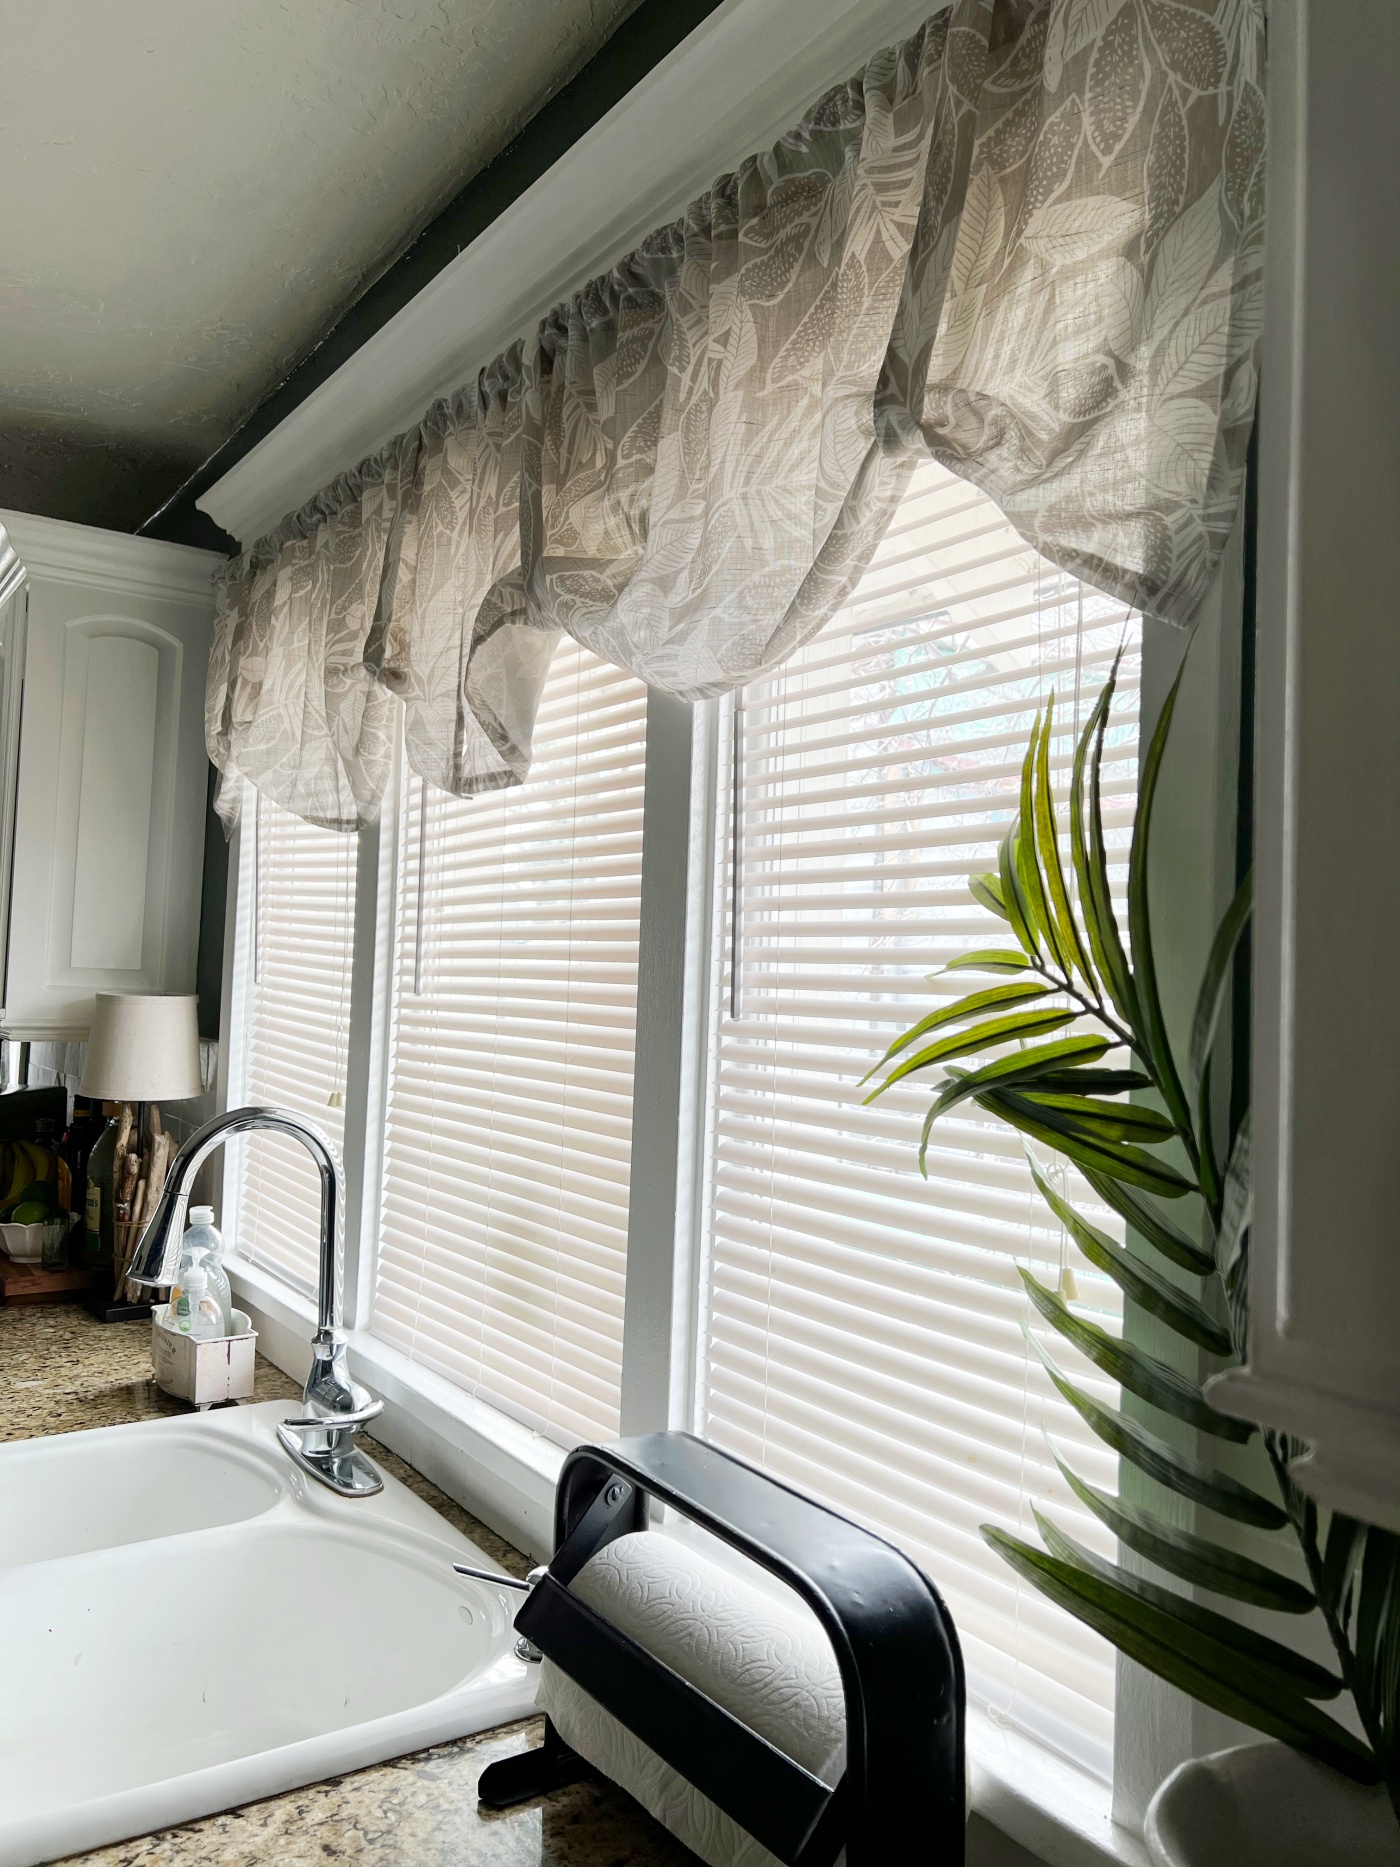
These valances are such a good price too and I’m really happy with them.
I am equally in love with THESE matching curtains that I have hanging in this nook area of our kitchen. Arn’t they so pretty? I just blogged about this space not too long ago (Seen Here) because I wanted to share my new Pineapple curtain rod that my husband gifted me for my birthday, but at that time, I just had a piece of fabric hanging, which was cute, but these curtains are wayyy better!
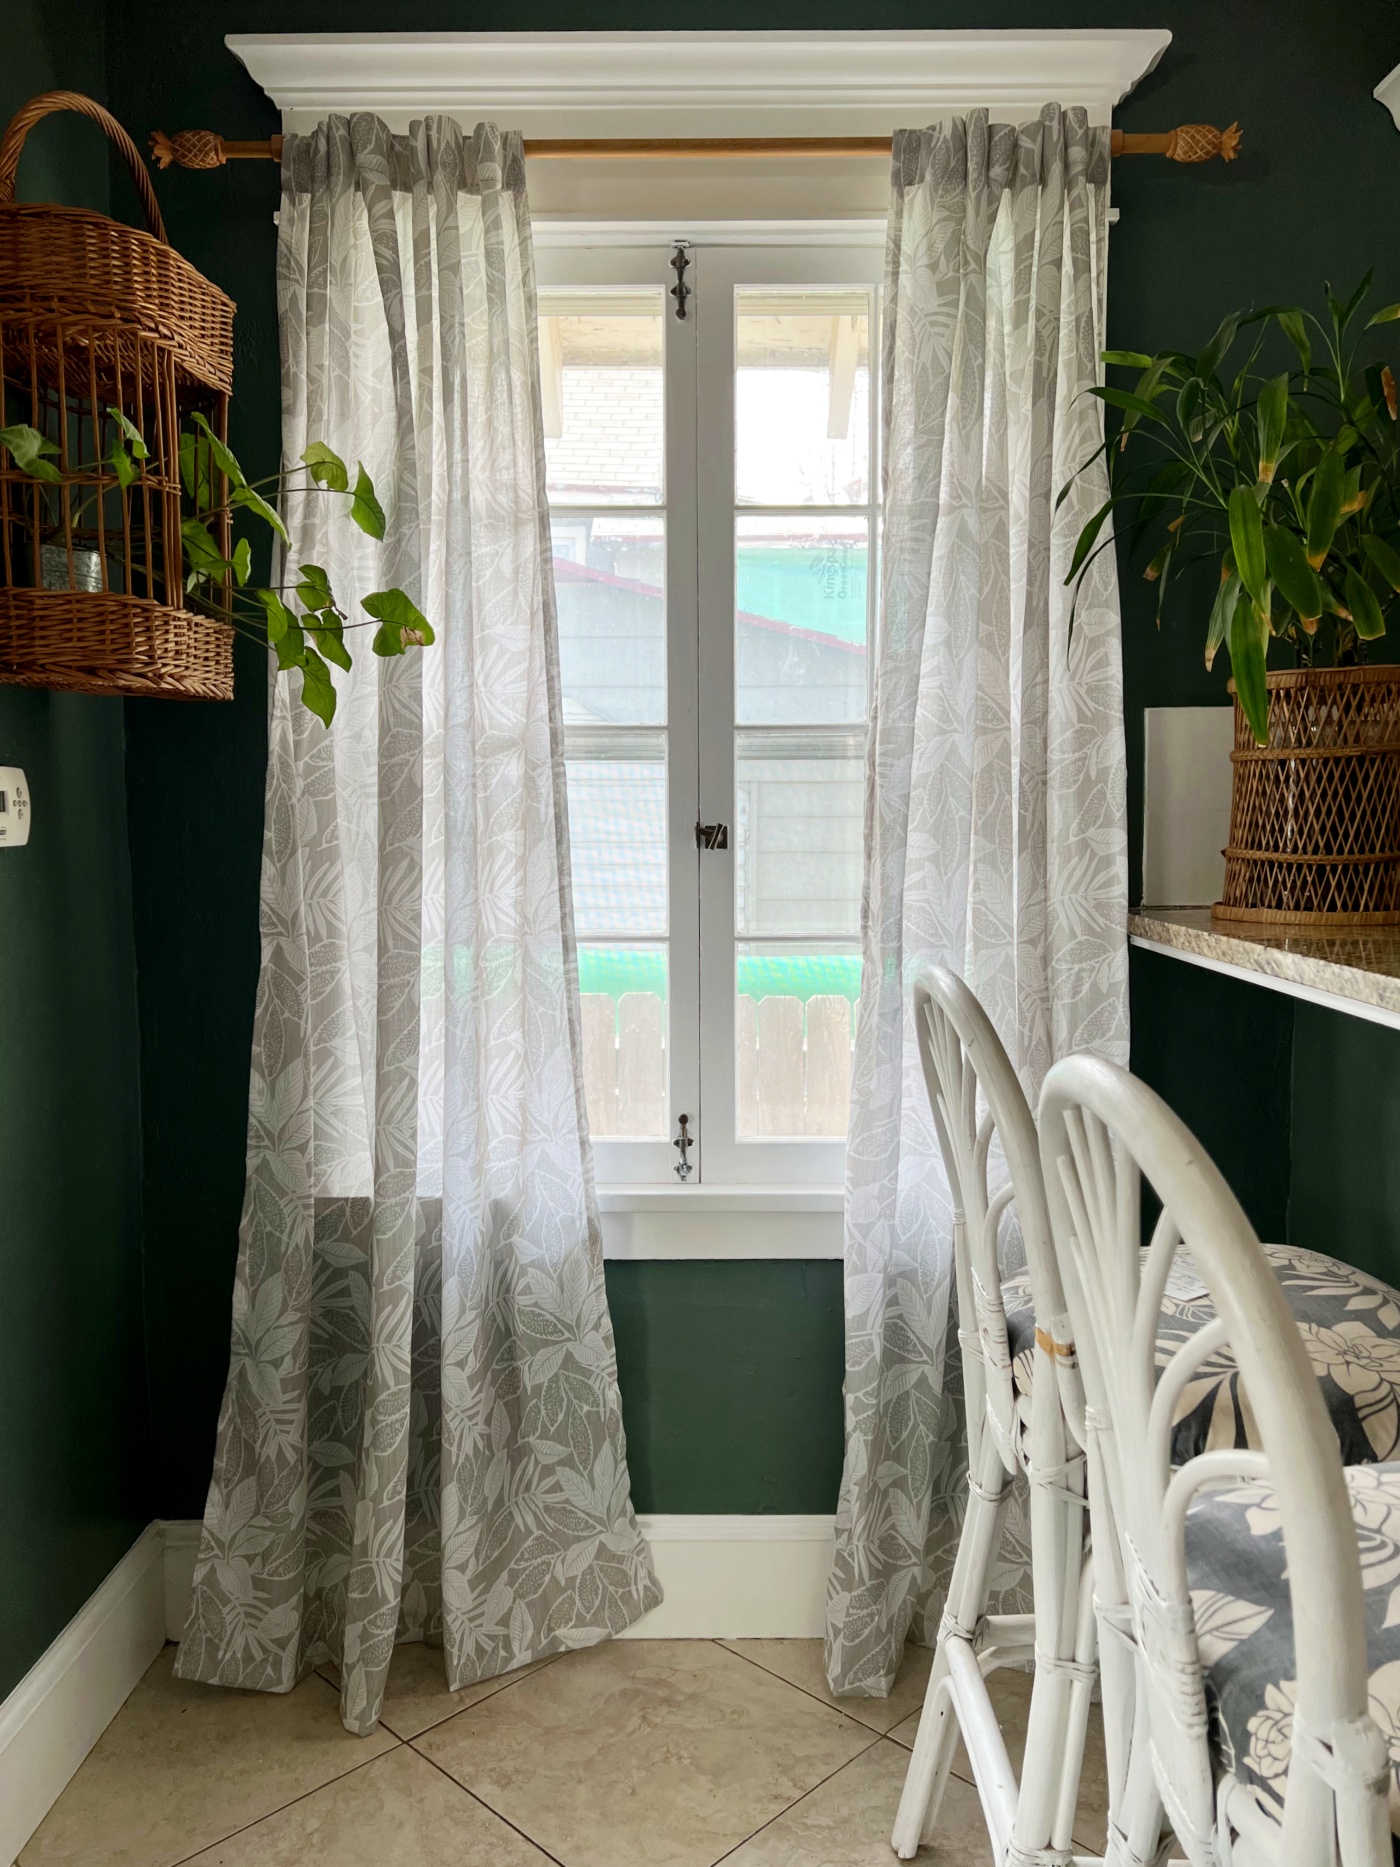
These curtains are also the Linen- Polyester blend in the Gray leaf pattern. They are a semi-sheer which allows so much light to come in (which is so welcomed in this kitchen) but they still give the windows enough privacy coverage. They are also a great price and you get two panels for that price.
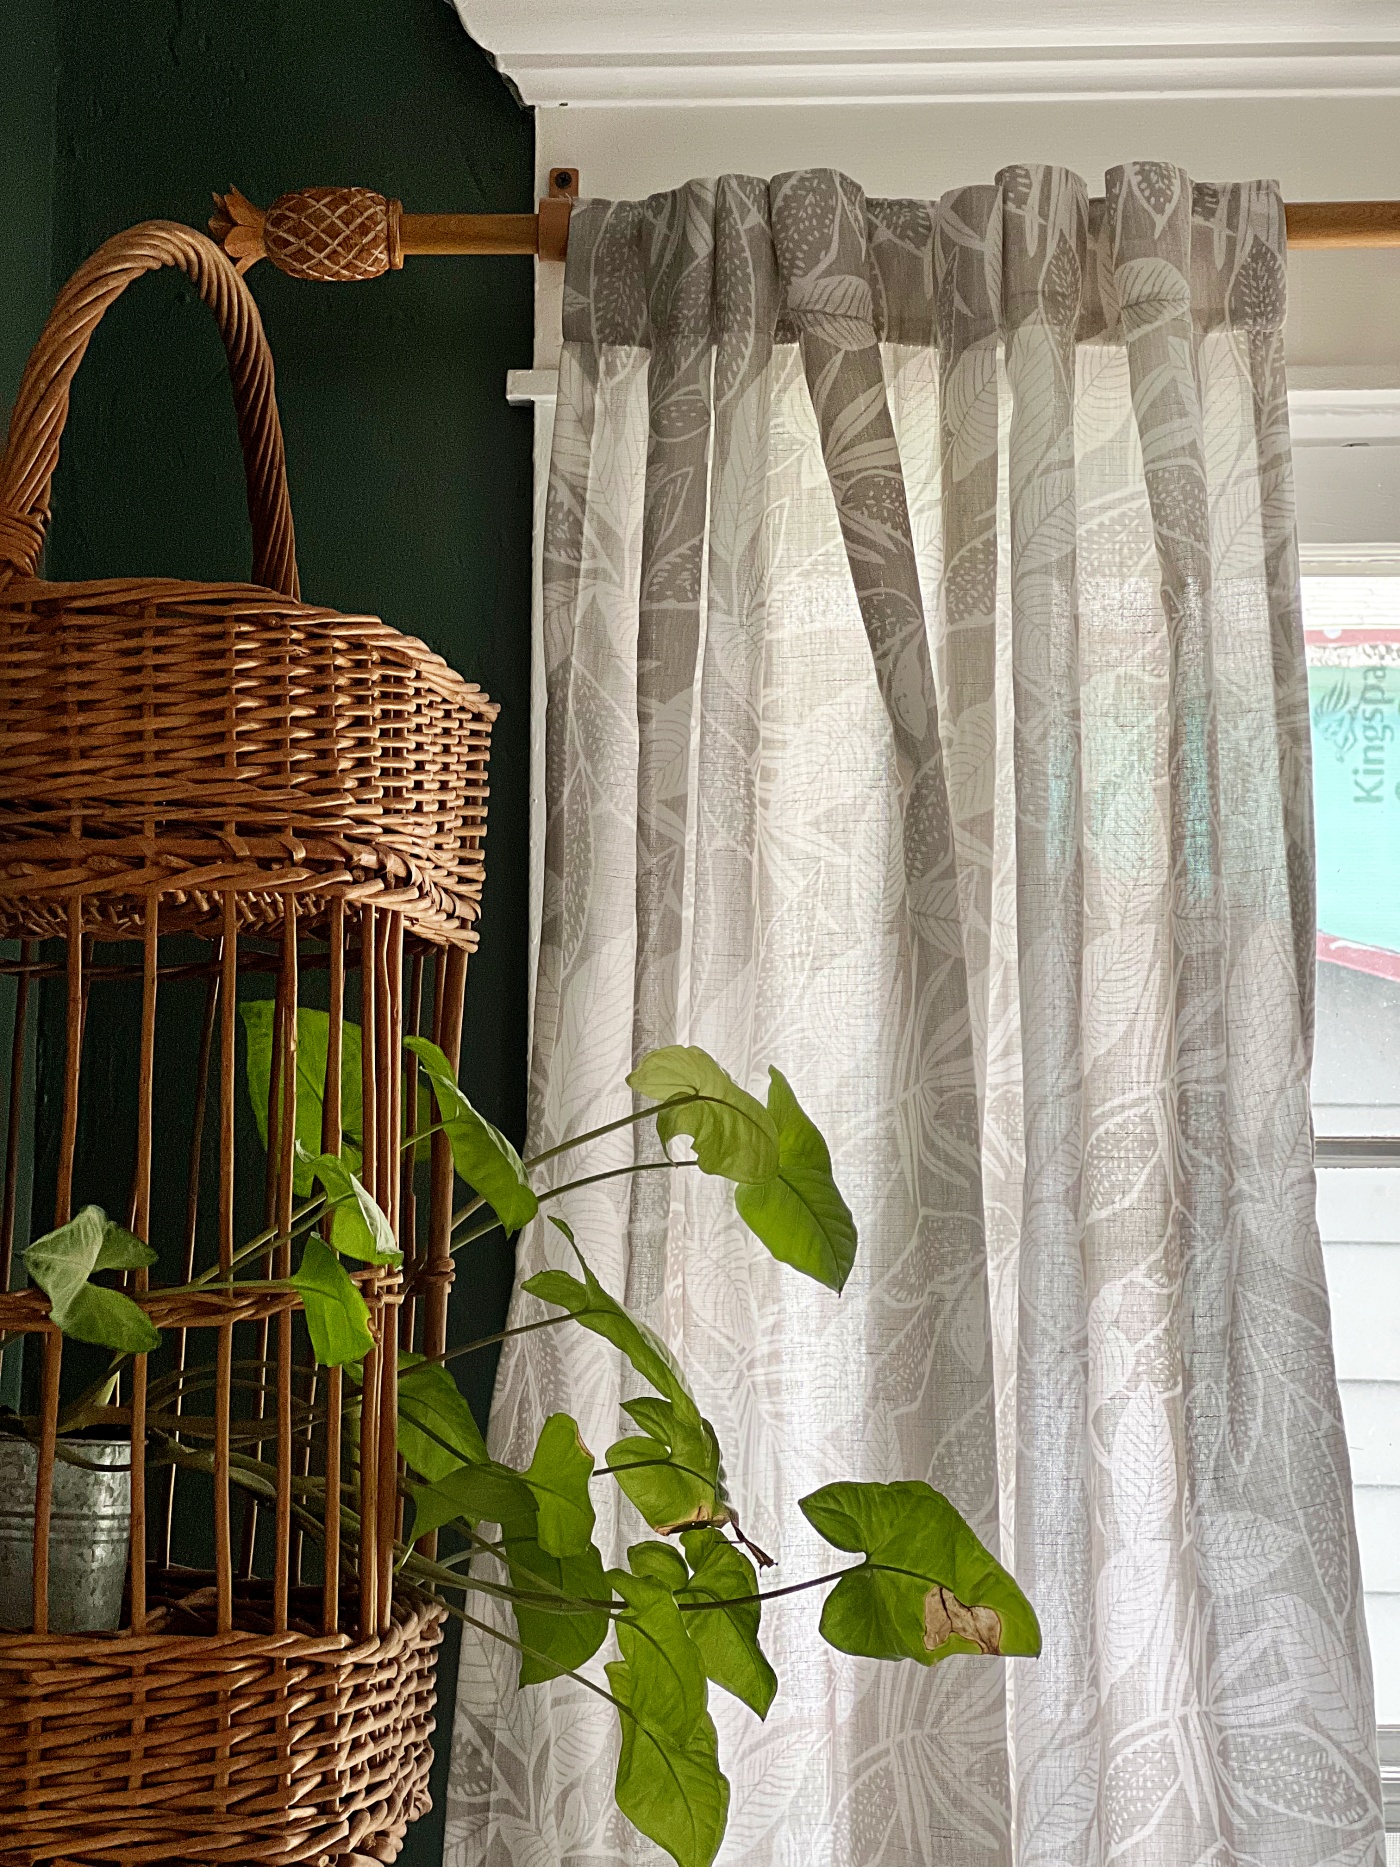
Something else I love about these curtains is that they have a couple of options of how to hang them. I chose to hang them using the tabs, but you could also hang them through the rod pocket or by clips.
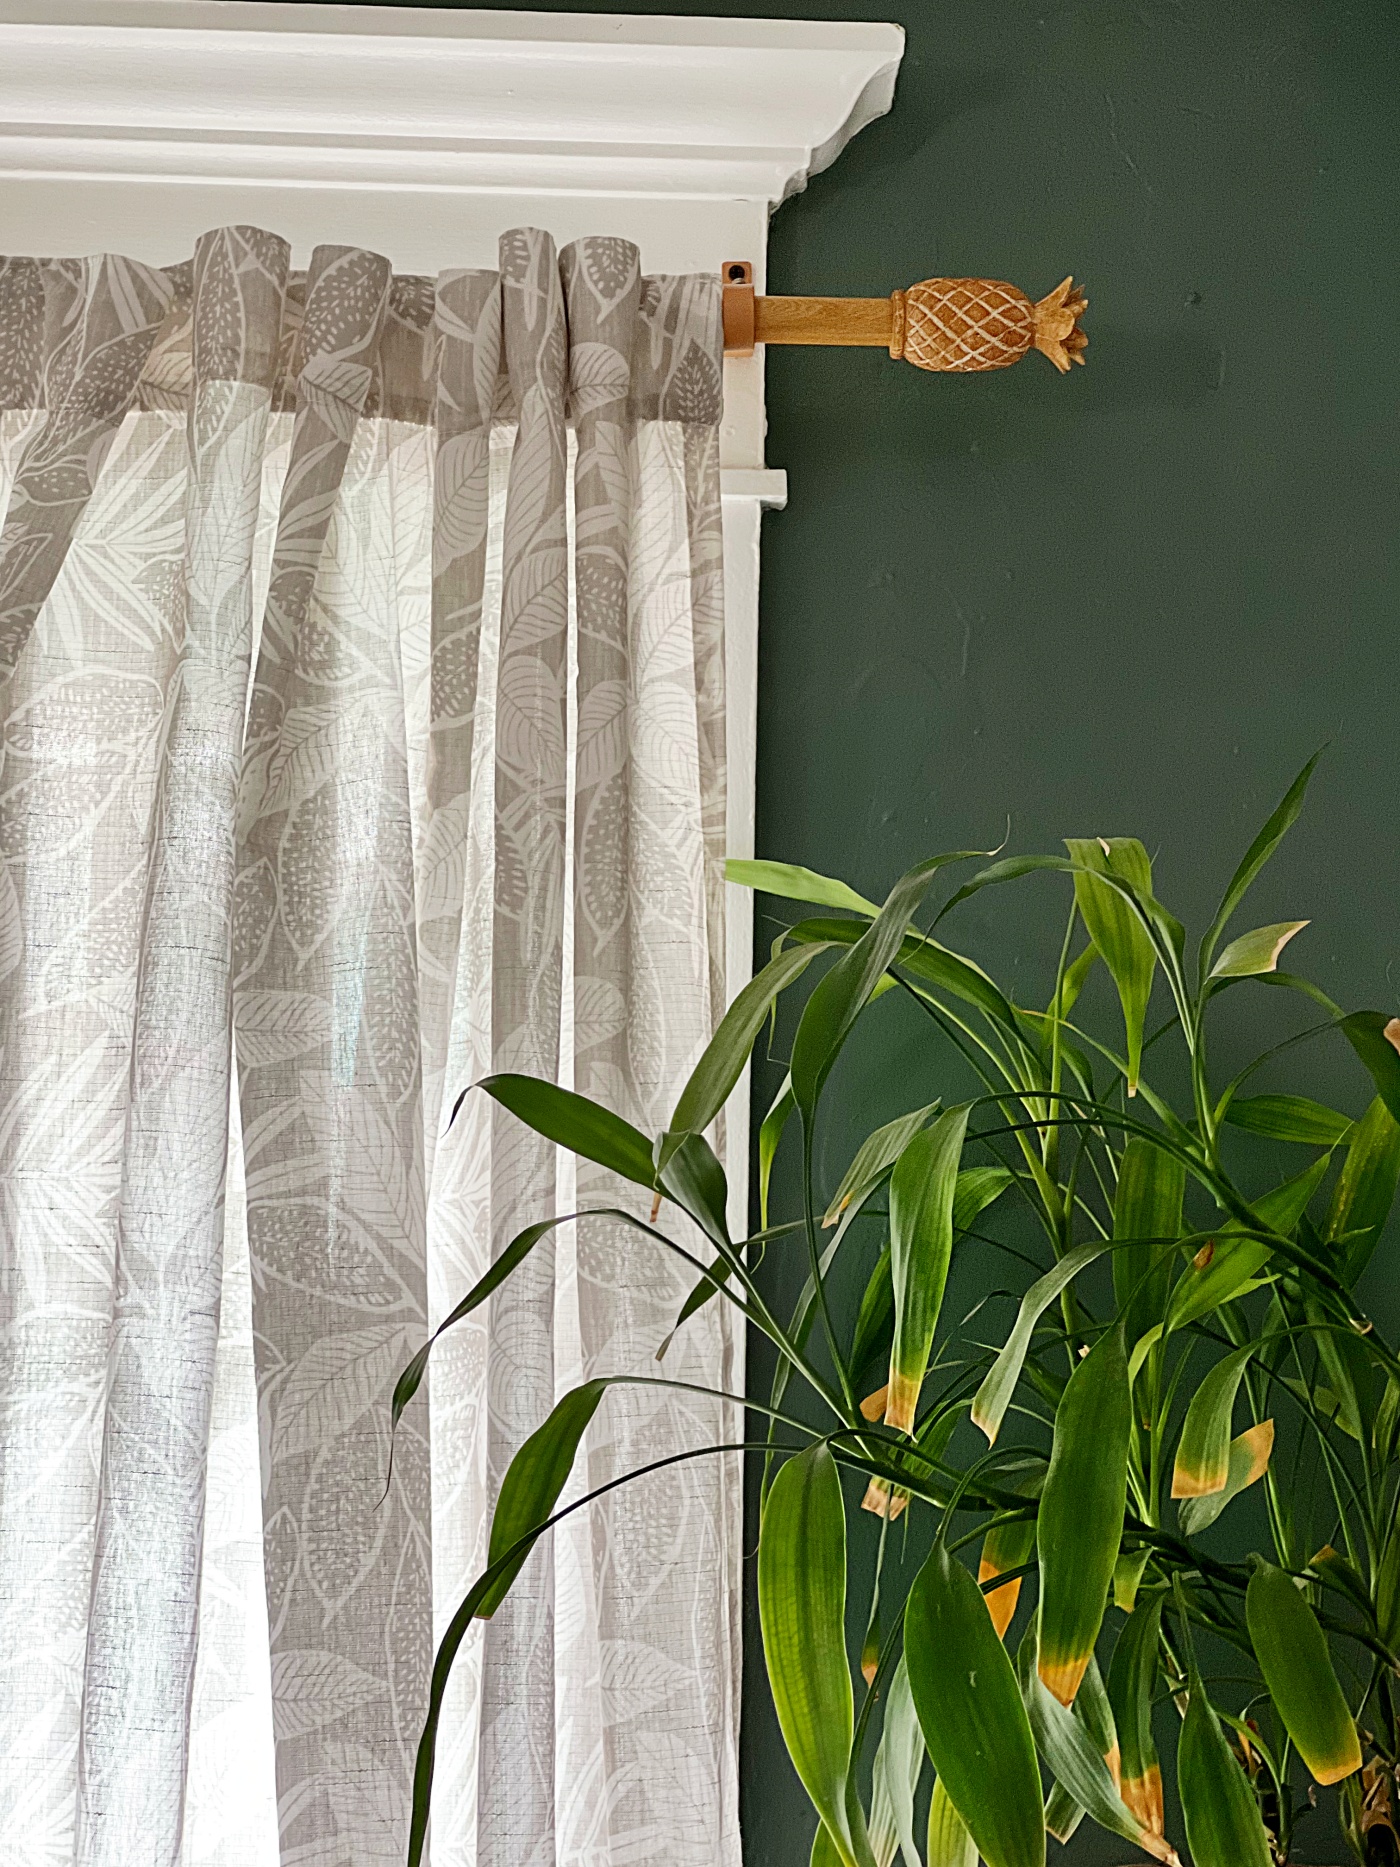
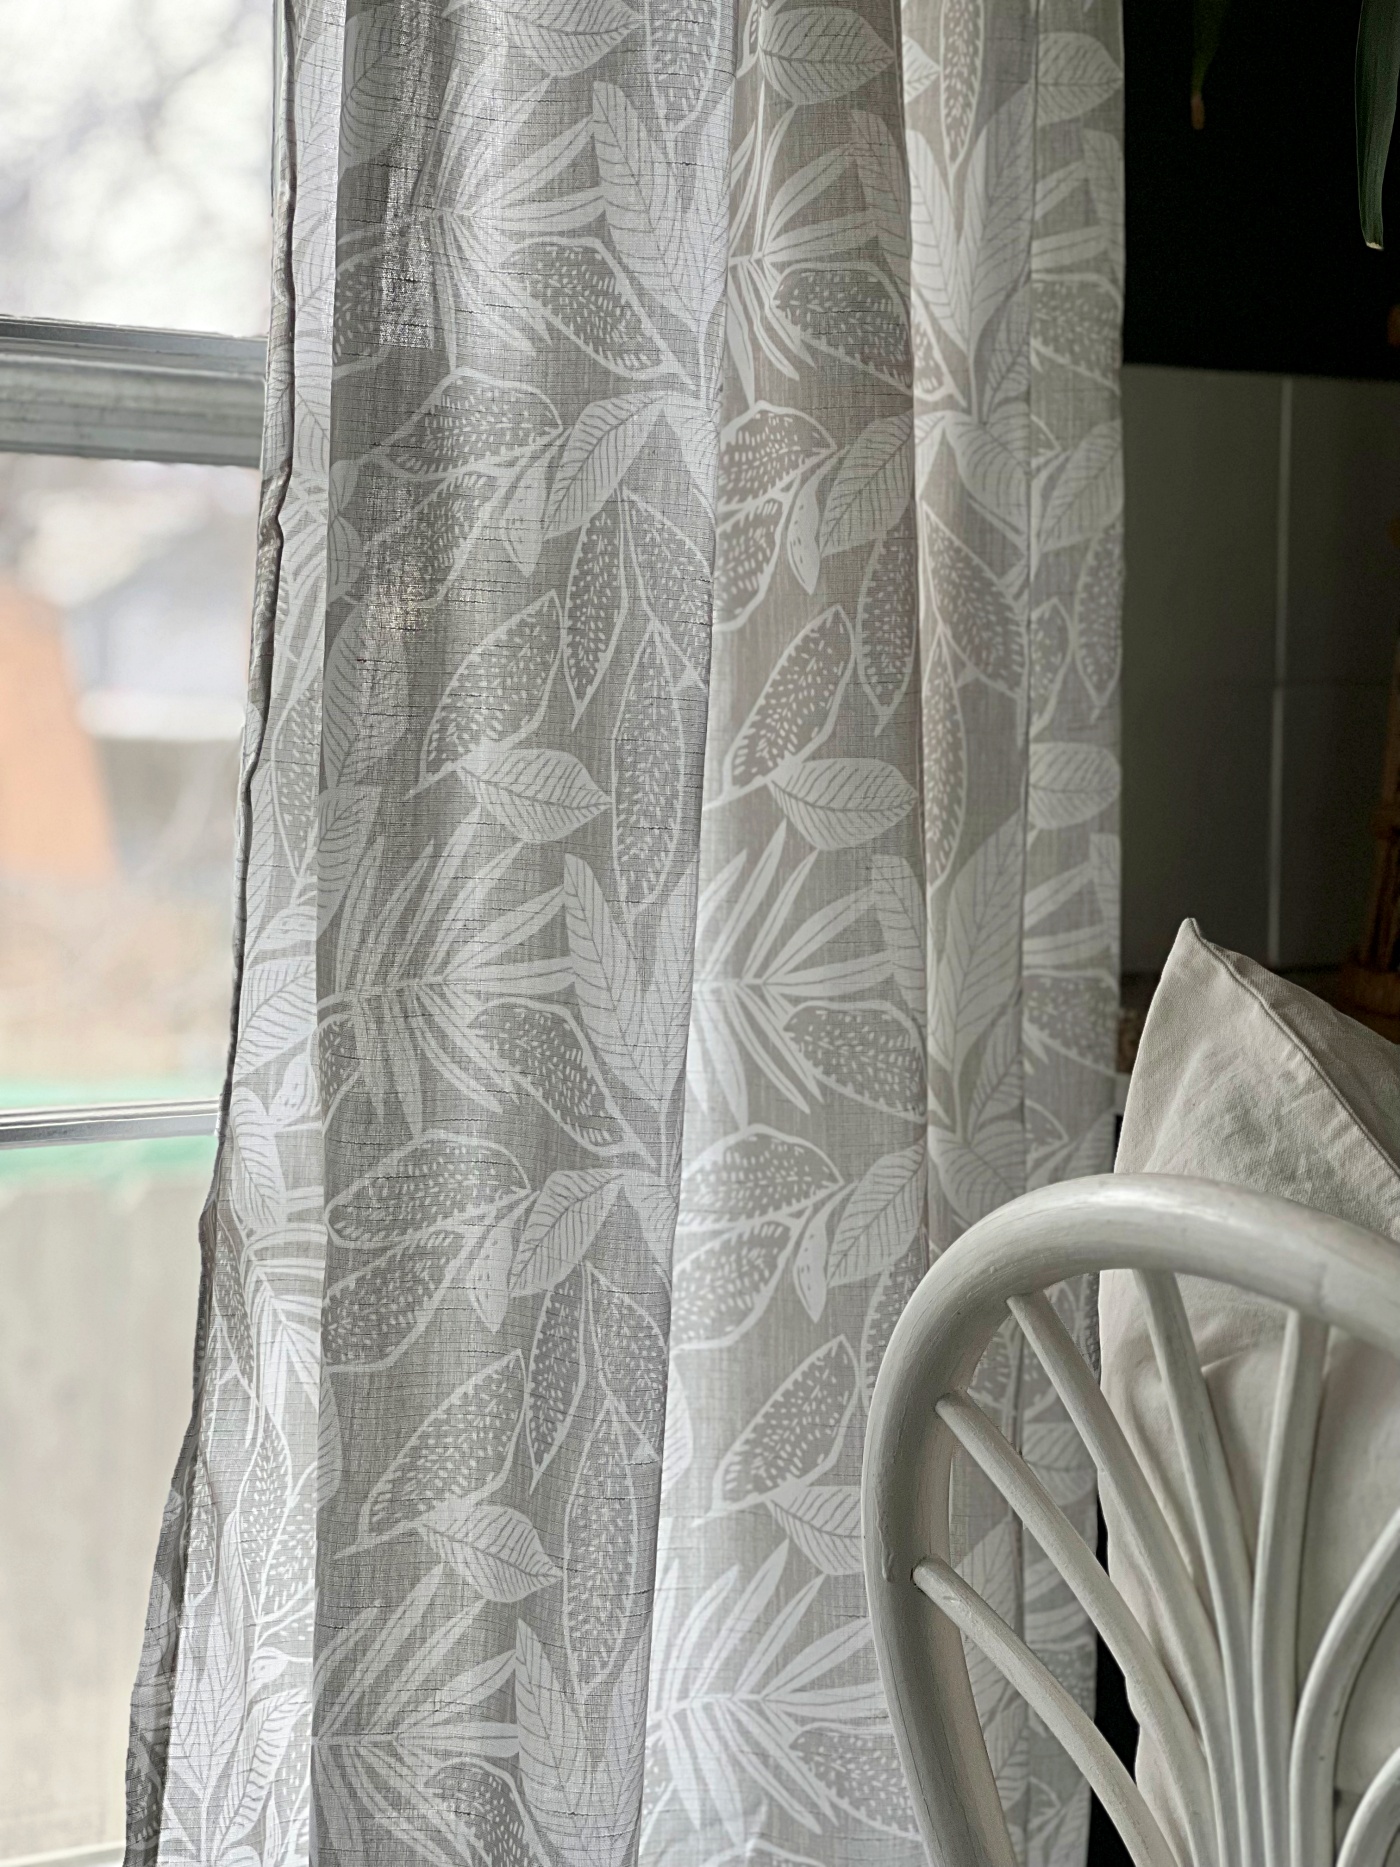
This pattern comes in several other colors as well, but I thought the gray would be a good neutral choice for me, especially if I decide to re-paint down the road, because let’s face it, I probably will. 😉 But for right now, I’m in love with this green on our walls. This green color is called Caldwell Green by Benjamin Moore.
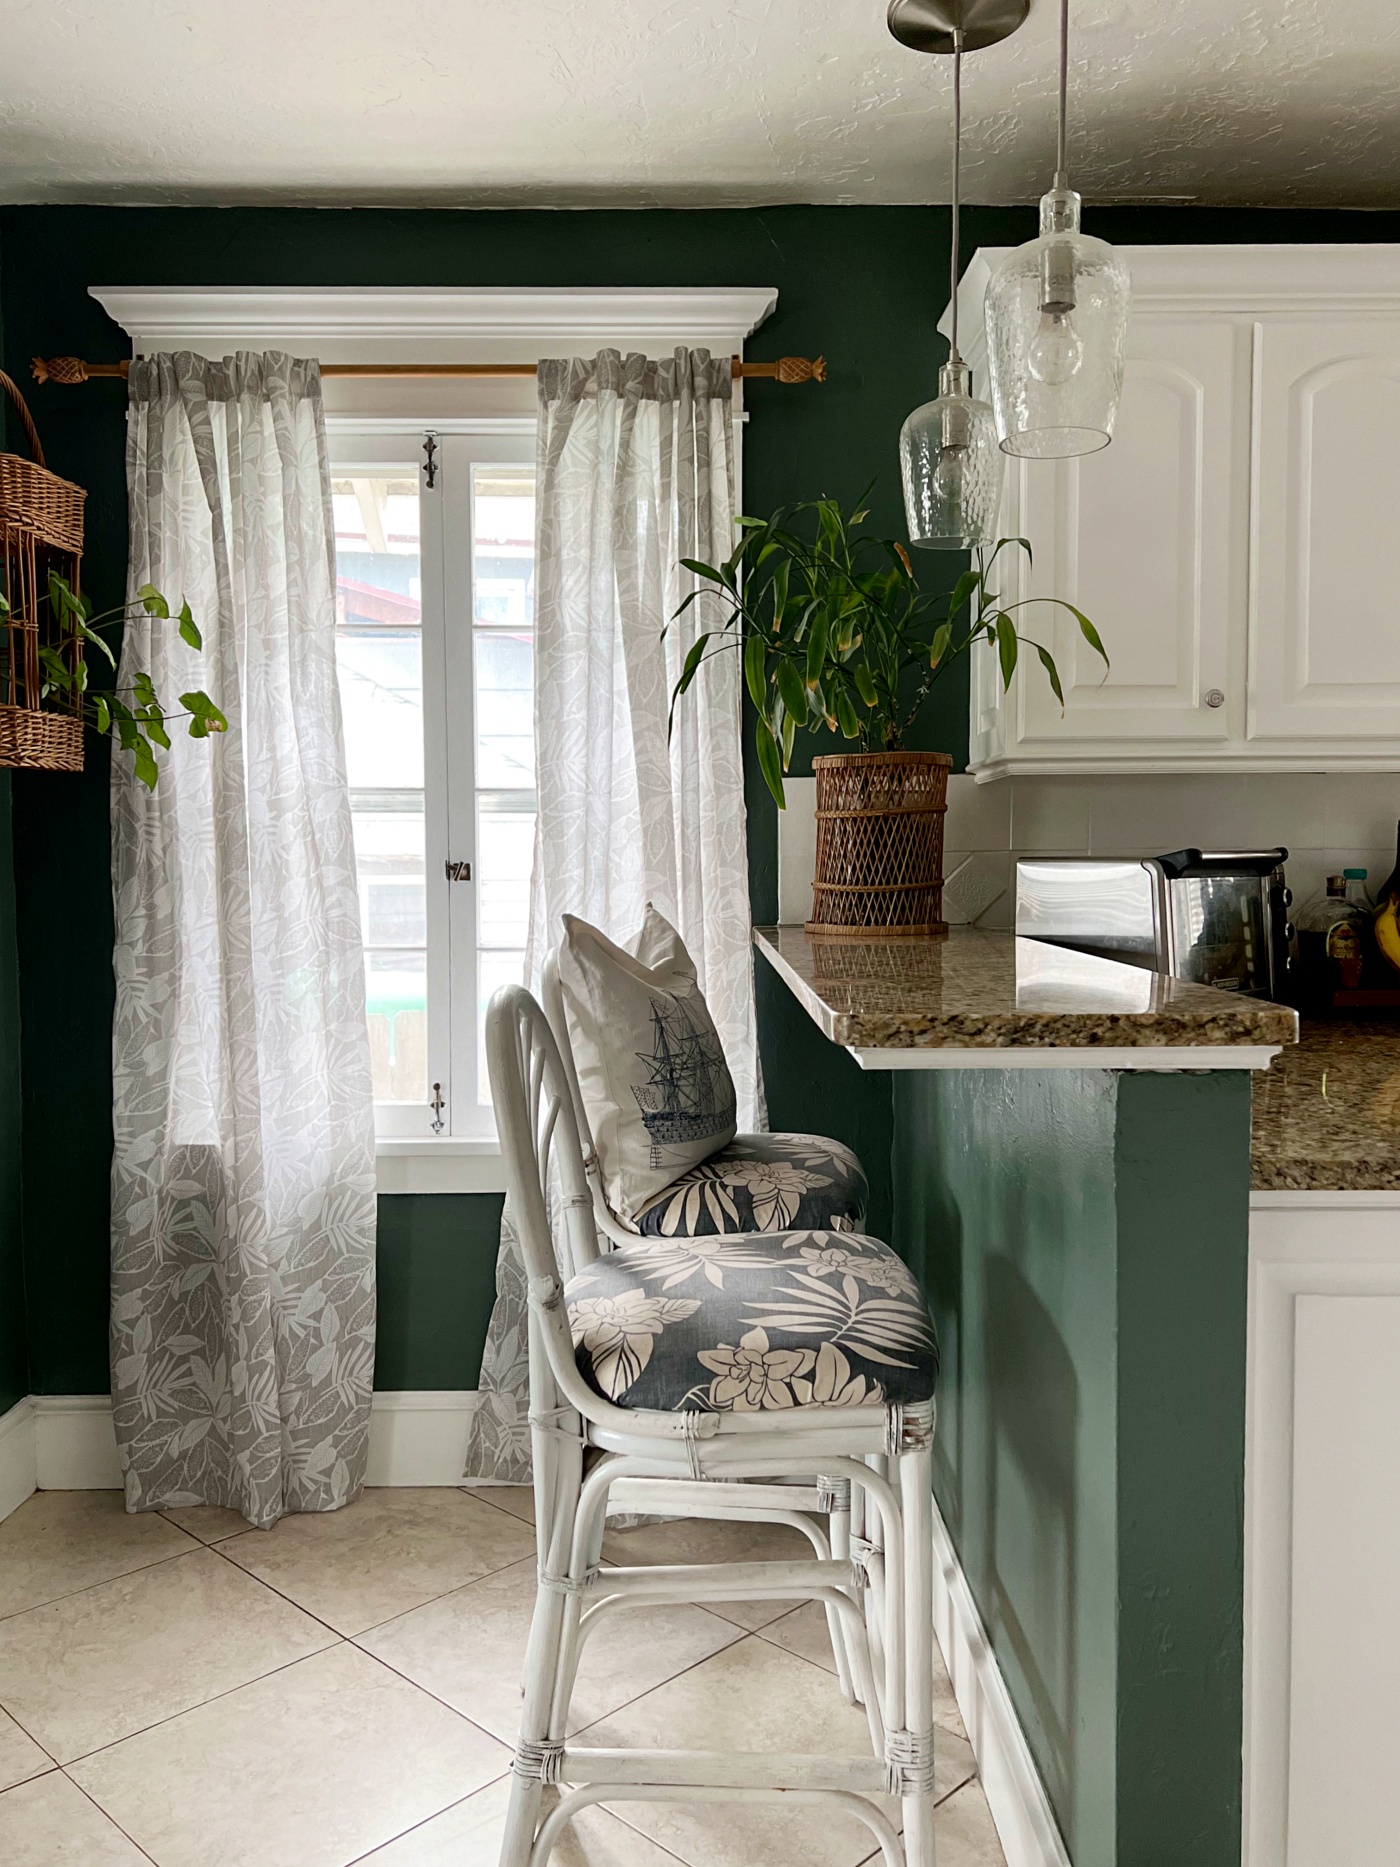
This green color on our walls feels so tropical to me and so I like how the leaf print in the curtains just adds to the look. You’ll notice the fabric that I covered our kitchen stools in also has a tropical look to them. I actually picked up that fabric in Hawaii.
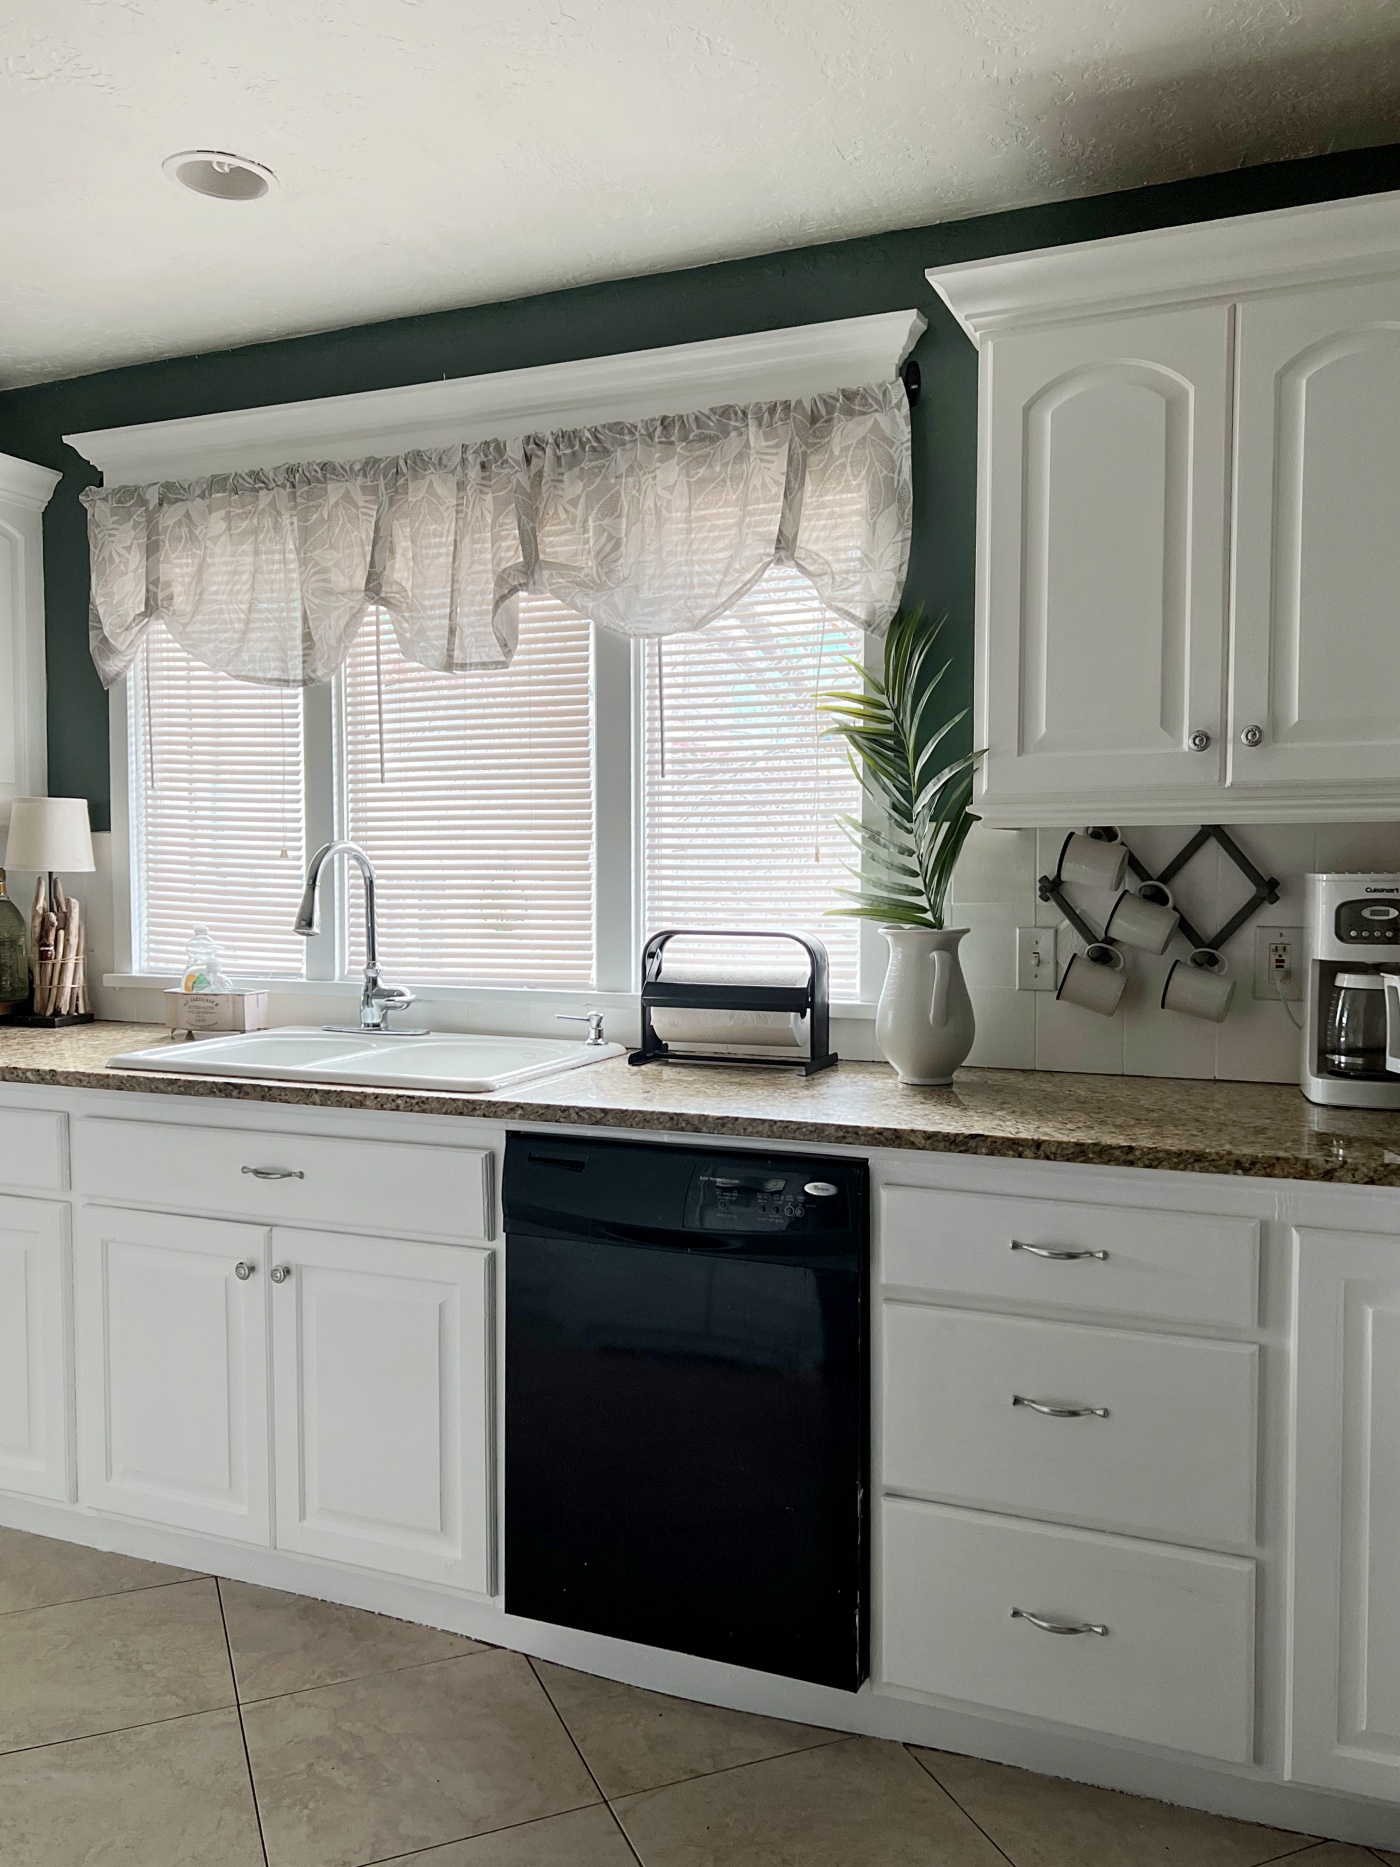
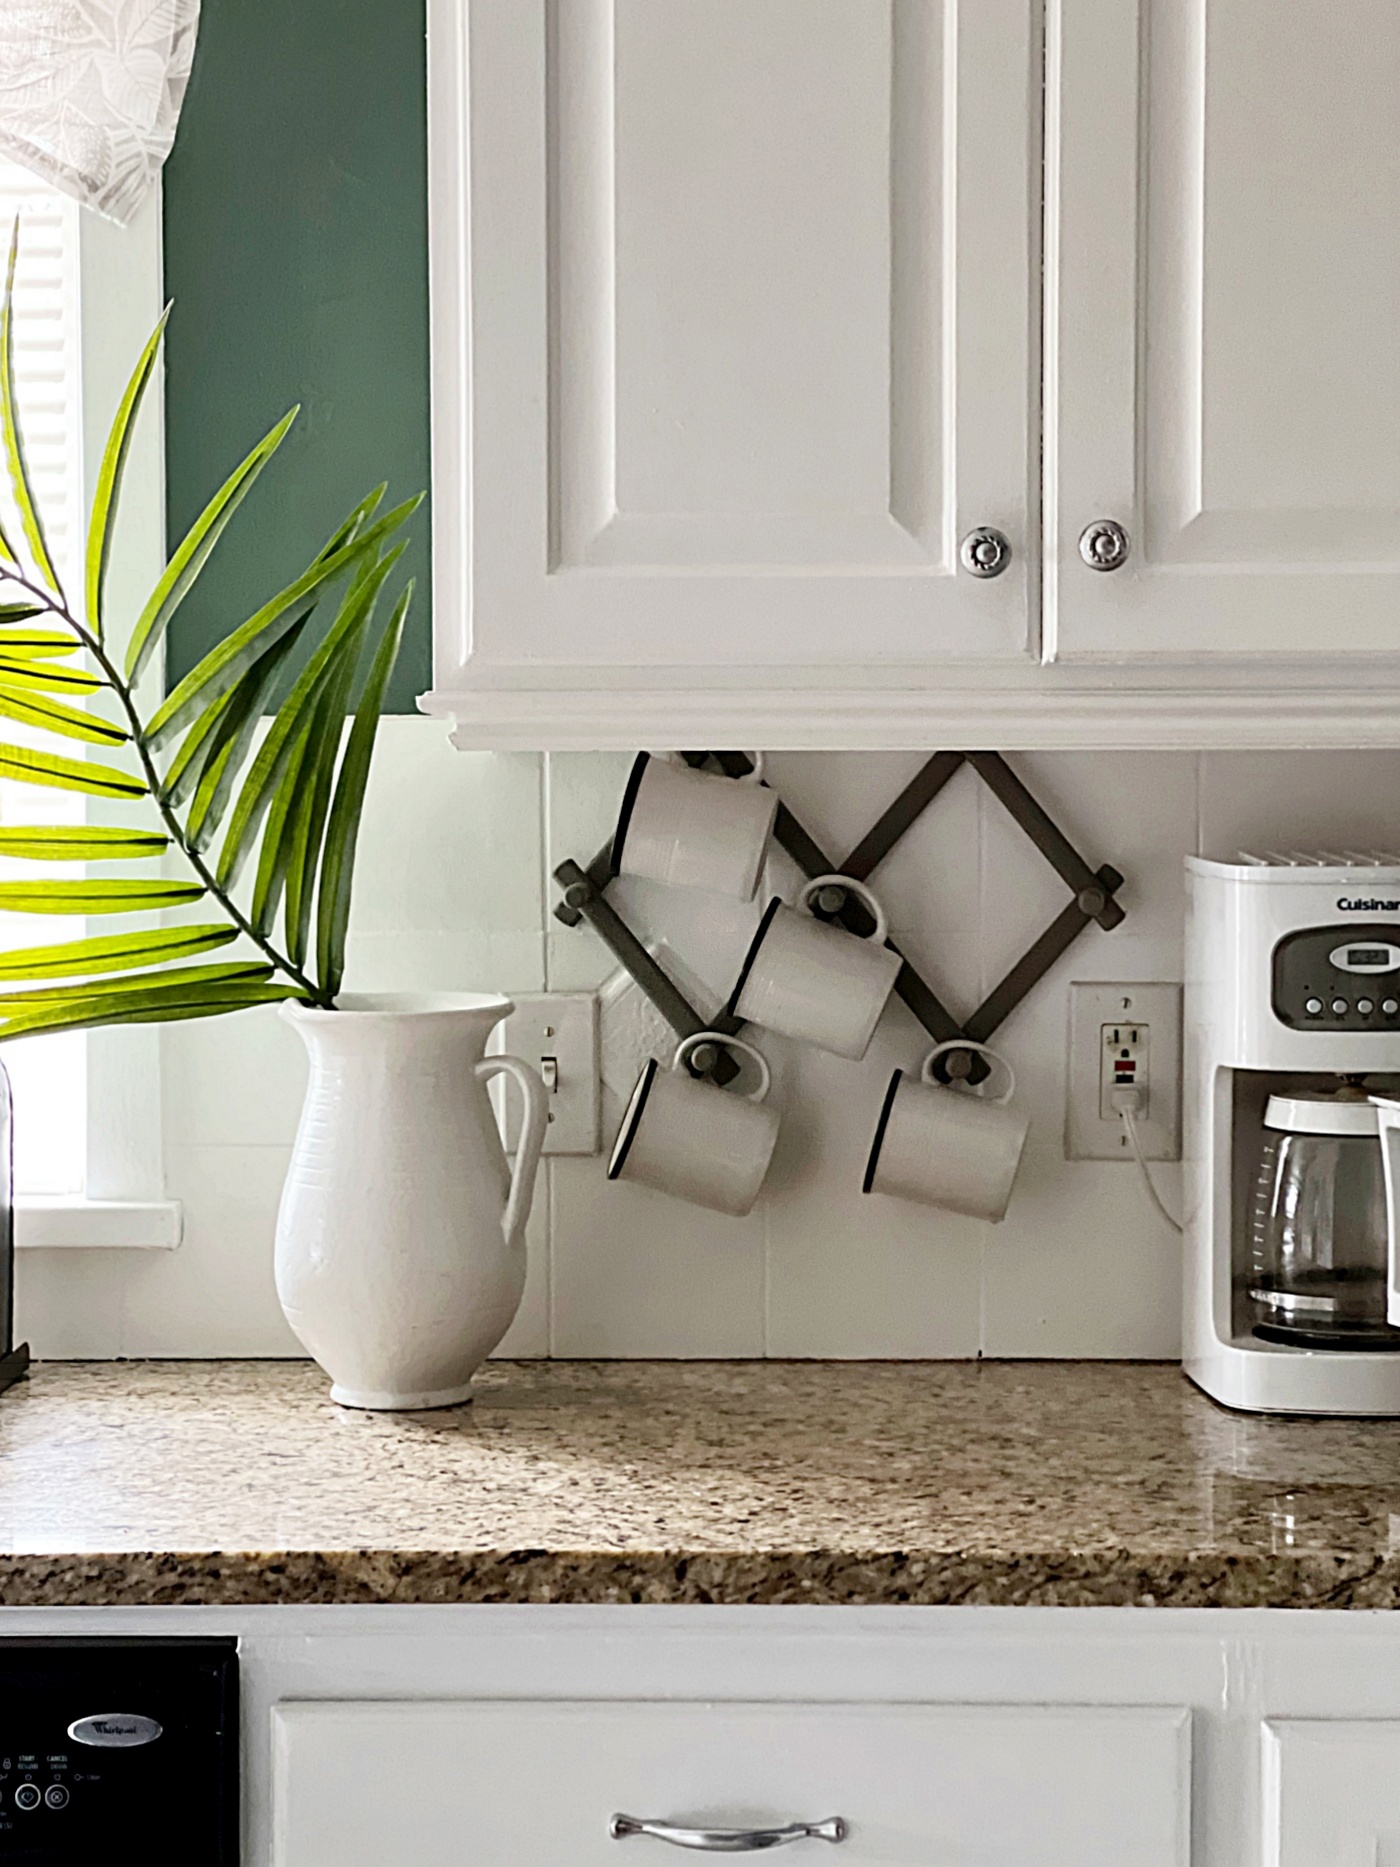
I don’t “decorate” much in our kitchen, but I did bring in some plants, and this faux palm frond. Otherwise, everything on our counters are things we use everyday.
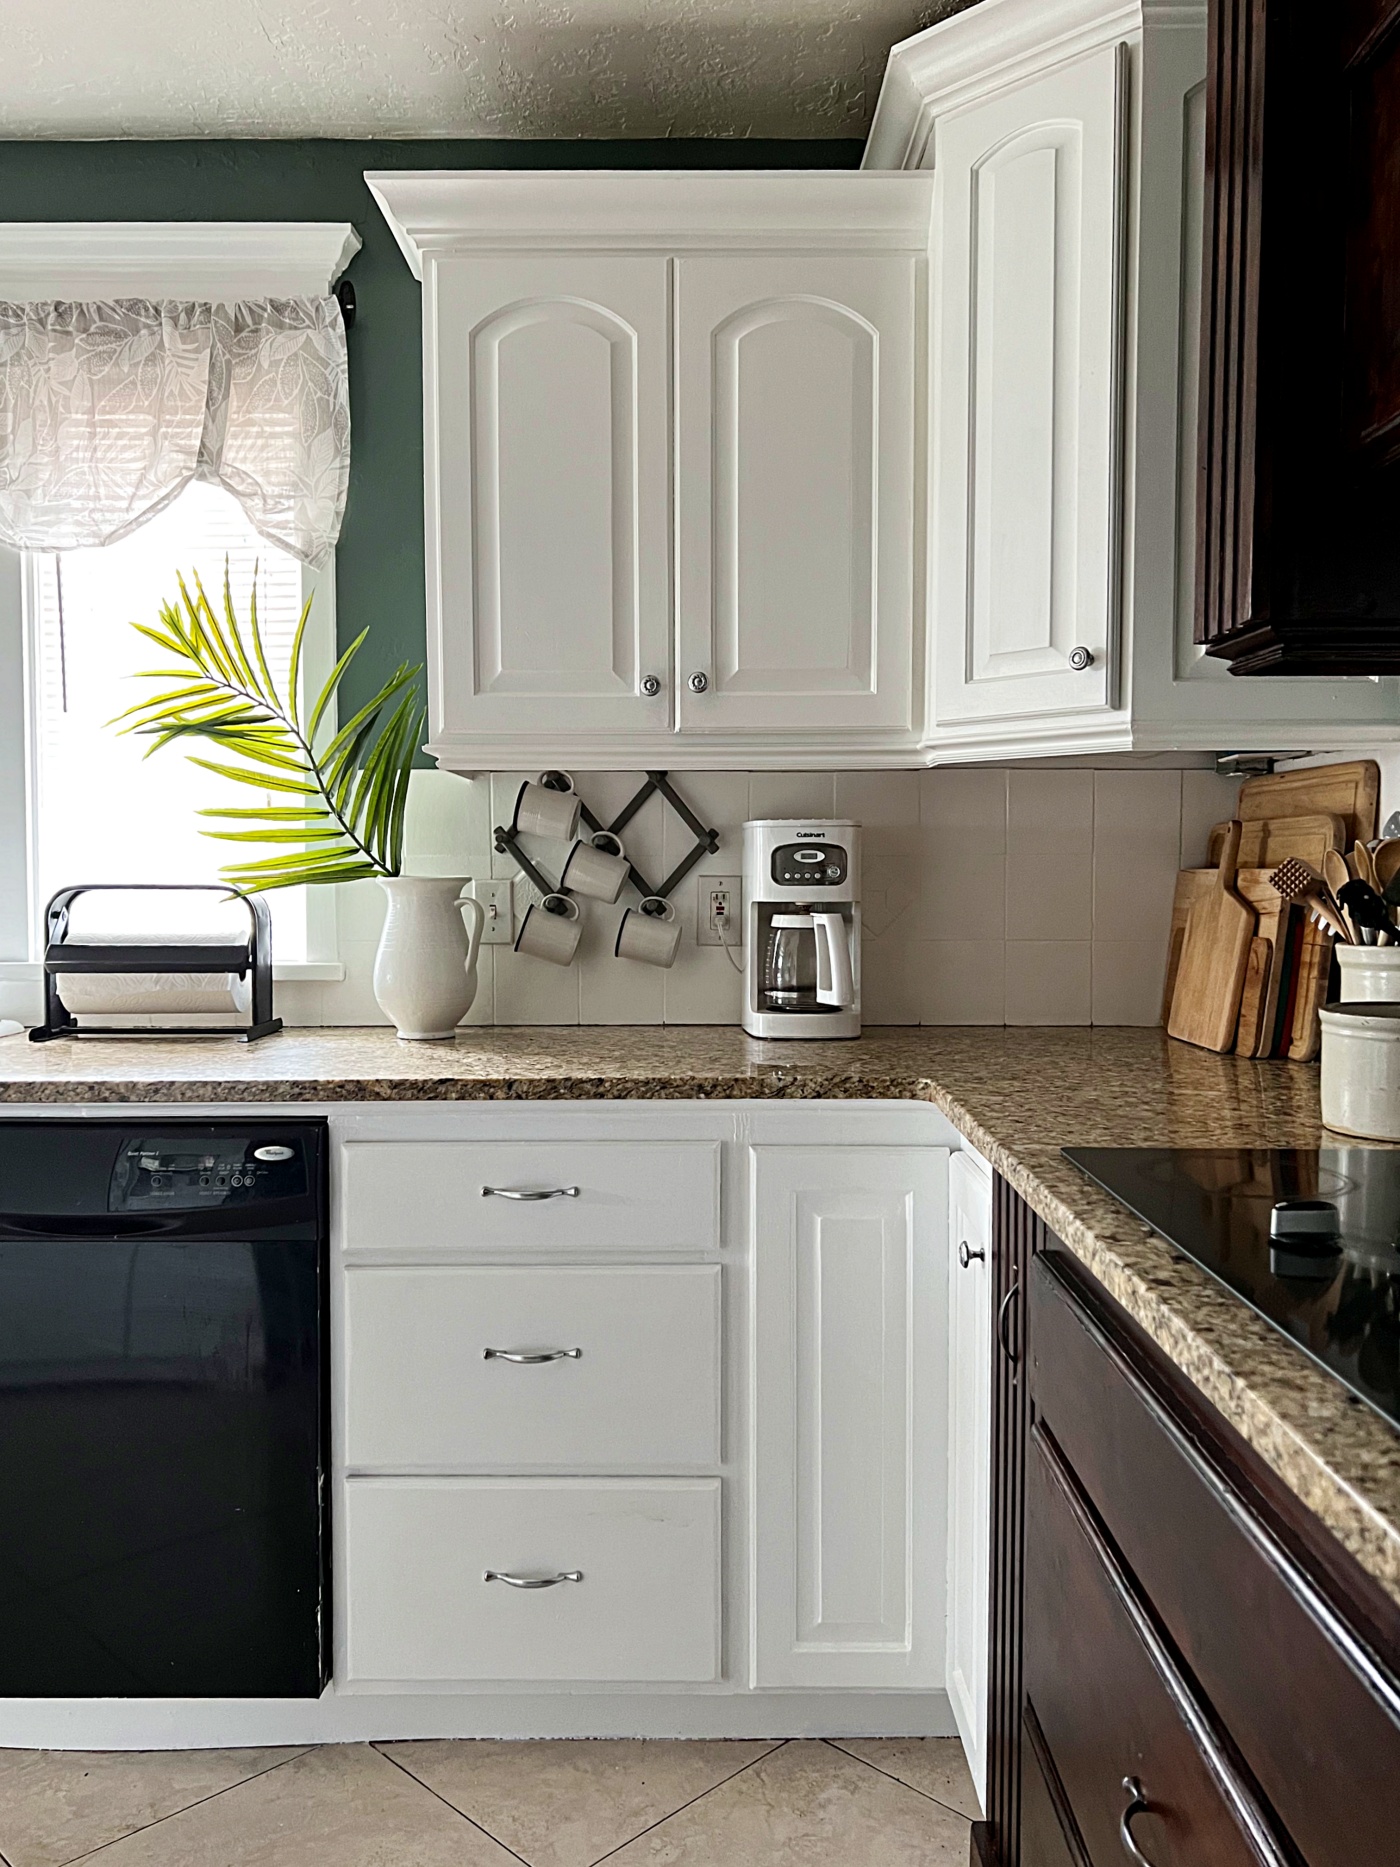
I’ve also made over the hardware on our cabinets and drawers using Silver Rub n Buff. I may write a blog post about it because I like how they turned out. It was my first time using Rub n Buff and now I’m looking for another project to use it on because I liked it so much.
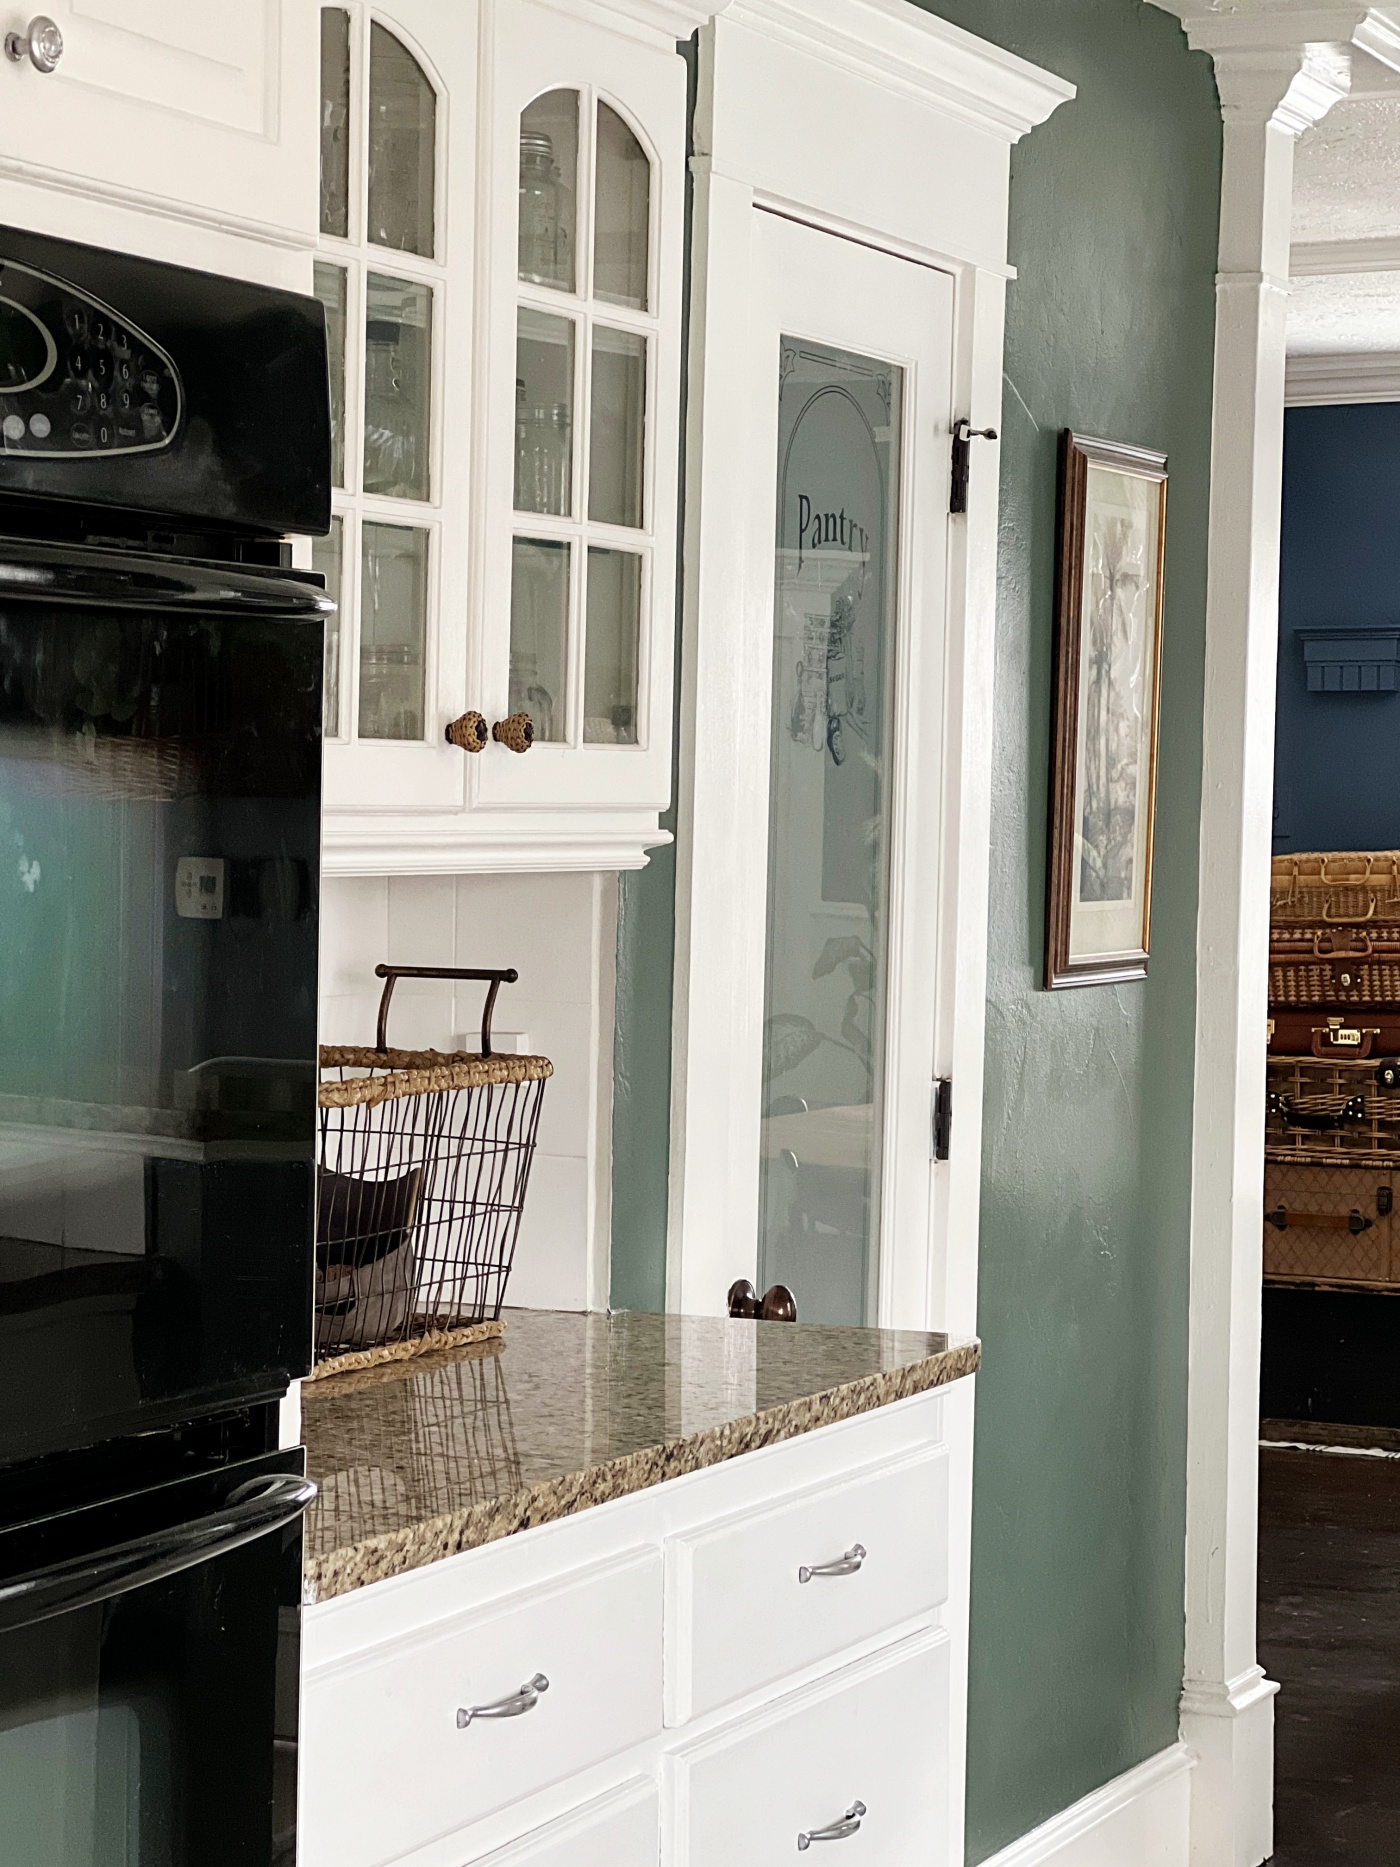
And then on this other side of the room, I added some wire baskets for all of our catch-all items, like bills, keys, phones, etc. and then I hung my palm tree picture on the wall in here to continue with the tropical theme.
So what do you think of my Tropical Cottage Kitchen? or maybe I should refer to it as Tropicottage Style. Ha, I like that!
Shop the Look:
*These are affiliated links which means that I receive a small commission for purchases made through these links.
Any Questions or Comments?
Please let me know below or email them to me at thewickerhouse@yahoo.com or come find me on Facebook and/or Instagram
And remember, you are welcome to PIN any of the Images from my blog on PINTEREST. Find a Pin It button by hovering over any of the pictures.
If you like the type of decor that I share, then be sure to check out my SHOP MY FAVORITES Page. I keep it updated with all of the fun Coastal, Cottage, and Farmhouse Decor that I come across on a daily basis. I personally want EVERYTHING that I have listed there (A few of the items I do have and love).
You can also FOLLOW ME ON PINTEREST where I Pin all of the Dreamiest Home designs.
Thanks for stopping by,
Emily
