
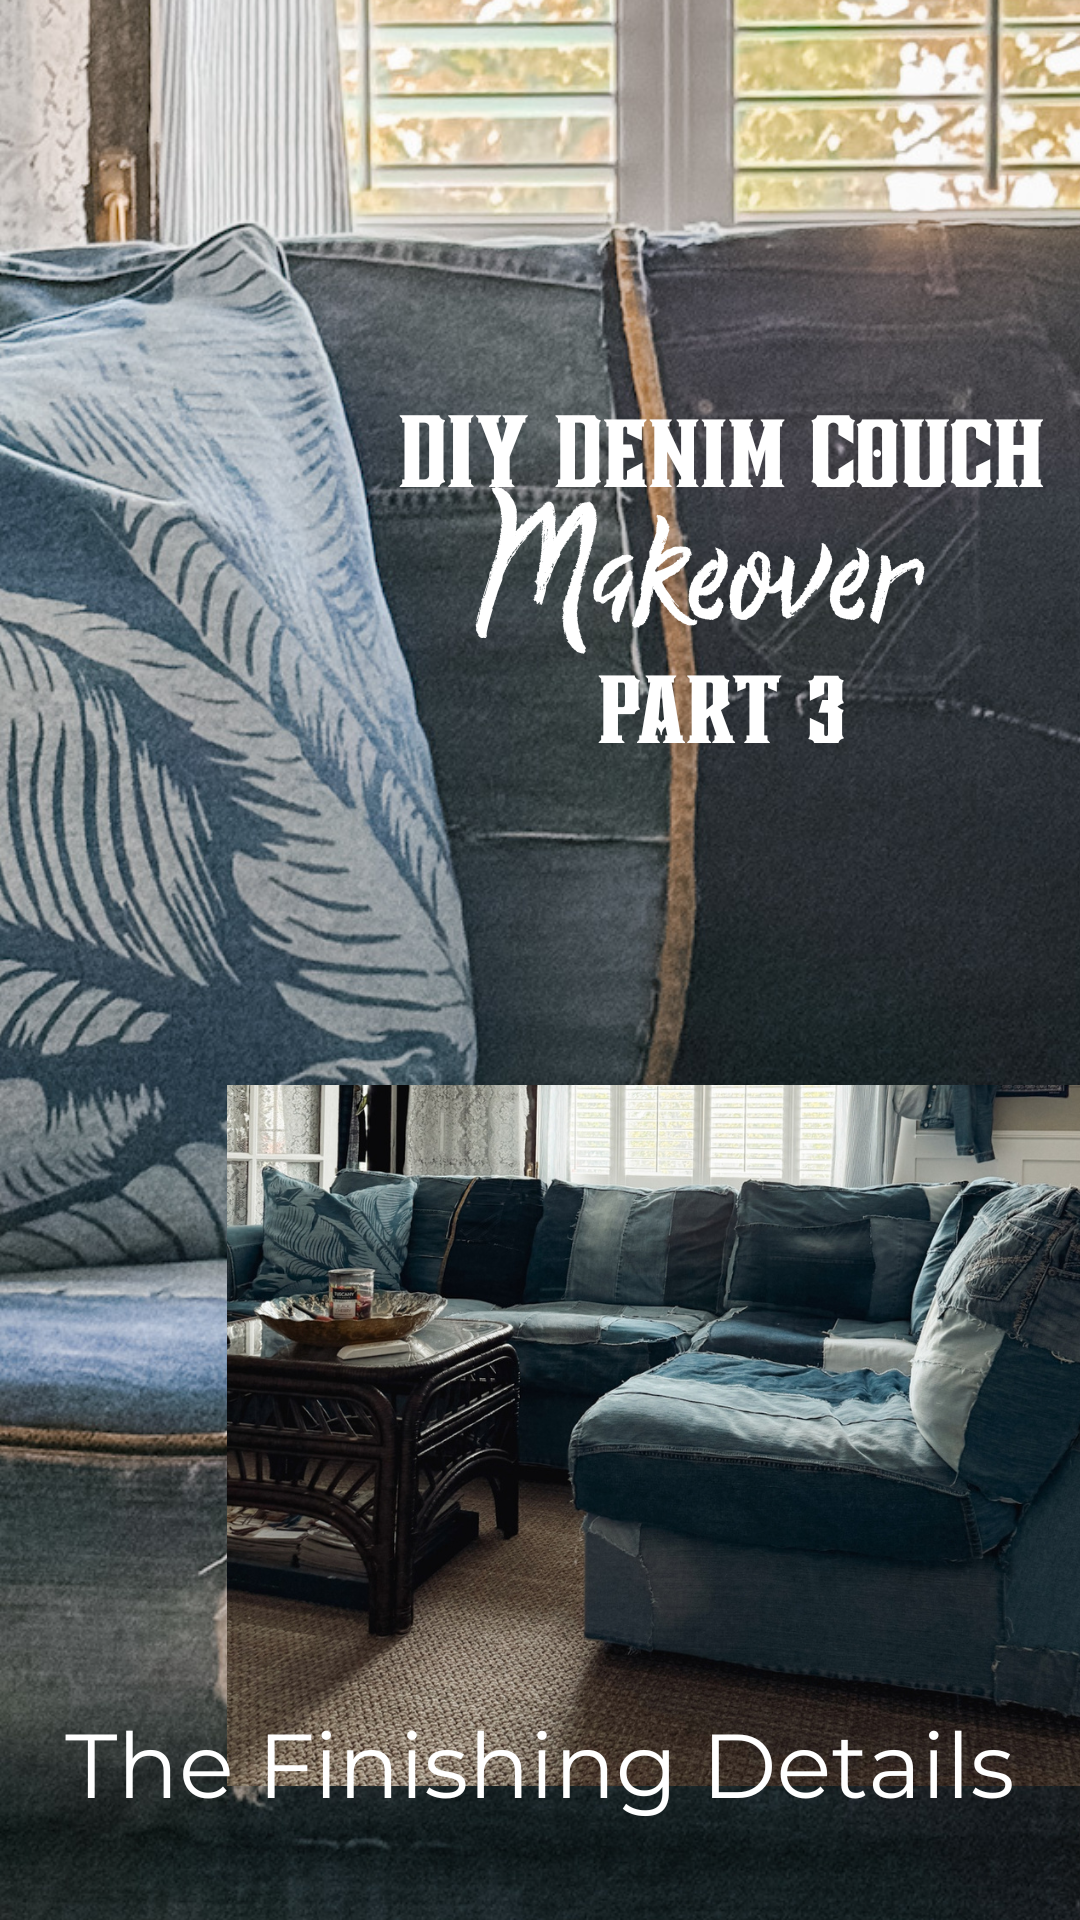
UPDATE: Since this blog post, I also added a few finishing touches in a Part 3 I will link it again at the end of this post.
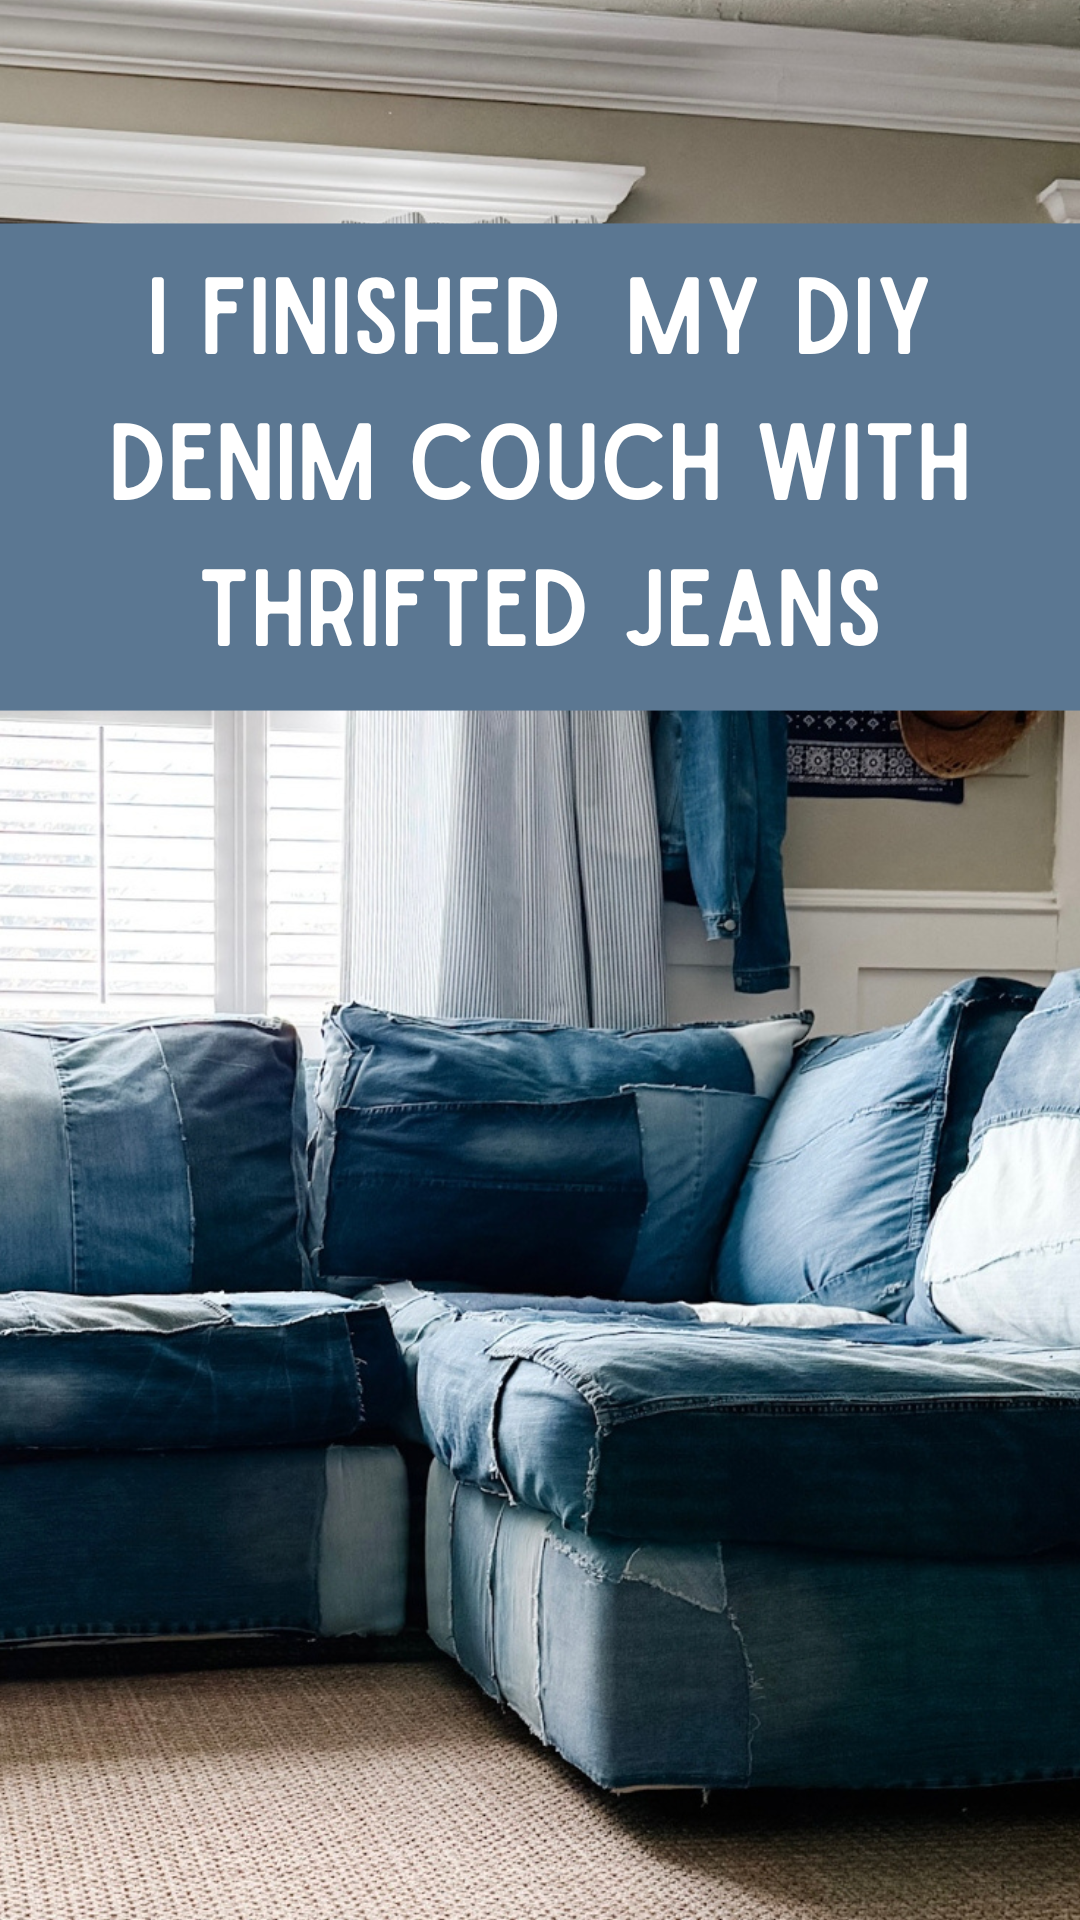
Back in February I had a wild idea to add denim to my sectional couch after my 20+ year old slipcovered sofa got yet another tear in it. Now here we are two months later, and I’m sitting on my dream denim sofa as I type this post. This denim couch has easily become my favorite DIY project I’ve ever taken on, and I couldn’t be happier with how it all came together.
A Quick Recap of my DIY Denim Couch
I’ve already written a Part 1 to this blog post, titled; I Covered my sectional couch in old denim jeans….. and I’m Obsessed! You can read it HERE, I also share how I attached the denim using hot glue.

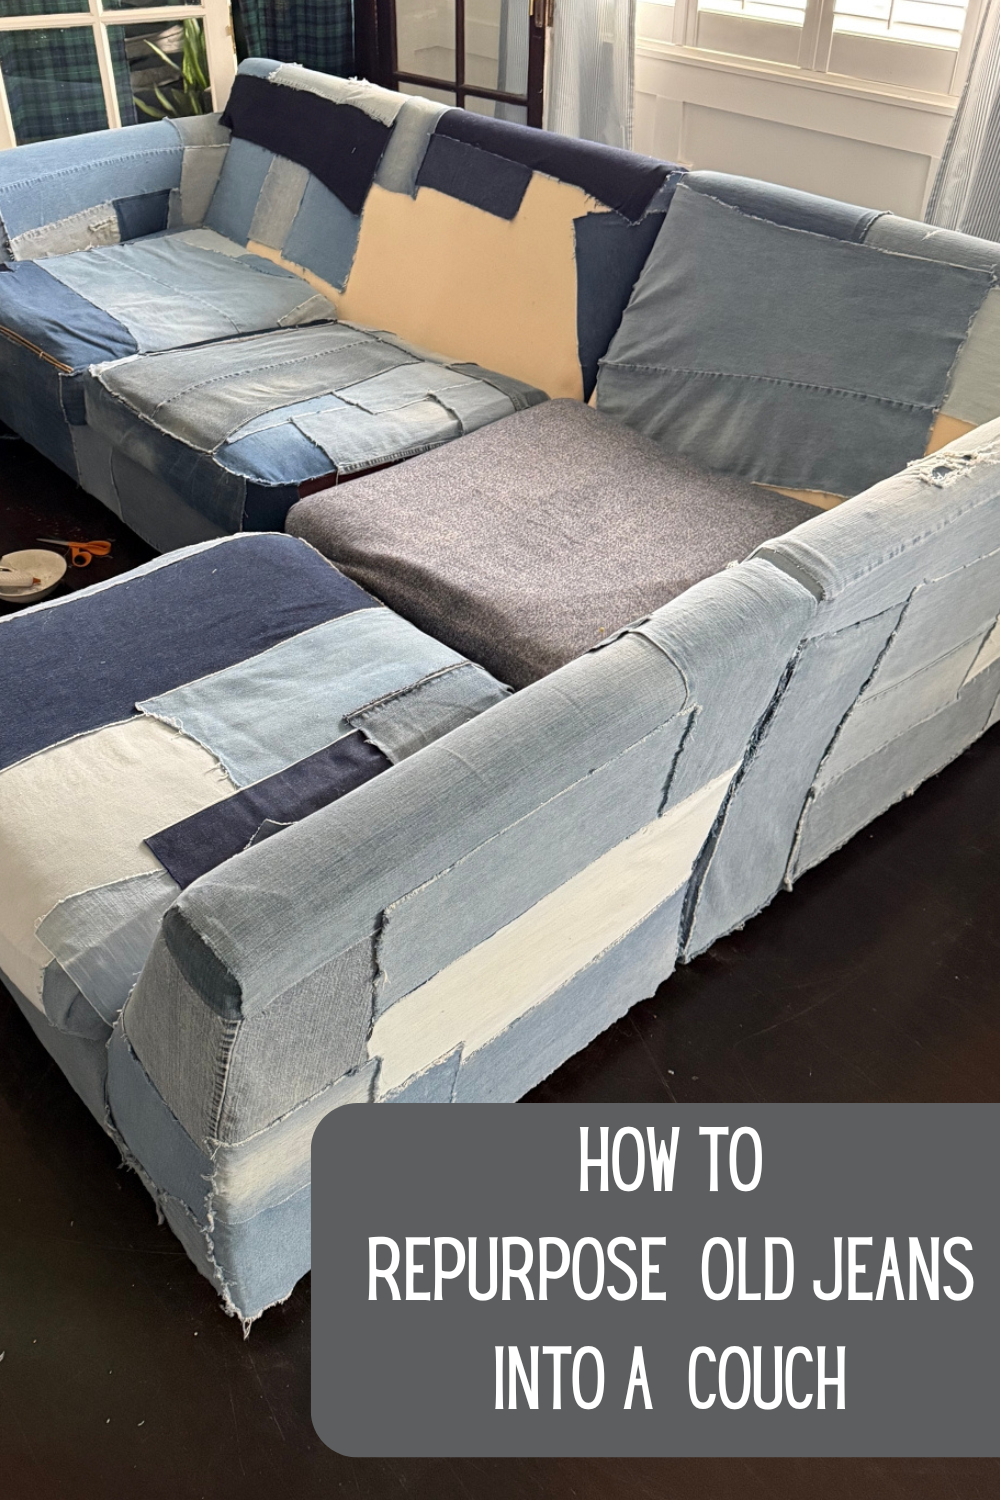
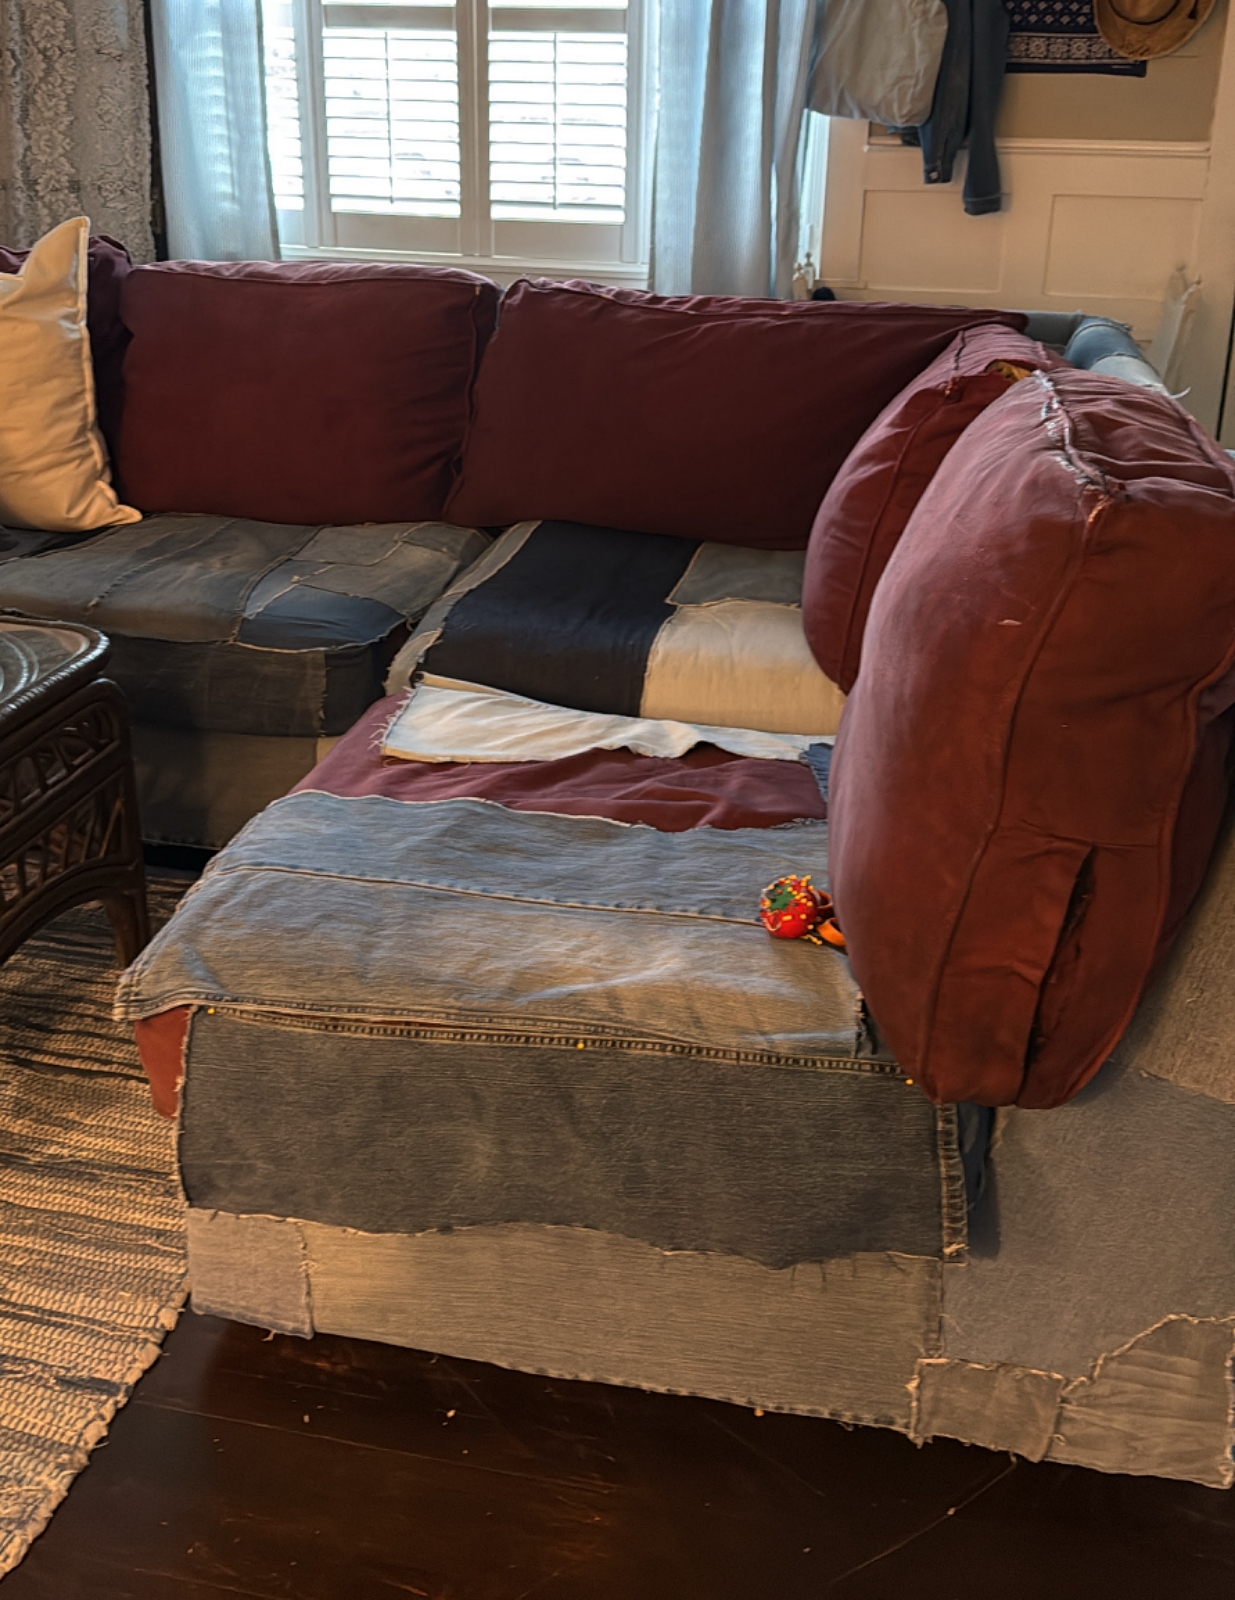
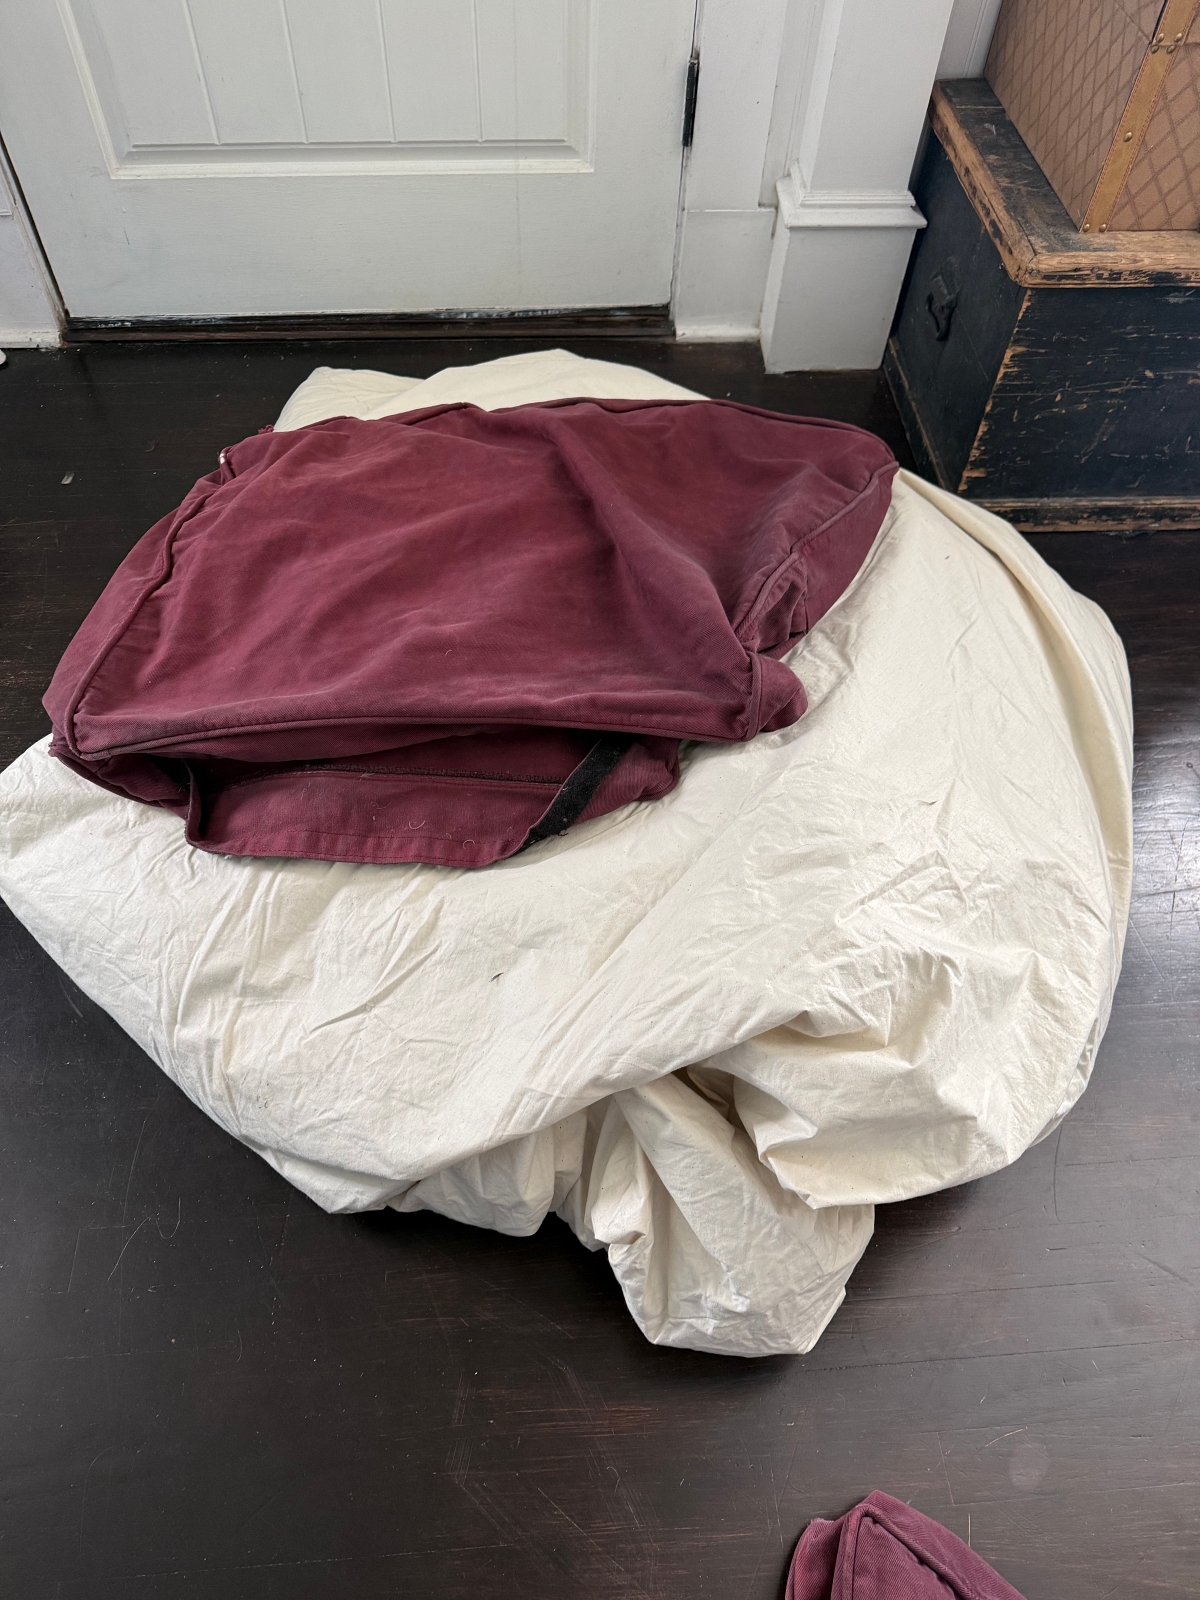
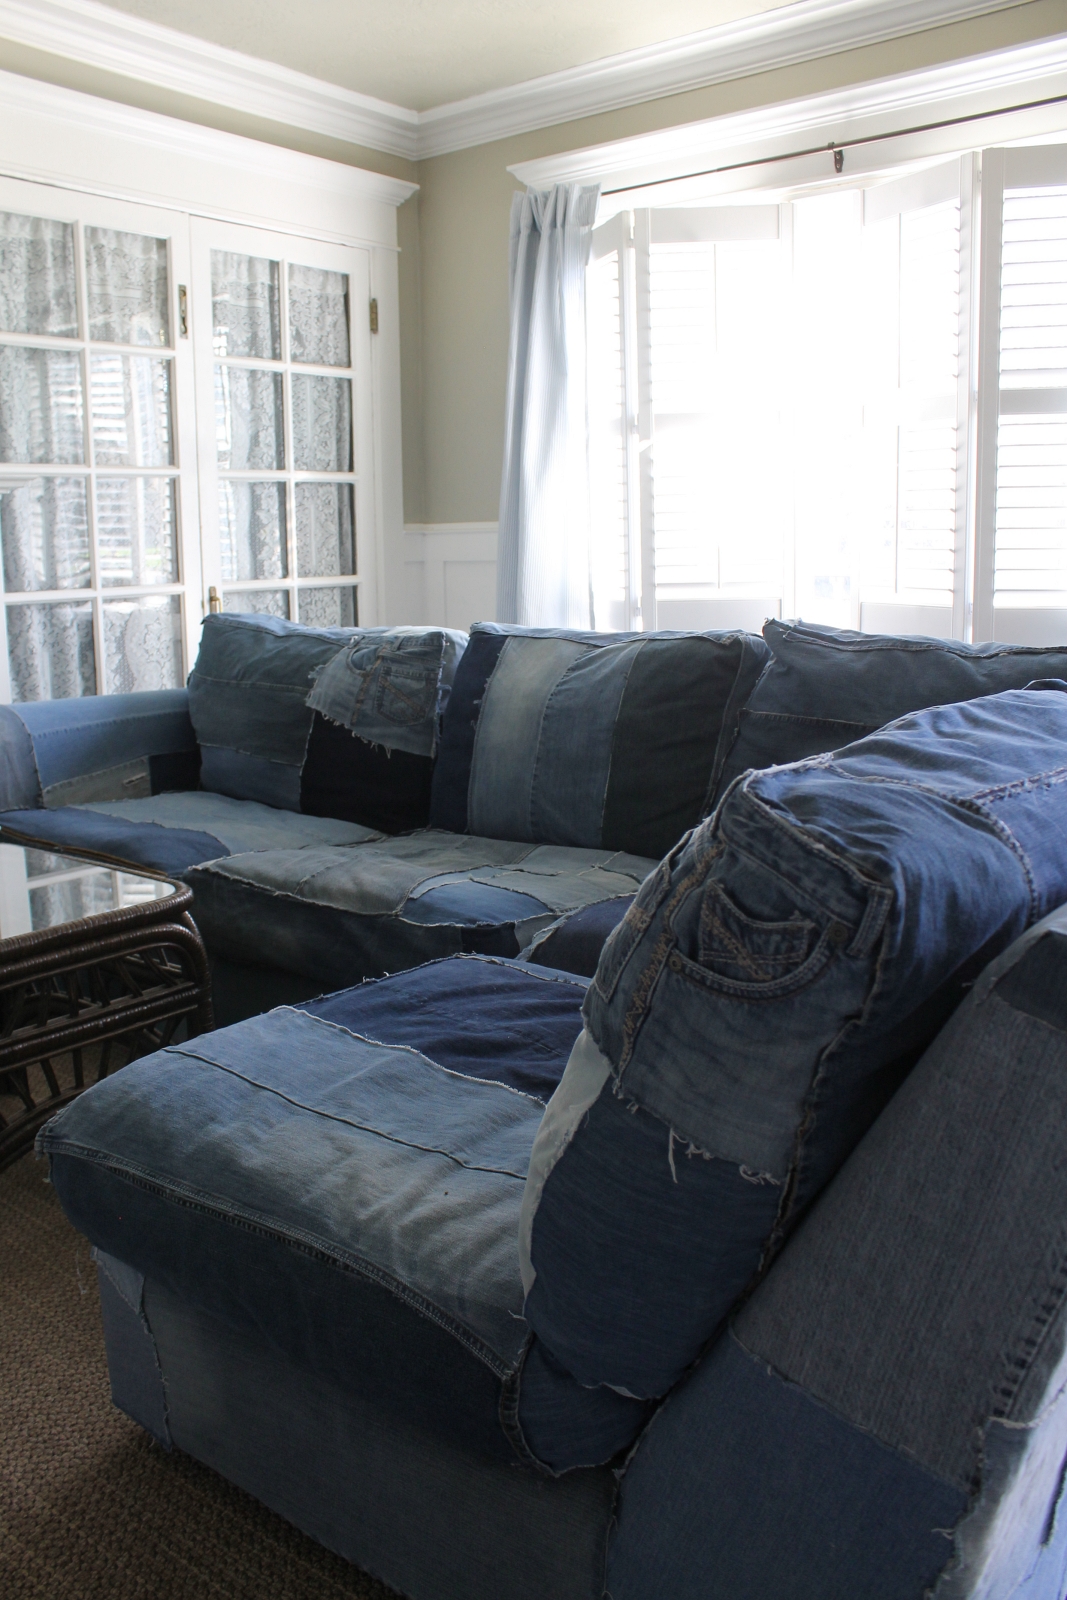
In Part one I shared how I covered the frame of the couch, and 3 of the four seat cushions in denim fabric pieces…. but then I ran out of jeans. So I decided to remove the back cushions and just use throw pillows for the back of the couch. I had also covered the fourth seat cushion in a blue blanket that blended in really well with the rest of the denim couch. It looked okay with all of the throw pillows, but underneath them, it still need to be finished.
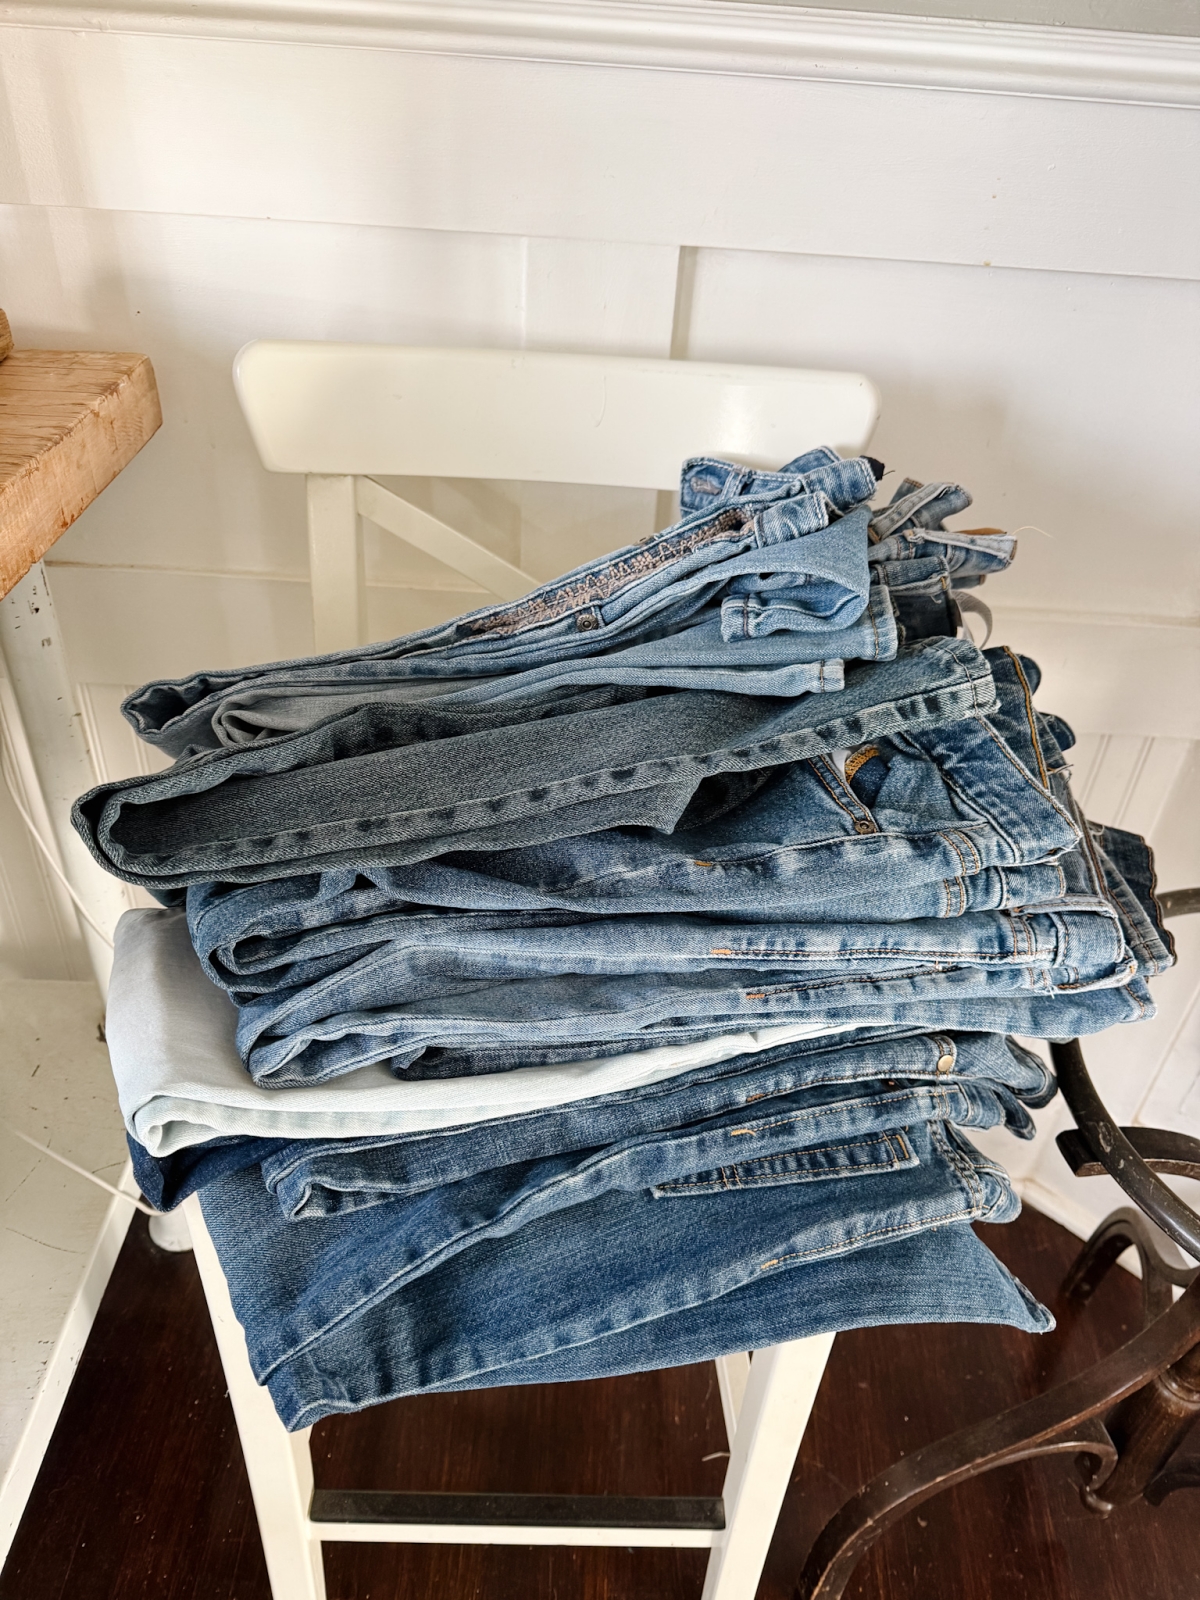
The 25¢ Jeans that Saved the Project
One afternoon I was scrolling through our local Facebook yard sale page when I came across a listing that stopped me in my tracks. The photo showed a big pile of jeans and the caption simply said, “Everything 25¢.” I couldn’t pass that up, so I hopped in my truck and drove over right away. Most of the jeans were girls’ size 14 and in really great condition. I actually felt a little guilty cutting them all up because they still had plenty of life left in them. But they were exactly what my couch needed, and at only a quarter each I brought home 12 pairs. It felt like striking gold for this project.
Preparing the Denim
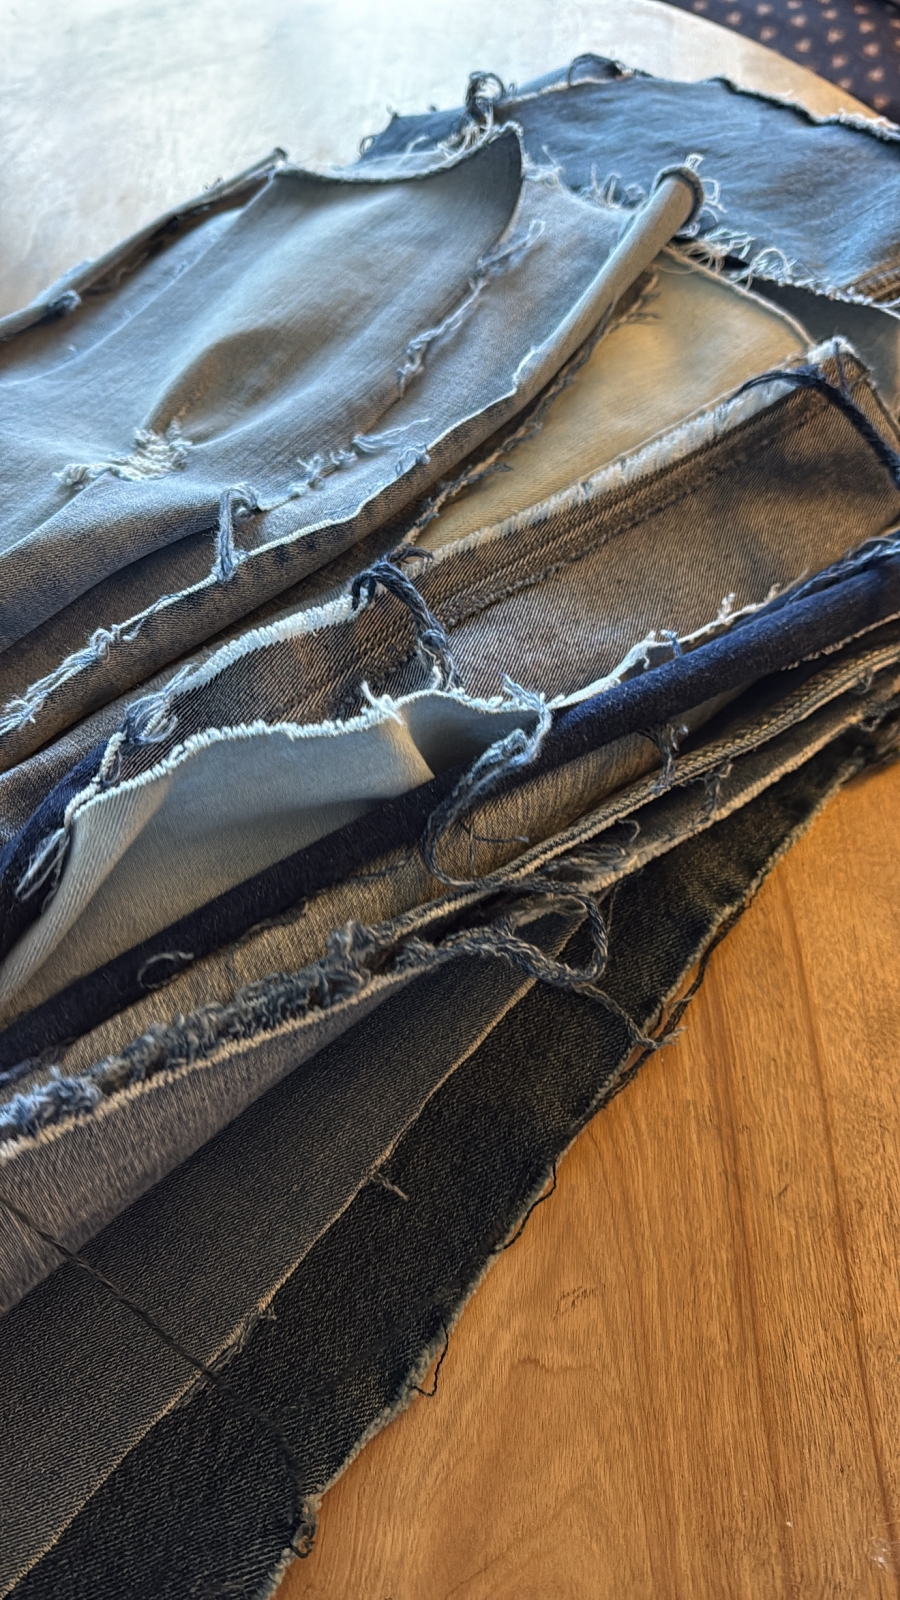
Just like before, I started by cutting the jeans into usable pieces, mostly working with the legs. After that, I washed all of the denim, tossed it in the dryer, trimmed away any loose or frayed threads, and gave the pieces a light ironing so they would lay nice and flat. If you’d like to see more about how I cut the jeans and prepared the fabric, you can read all the details in Part 1 of this project.
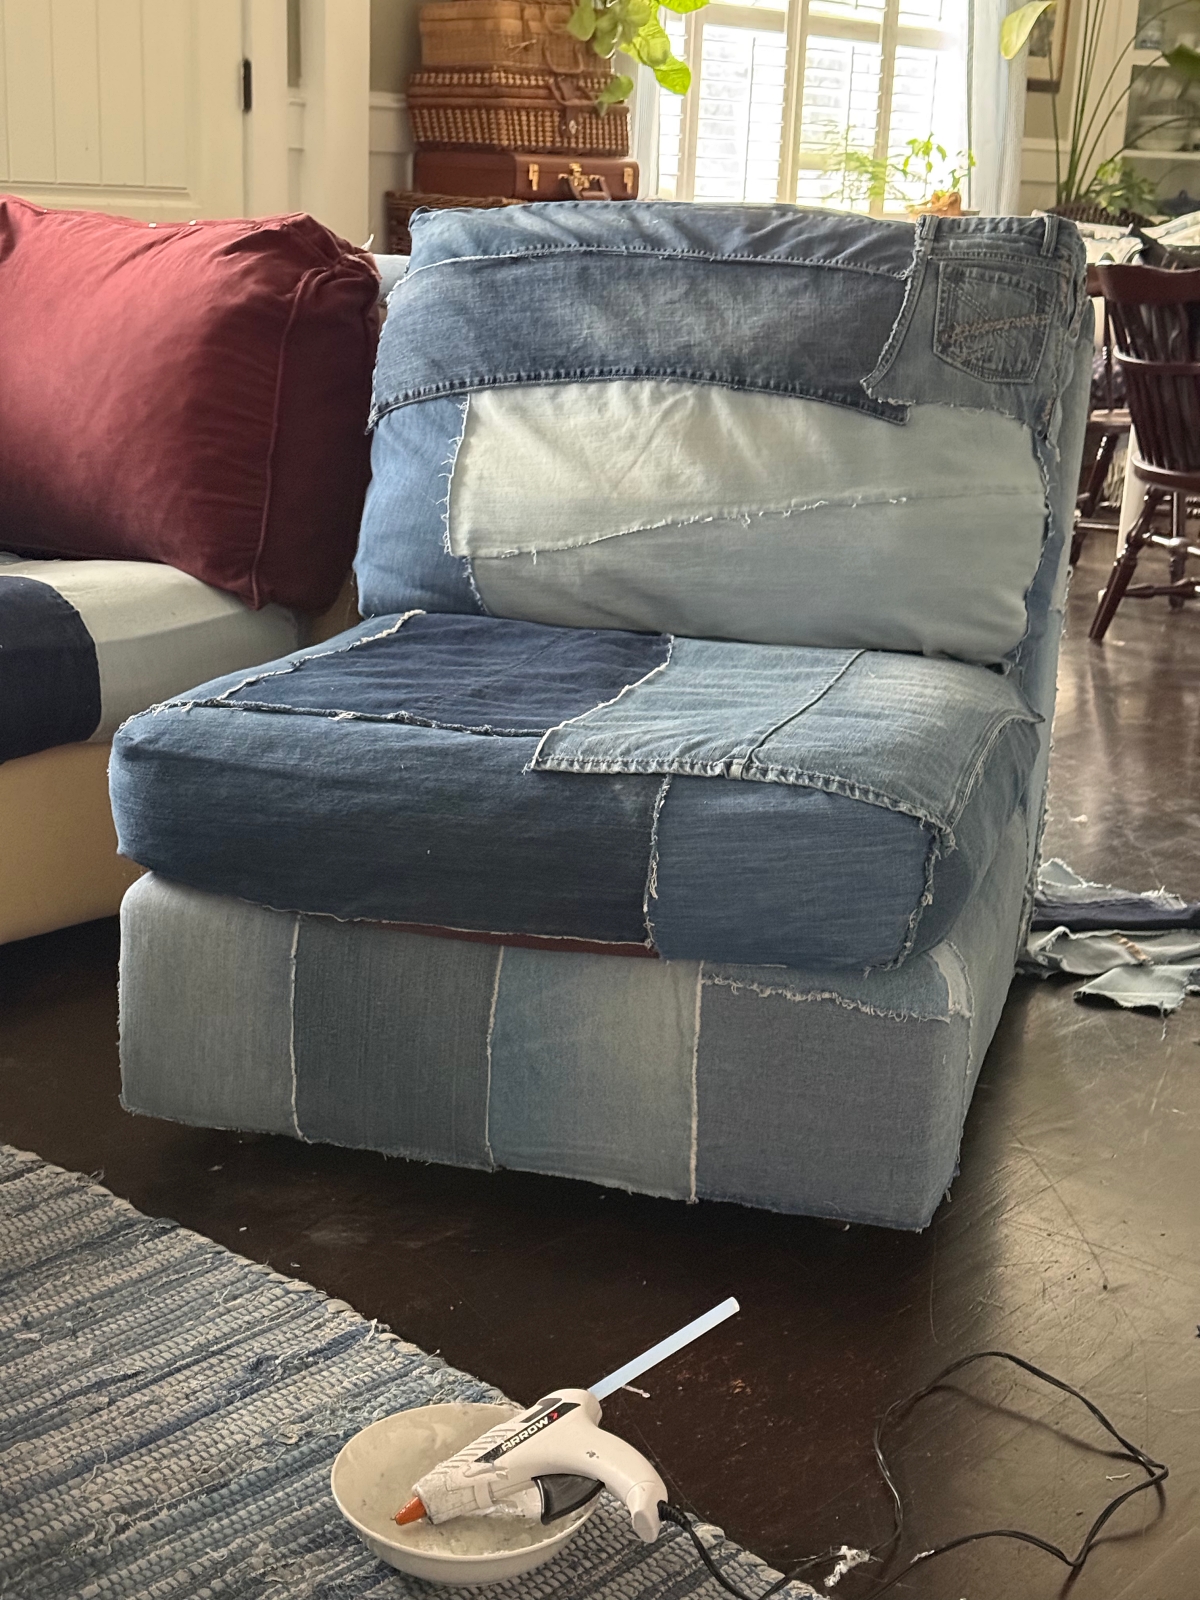
In total, my sectional ended up using around 25 pairs of jeans, in all different sizes, shades, and even materials. Some had a bit of spandex while others were thicker, sturdier denim, and both worked great for this project. The mix of tones, textures, and washes is what really makes this couch feel fun and unique.
Finishing the Fourth Seat Cushions
As soon as my denim was prepared, I got right back to work where I had left off. I covered the last seat cushion, the one that I had covered with a blanket. I first laid out the pieces and pinned them down, and then I came in with my hot glue gun and glued them on. I glued right over the maroon slipcovers.
I did not cover the back sides of the seat cushions because they will never be seen. Also, I didn’t glue over the velcro openings of the slipcovers, so these slipcovers can be removed if needed.
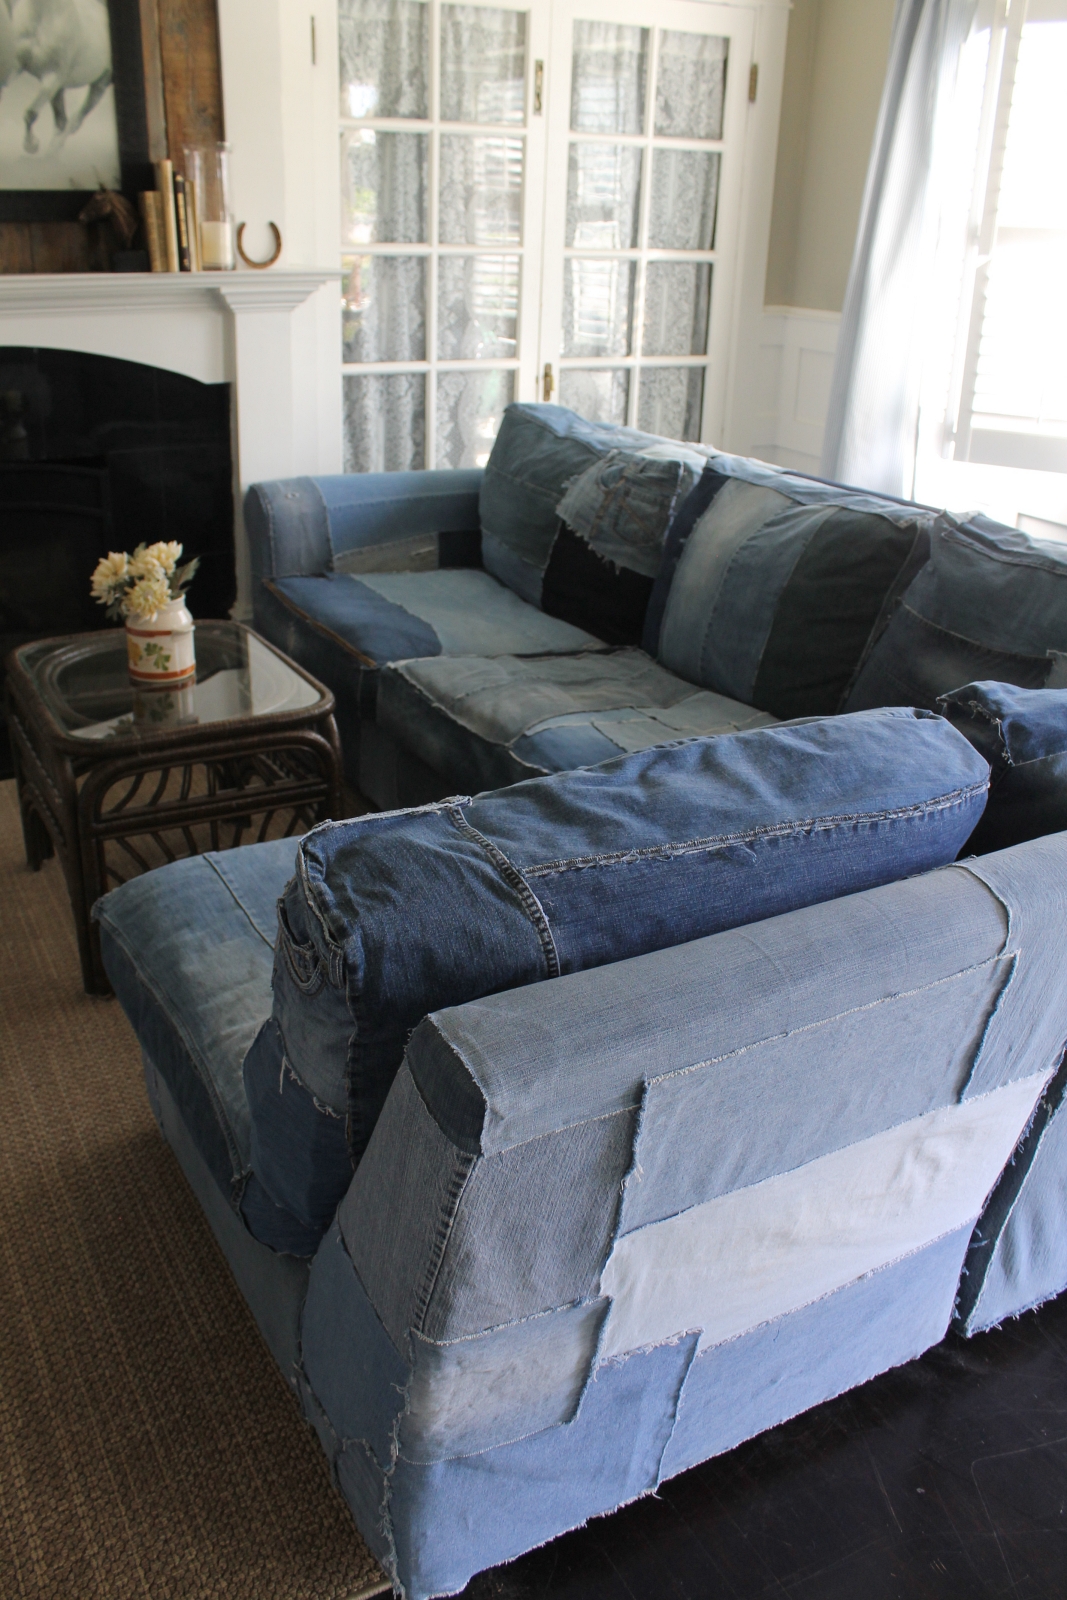
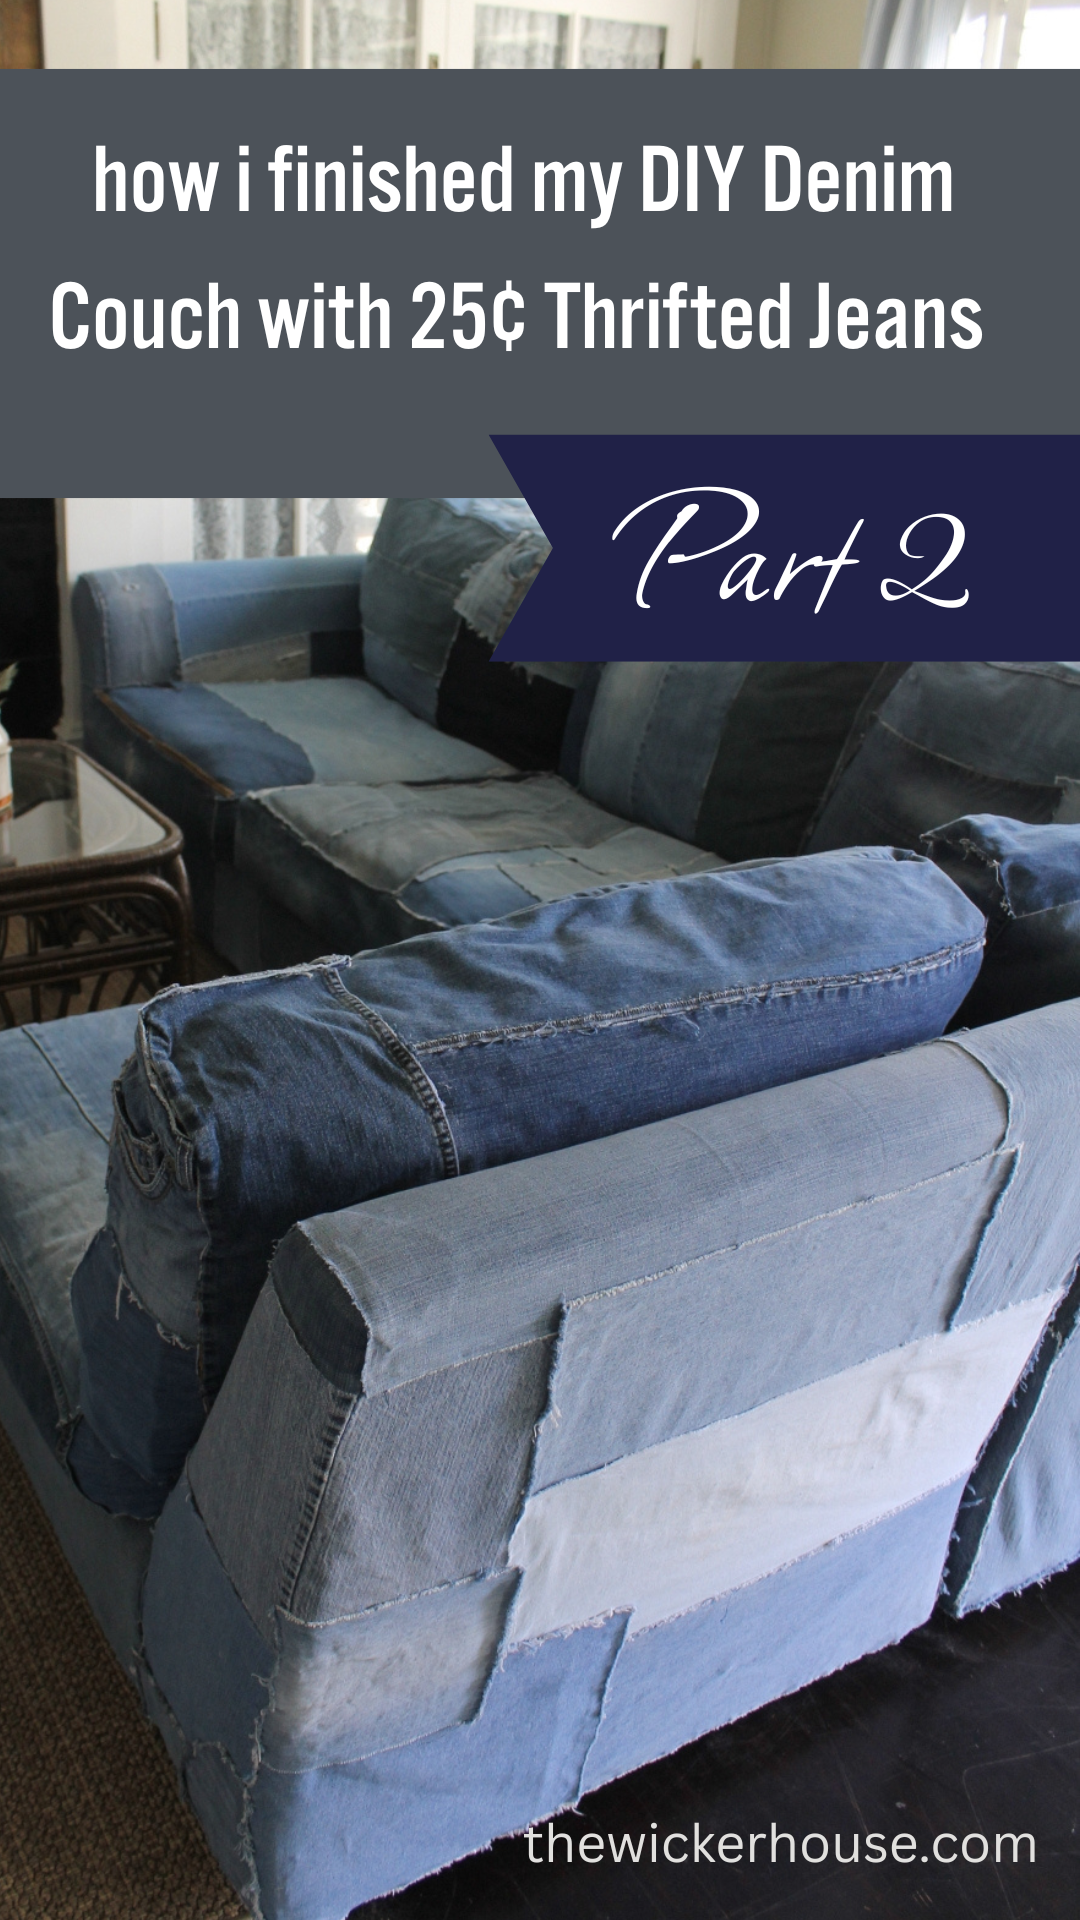
Covering the Back Cushions (one day at a time)
So since I now had a bunch more denim to work with, I decided to go ahead and cover the back cushions as well. I took off all of the throw pillows and brought the back cushions back in. Each Cushion took about 2 hours to cover. So I gave myself a goal to just cover one cushion a day, and in about a weeks time, I was finished.
Day 1:
Day 2
Day 3
day 4
Day 5
A few Helpful Tips
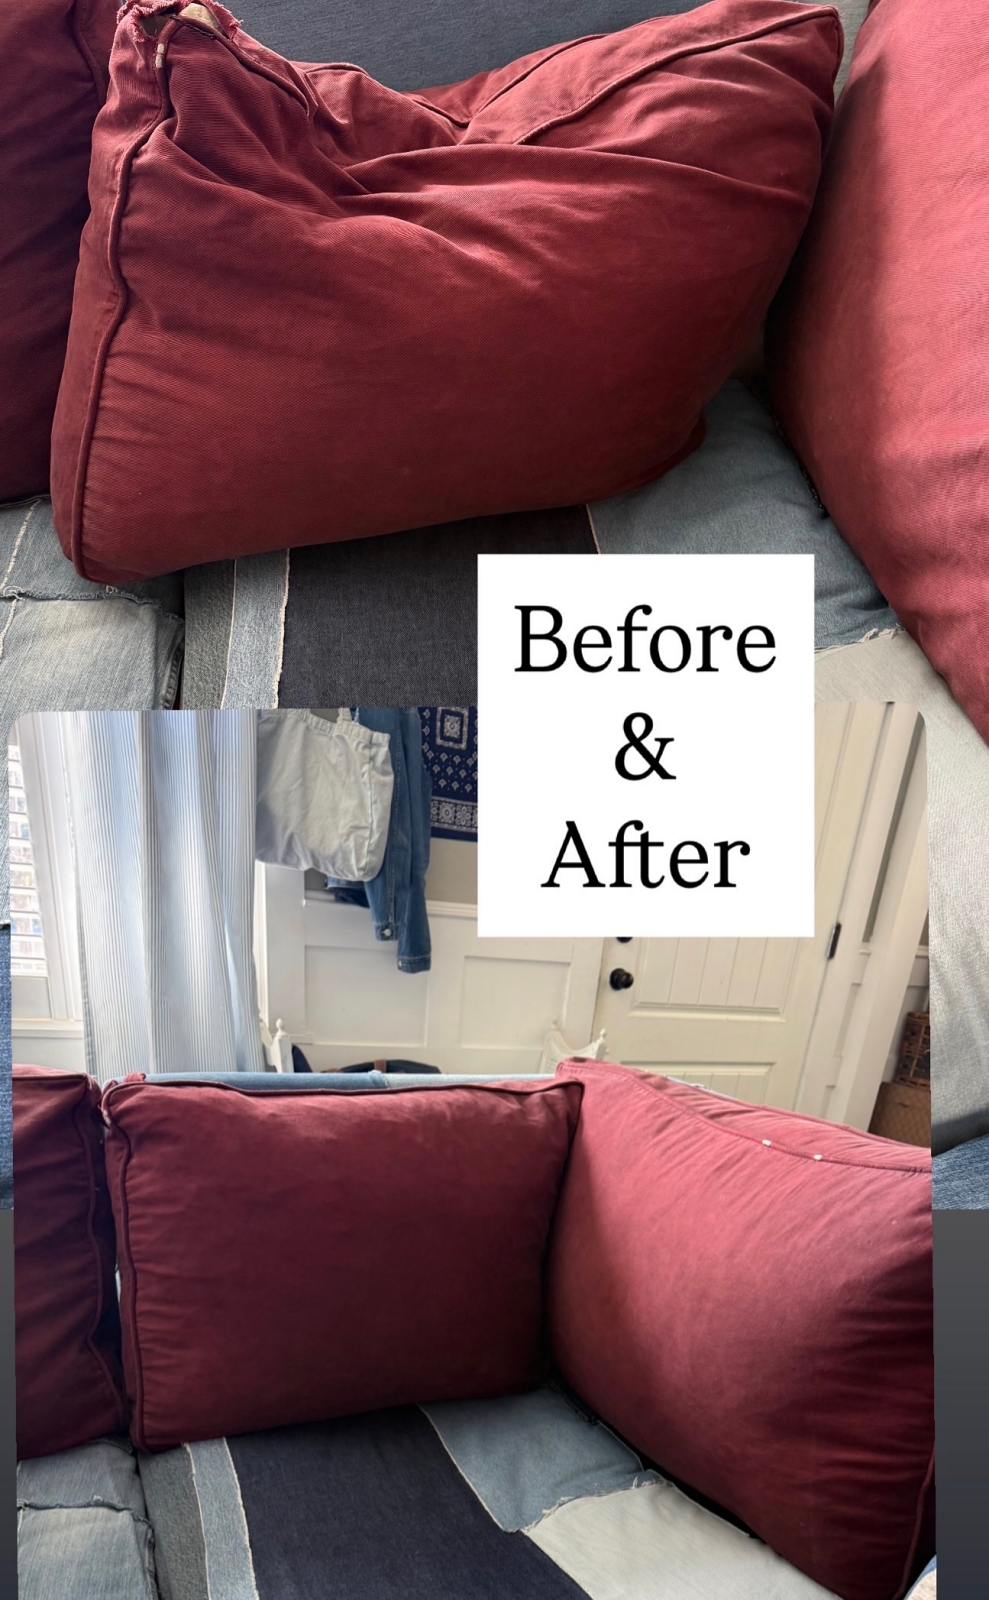
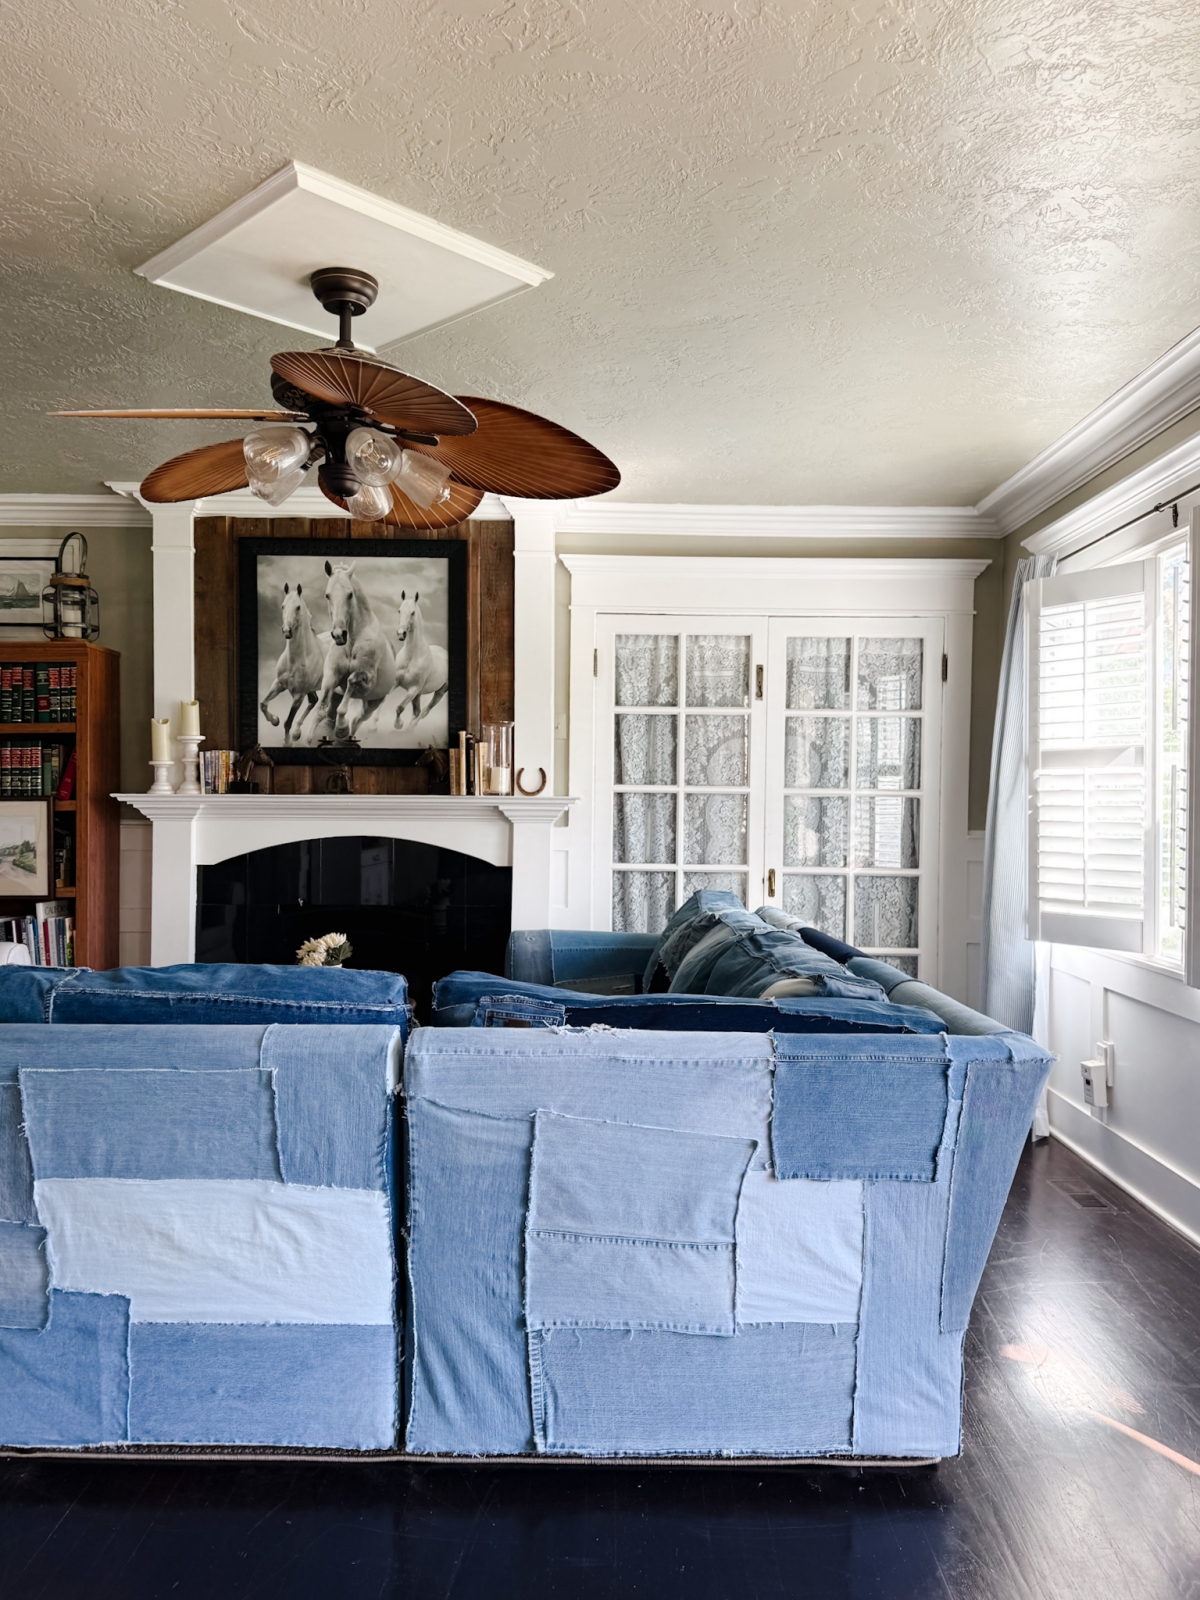
Covering the back cushions turned out to be a little more challenging than the rest of the couch. There were simply more shapes and angles to work around, and the cushions themselves were softer than the seat cushions, which made them a bit trickier to handle. I also needed to cover more of the back side of these cushions since that part of the couch is more visible when you walk around the room.
One thing that helped a lot was propping the cushions onto a dining chair with arms. It basically worked like a mannequin and allowed me to move around the cushion more easily while attaching the denim.

Another helpful tip: if you have cushions that have lost their shape over time, you can use a duvet or bed comforter as an insert. You can place it inside on its own or layer it along with the original cushion to give it more fullness and softness. I’ve used this trick on several of the back cushions. Since this couch is over 20 years old, many of the cushions had lost some of their original down feathers and plushness, so this was an easy way to bring them back to life.
See the Difference it makes:
When you Almost run out of Denim…..Again!
Now from the beginning, I said that I didn’t want any butt or crotch pieces of denim on my couch. I only wanted to work with the legs of the jeans. But then when it came to this last section of my couch, I once again was running low on denim pieces. So I had to get creative, and yes use some of those jeans areas I was hoping not to.
But since this last section is not noticeable from where our couch sits in our living room, I decided to not worry too much about it and go ahead and use what I could. In the end, it turned out fun and the couch is now fully covered in denim.
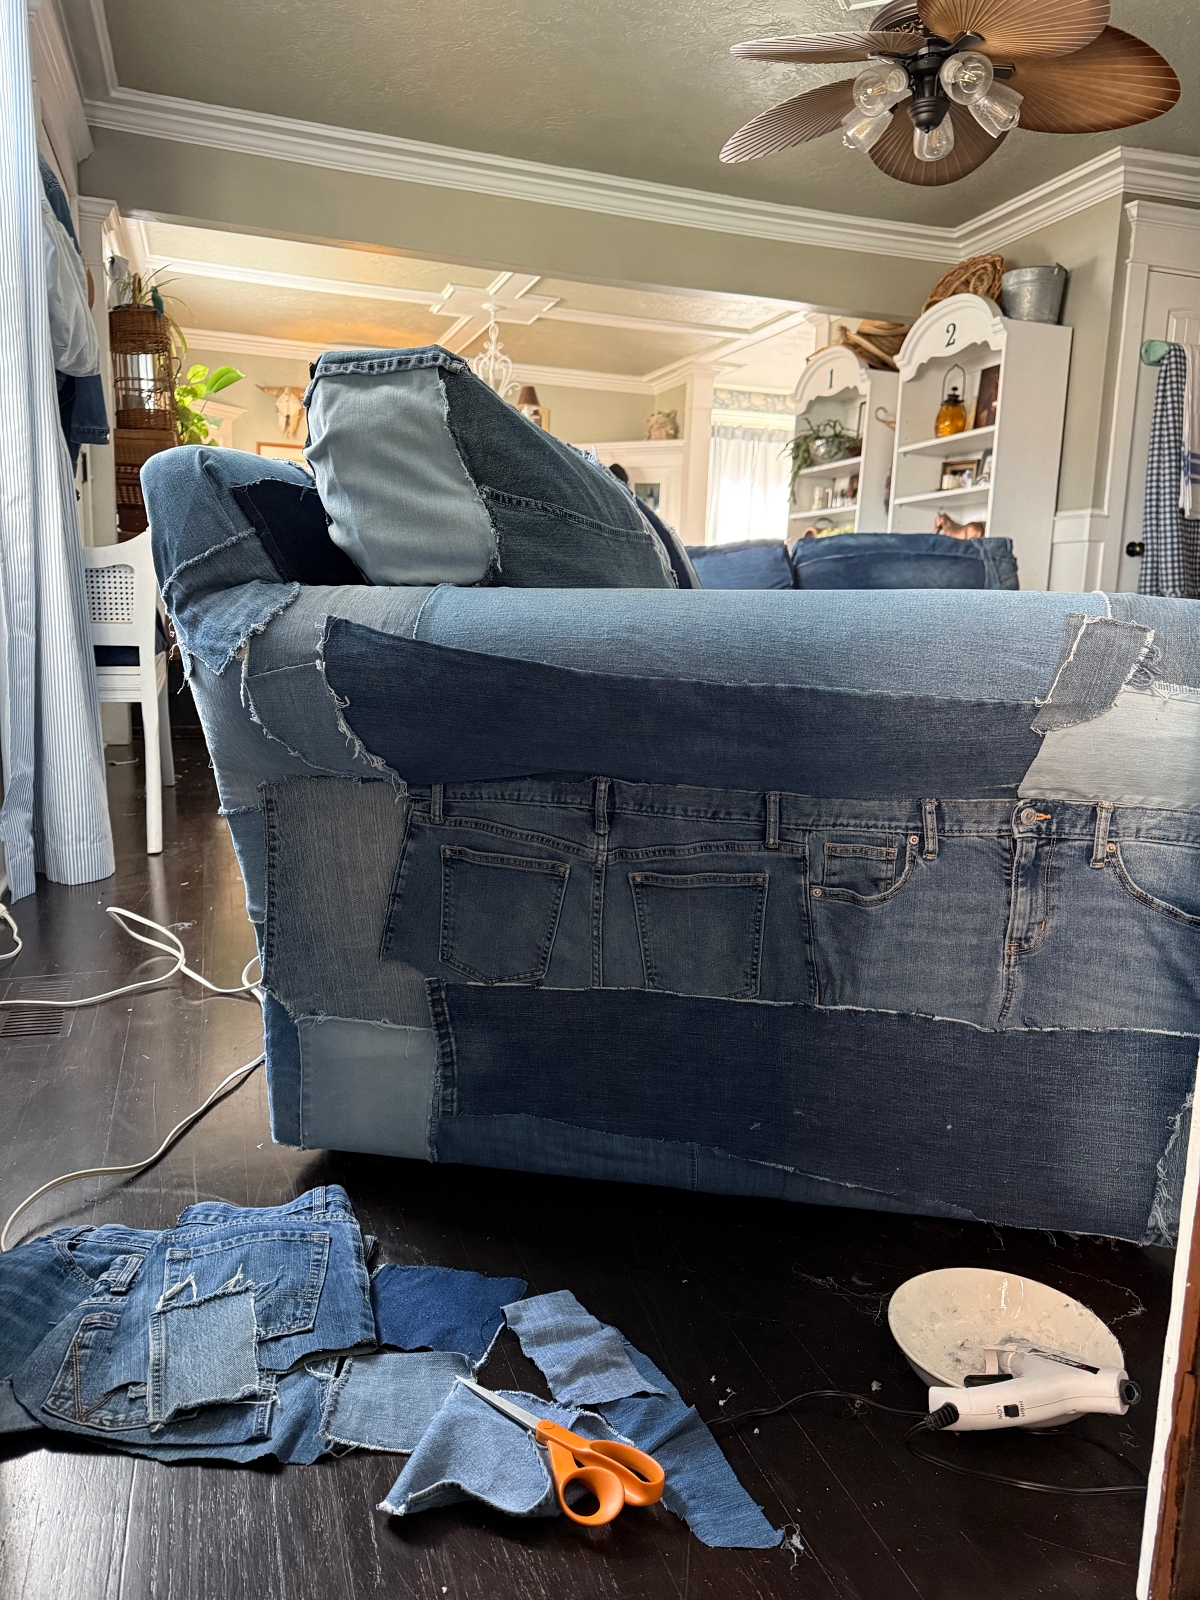
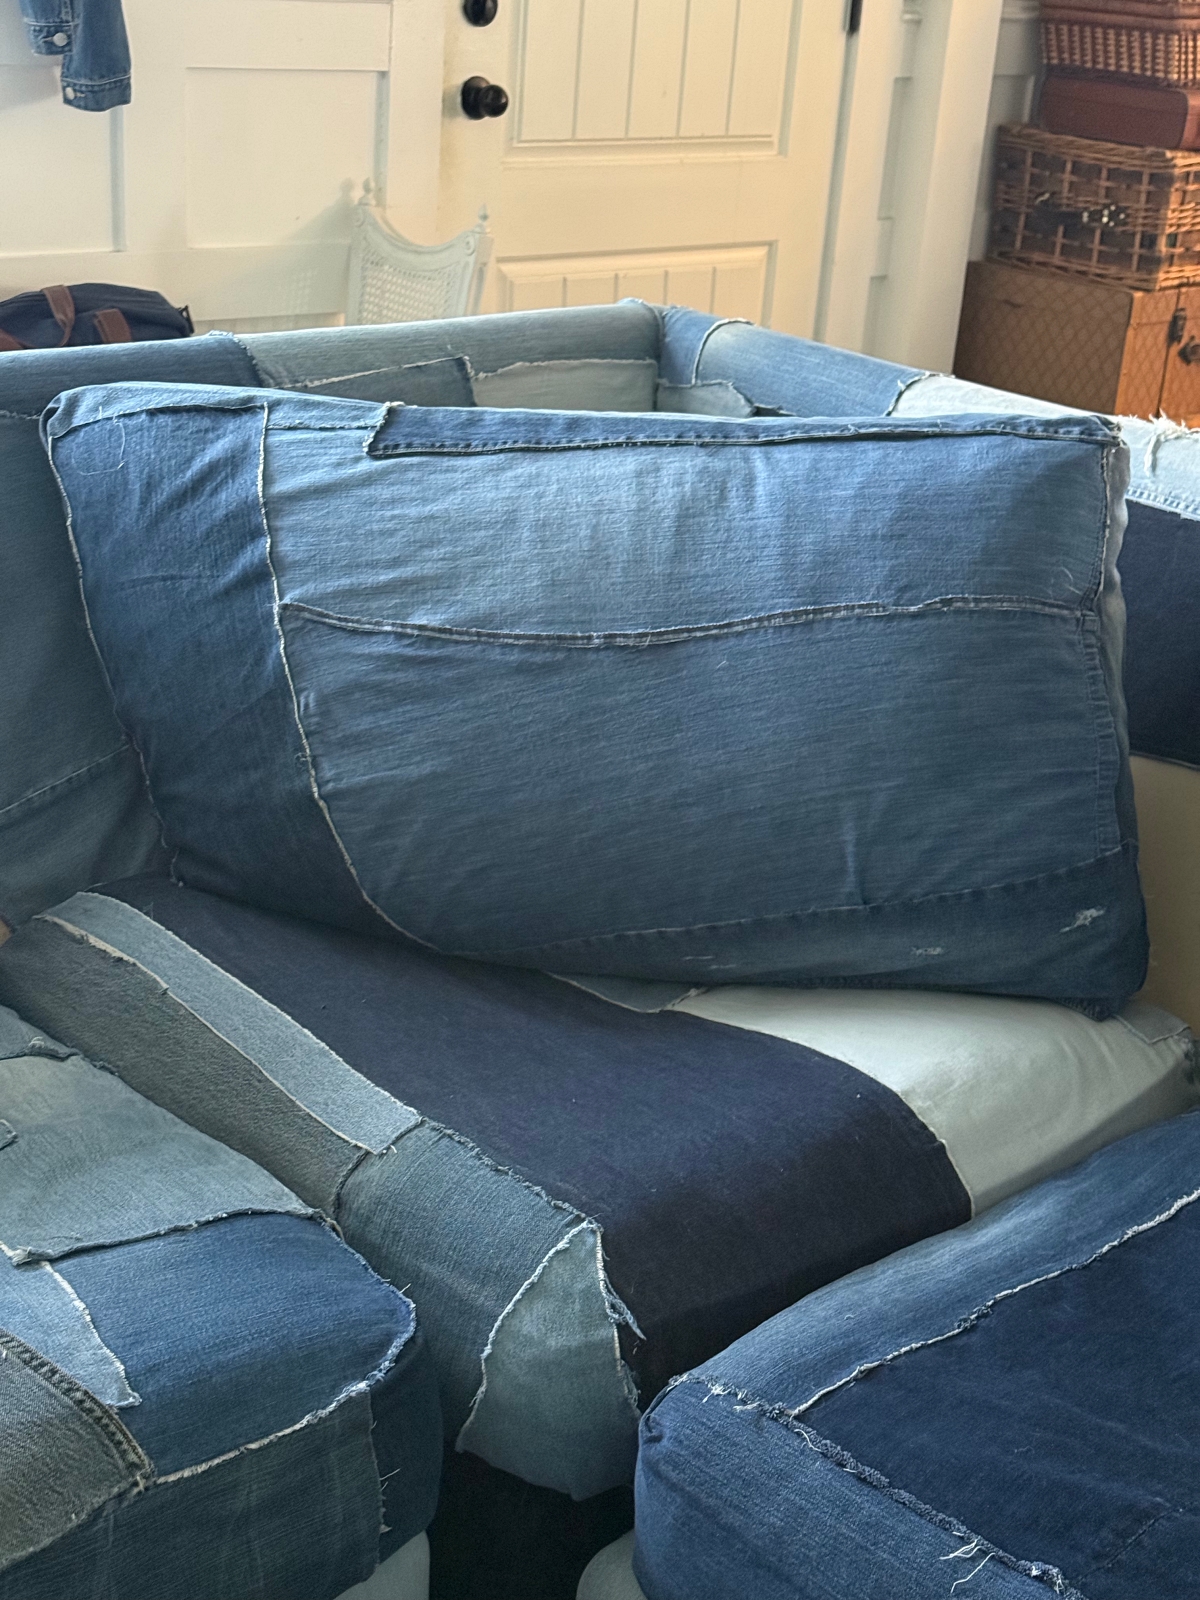
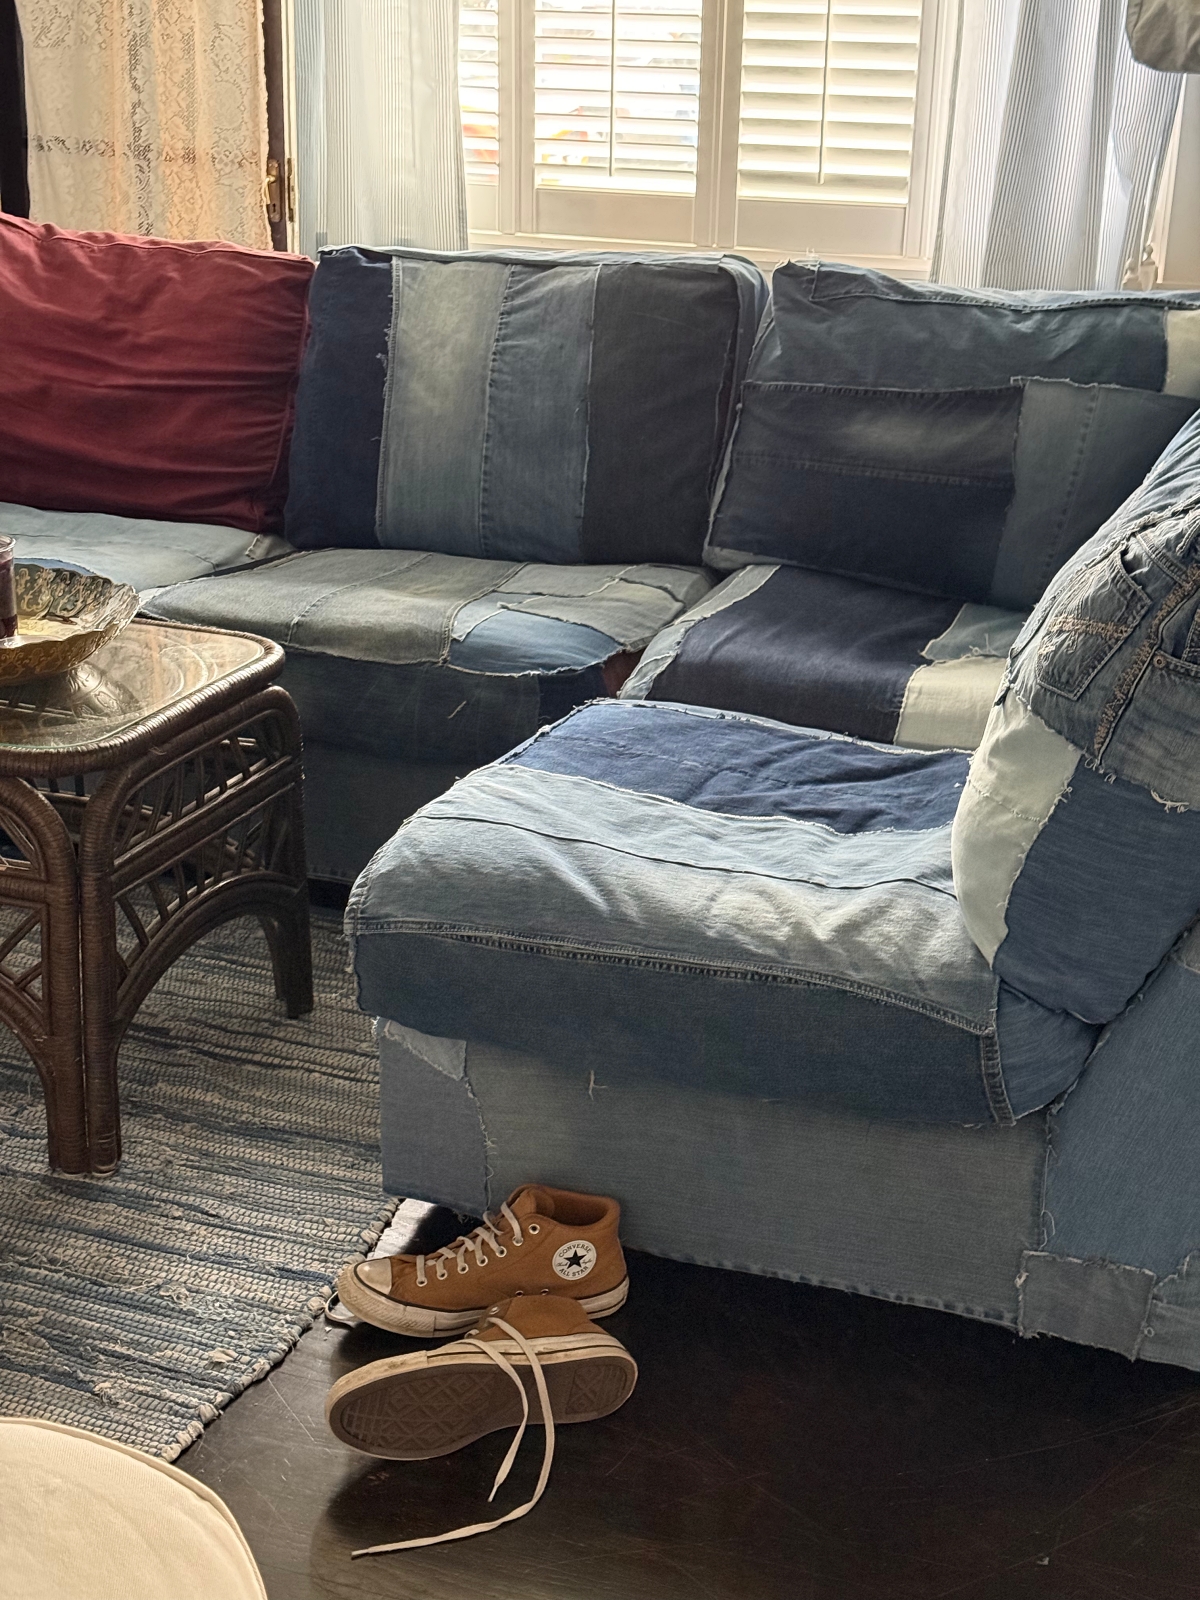
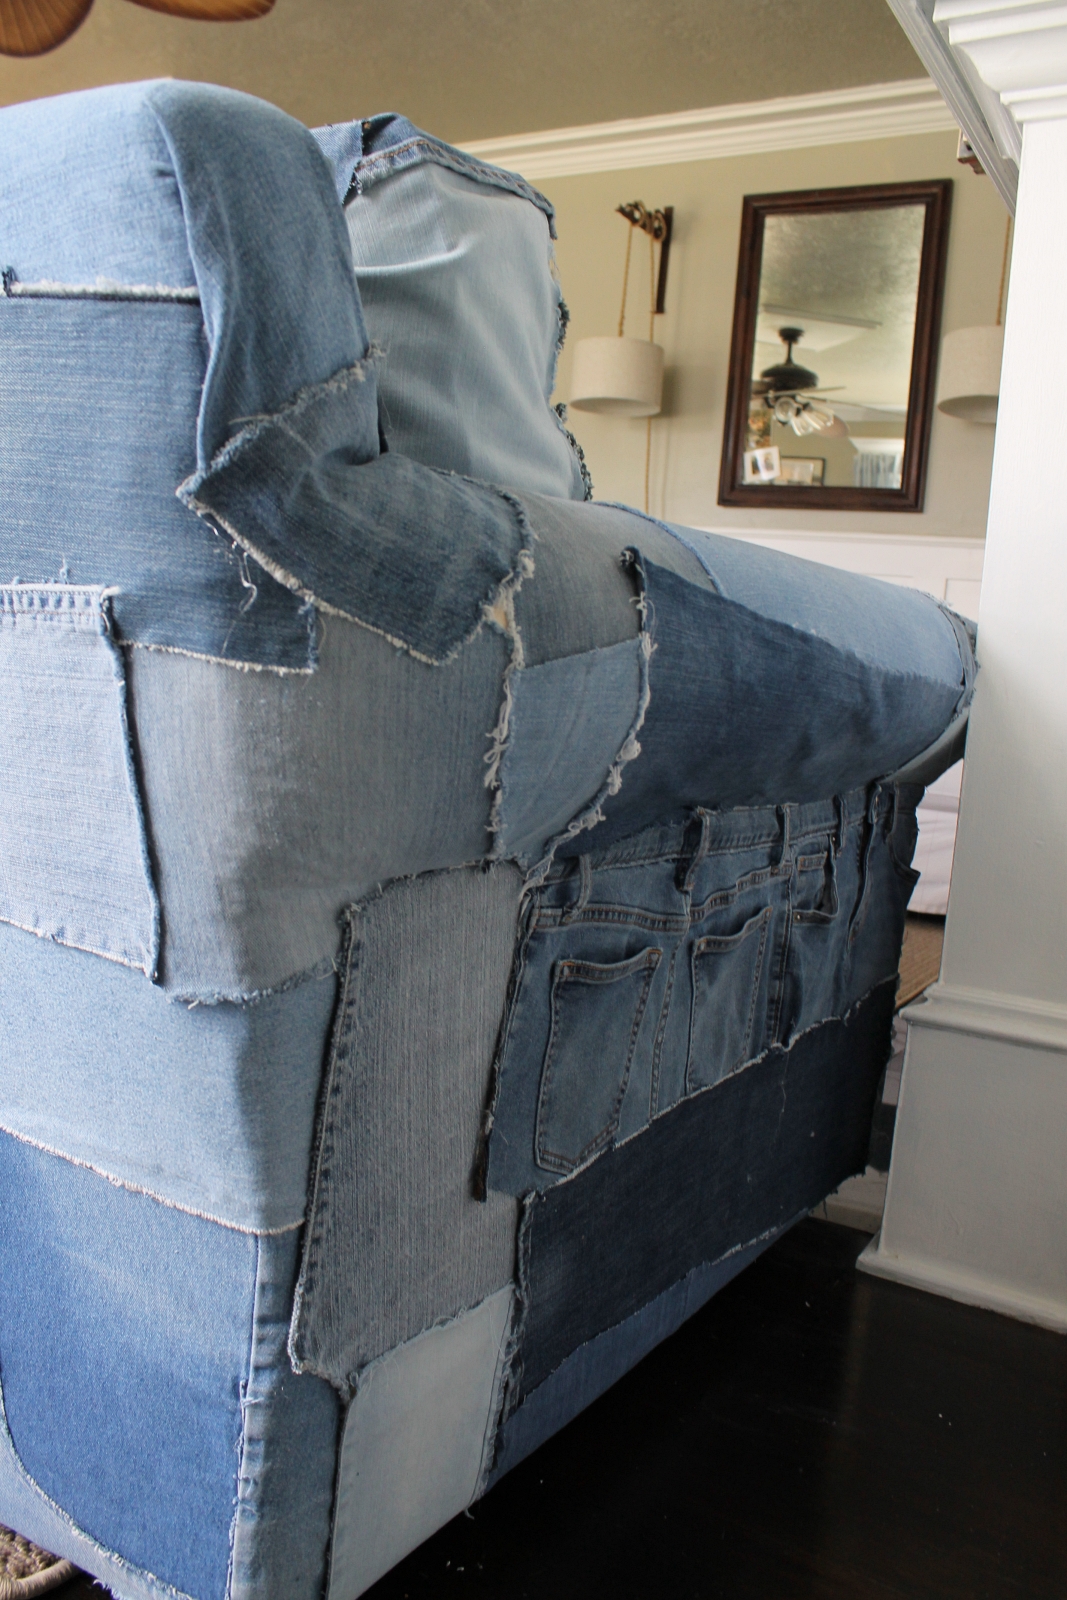
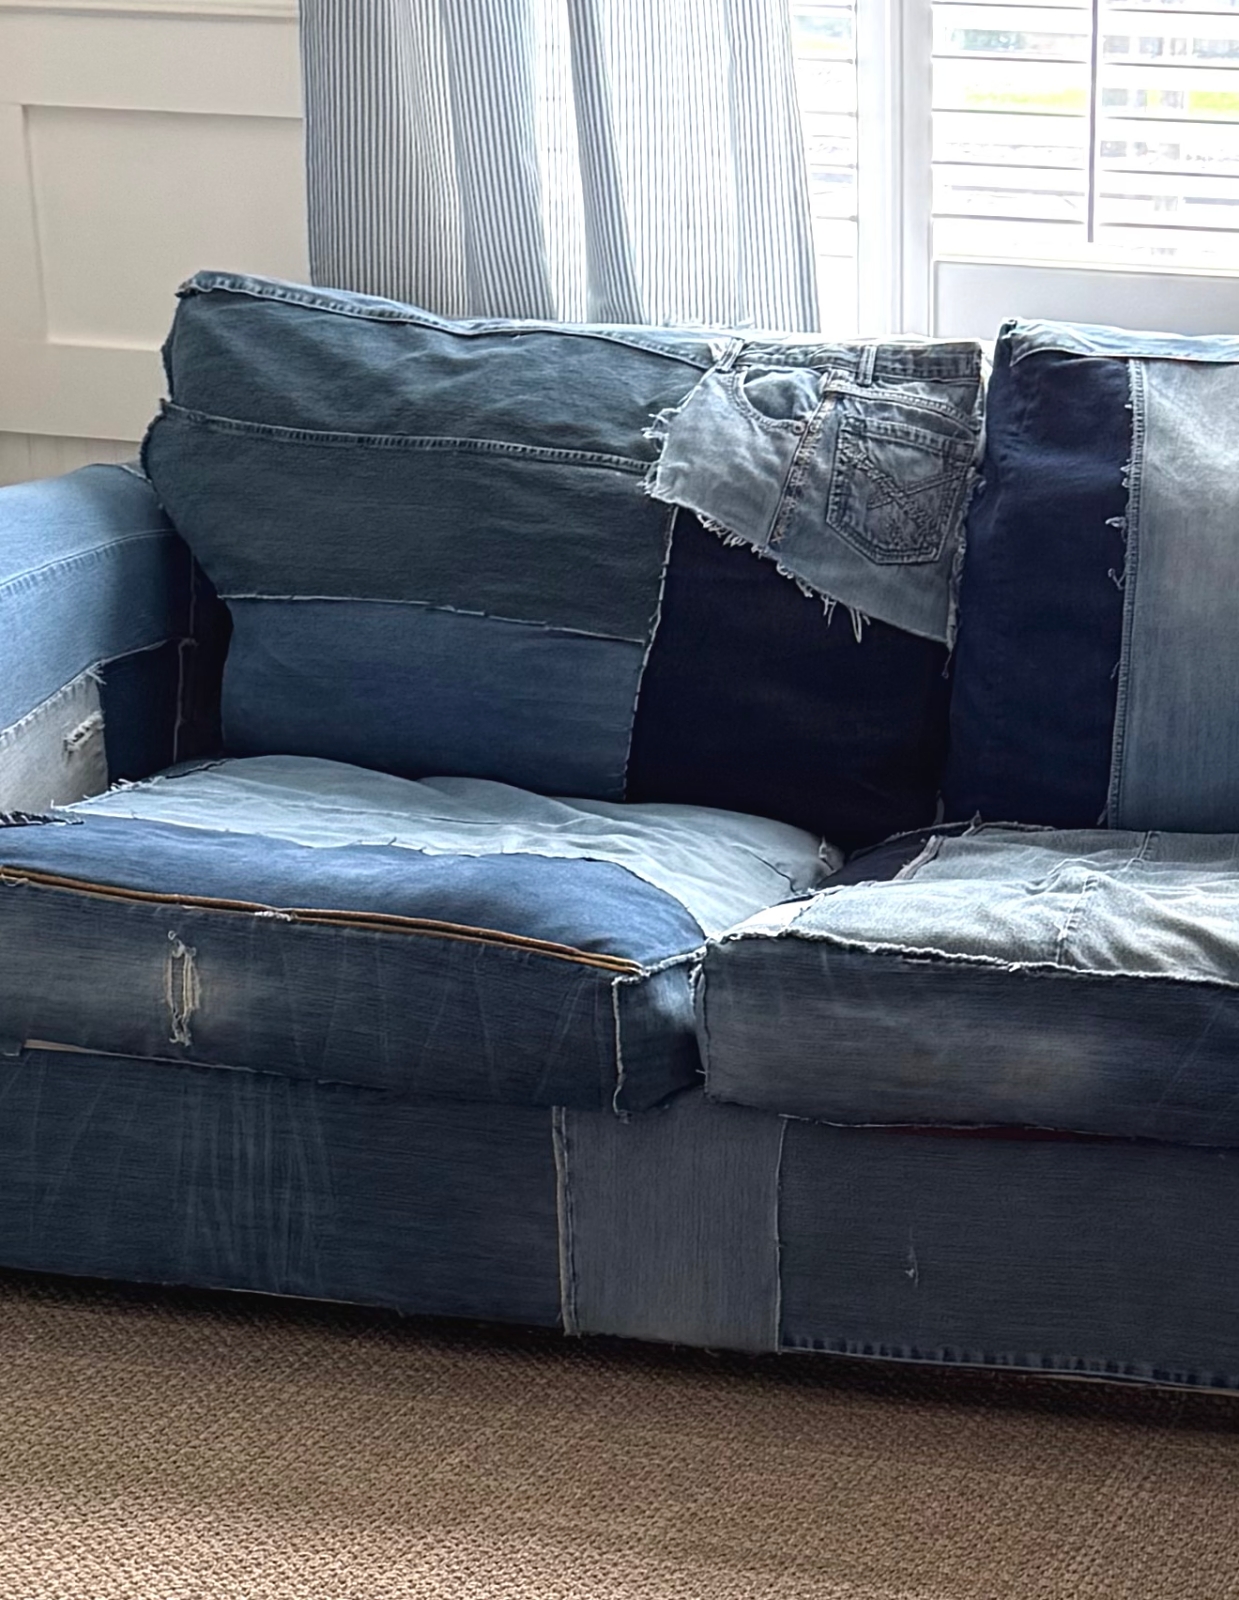
The Couch with 20 Hidden Pockets
When I shared part 1 of this project, everyone wanted to know if it was going to have hidden pockets. At first I had just added a few here and there, but now that it’s finished, This couch actually has 20 hidden pockets!!
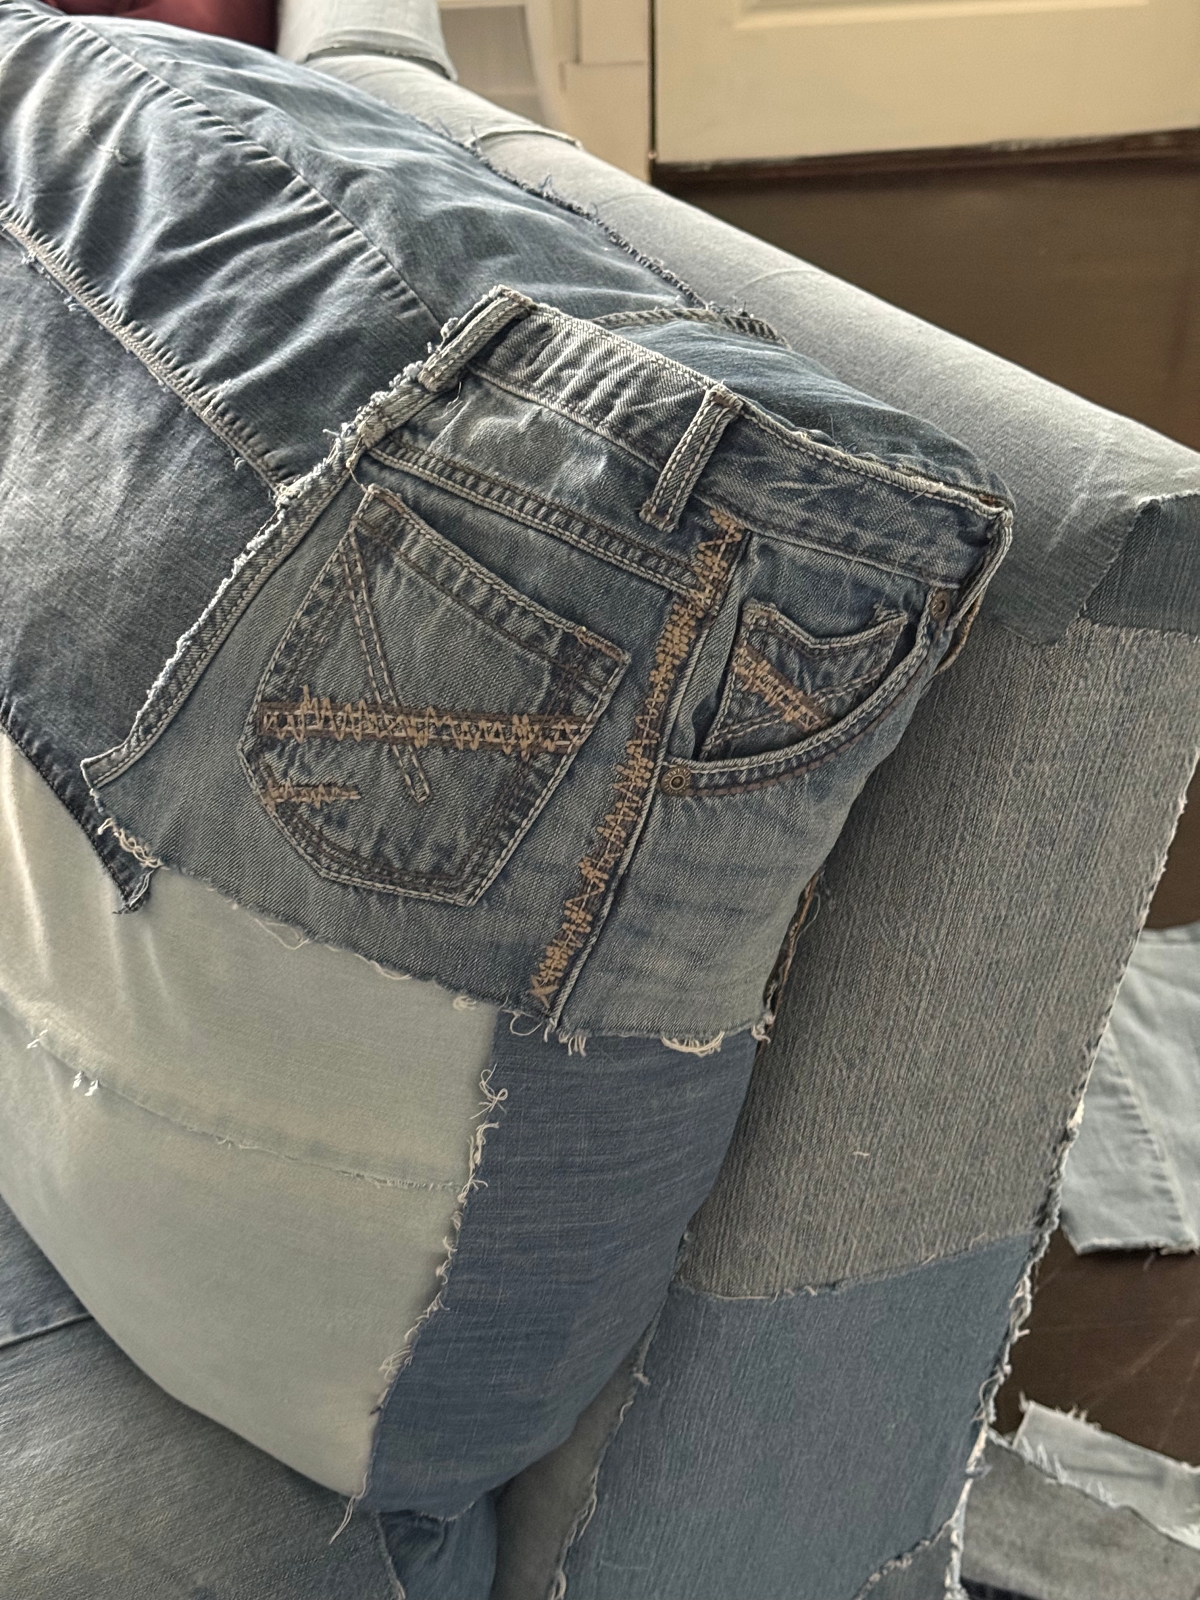
The pockets are placed in obvious and not so obvious places. Some pockets perfectly placed for aesthetics but others are placed in places simply because I was scrounging to use every last piece of denim I could find.
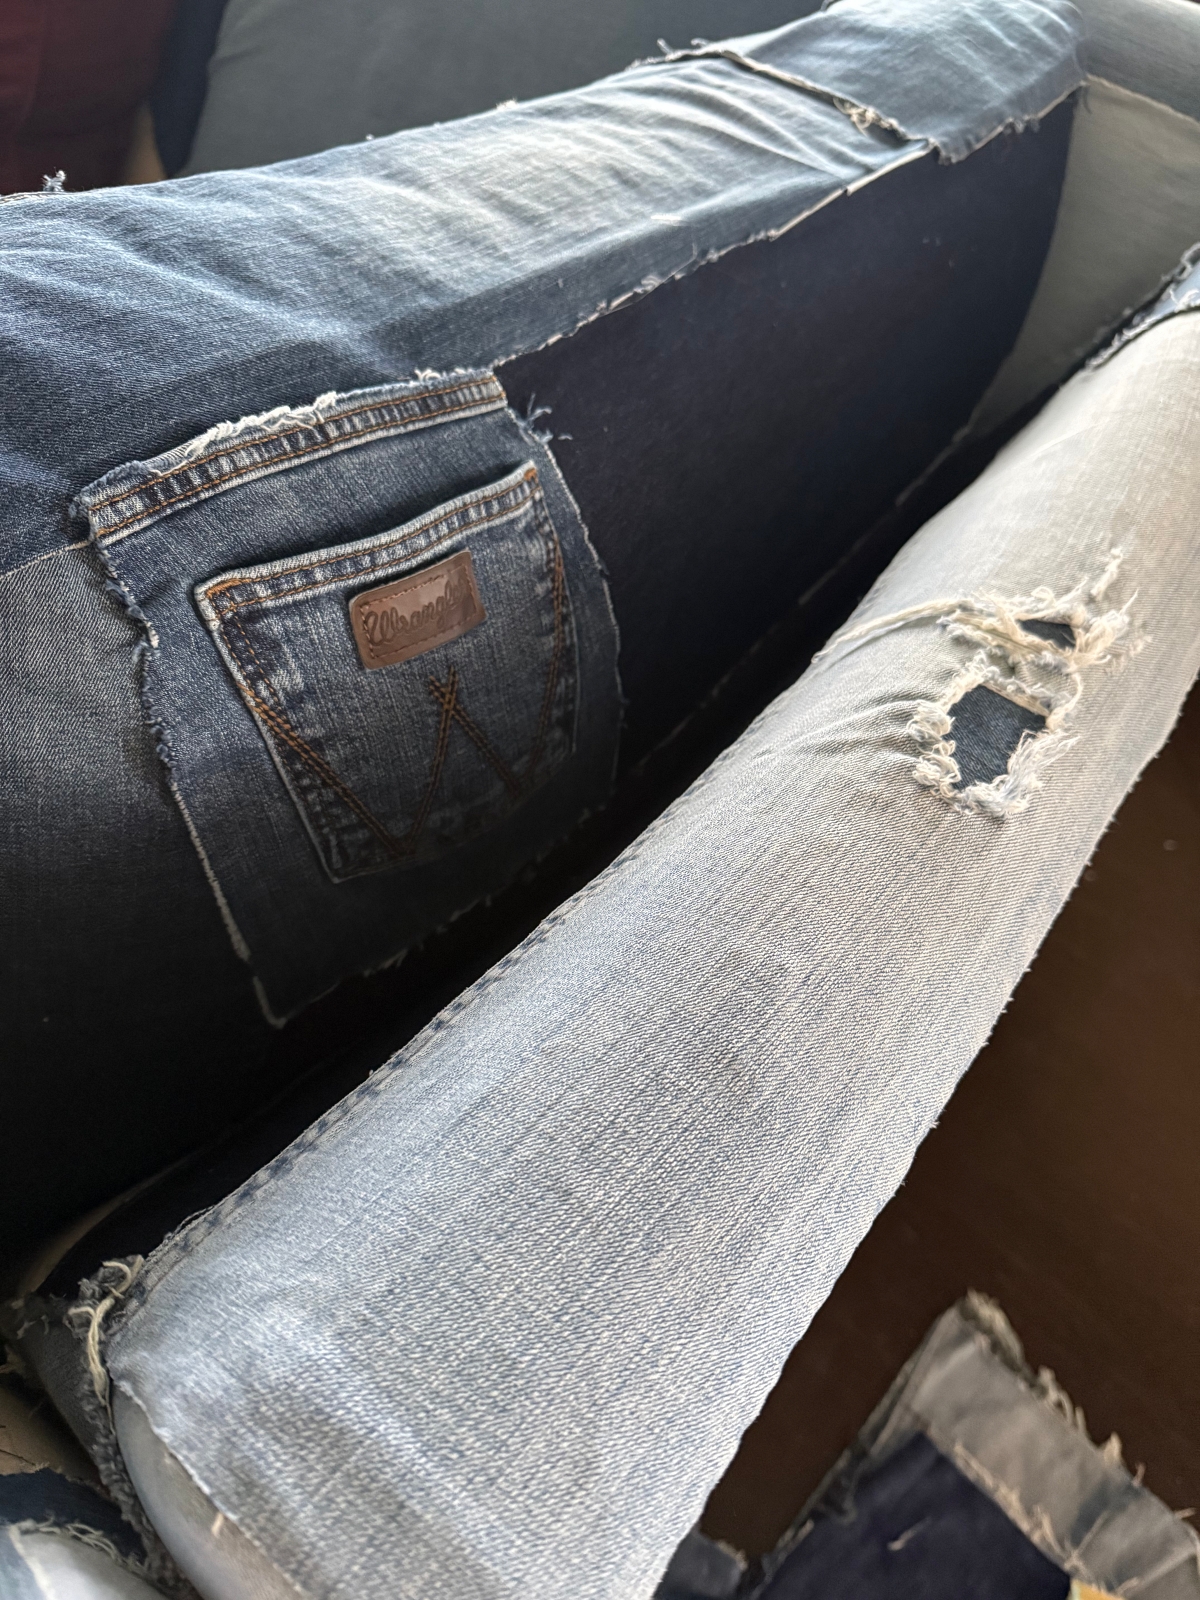
Like the side of the couch here. And when I say 20 pockets, I’m counting the back pockets, the front pockets, and those tiny coin pockets that are above the front pockets.
To be honest, the only part of my couch that I’m not so sure about is this piece here on this back cushion. It was one of the last areas I had to work on, and so it got an odd front jeans piece. II think it looks a bit off. It may bug me enough to remove it and replace it (another day when I have more denim) or I may just leave it. I Do have to say, that the pocket in this spot is So handy. I place my phone in the pocket when I get up to get more coffee, so perhaps it will stay.😀
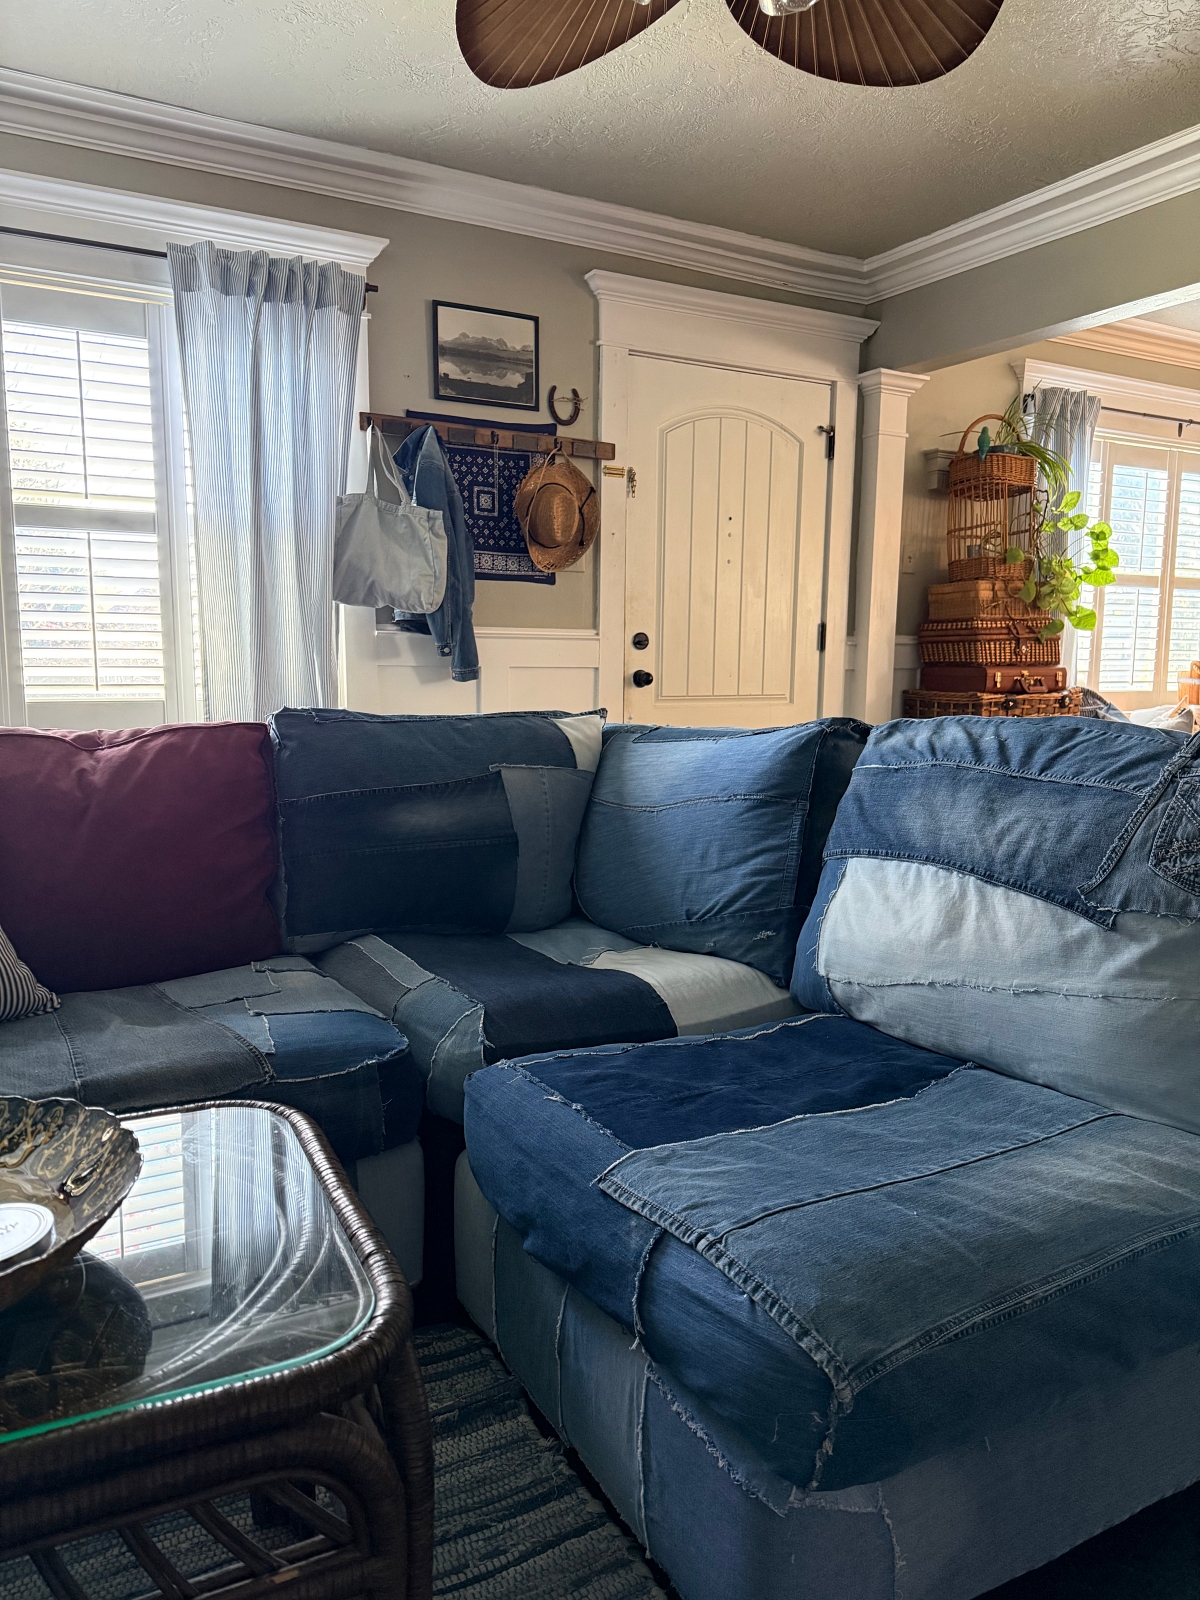
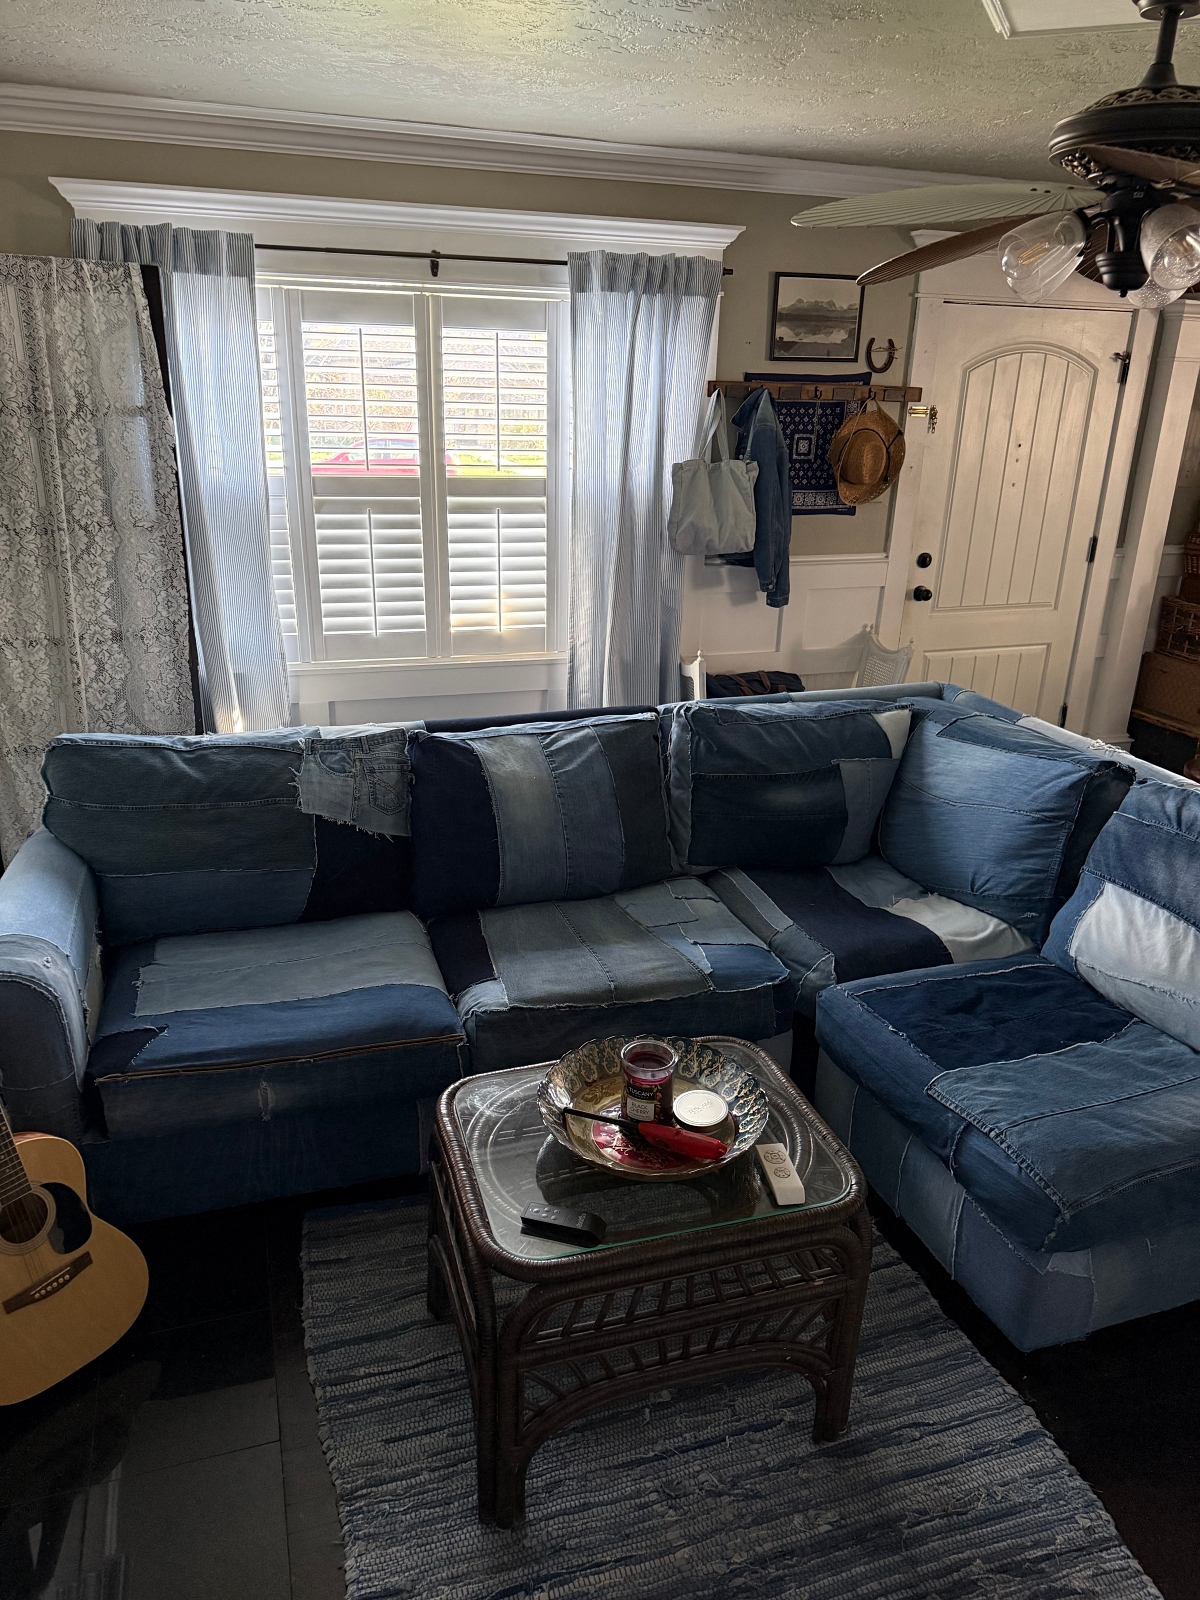
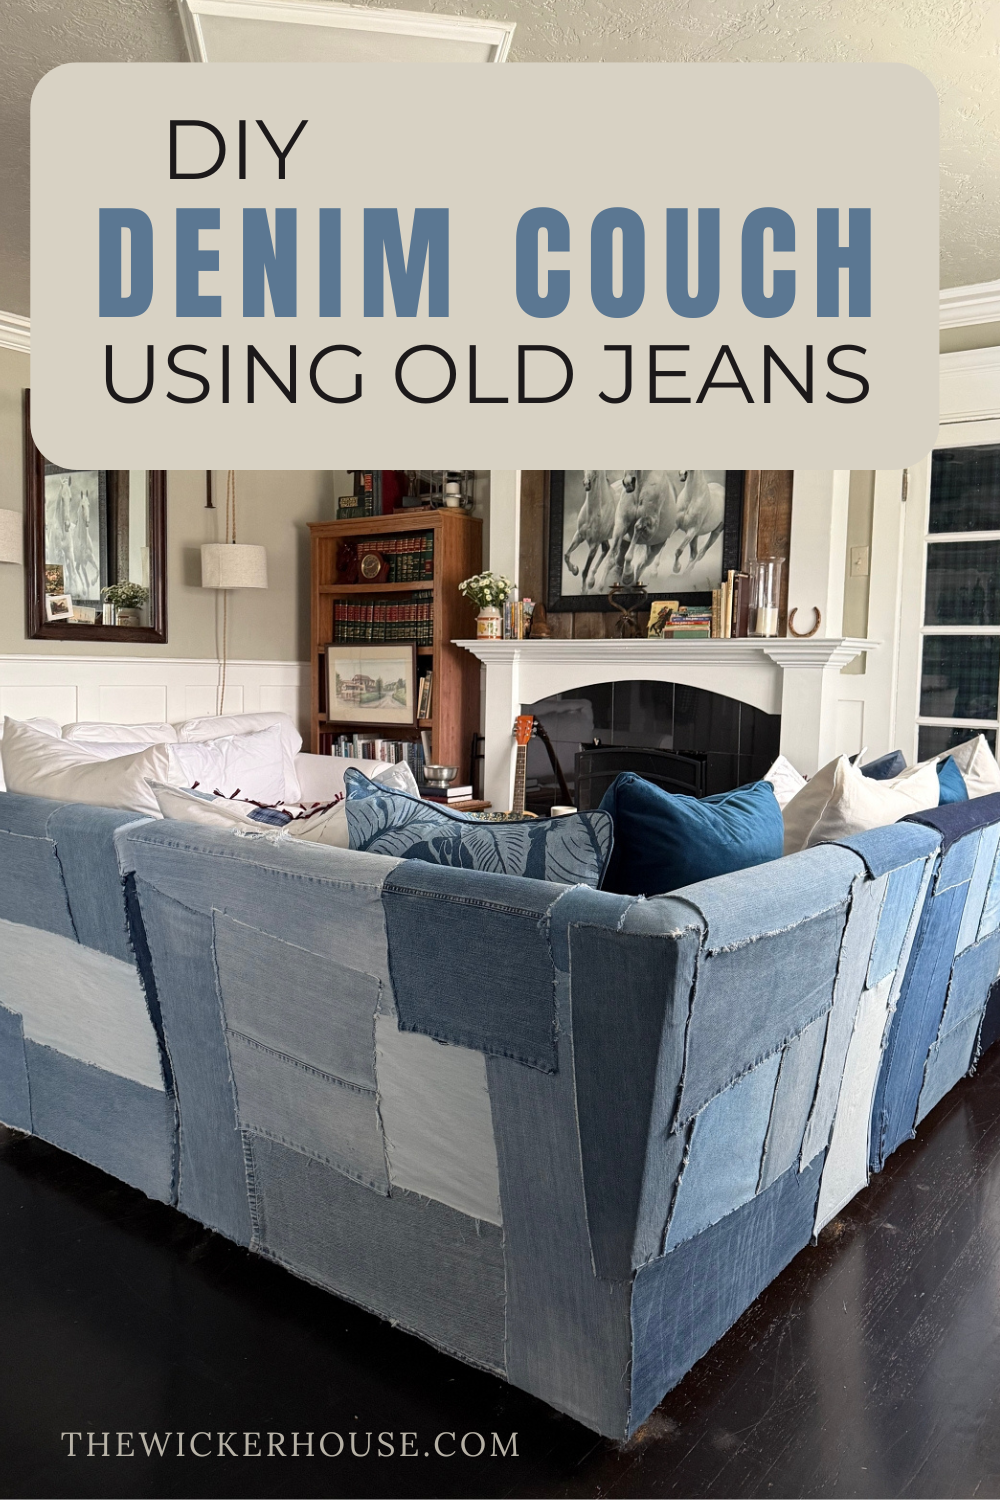
How the Finished Couch Looks in the Room
I Love this couch from every angle! Every piece of denim on it was thoughtfully placed. The way that this denim couch looks in my living room is even better than I could have ever imagined. The denim brought such a relaxed vibe to our living room. I seriously can’t get enough of it.
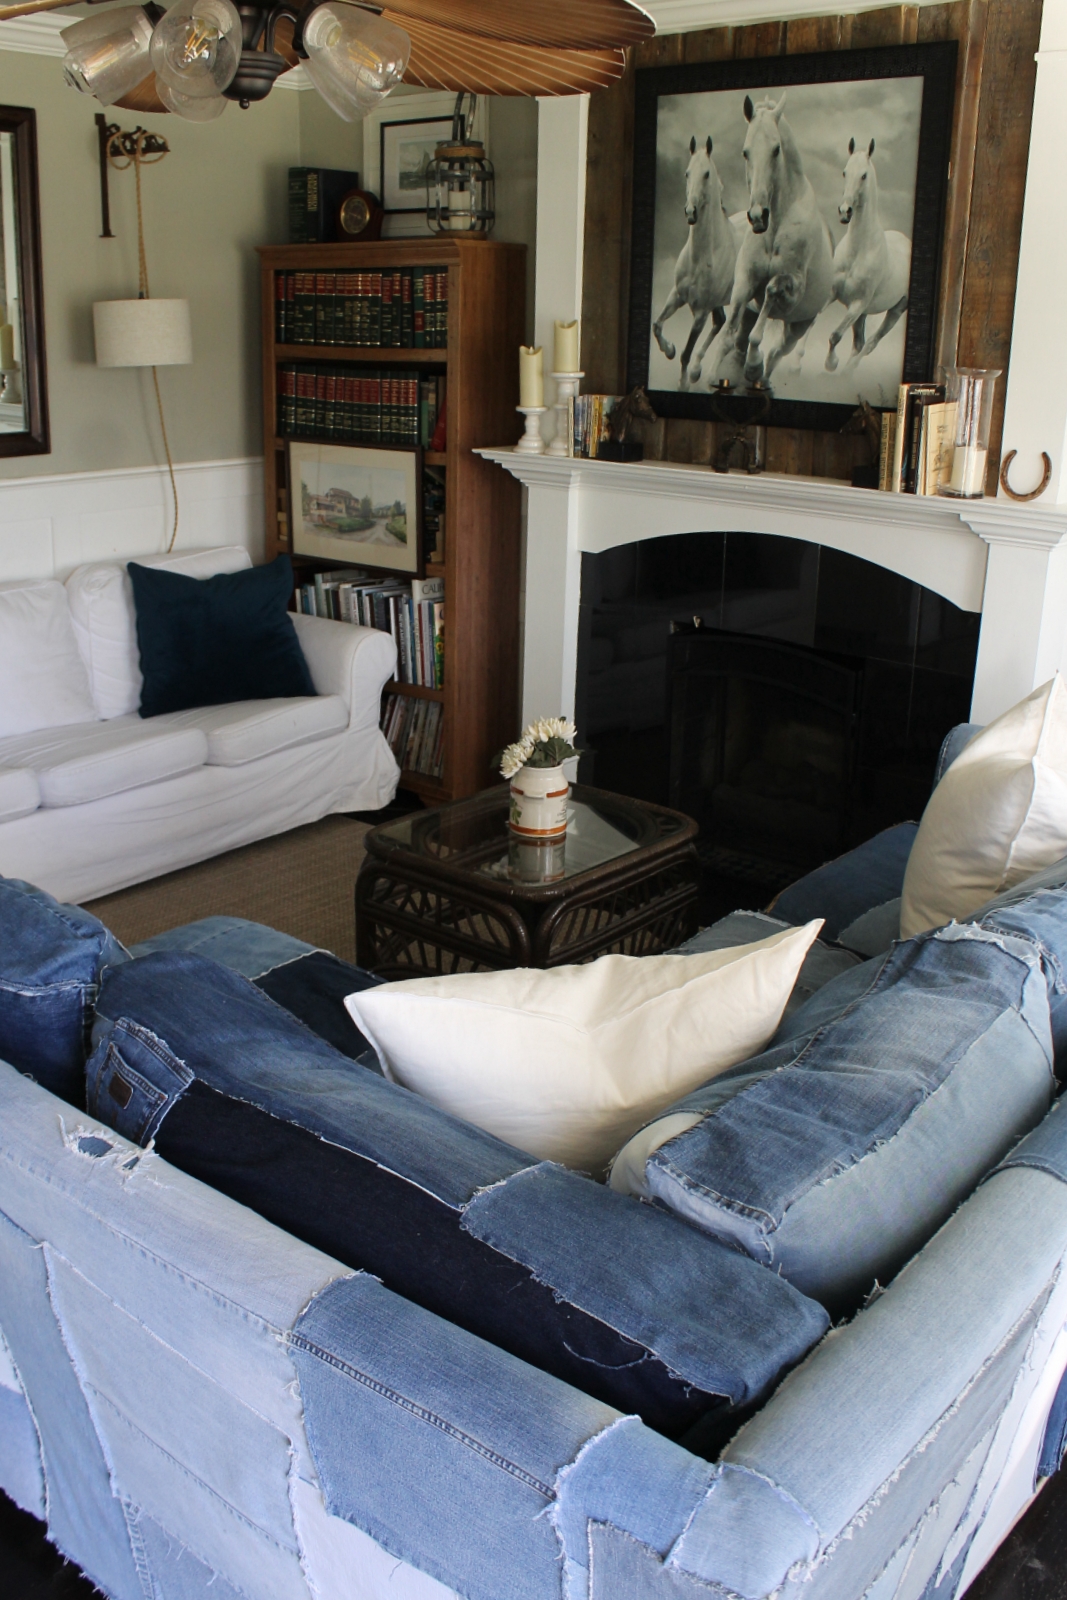
I was actually finished with the couch weeks ago, but I wanted to wait until my new rug arrived before I shared this finished post with you. My new rug (Which I blogged all about HERE) couldn’t not be any more perfect for this space. The rug grounds the room, gives the couch support, and the colors really complement the denim blue nicely.
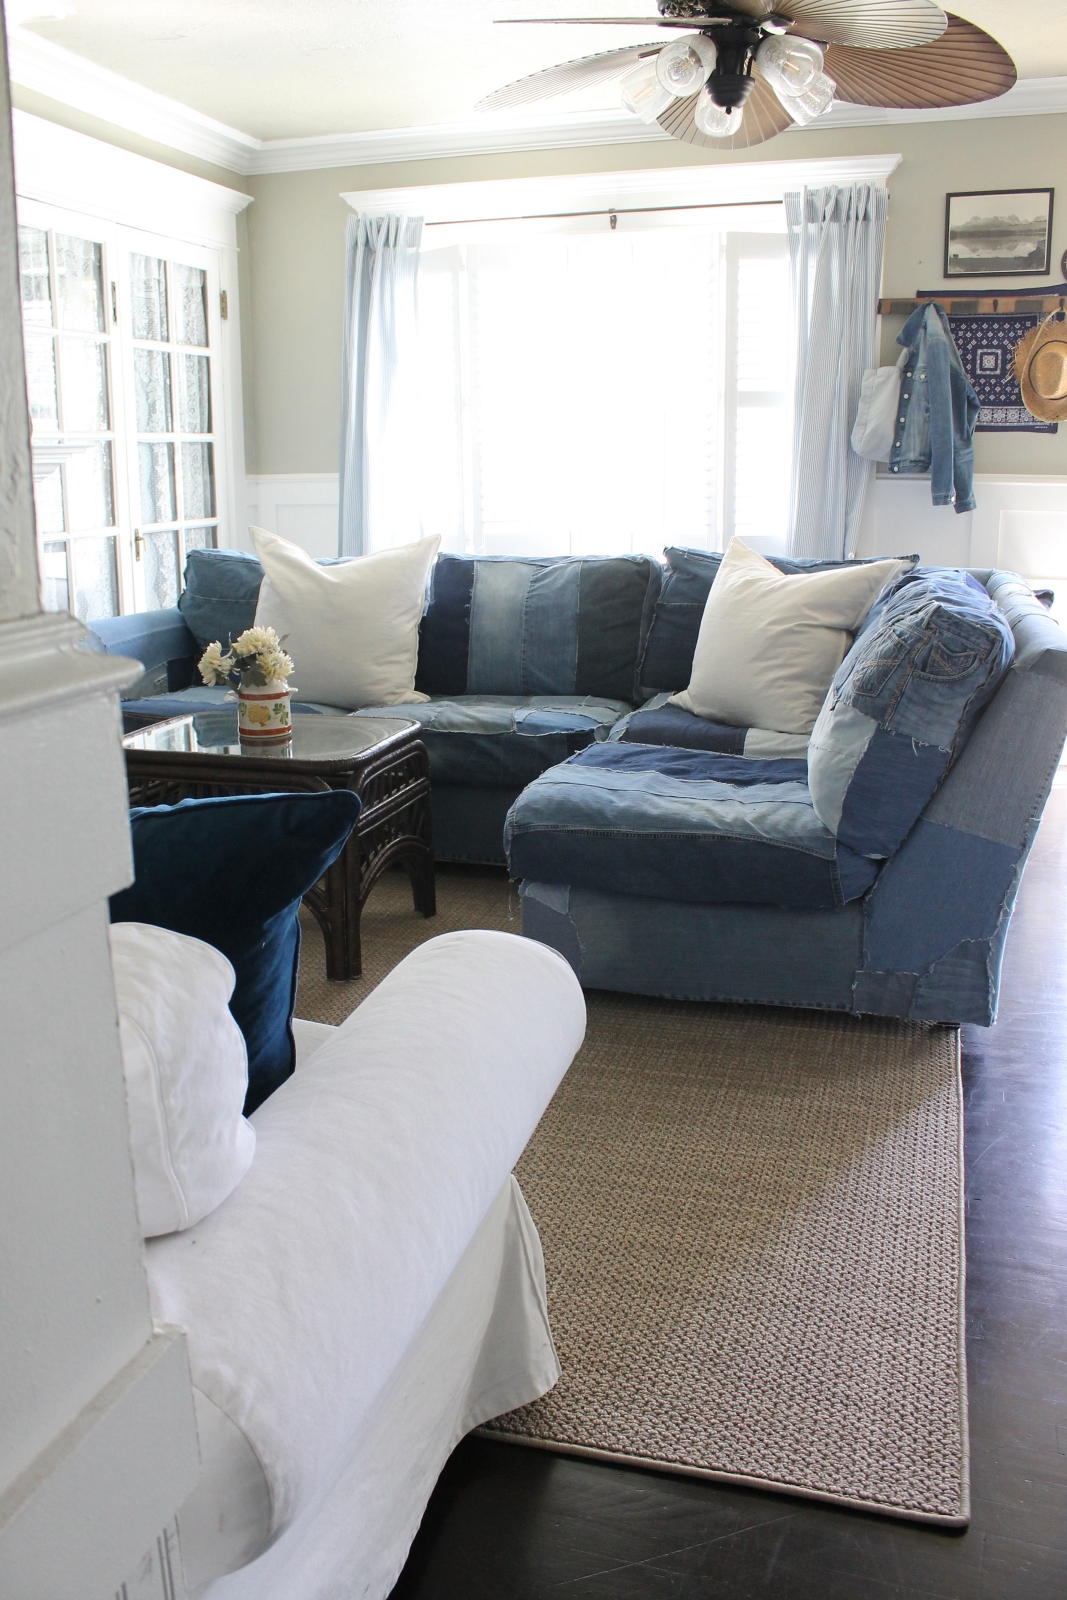
I’m loving this Denim Blue and Country Brown color scheme so much right now. This color scheme can lean Coastal (Sea & Sand, or Surf &Turf) or lean more Country (Denim & Rope) (Jeans & Cowboy Boots) it’s just an overall really great color combo that speaks to my heart. 💙🤎
Why I’m Glad I added the back Cushions
I am so glad I decided to go ahead and cover the back cushions. For a while I thought the couch looked fine with just throw pillows, but adding the back cushions really completed the look. Now it truly feels like a full denim couch rather than just a denim-covered base. The cushions make everything look more finished and intentional. They also add a lot more comfort and support when sitting, which makes the couch feel even cozier than before.
Final Thoughts on my Denim Couch Project
This project took time, patience, and a lot of pairs of jeans, but I couldn’t be happier with how it turned out. What started as a worn out couch with a tear has now become my favorite piece of furniture in our home. The mix of denim shades, textures, and even the hidden pockets make it completely one of a kind. I love that it’s both creative and practical, and it feels so rewarding to sit back and enjoy something that I made with my own hands.
So what do you think? Is this something you will try? Any Questions or Comments? Please let me know below or email them to me at thewickerhouse@yahoo.com or come find me on Facebook and/or Instagram.
Shop this look:
*Disclaimer: This blog post contains Affiliated links which means that I earn a small commission for purchases made through these links.
Pin It for Later!
You are welcome to PIN any of the Images from my blog on PINTEREST. Find a Pin It button by hovering over any of the pictures.
If you like this post – You may like these as well:
Thanks for Stopping by,
Emily.

