
I have a super quick and easy DIY to share with you today. I gave our kitchen knife block a makeover using gel stain. Read along to learn more.
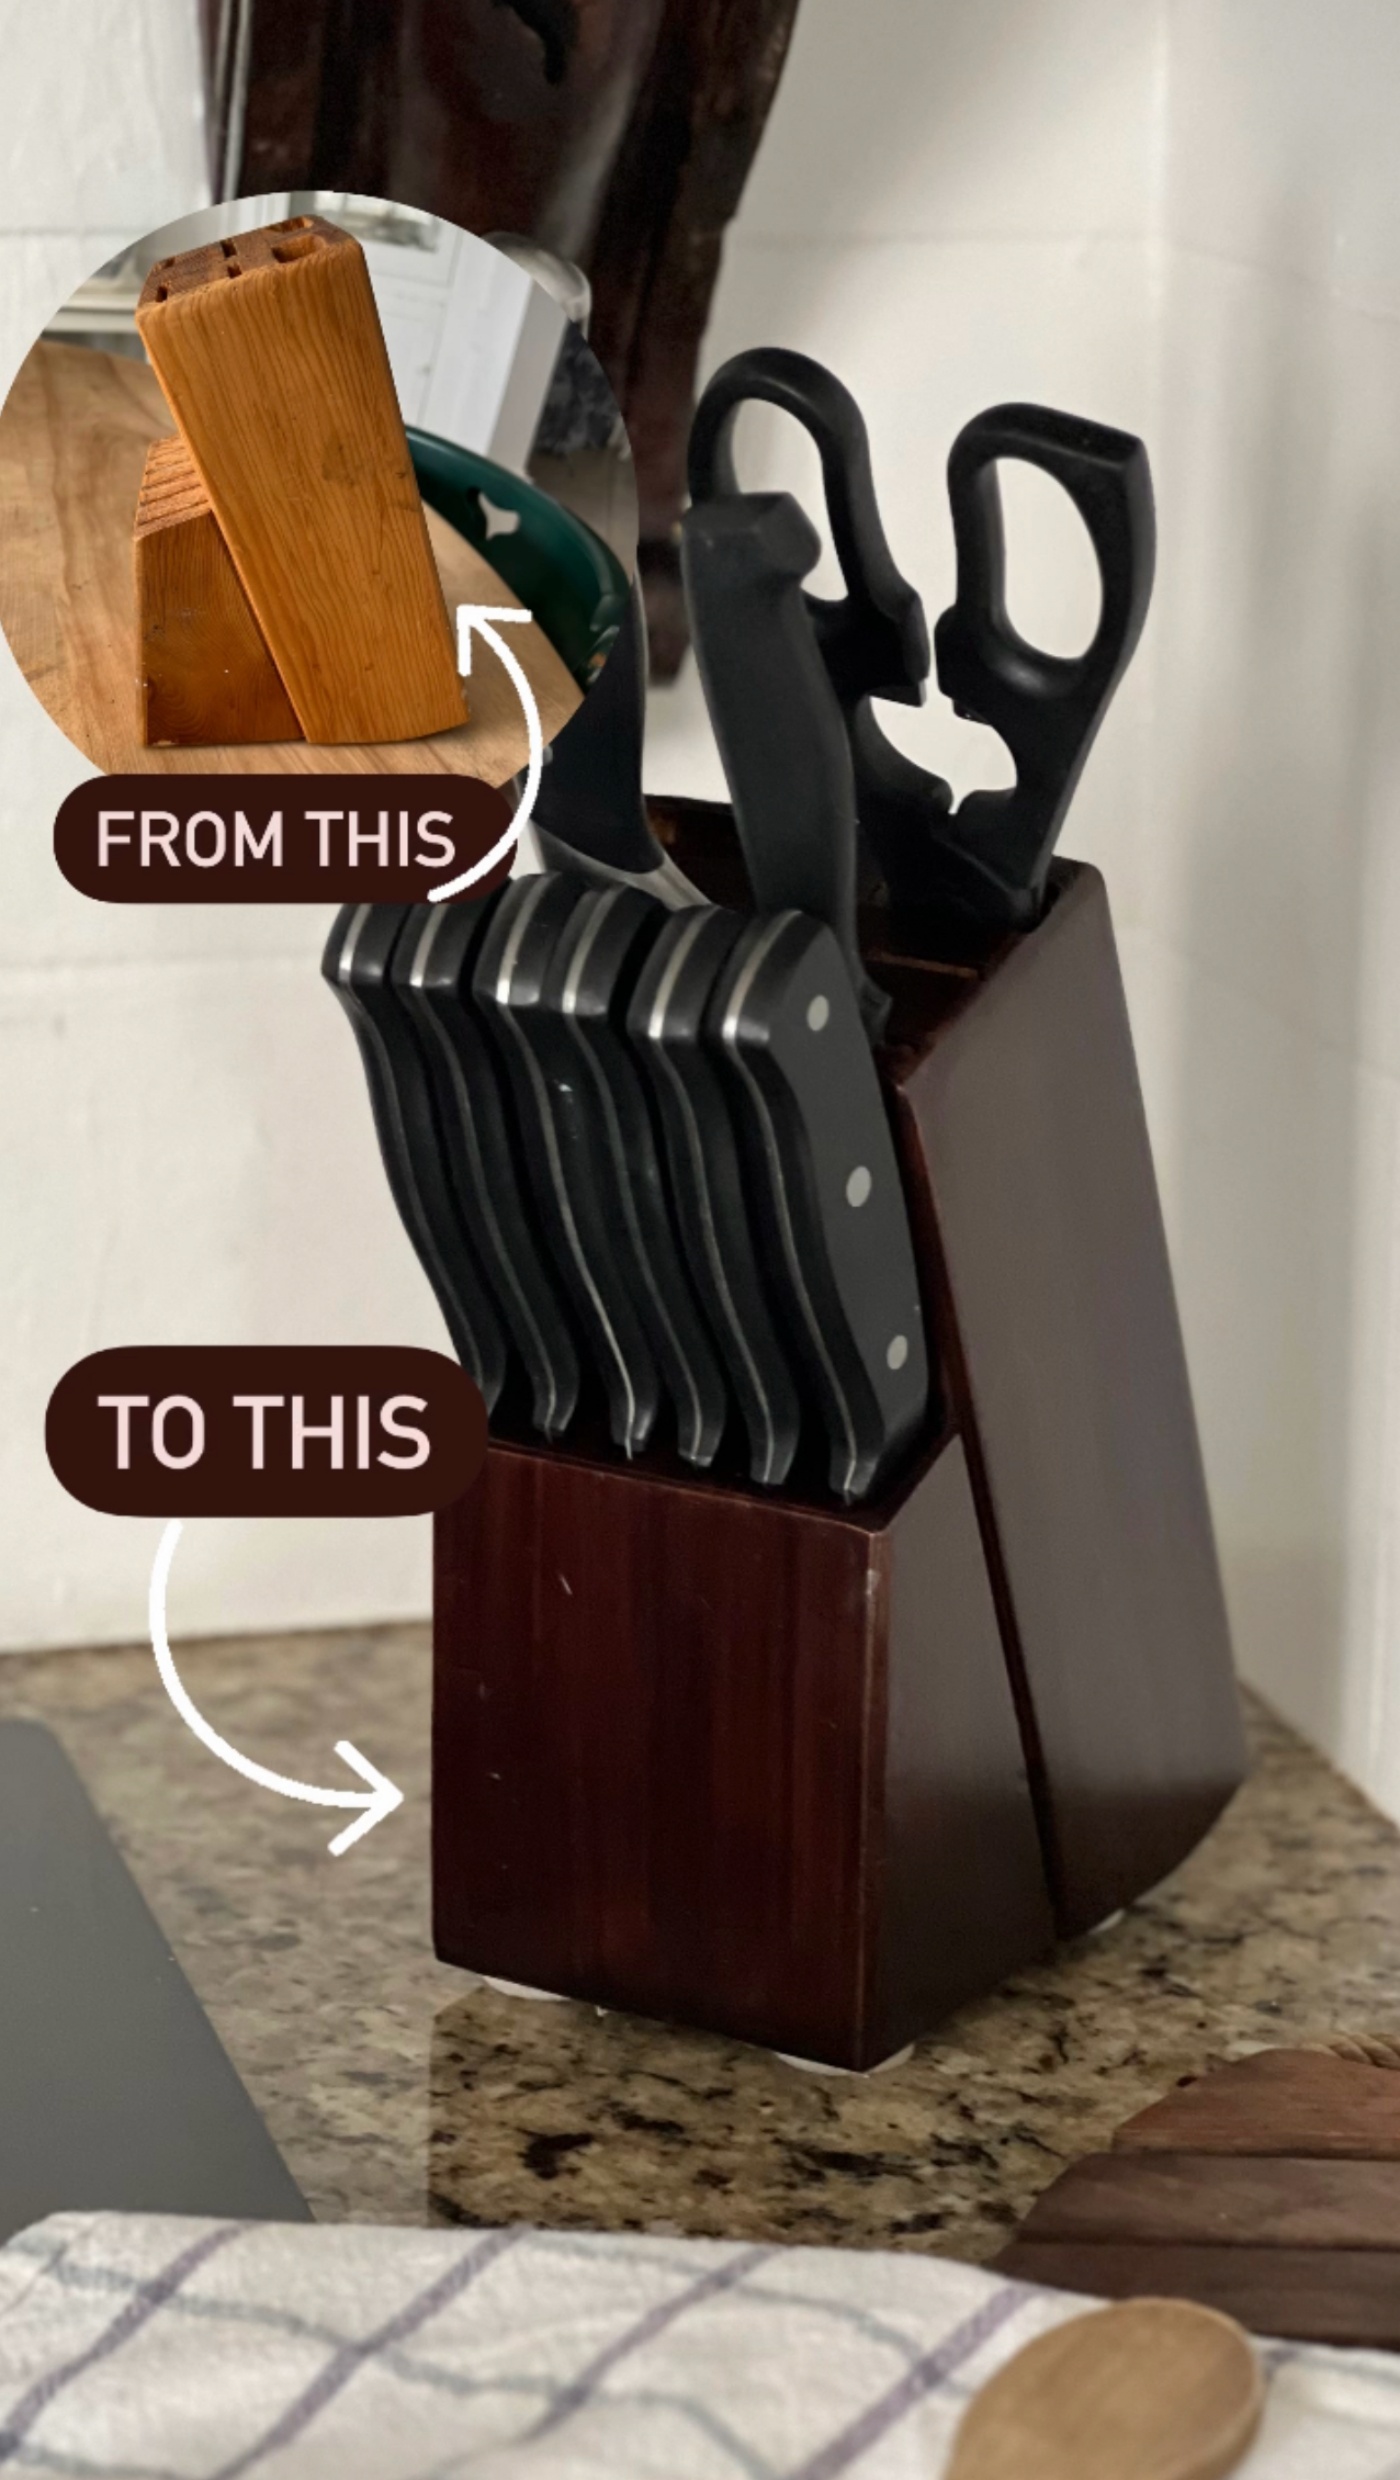
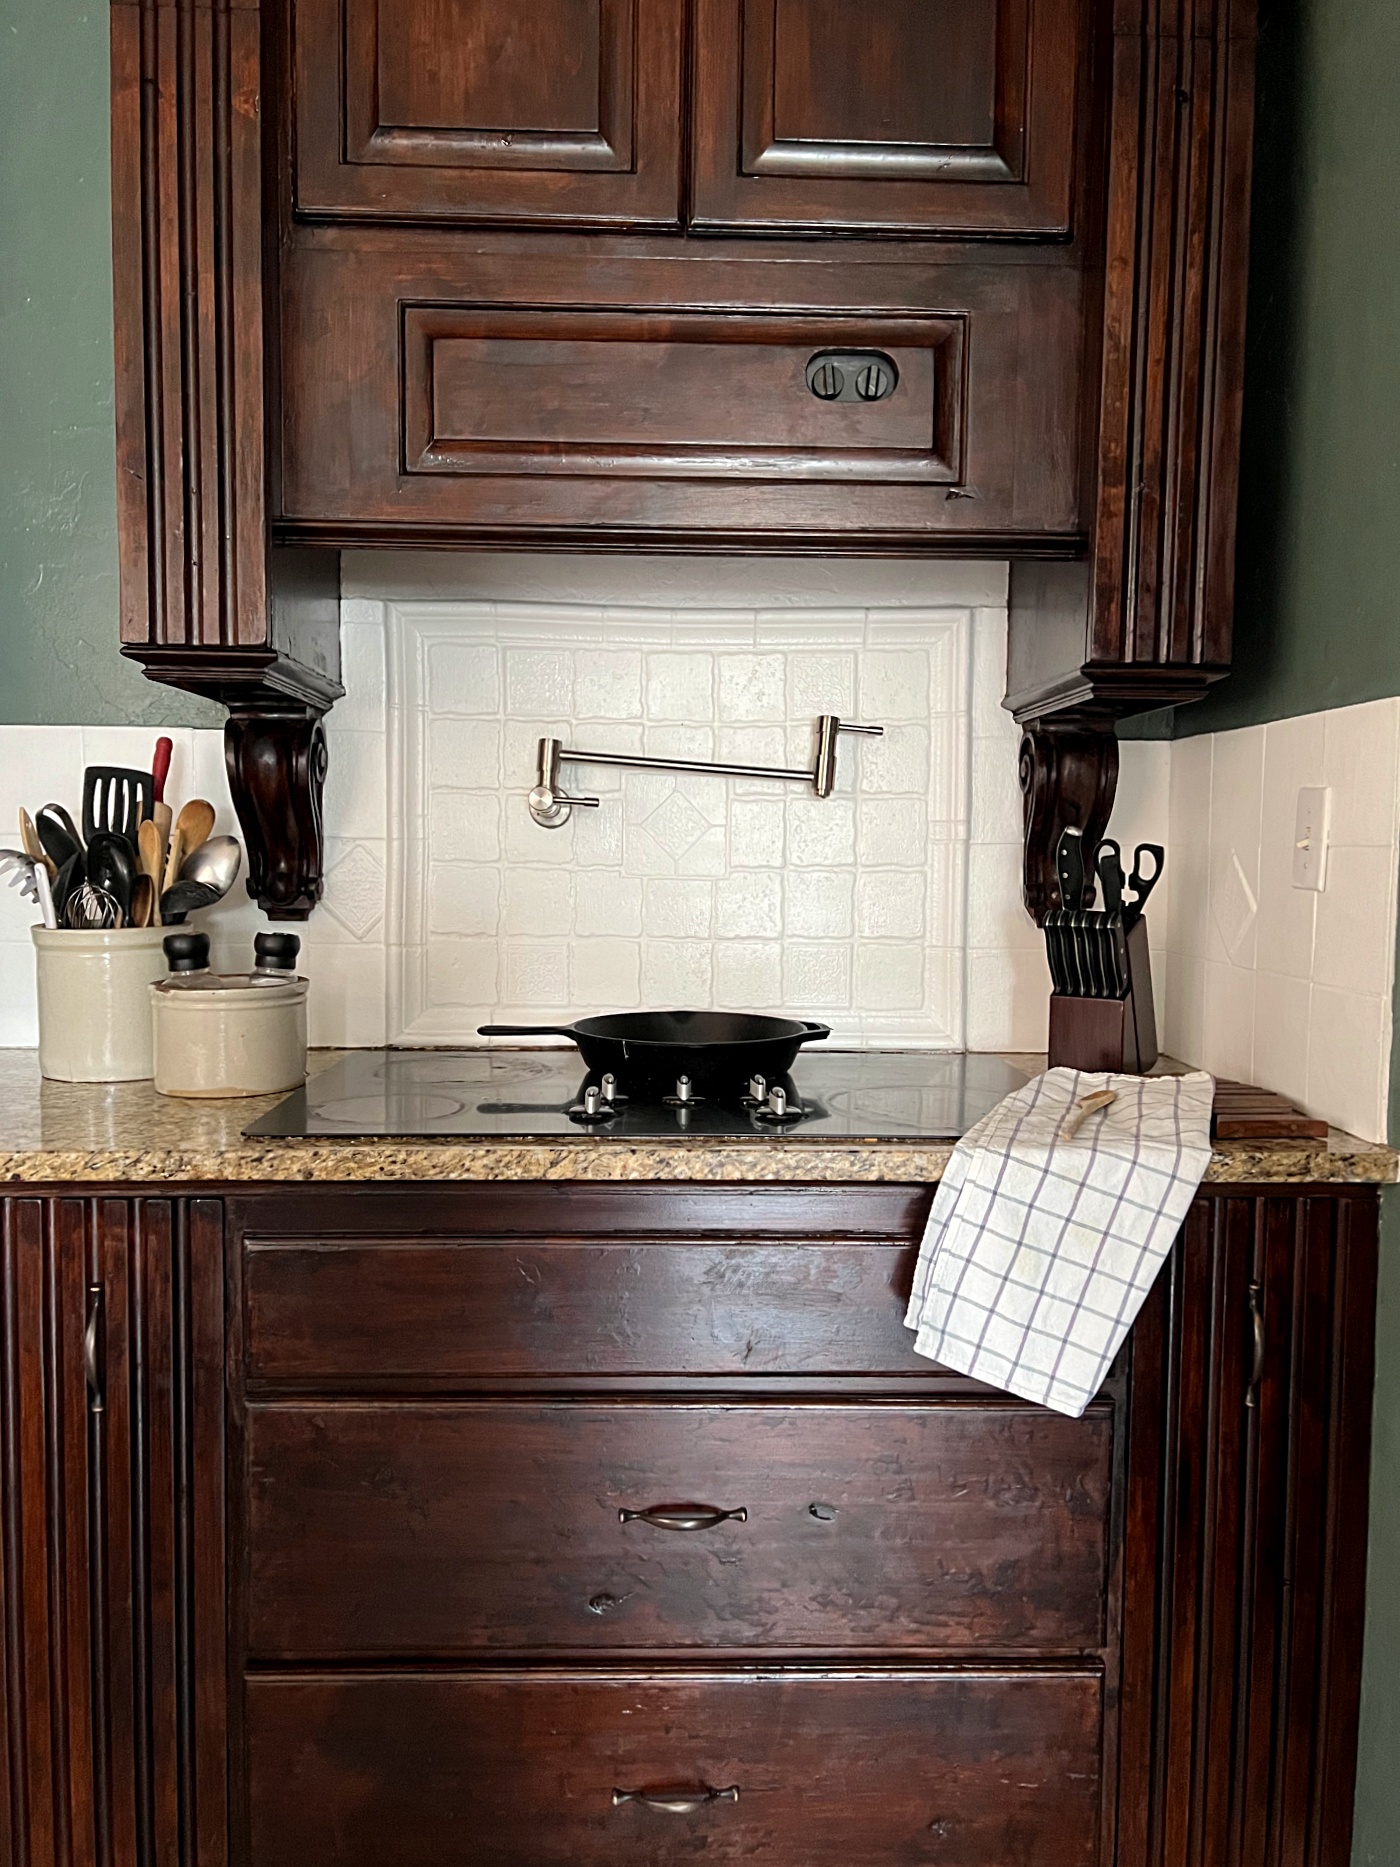
I just shared how I stripped four layers of paint and gel-stained our stove hood mount. If you missed that post, you can catch up HERE. Well while I was working on that project, I thought I’d quickly gel stain our wood knife block since I had the gel stain out anyway. Here is what the knife block looked like before:
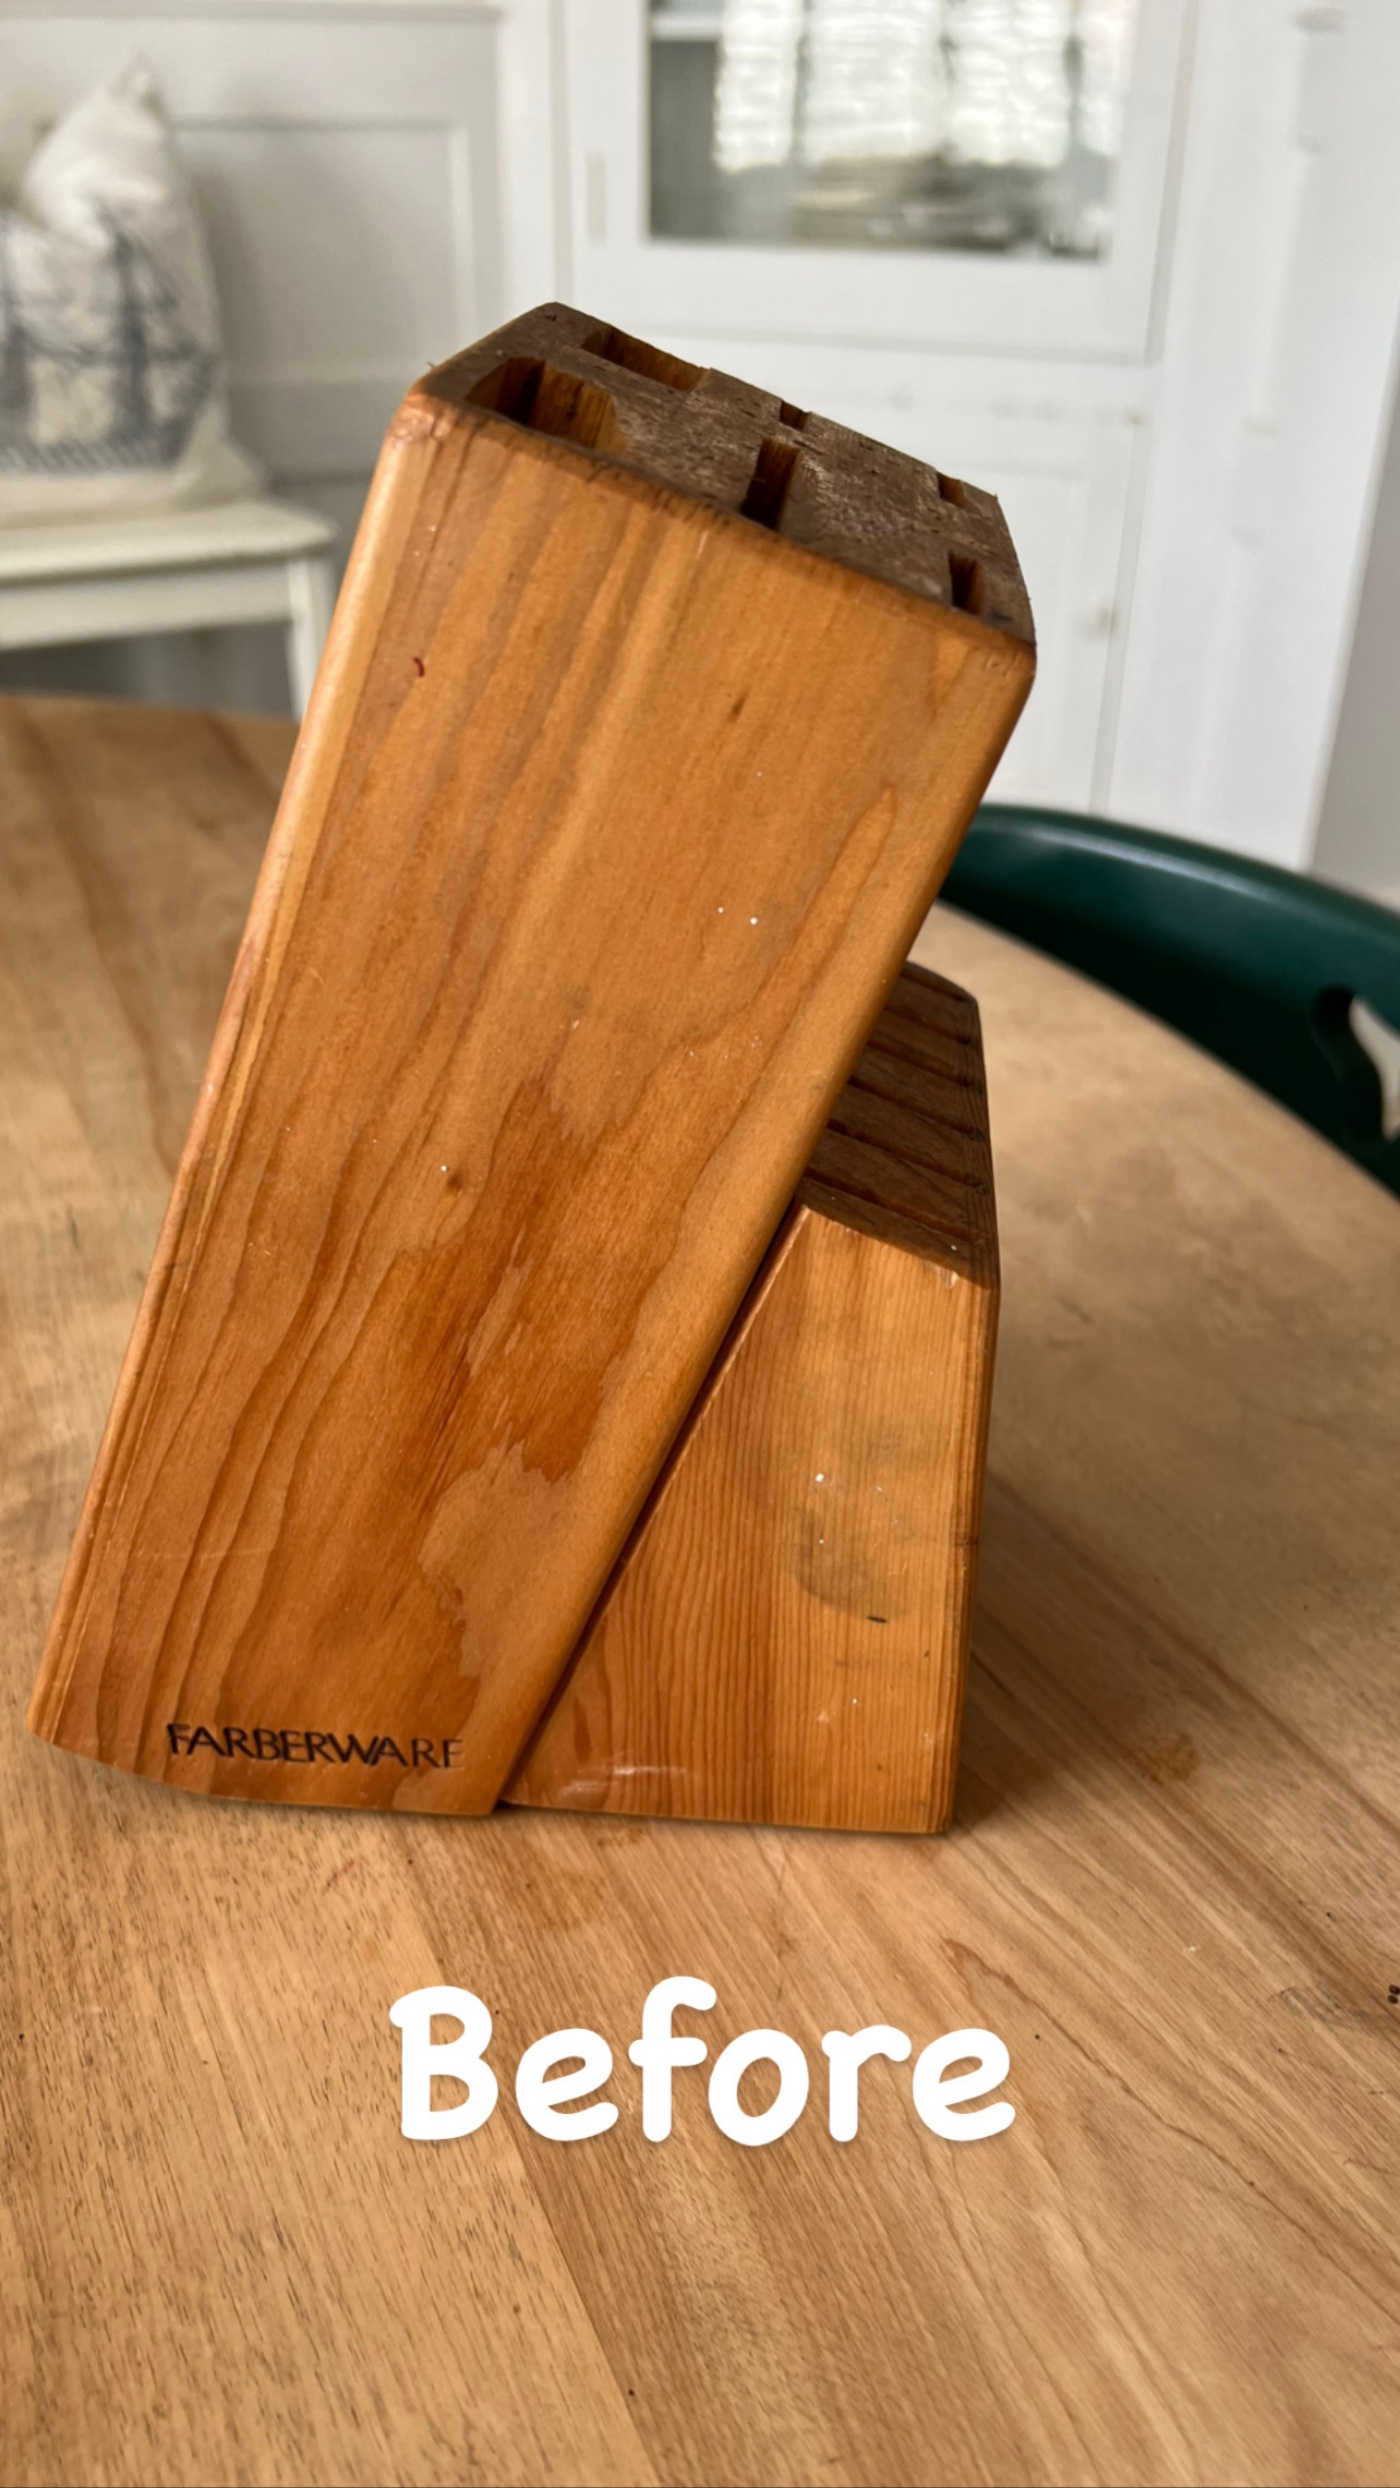
The knife block was more of an orange wood color and just old and dingy looking. So a quick makeover with gel stain was just what it was needing. I first gave the knife block a light sanding with sandpaper and then wiped it down with a soft cloth to remove any dust. Then I applied the gel stain. Sorry for the embarrassing picture, I’m a messy painter, especially after the big job I did on the stove mount.
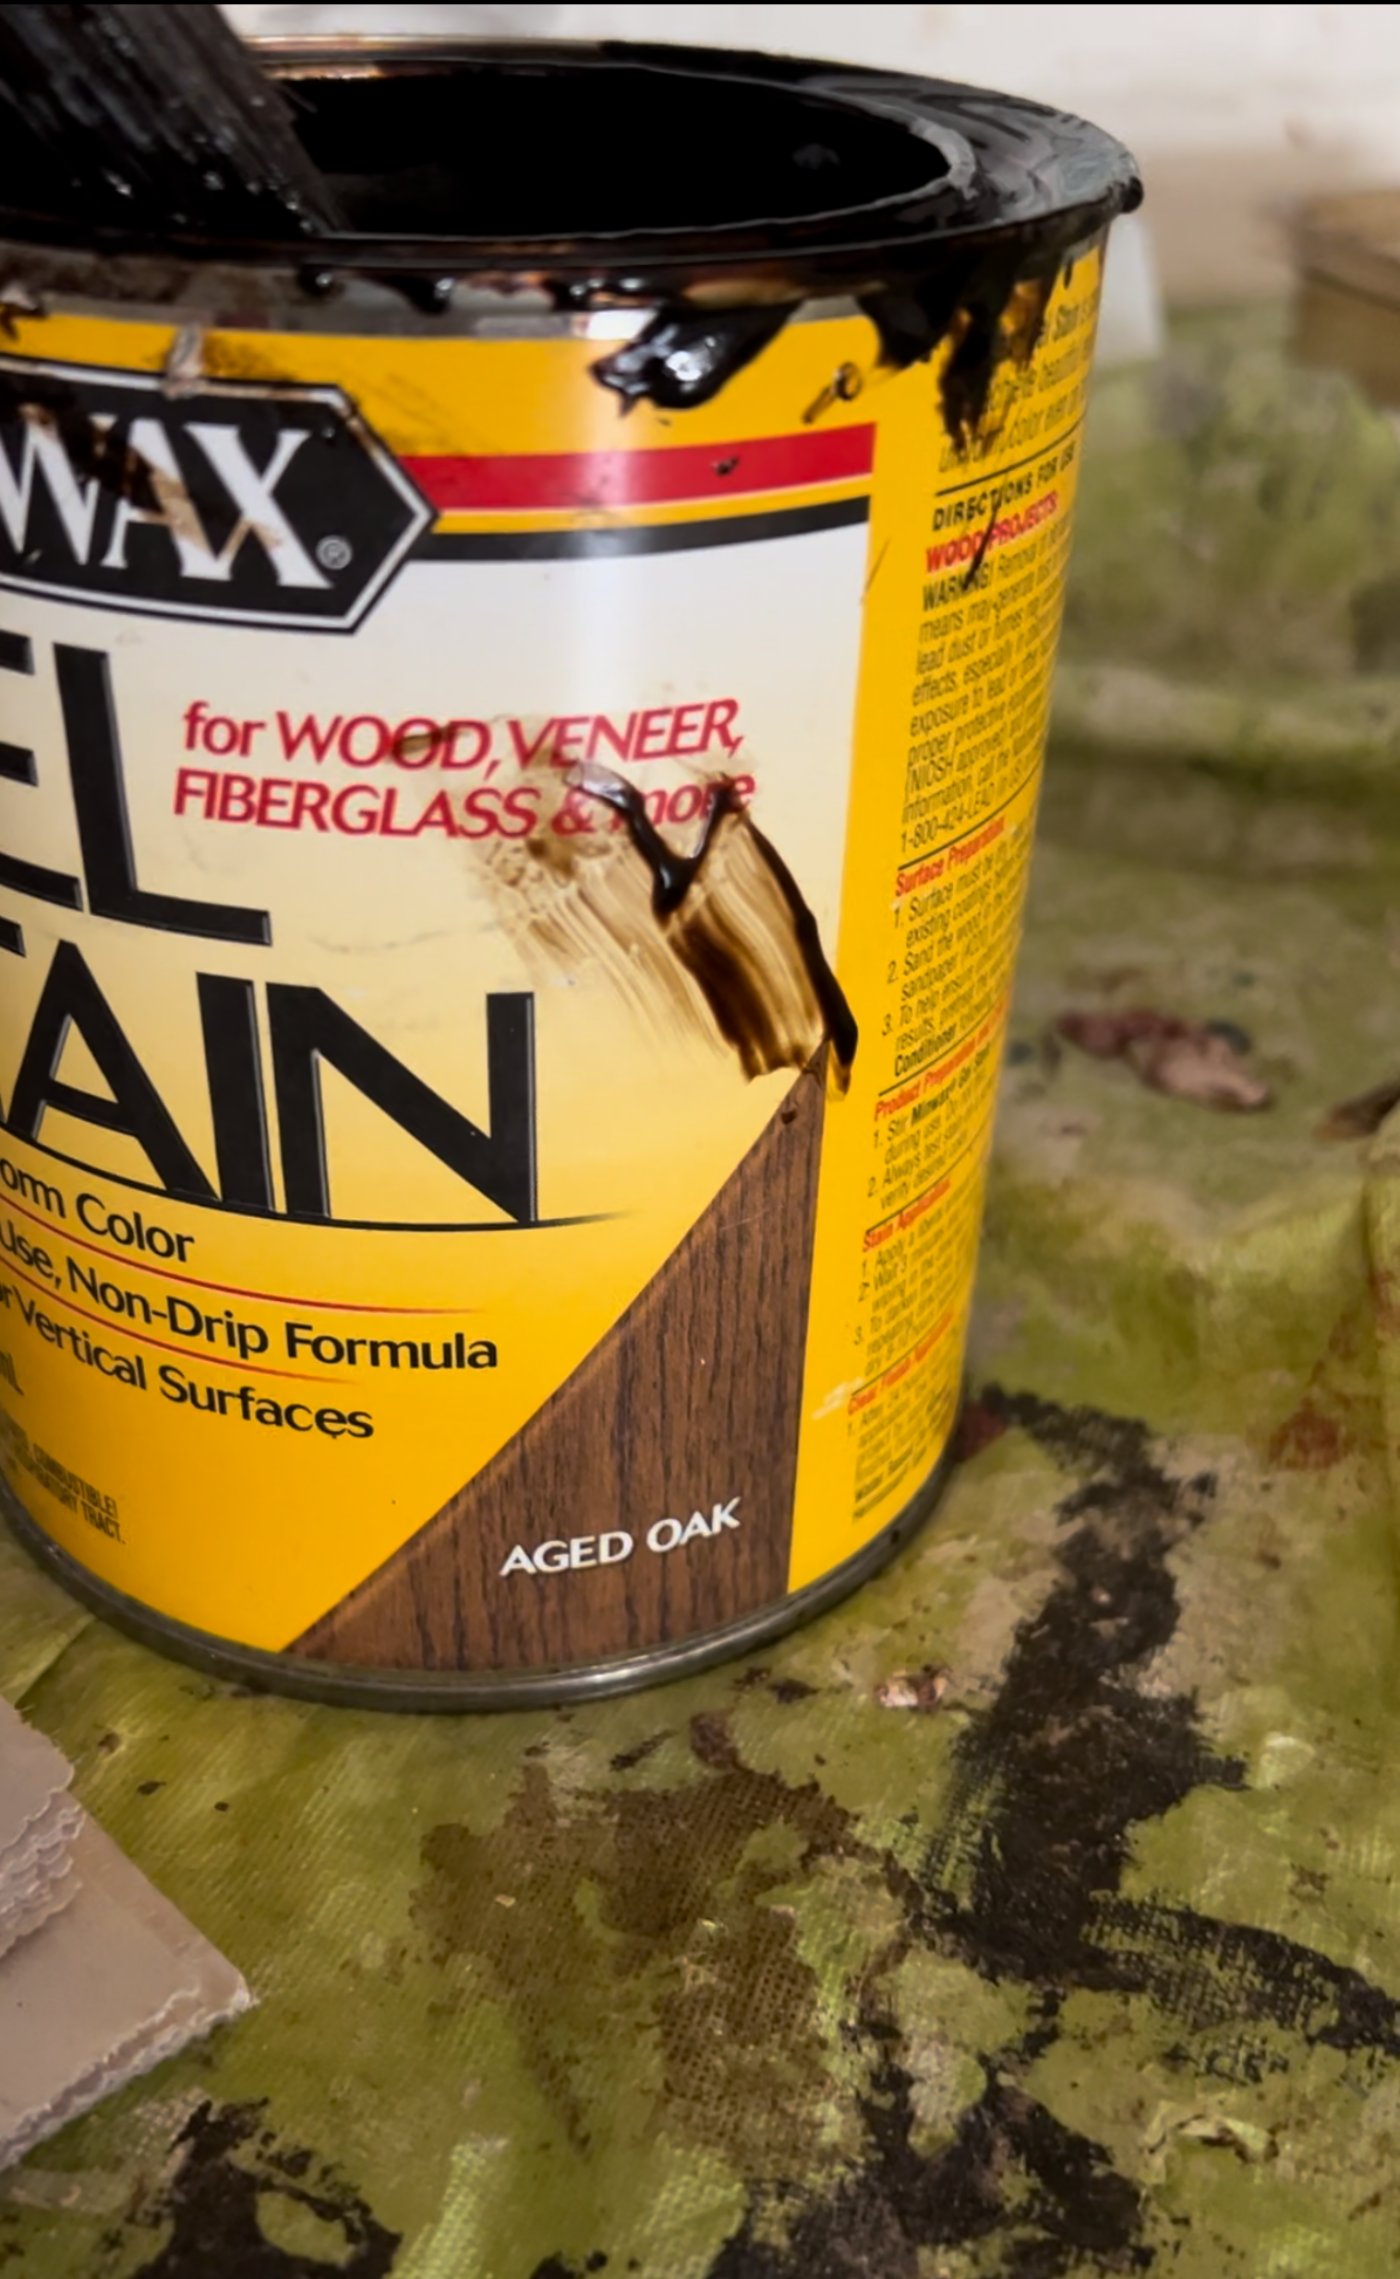
The Gel Stain that I used is from Minwax and the color is named, Aged Oak. I applied the gel stain to the block using a cheap paintbrush. I just brushed on the gel stain and let it dry. I do not wipe away the gel stain. *Very Important – Always wear rubber gloves when working with gel stain.
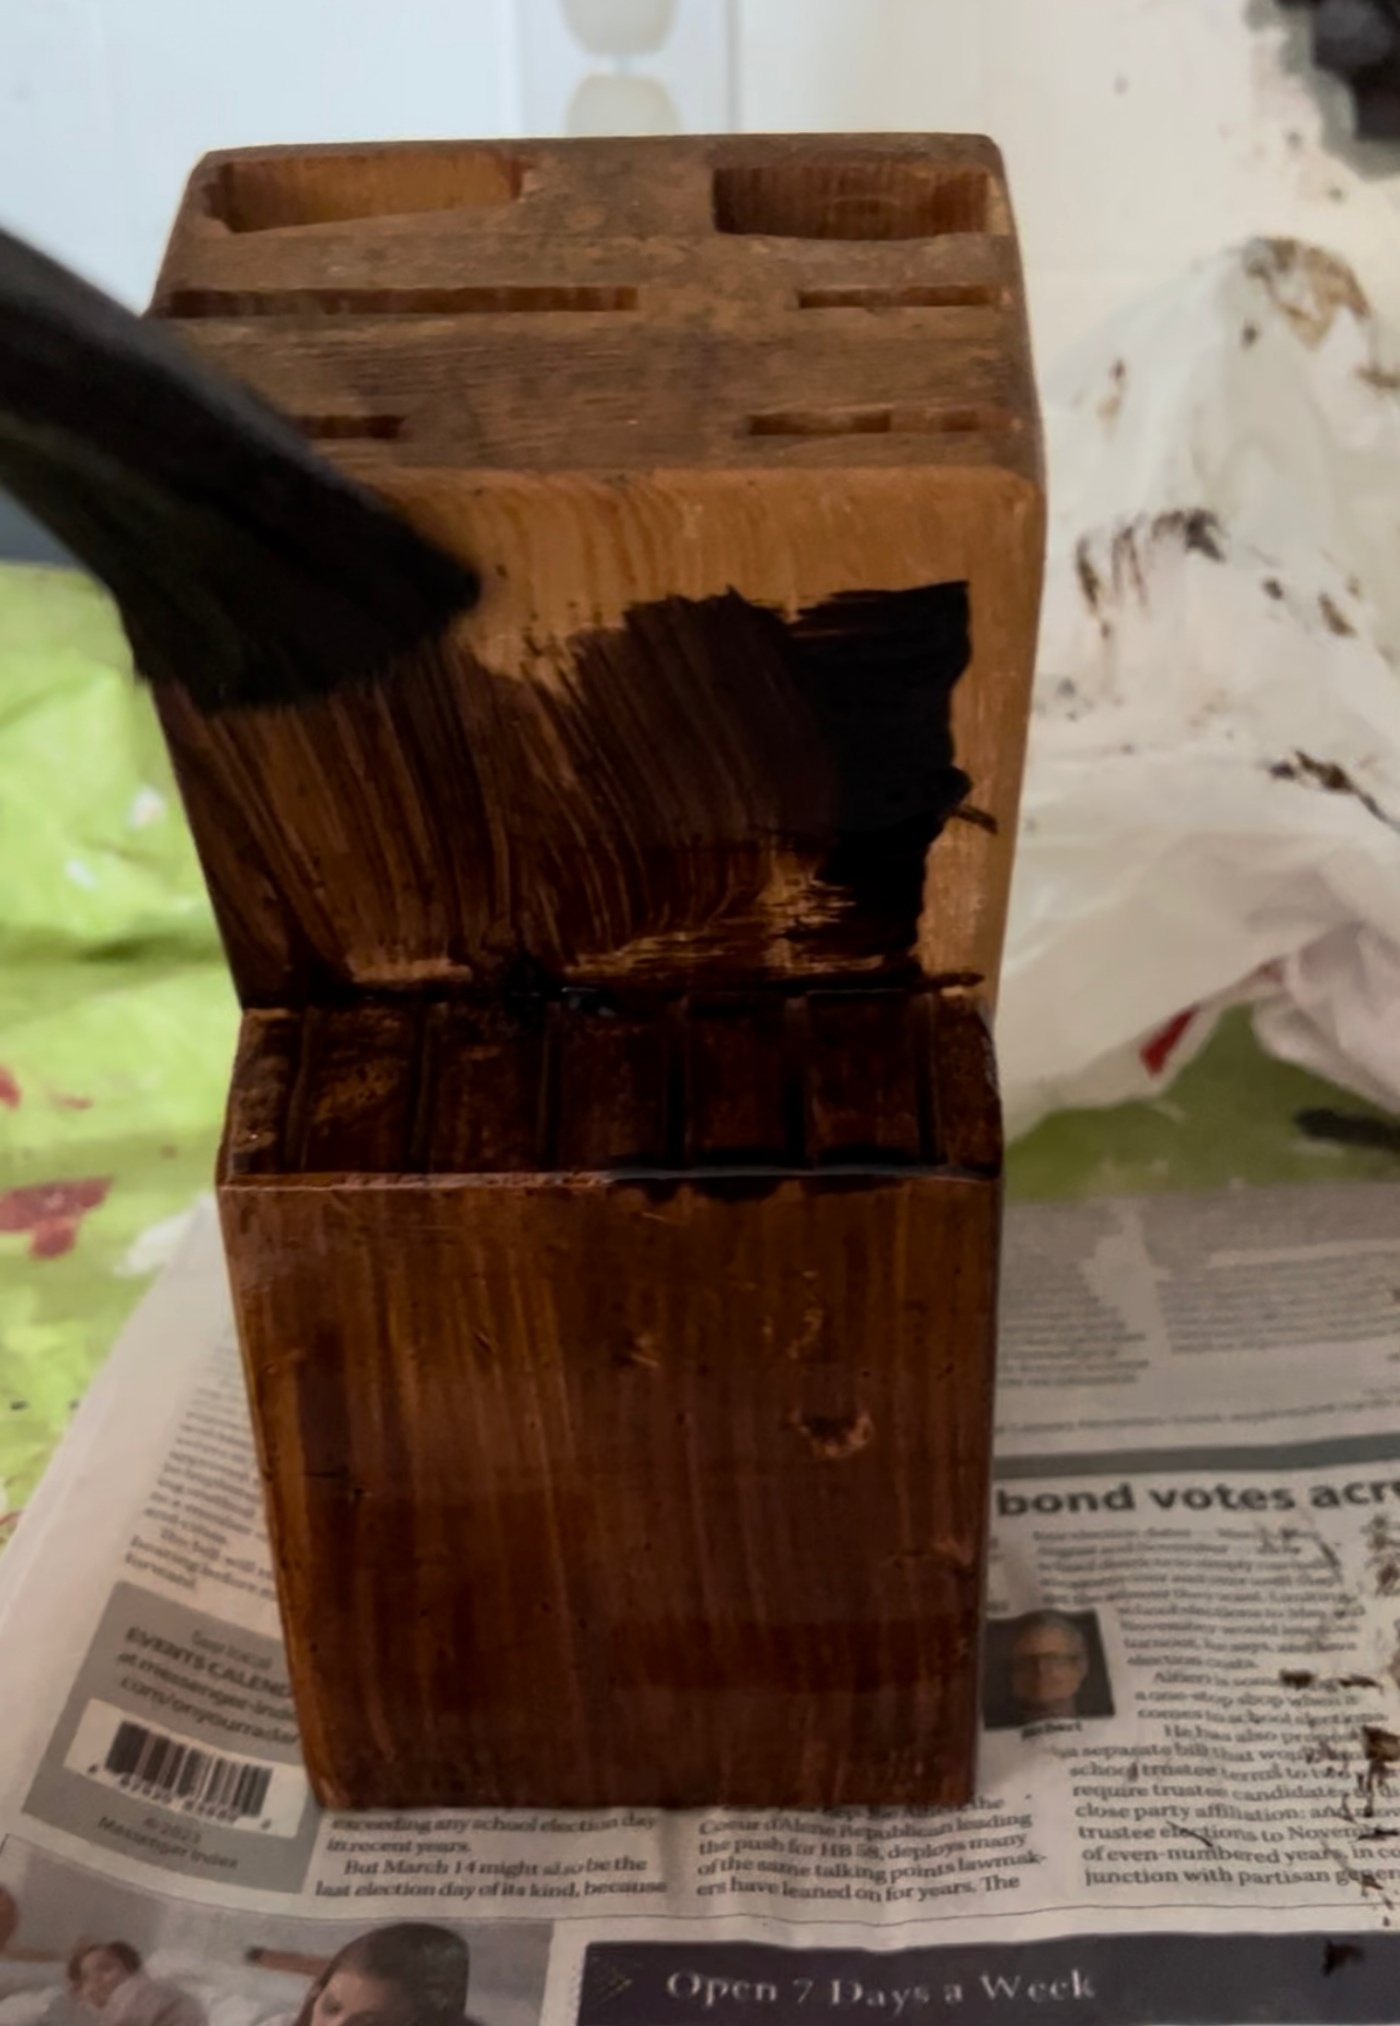
I gave this block 2 heavy coats of the gel stain, letting it dry 24 hours in between applications.
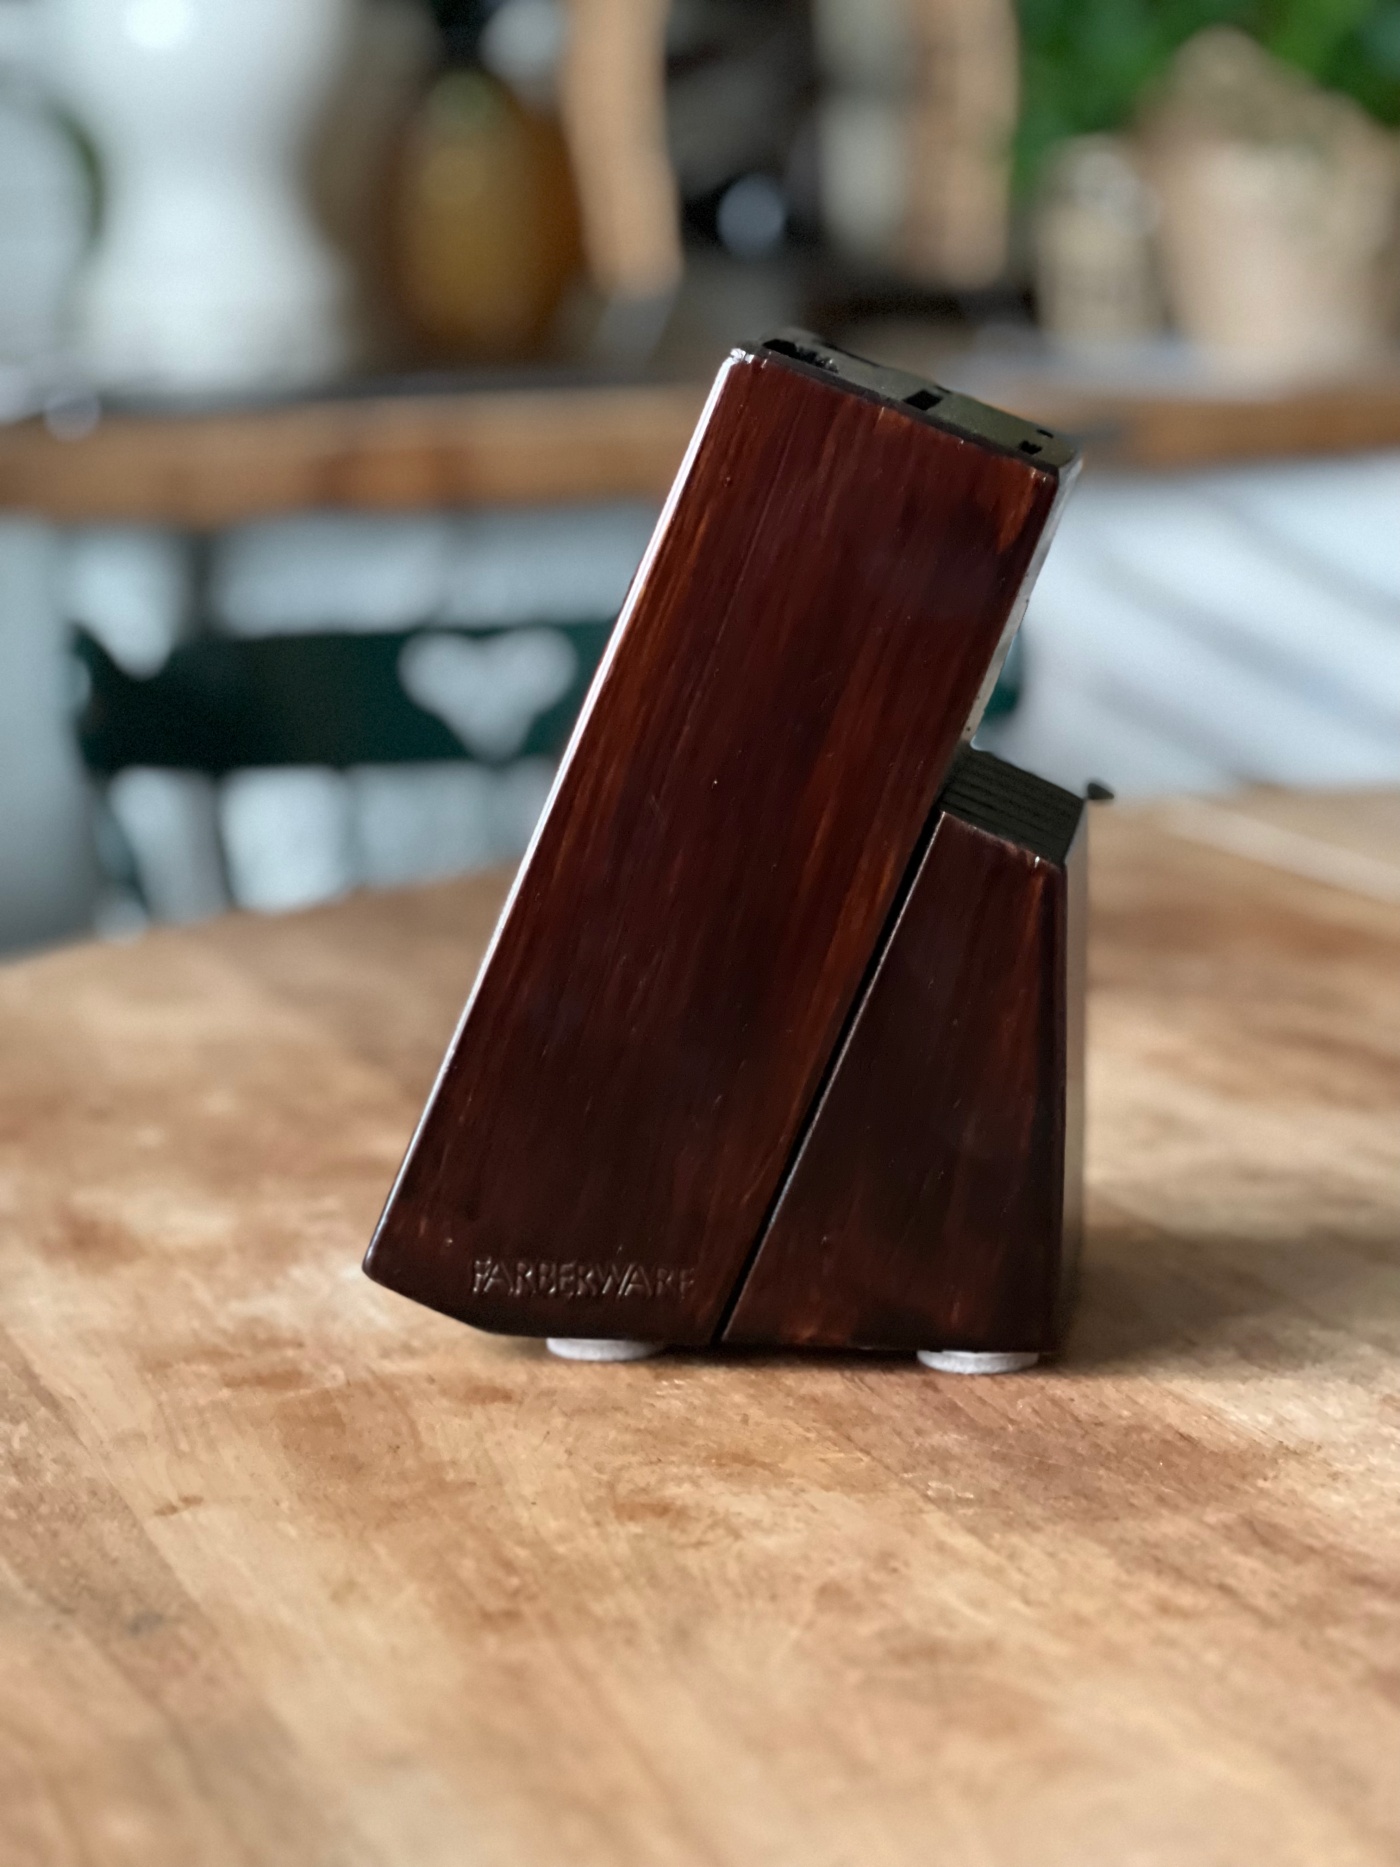
Once it dried, I added felt pads to the bottom of the block. I added the felt pads because it originally had some on it but those ones were gross and dirty so I removed them. I didn’t realize that the felt pads that I added were noticeable until I took pictures of it. So I’ll be switching the felt pads out for smaller ones another day.
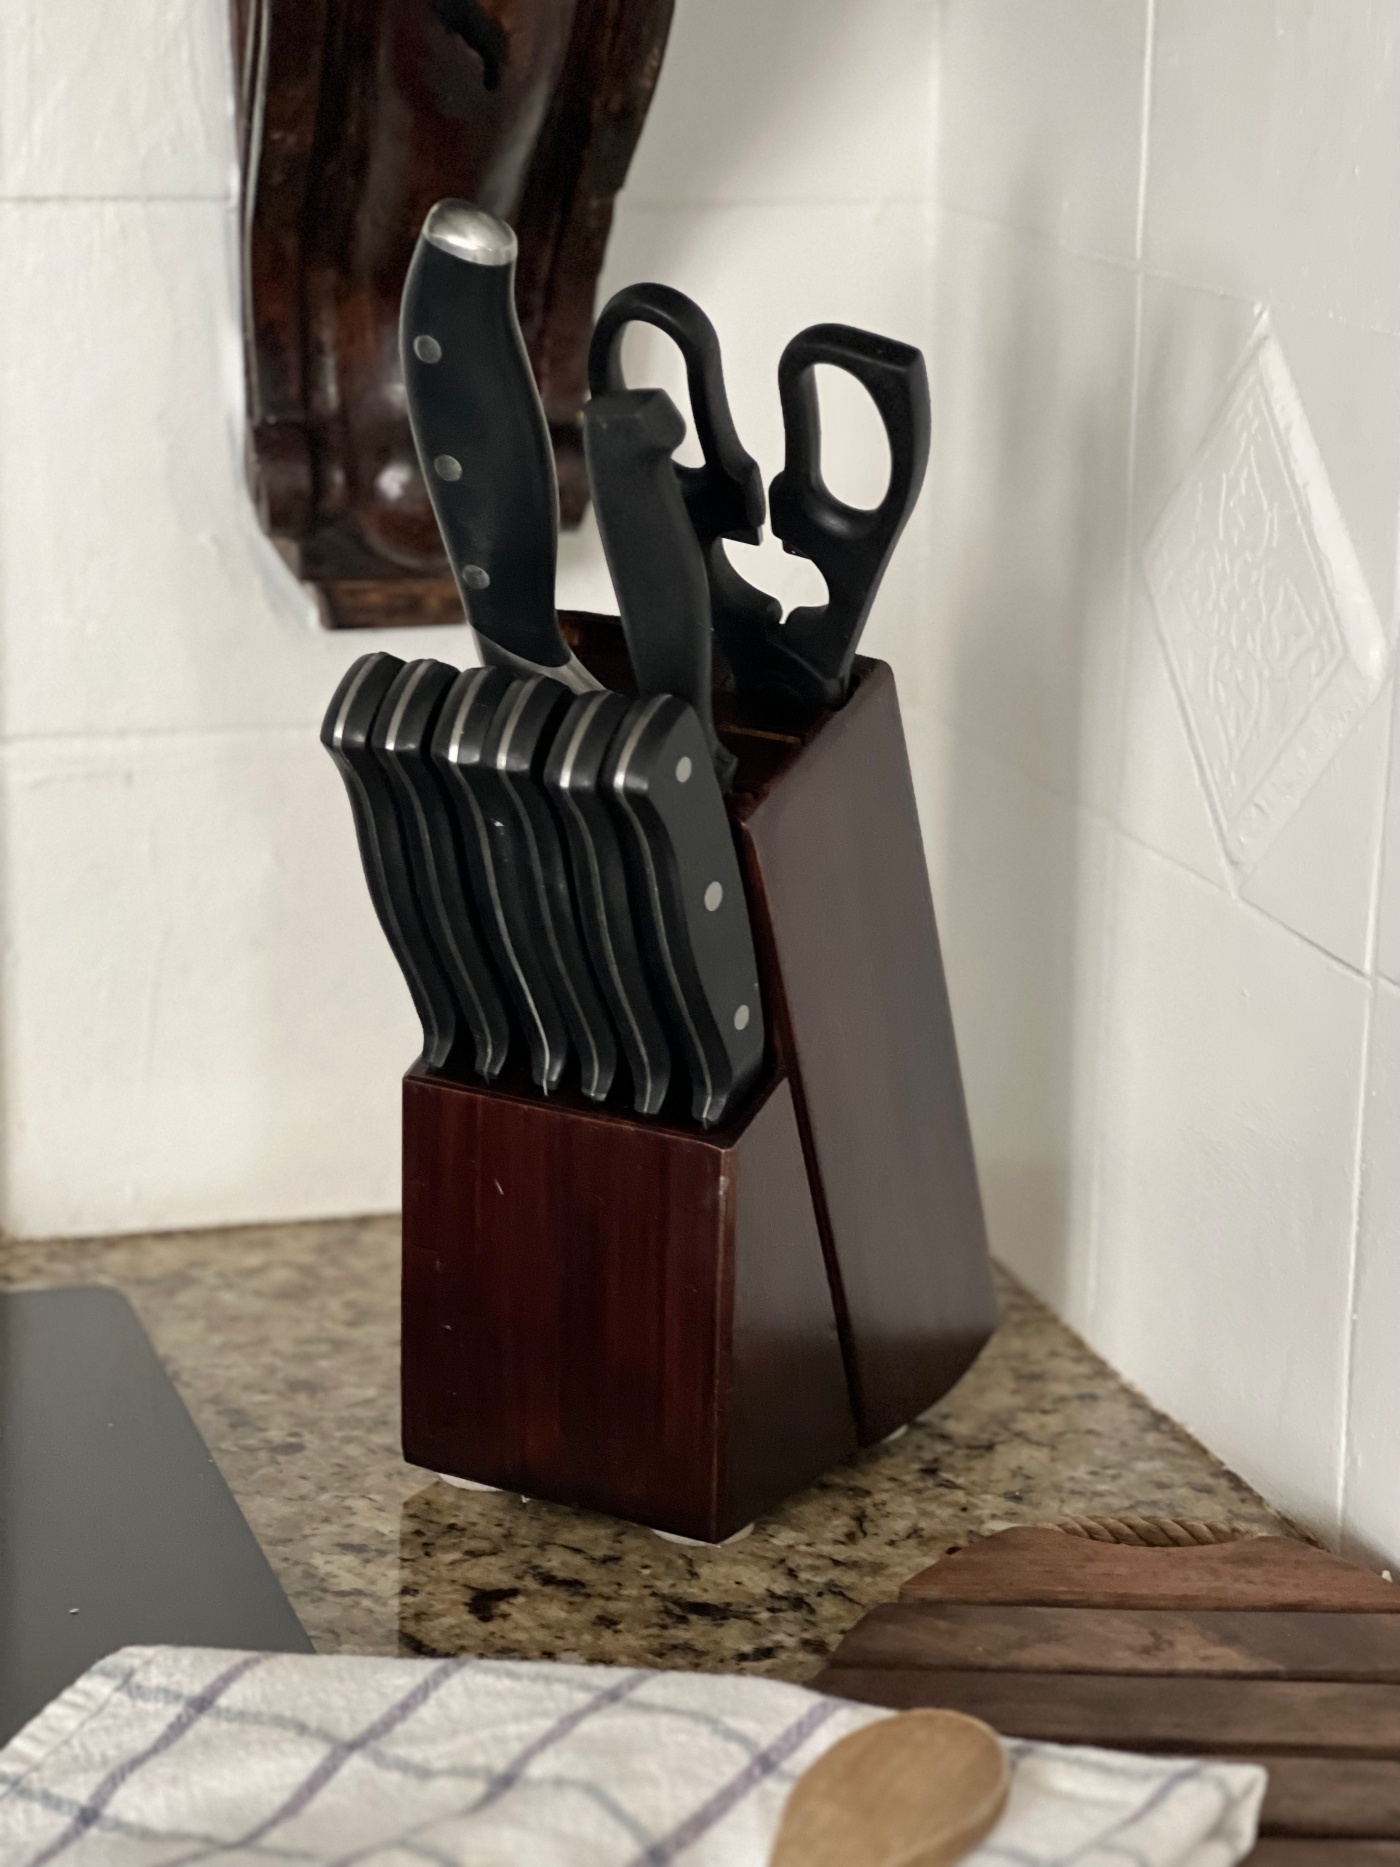
But other than the pads, I really like how it turned out. The dark wood color now blends in with the stove mount perfectly.
So what do you think? If you have an old knife block that could use a makeover then I suggest you give this little DIY a try or PIN IT for later.

Products needed for this Project:
*These are affiliated links which means that I receive a small commission for purchases made through these links.
Any Questions or Comments?
Please let me know below or email them to me at thewickerhouse@yahoo.com or come find me on Facebook and/or Instagram
And remember, you are welcome to PIN any of the Images from my blog on PINTEREST. Find a Pin It button by hovering over any of the pictures.
Thanks for stopping by,
Emily

