
I’ve had my new Kitchen Cabinets painted for a while now, but I’m just now getting around to blogging about them.
I absolutely Love the way they turned out.
So as you may remember, before my cabinets were a dark cream color with brown stained creases.
They were pretty and I even considered keeping them,
but since I’m going for a light and airy feel in my home I decided to go ahead and paint them white.
Before:
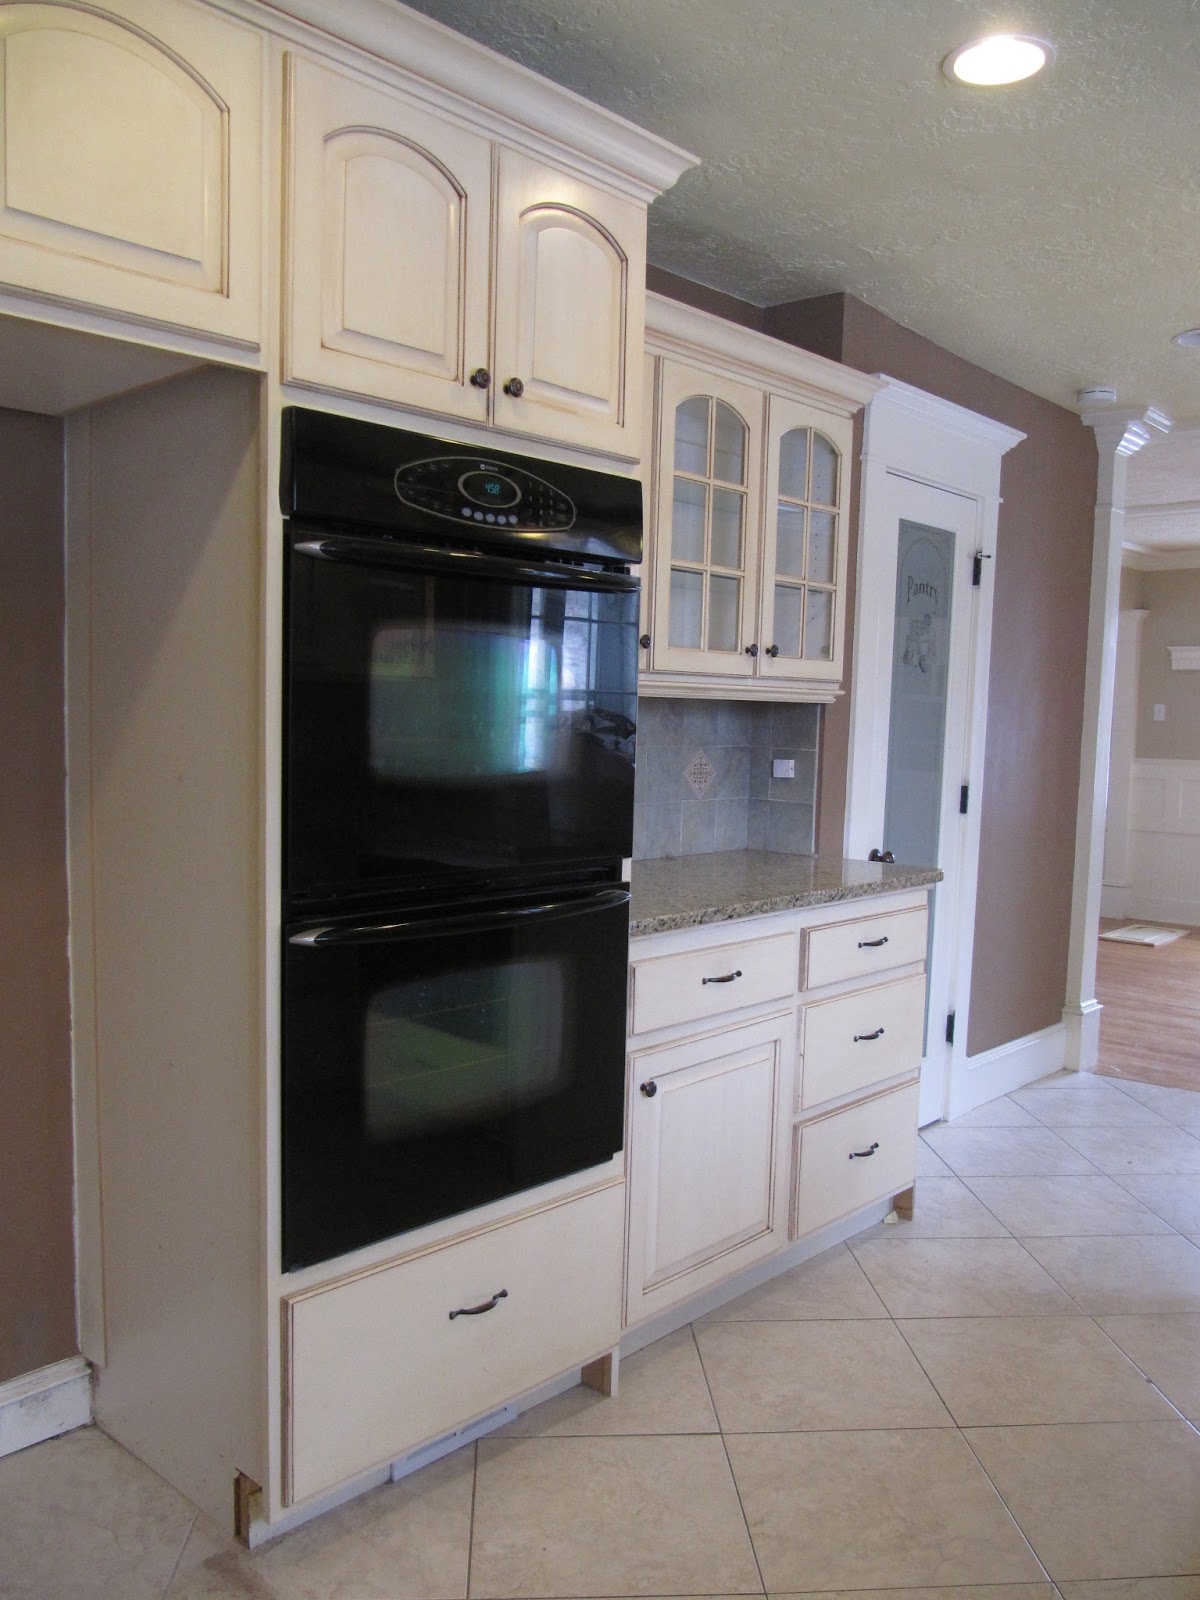
I’m also in the process of painting the walls. Switching out that dark brown for a lighter color will definitely lighten up the space.

So here is how I painted my Kitchen Cabinets:
*The first thing I did was give them a quick wipe down with a wet dishcloth.
*Then I removed all of the handles.
*After that I removed all of the doors, hinges, and drawers.
*I then gave everything a super duper good sanding with my electric hand sander ( This step is really important, don’t skip it. If you don’t have a hand sander, get one. I love mine and use it All the time). I also did most of the sanding outside because it will get dust everywhere.
So after every thing is all sanded, make sure to wipe down all of the cabinets again really good.
* In my front room, I laid down a large piece of plastic sheeting and then laid out all of the doors and drawers. I did try to keep them in order so I knew where each one belong.

When choosing a paint color, I just matched the color of all of the trim work in my home (as seen above). In my home the color looks really white, but it’s actually more on the cream side.
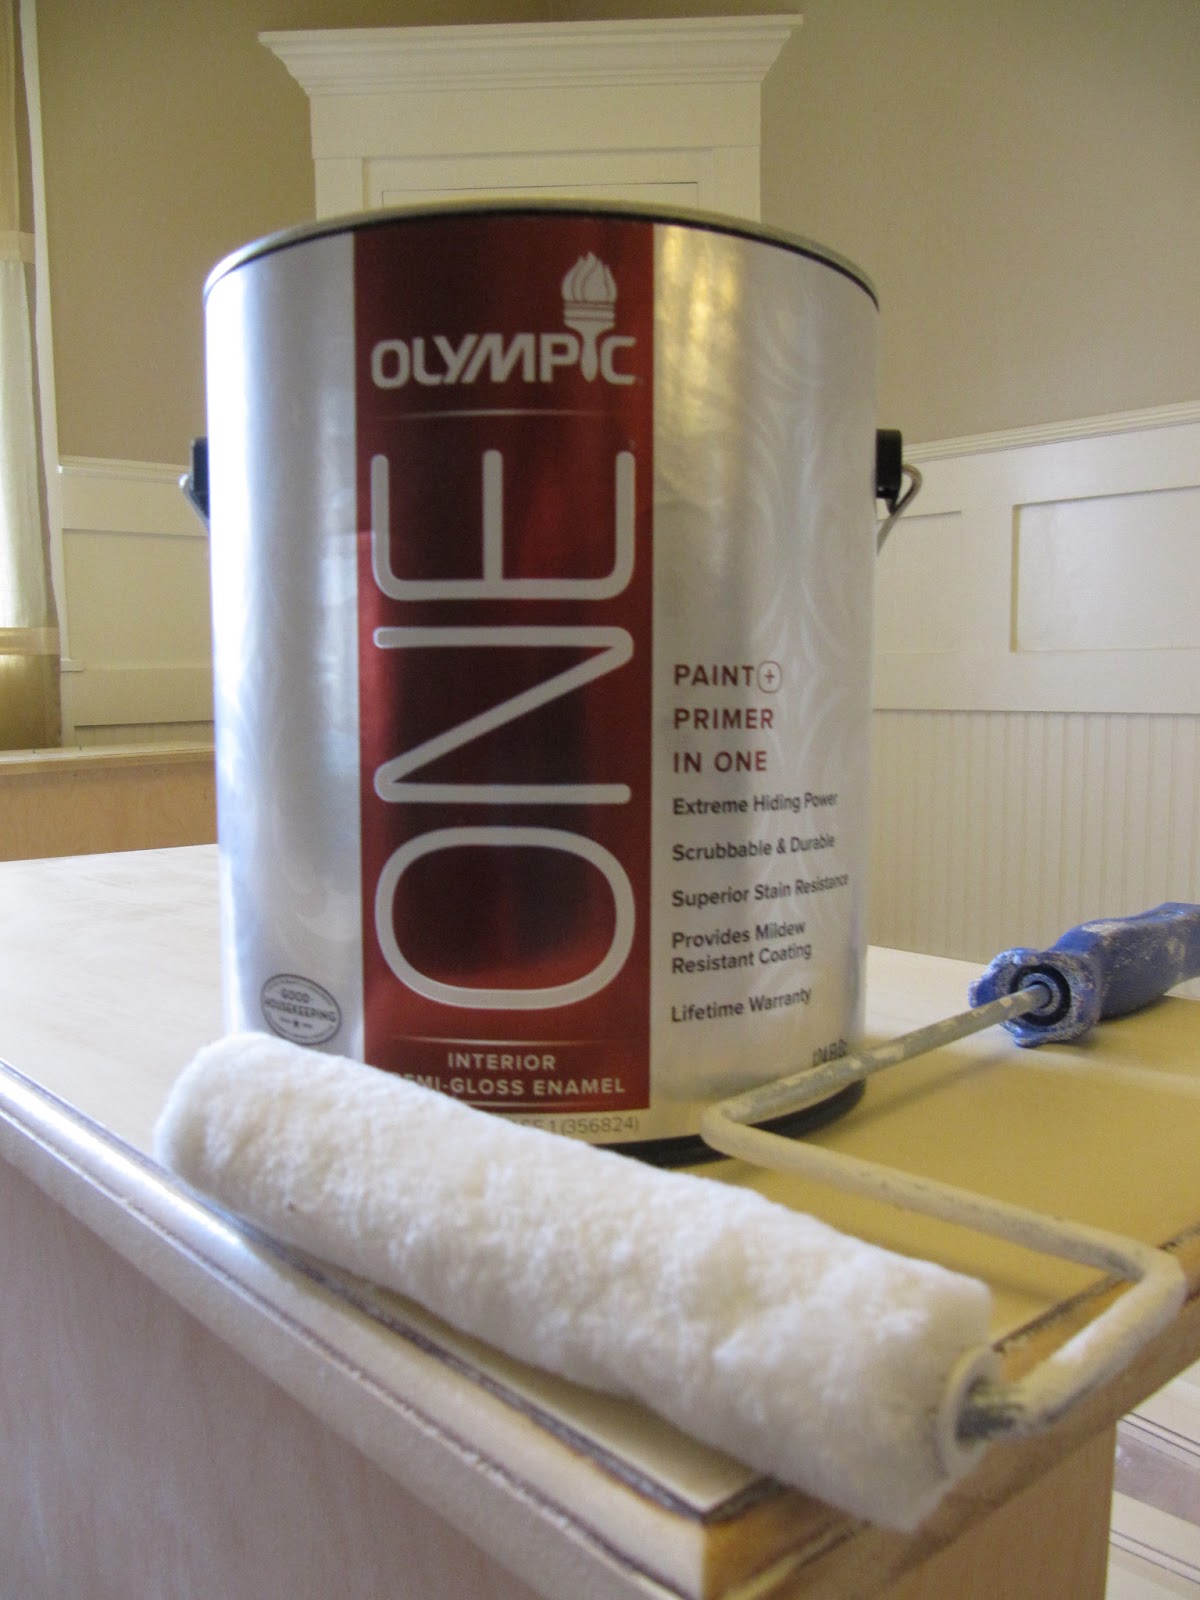
* I picked a paint that has a primer built in. I really like the Olympic brand from Lowe’s. I choose it in a Semi-gloss for easy cleaning.
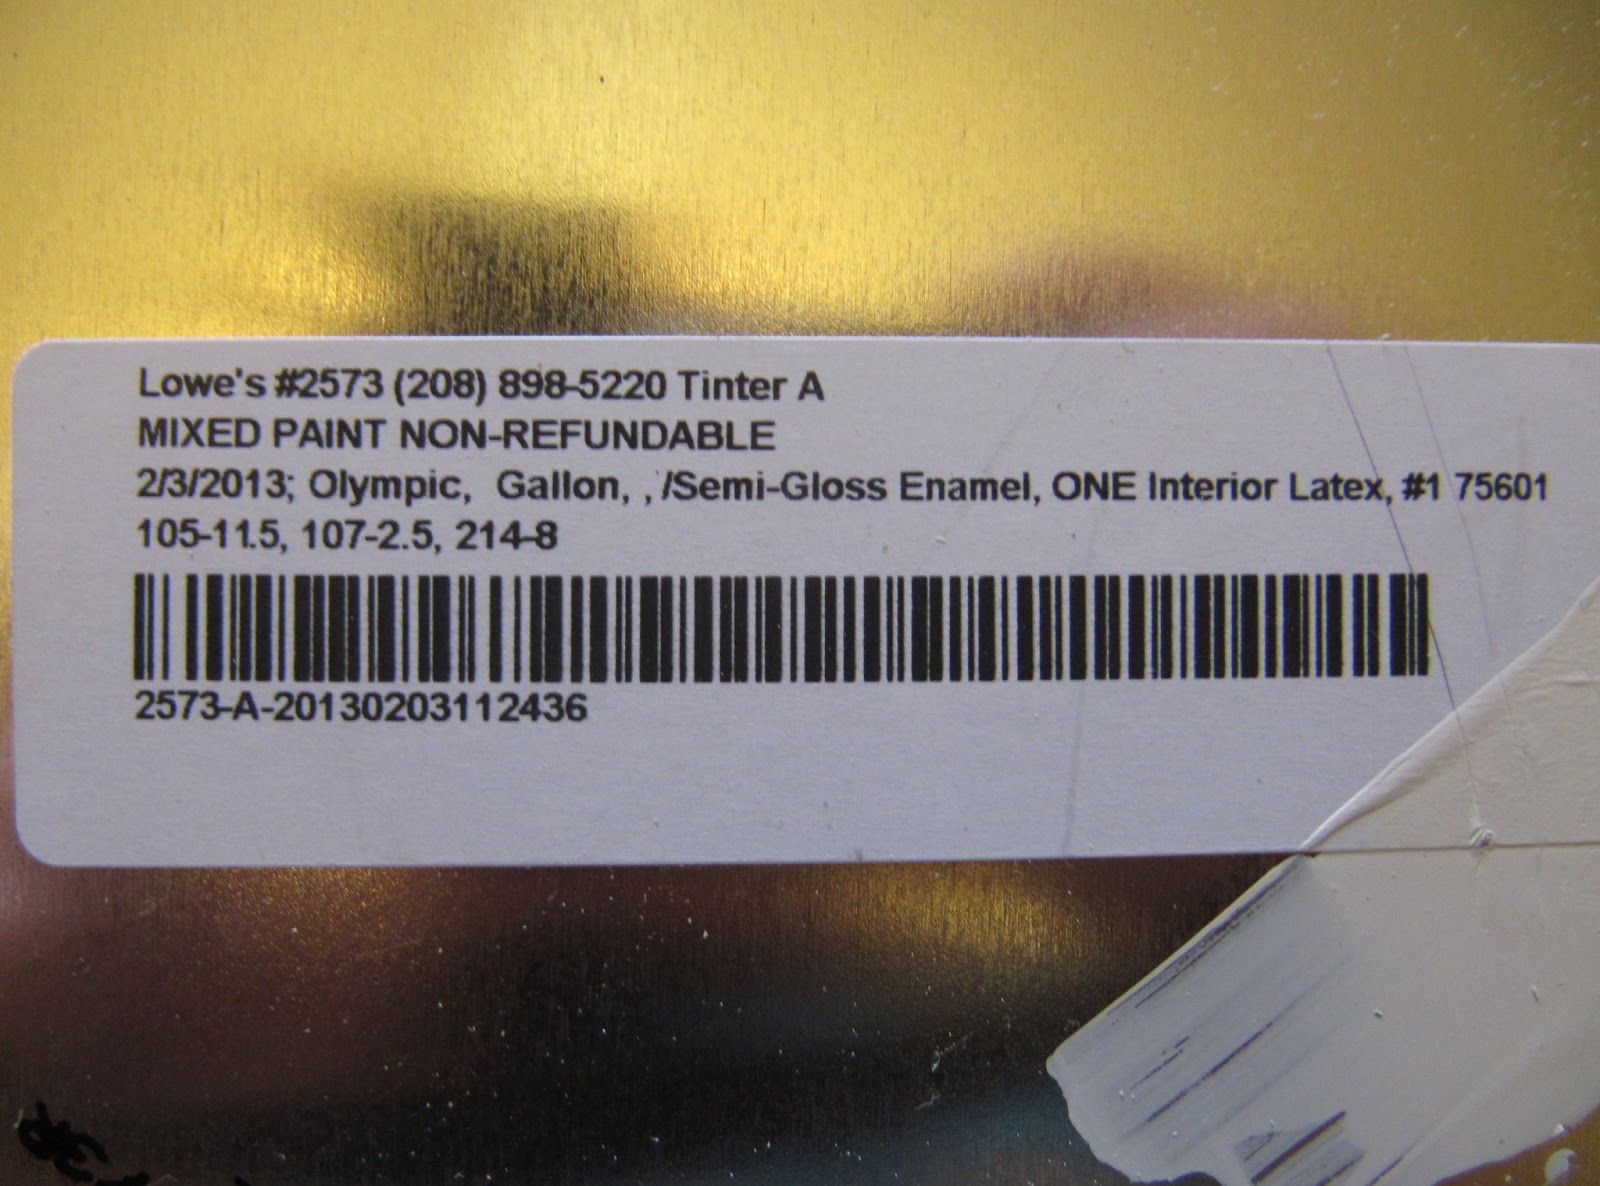
Since I don’t actually know the name of the paint color I choose, I thought I’d share the lid info for any of you who may be interested.
* I first painted all of the “indented part” and sides of the cupboard with my paint brush.
* Then with a small roller, I painted the rest.
On the drawers, I used a roller brush on the whole thing.
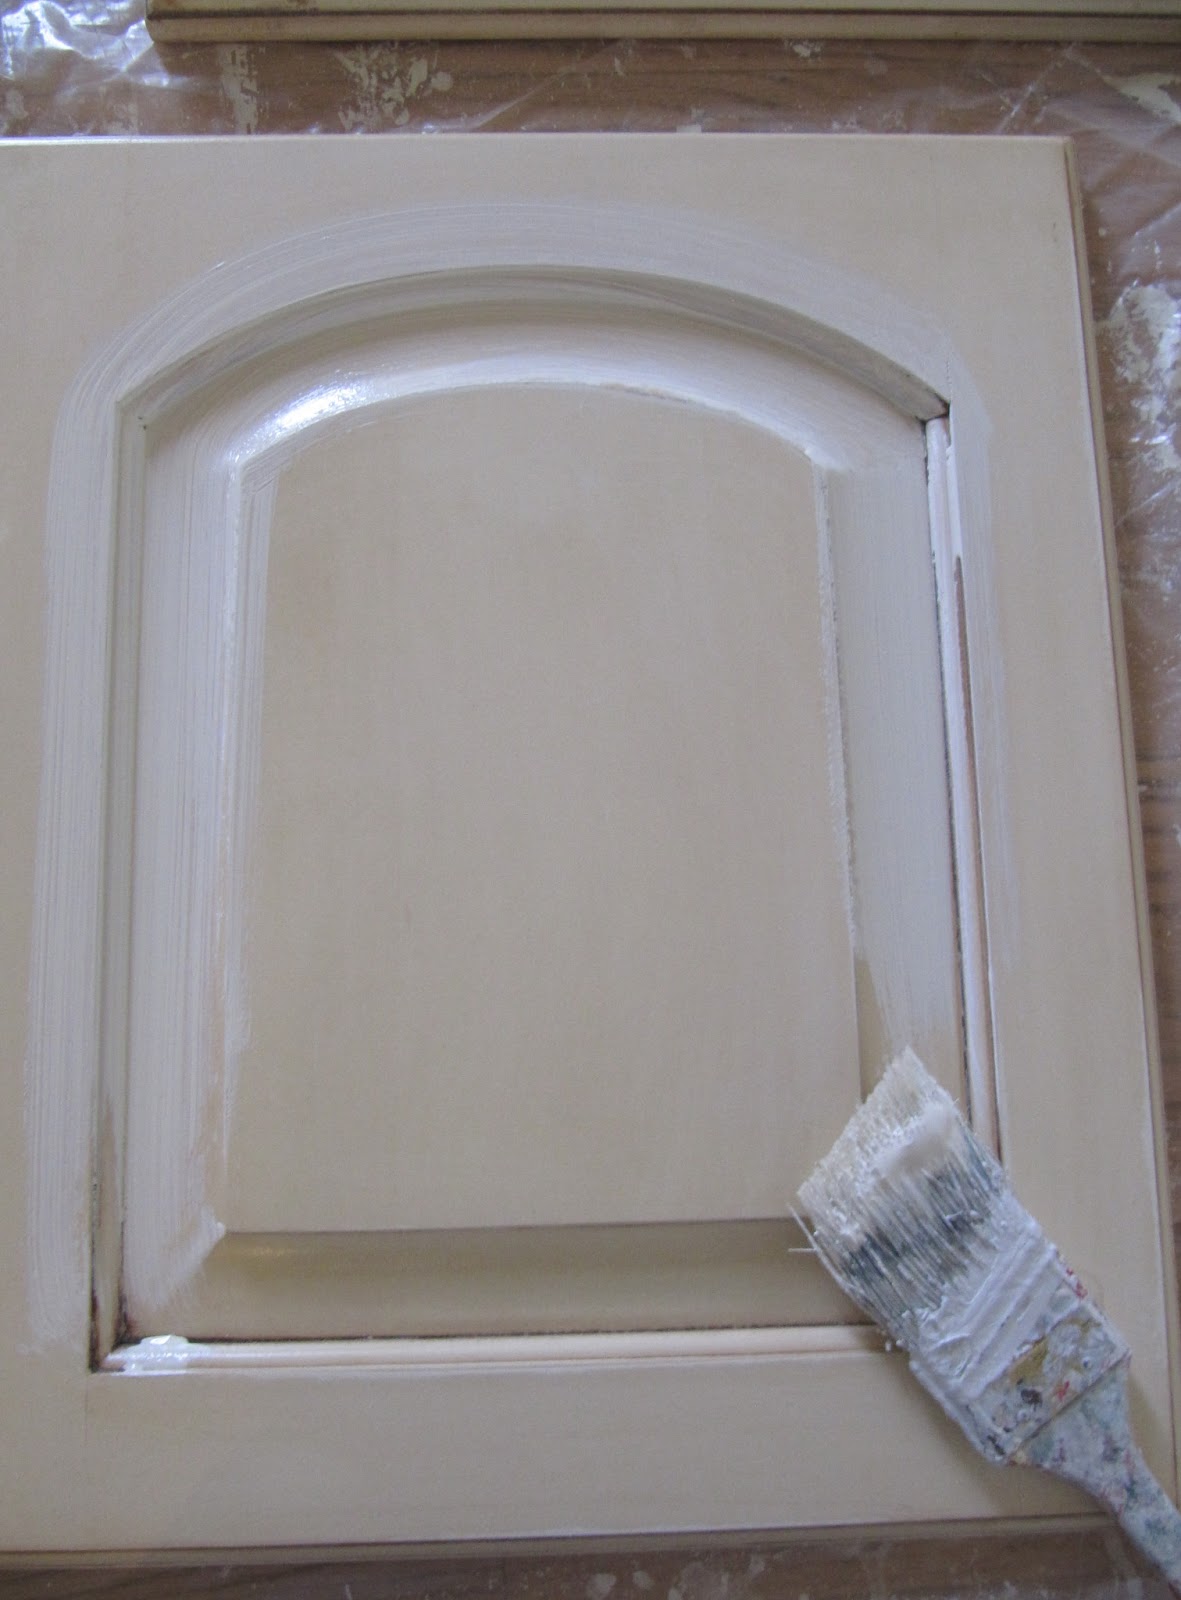
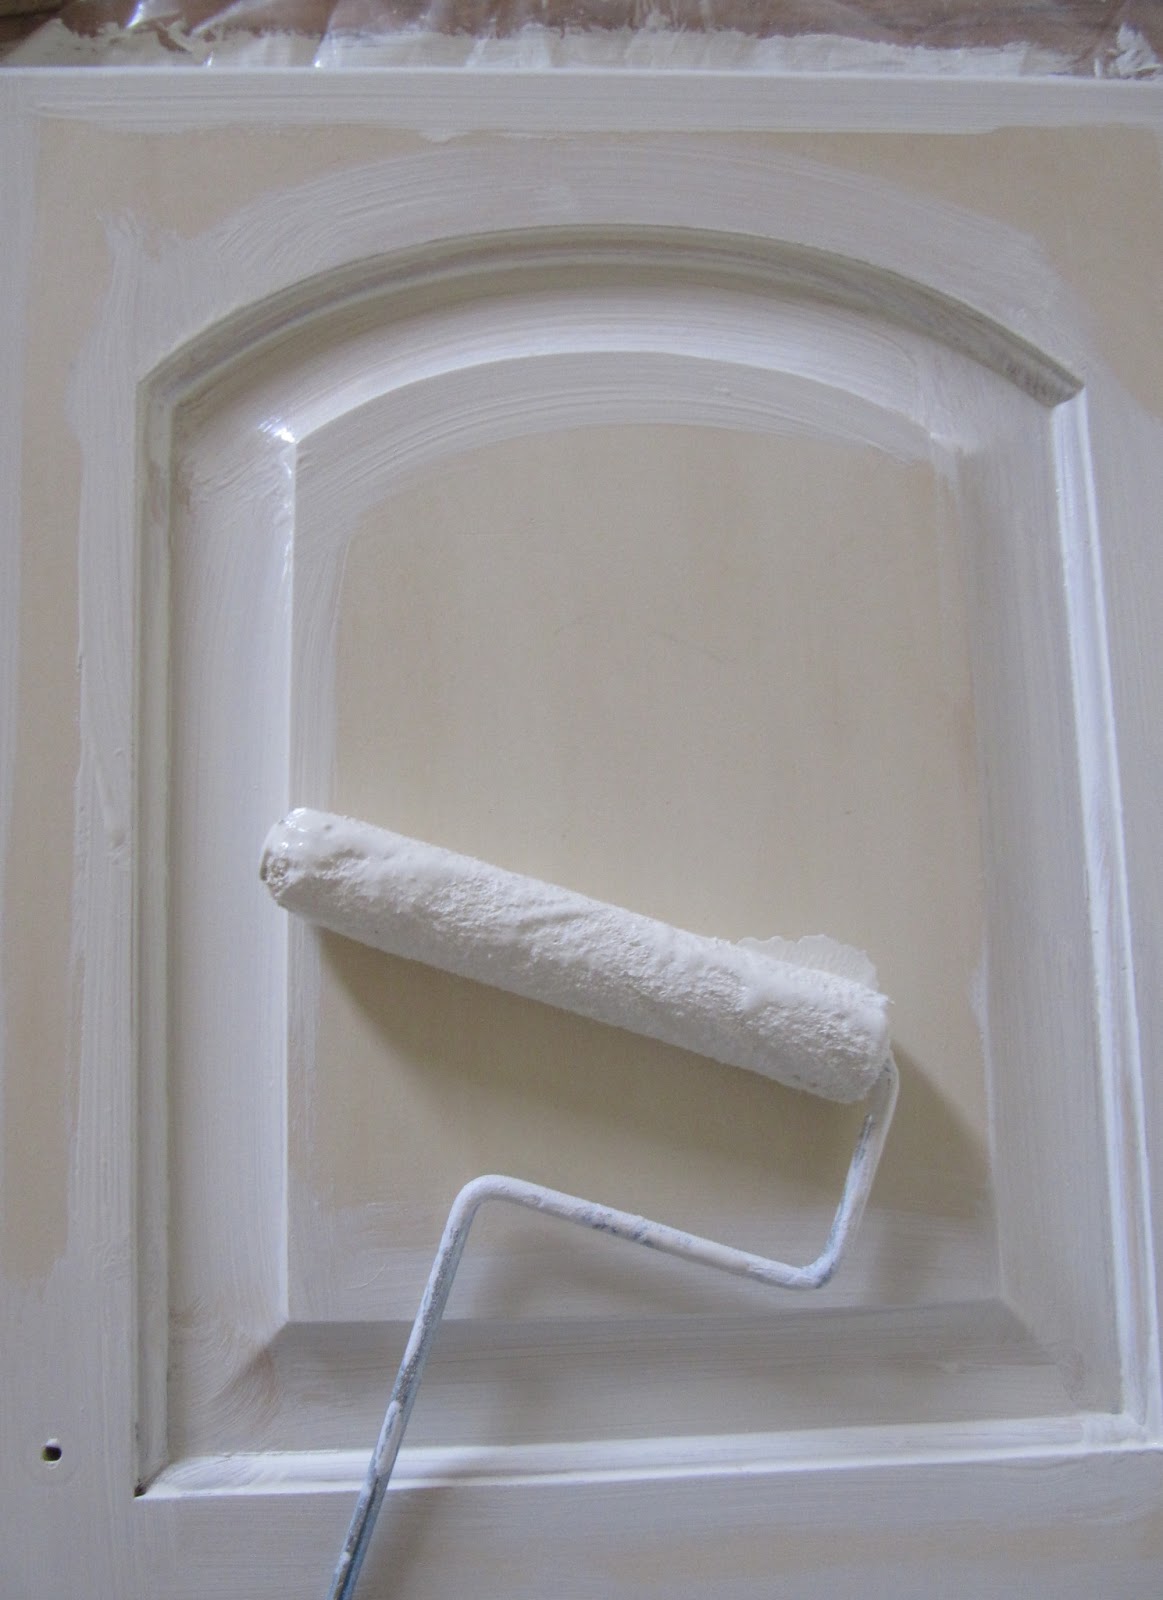
* I let them dry, turned them over, and then sanded all of the clumps that leaked through off and then painted the second side. Yes, you will have annoying clumps to sand off. It’s because the cupboards are laying on the floor. It happens.
* While the doors were drying, I moved on to all of the cabinet frames. I got lucky because the insides of my cupboards where already white, but if yours are not, you will want to paint all of the insides as well. You’ll be glad you did when you open up your cupboards.
* My cabinet frames, doors, and drawers all took 2 coats of paint and then a few touch ups here and there.
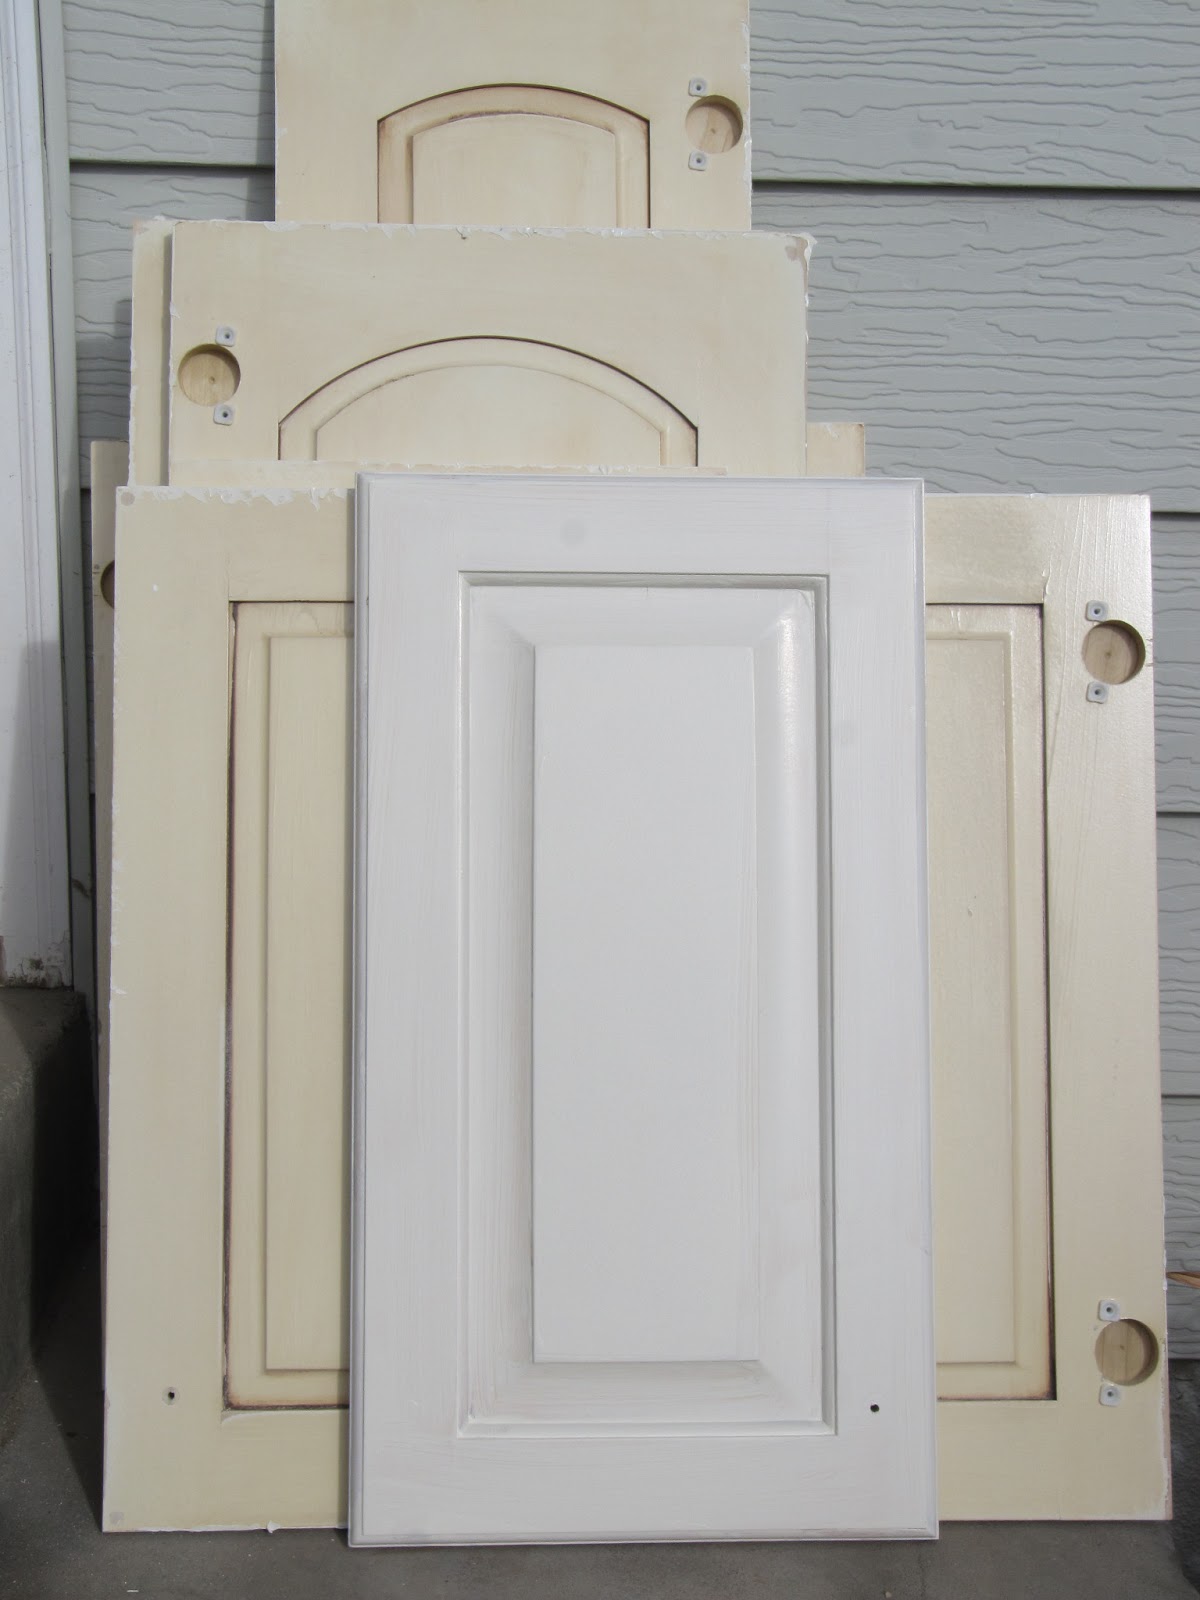
*Once they were all painted and dried, I hung them back up. And re- attached all of the handles.
Painting your kitchen cabinets is a big job, but Oh so worth it.
So again, Here were my cabinets
before:
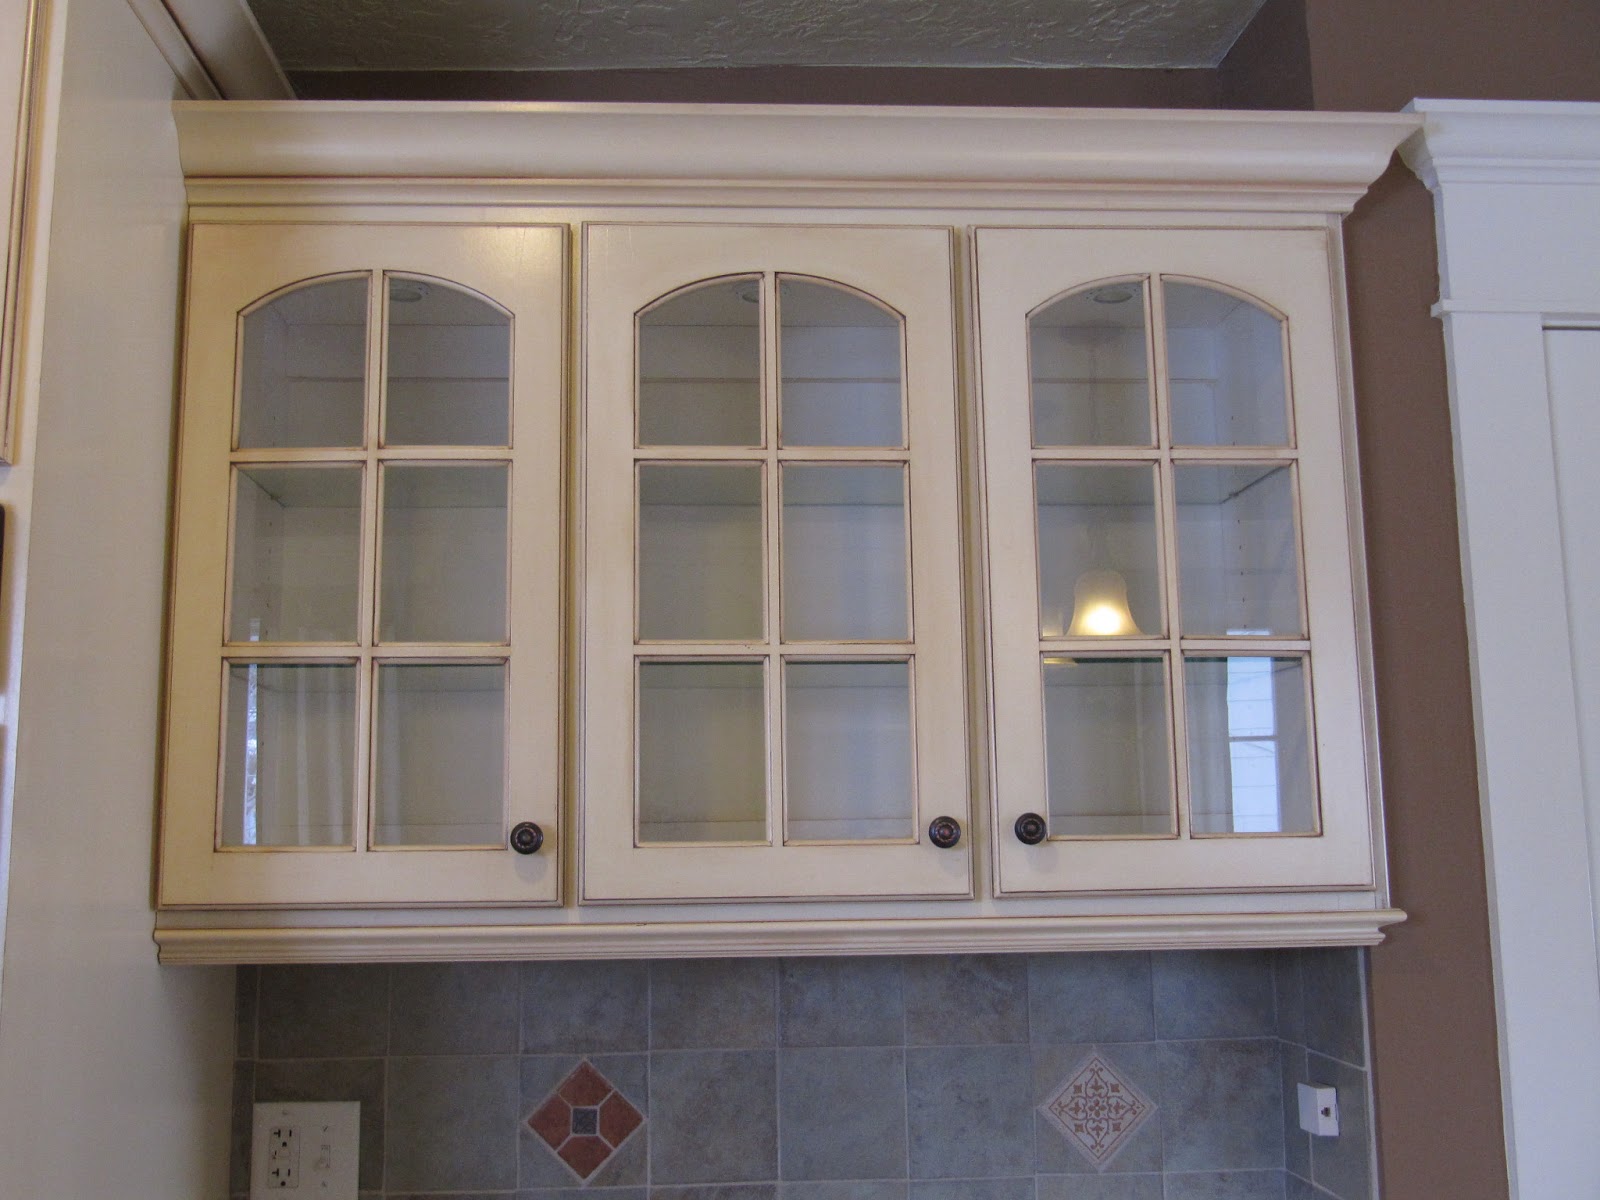
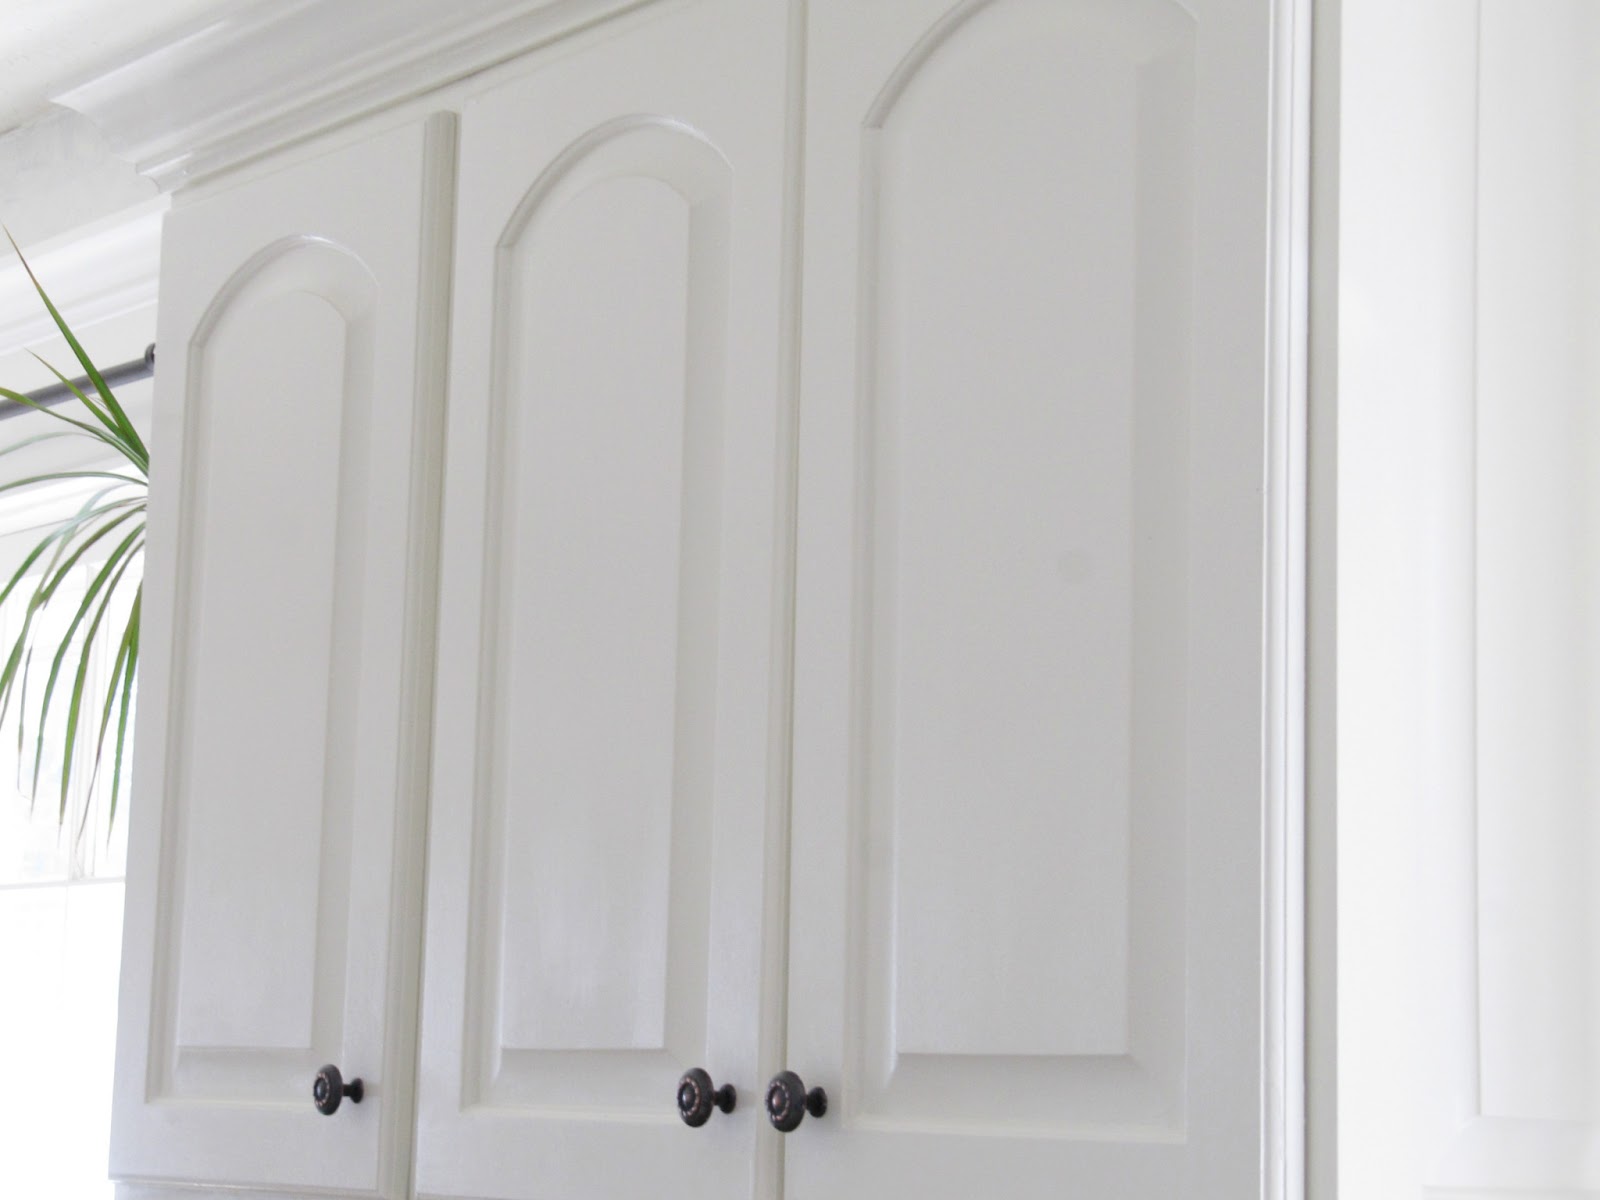
And here they are
After:


I’m very pleased with them.
Ok now off to paint the walls. I’m so excited to see how they turn out.
I’ll be sure to share that with you next time.
Thanks for stopping by,
Emily

