Wow, that title is a mouthful, but there are a few things that I want to cover in this blog post today. If you’re here to learn about the stain then read through, if you are here to simply see more of this cute little space, then scroll on through towards the end.
*Disclaimer: This blog post contains Affiliated links which means that I earn a small commission for purchases made through these links.
Years ago I blogged about this picnic table in our backyard. The picnic Table is from HERE and it’s reasonably affordable. In THIS BLOG POST I shared How I gave the picnic table a driftwood/weathered look using a couple of different Stains.
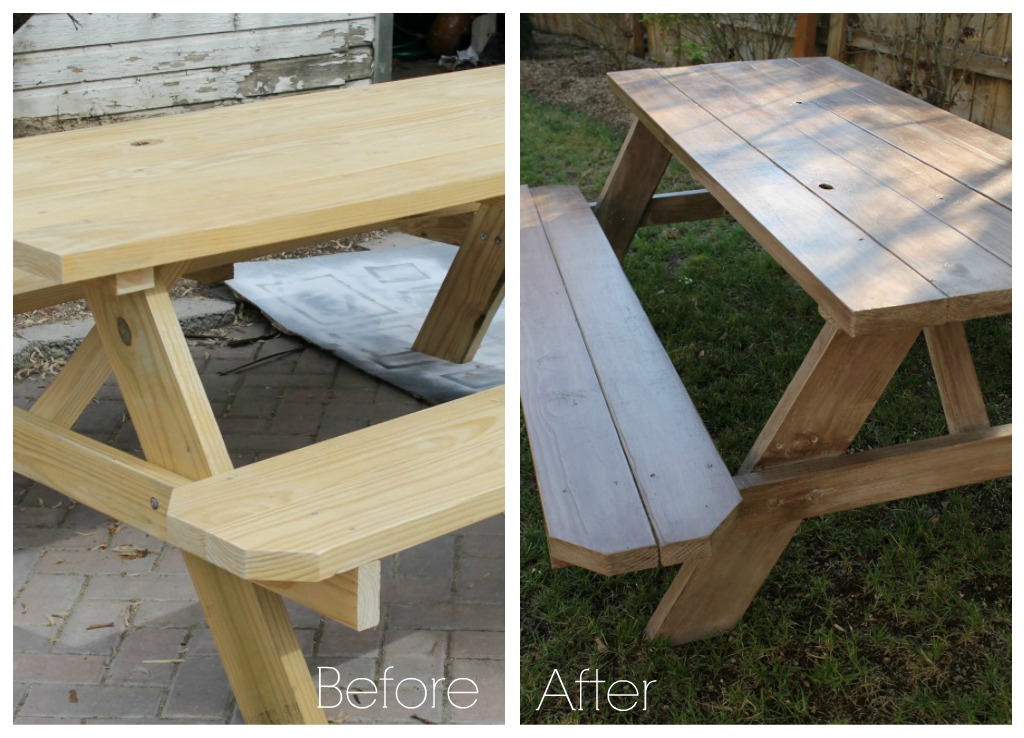
But like I said that was YEARS AGO! and so this table has seen a lot of wear and tear and sunshine and snow and rain over the years. Pictured below is how it was looking. It was needing another makeover and so I gave it one.

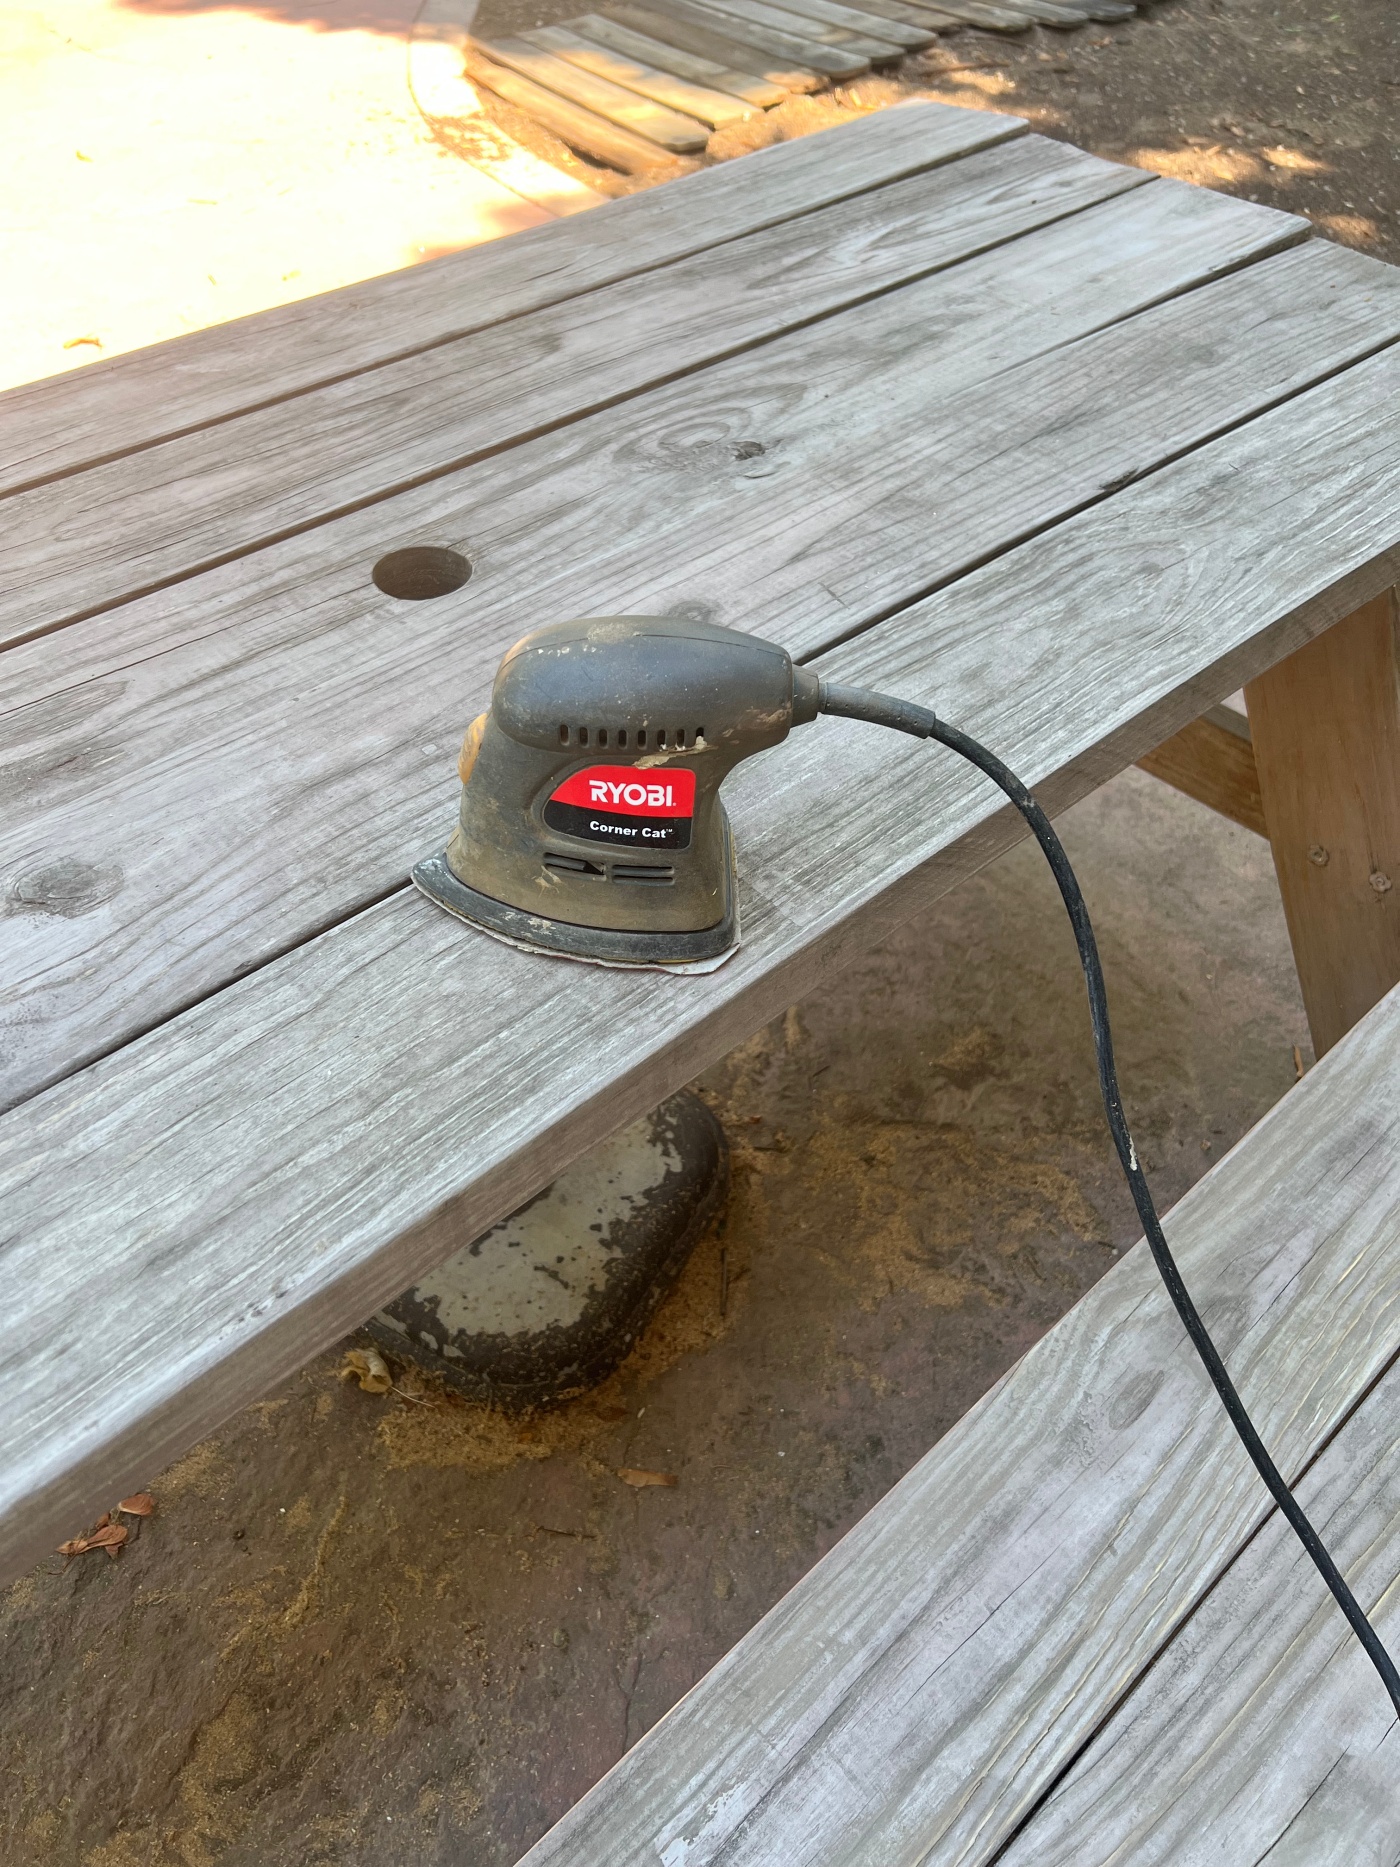
The first thing I did was sand it down with my handy little Corner Cat hand sander. If you don’t have a hand sander, you should get one. I use mine ALL the time! (THIS ONE seems to be a well liked options).
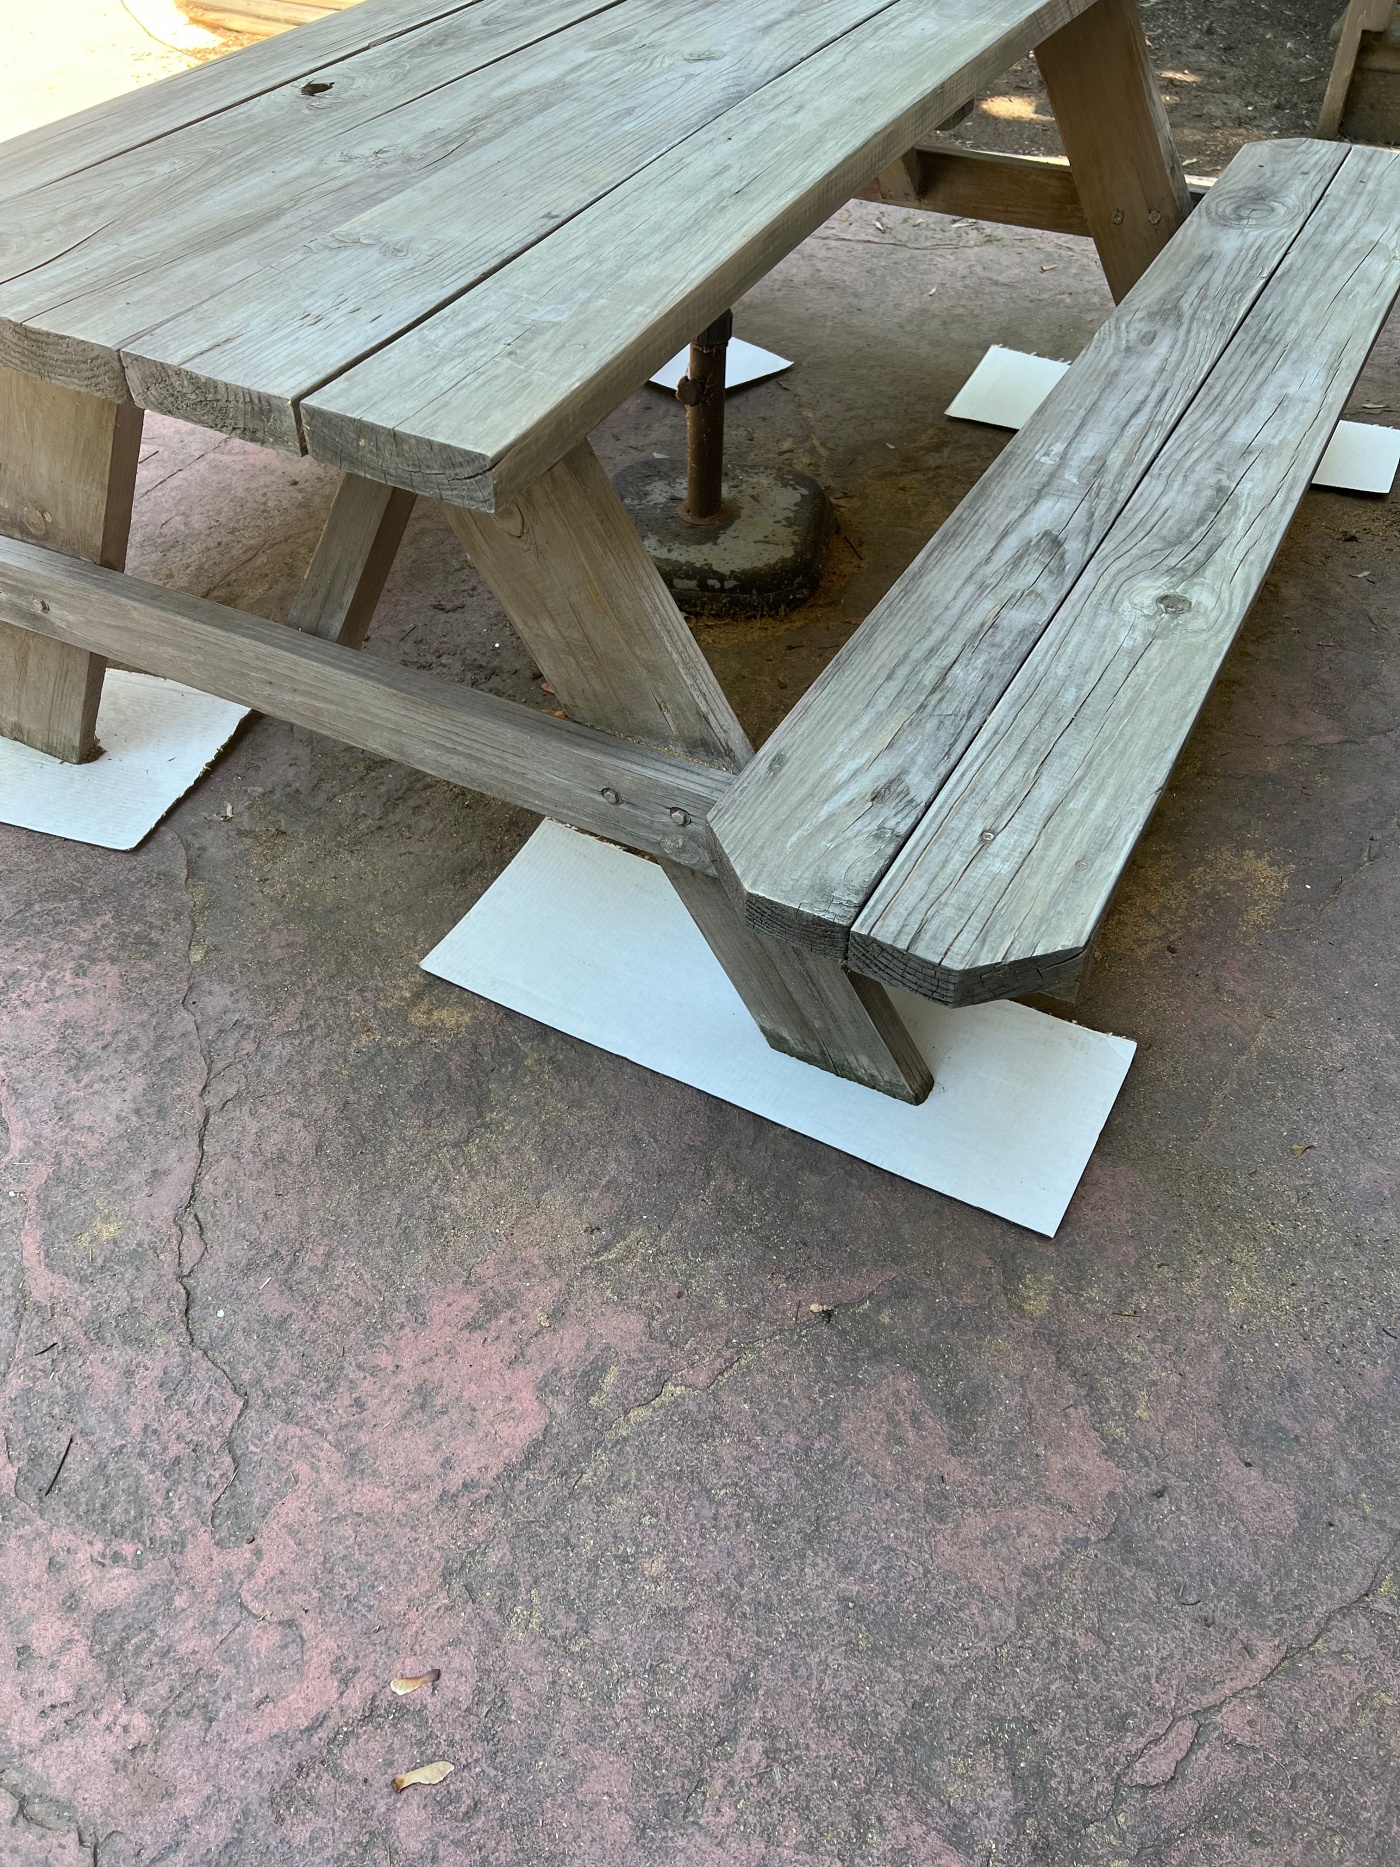
Next, I found some old cardboard in our garage to place under the picnic table’s legs. I always keep scraps of cardboard in our garage for projects like this or for when I need to spray paint something. The cardboard always comes in handy.
You Know I Love Gel Stain! I have used THIS GEL STAIN for so many projects around our home. My tip for Gel Stain is to mix it with a little bit of Mineral Spirits to liquify it more – which allows the gel stain to go on more smoothy. Otherwise, gel stain is thick and goes on heavy.
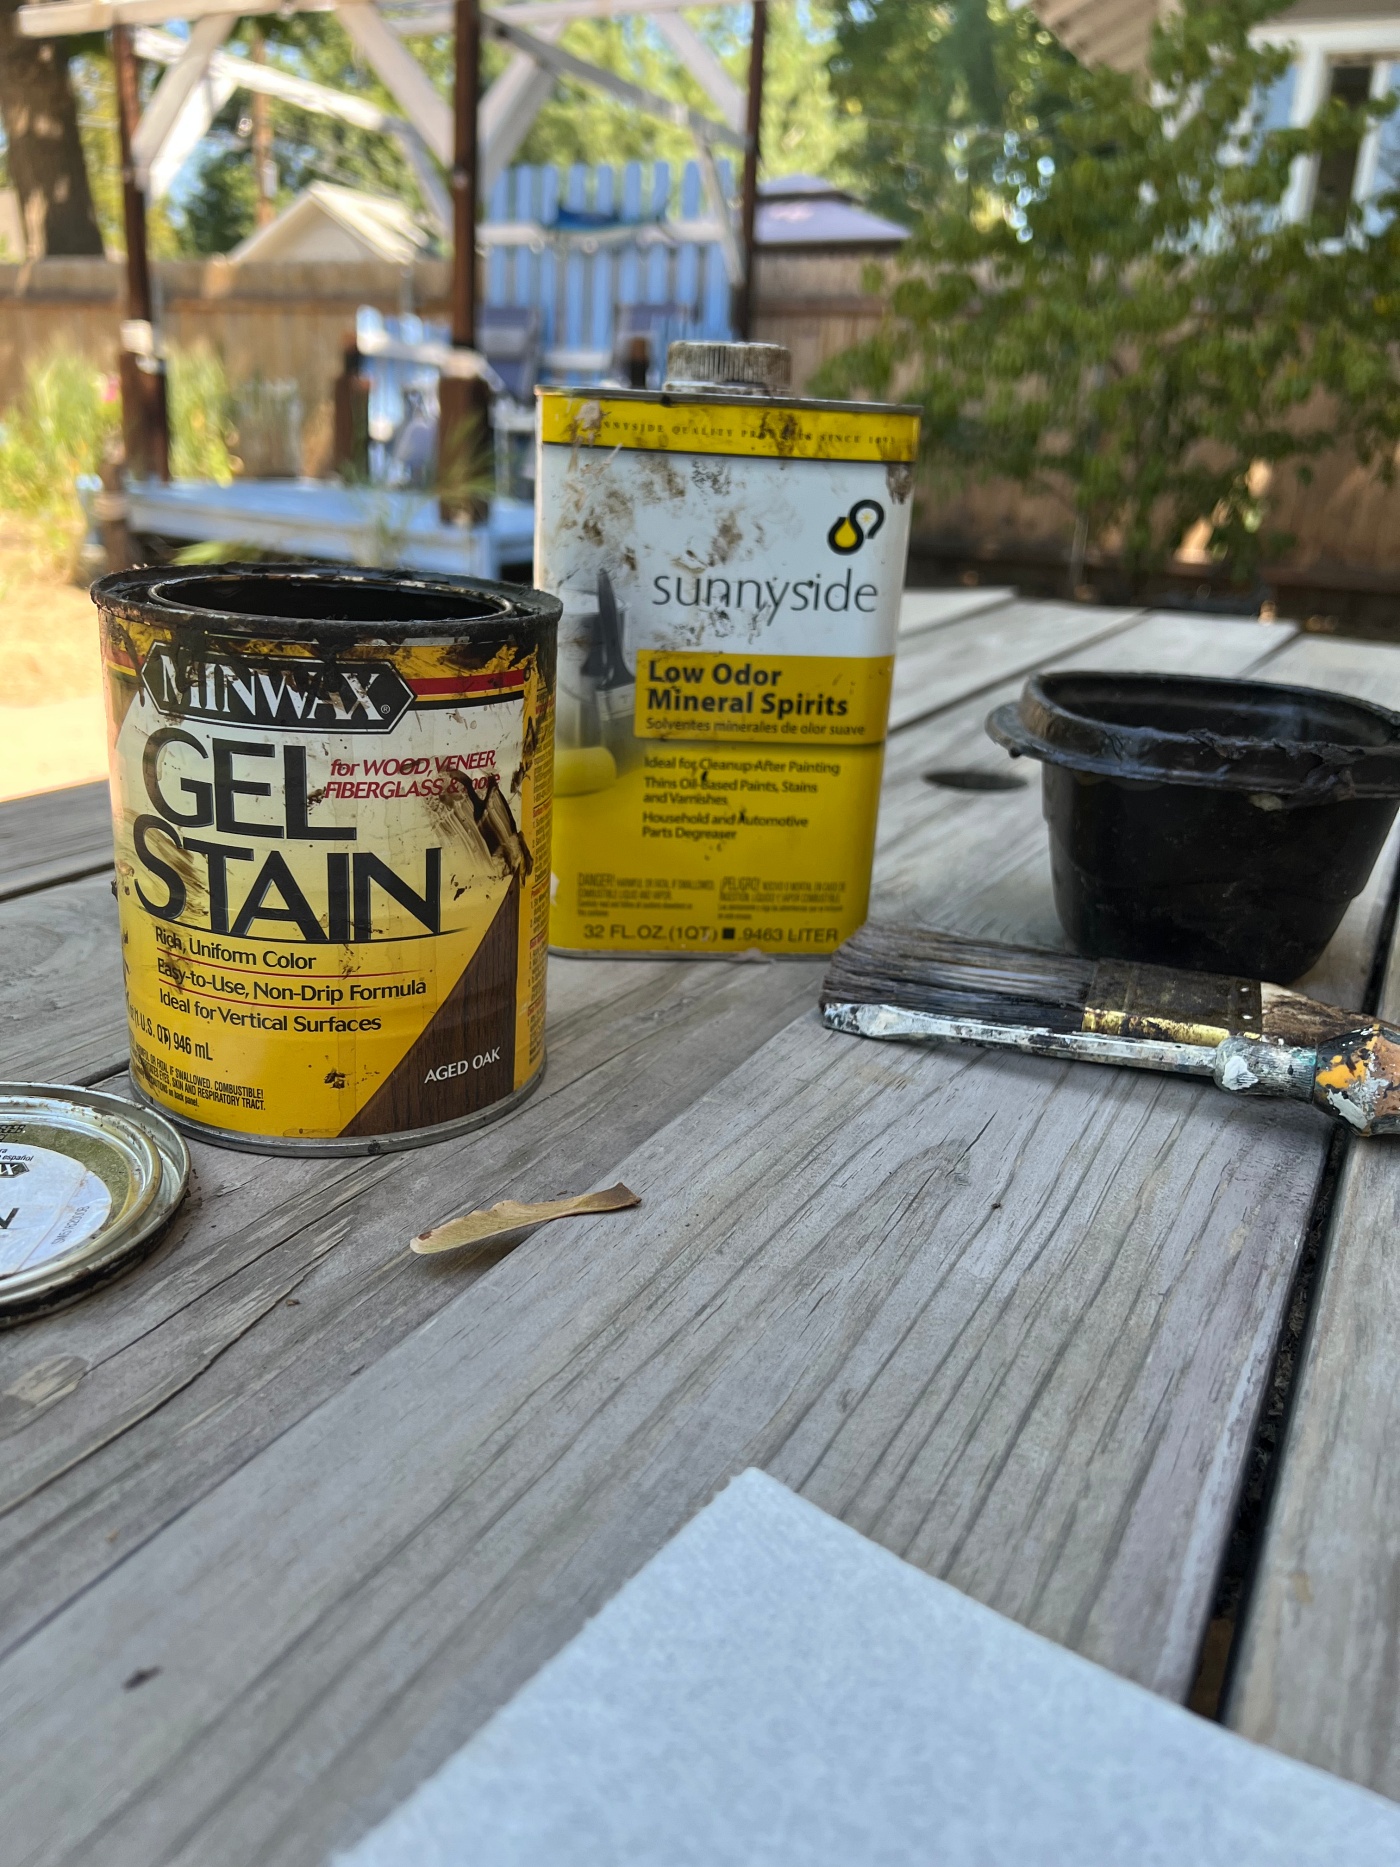
Wear Gloves and apply the Gel Stain with an inexpensive paint brush. It usually requires two coats. I brush it on and wait for it to dry. No need to wipe off.
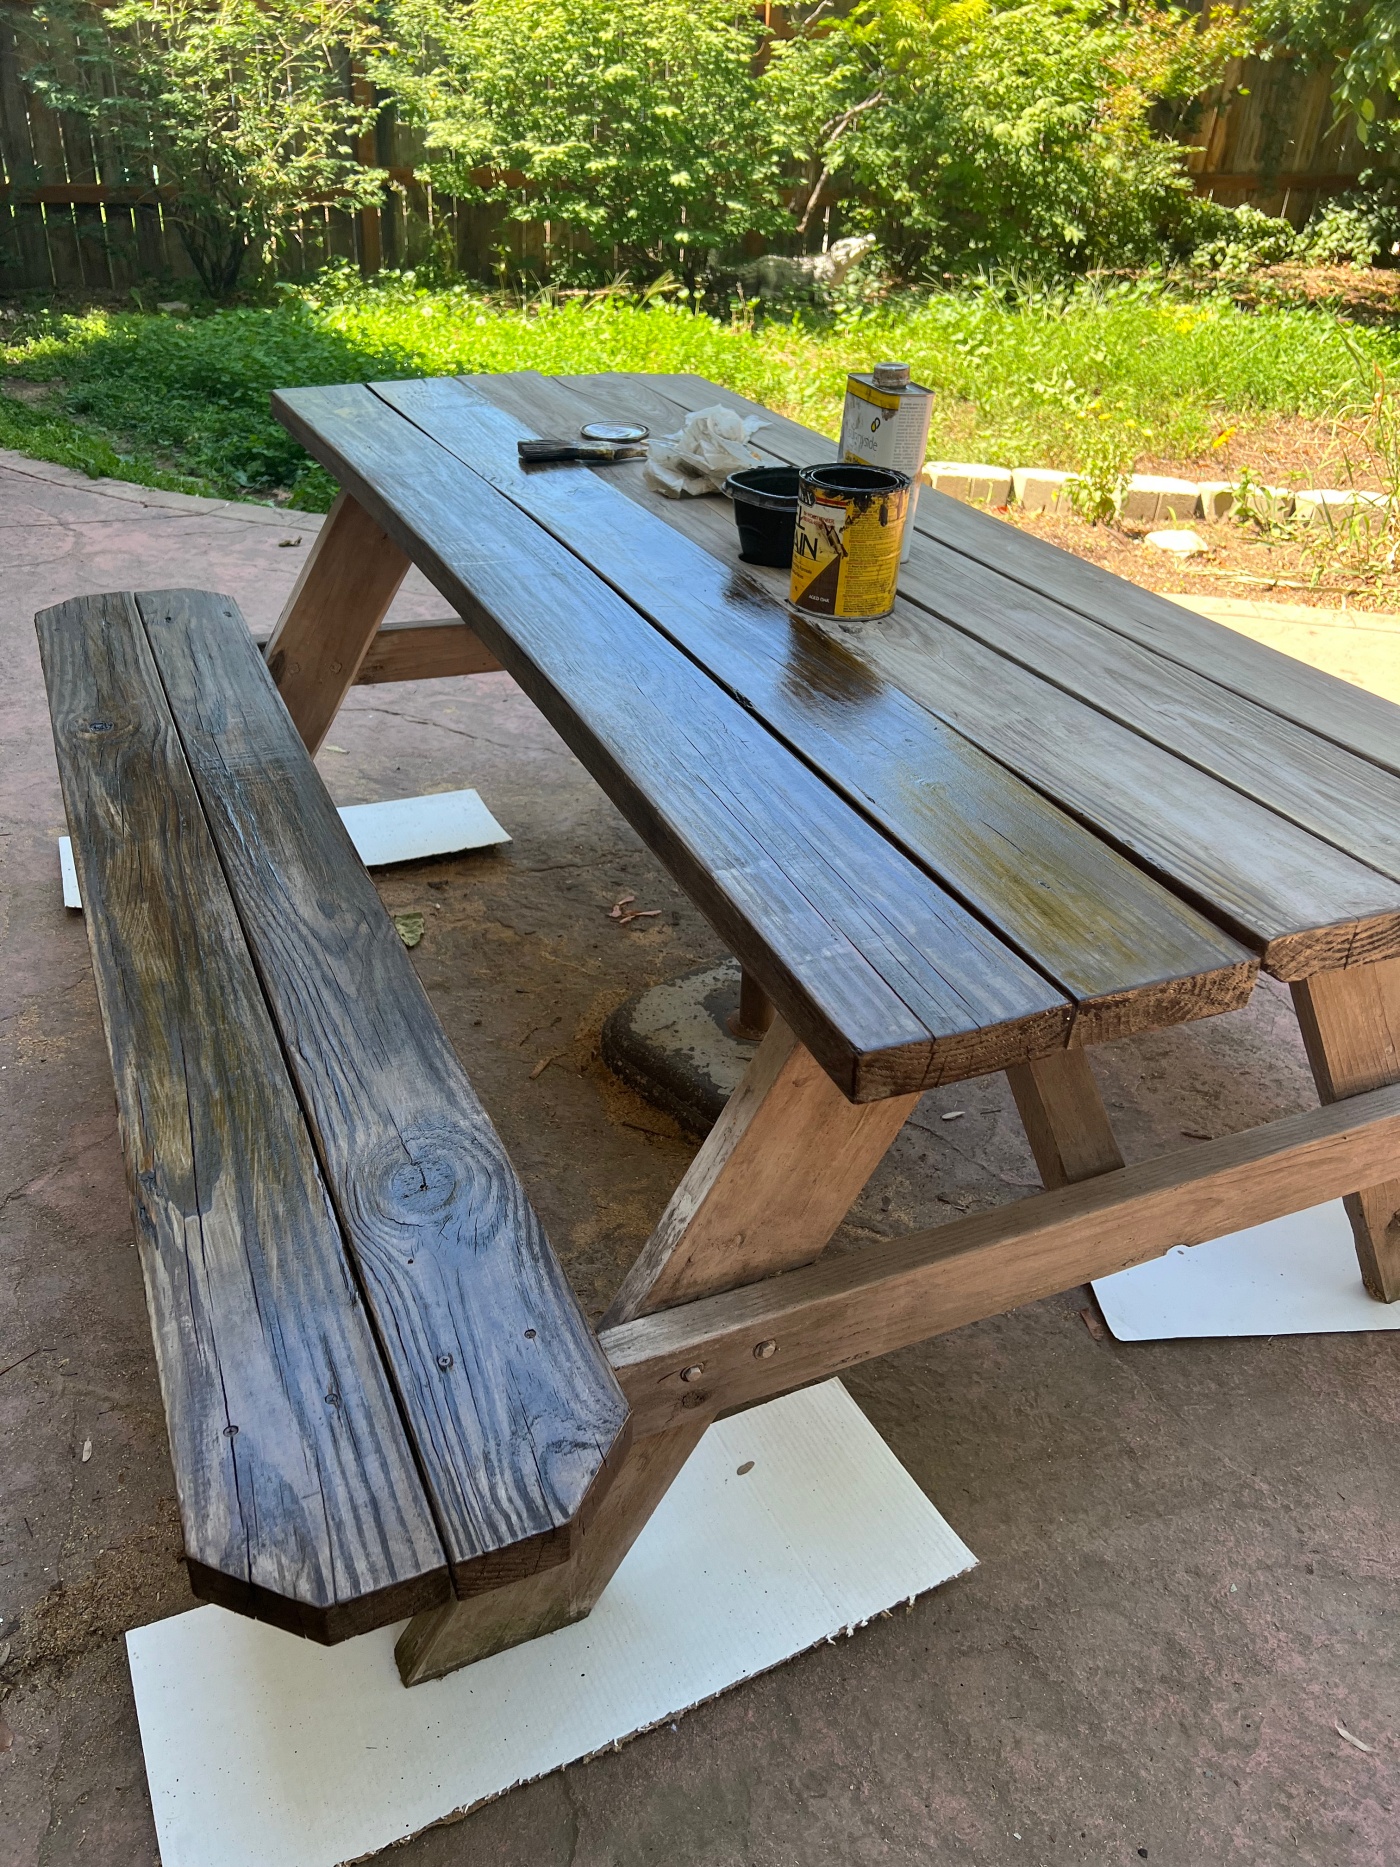
However I ran out of my beloved Gel Stain after one coat. So I searched my basement and found some other stains…. which were not Gel stain. Now I had heard that you can not use stain over gel stain, but I was willing to test it out to see for myself. And it turns out YOU TOTALLY CAN! At least I can 😉
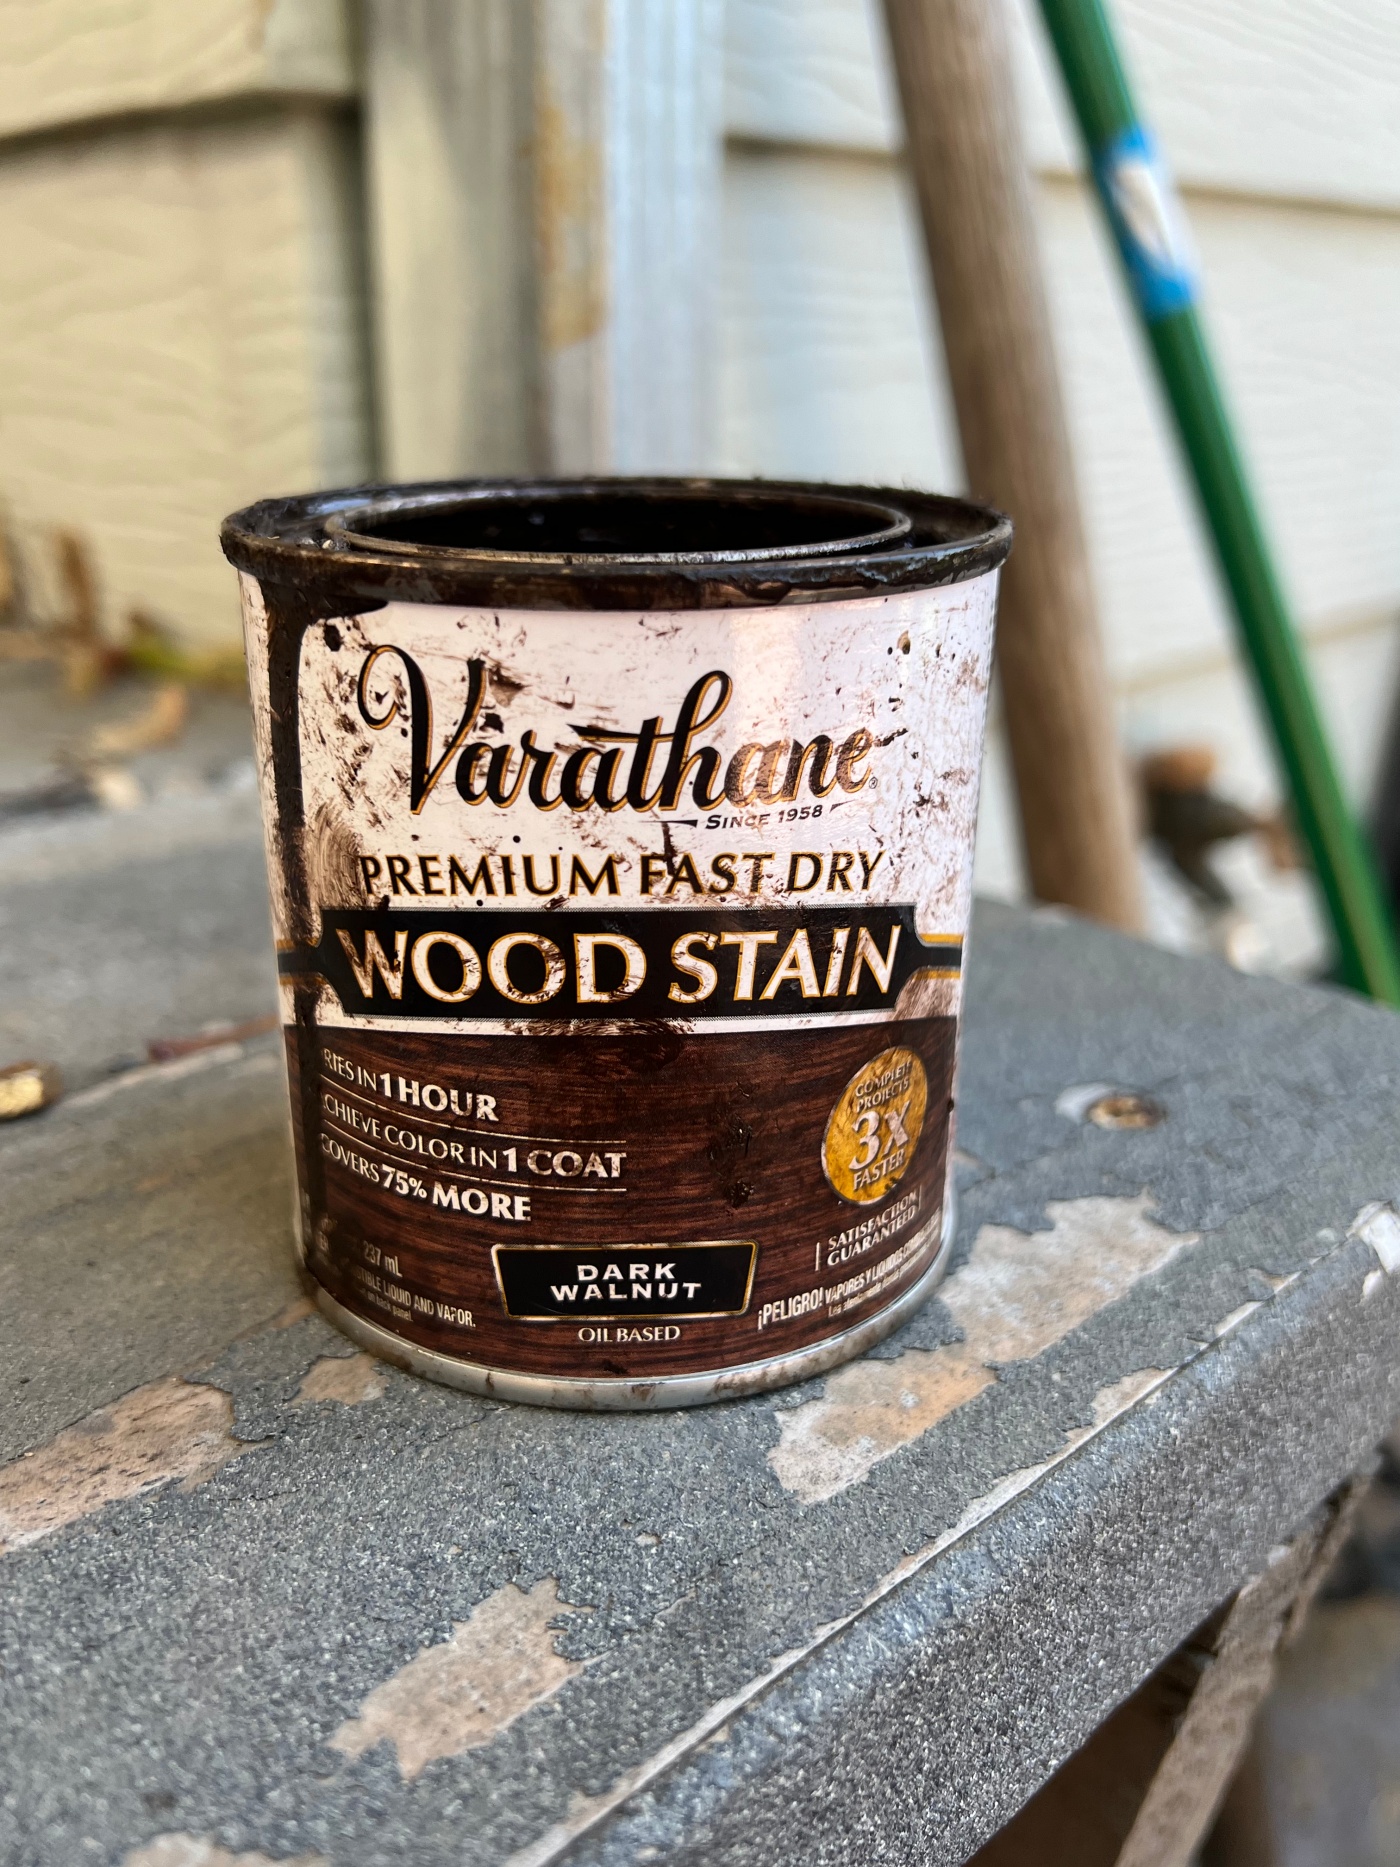
I added a second coat using this Varathane brand stain in Dark Walnut. When applying this stain, I just used an old rag instead of a paintbrush. I brushed in over the still wet gel stain and it covered nicely.
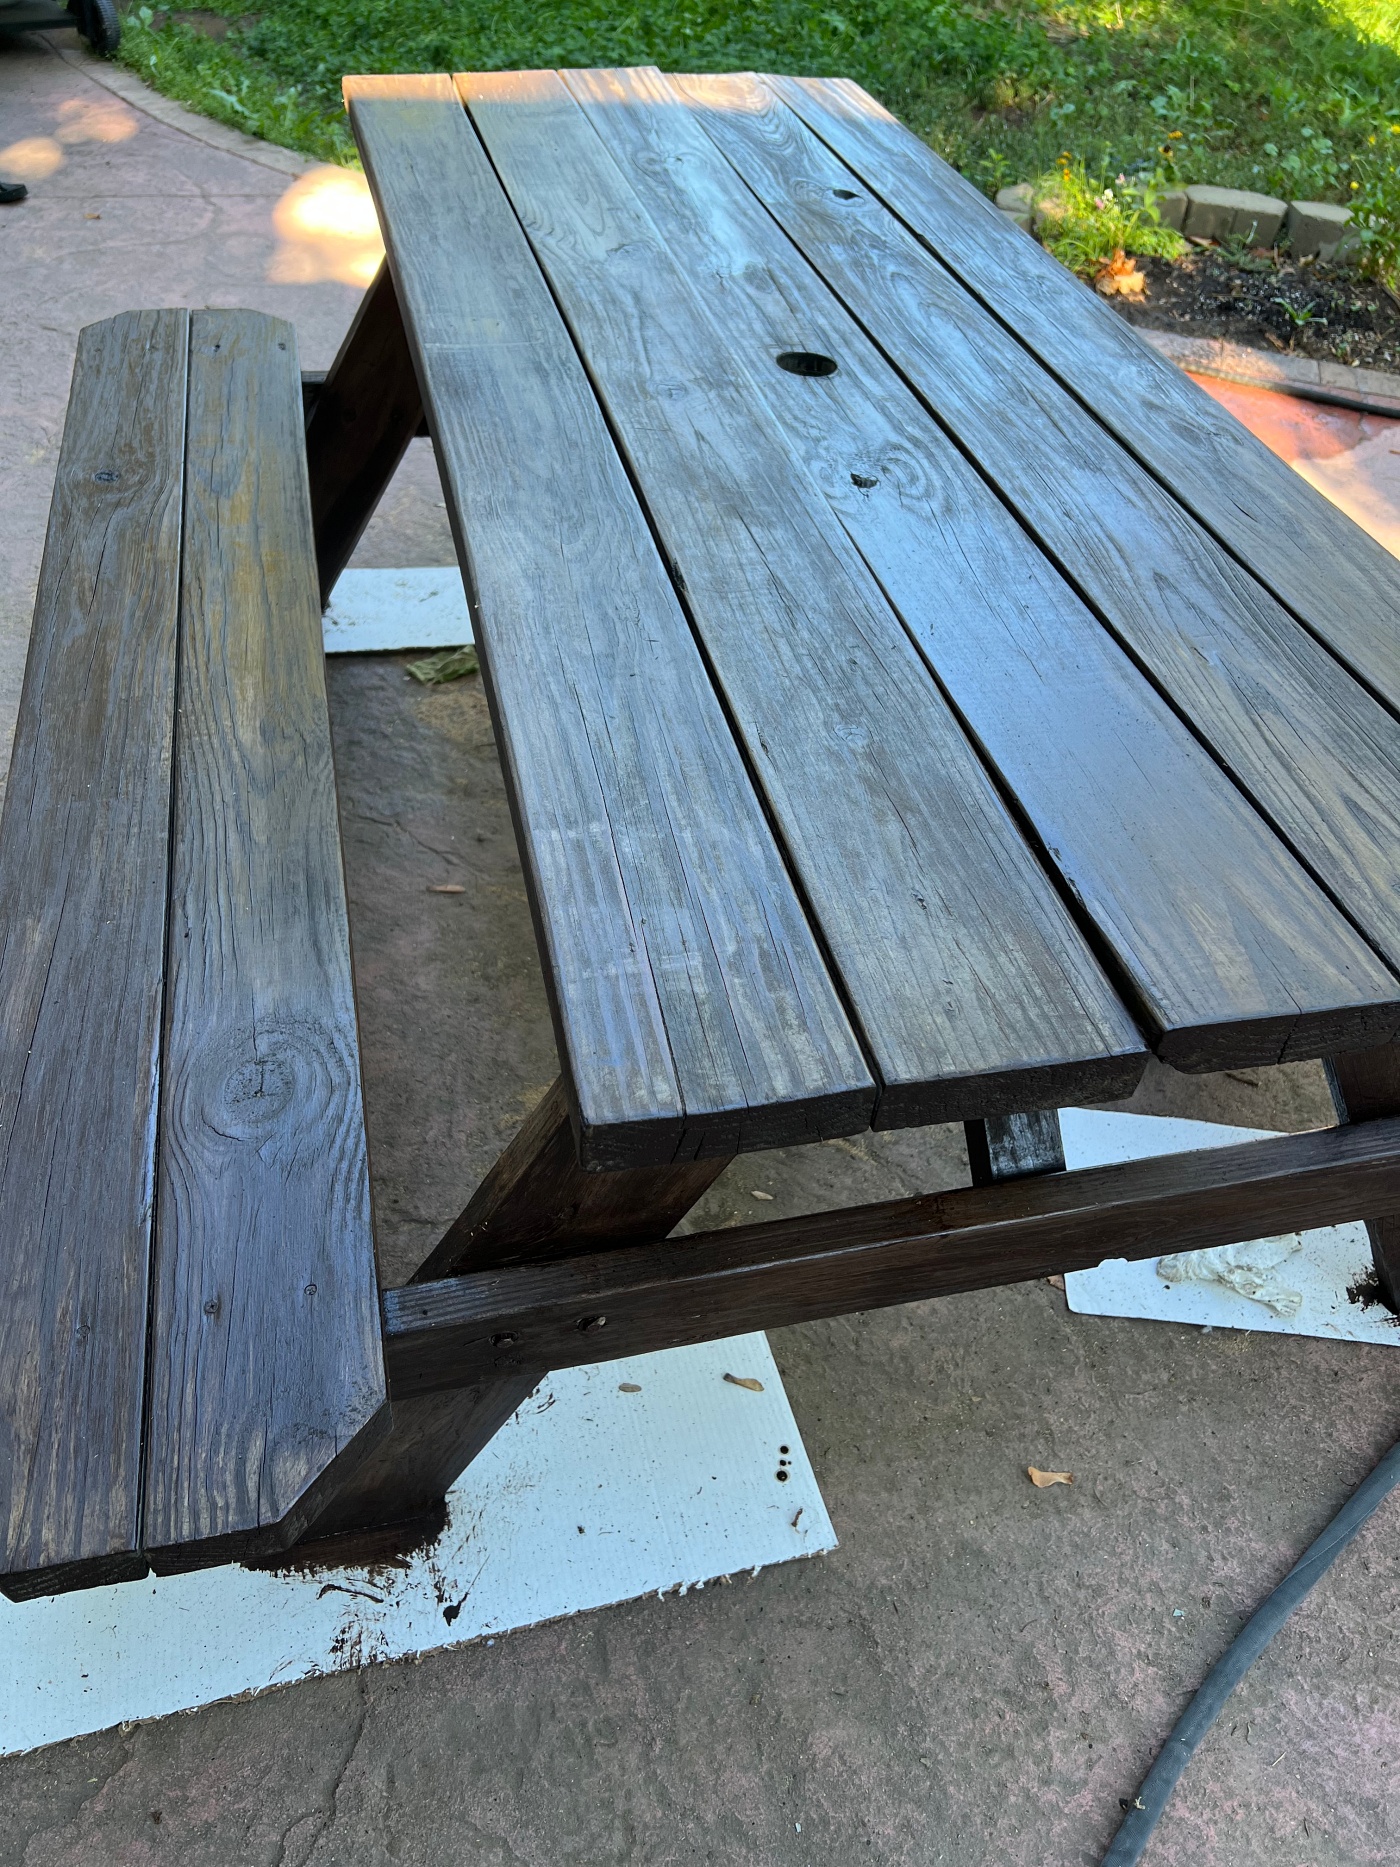
The picture above is how it looked once it was dry. It was okay, but I didn’t love it and I felt like it looked kinda blotchy. So back to my basement I went, and found I had a can of THIS Pickled Oak Stain and I thought I’d try it out.
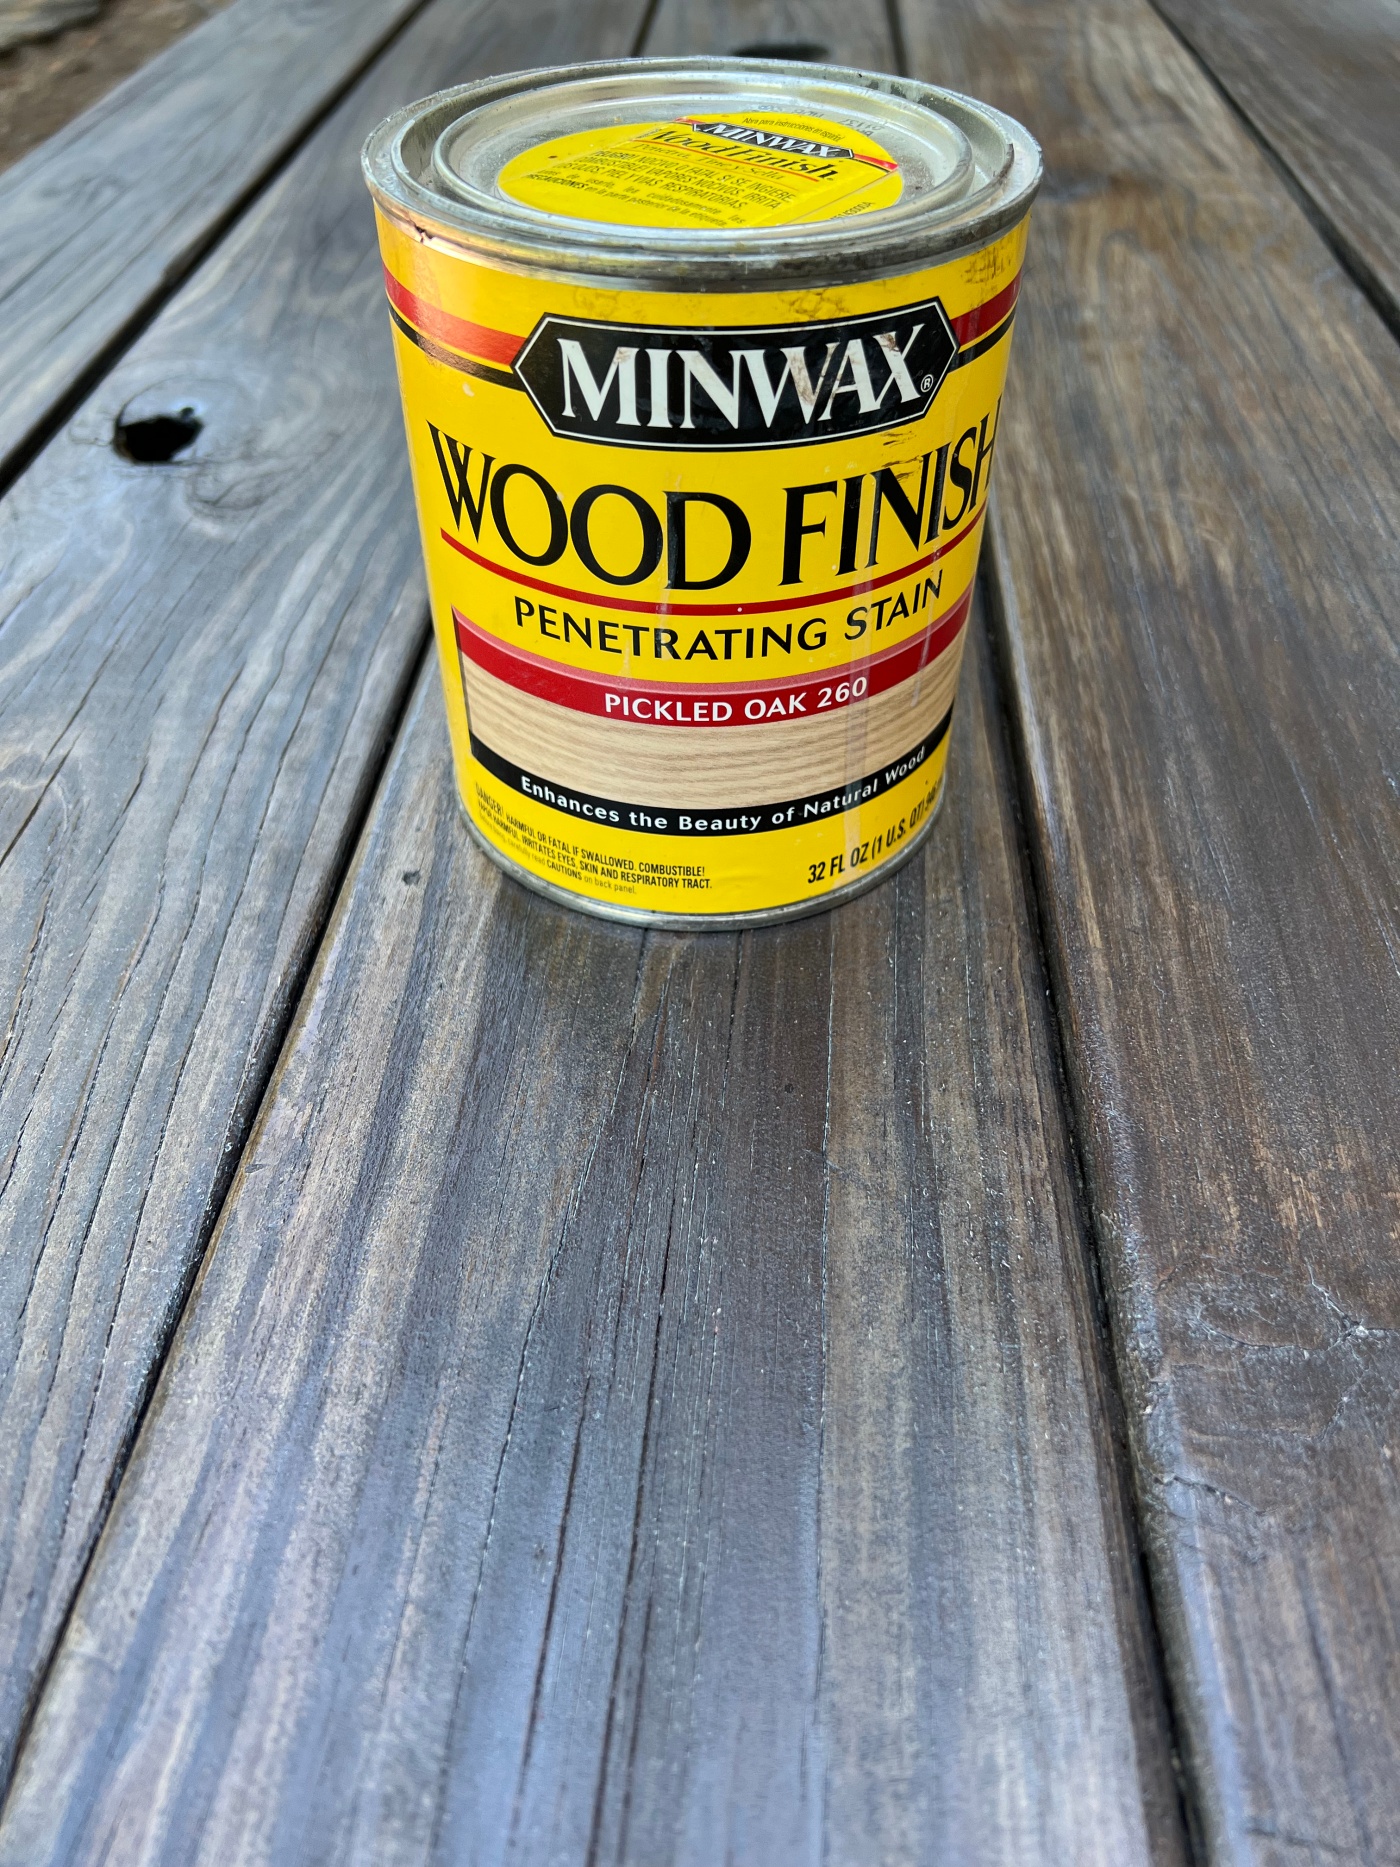
Once again I applied the stain with an old rag. This Pickled oak stain was kinda magic. It lightened up the dark wood but then it created an almost weathered look. I was happy with the results.

I may have to try out this pickled oak stain over some of my other gel-stained projects because I like the look so much, and because I now know that I can.
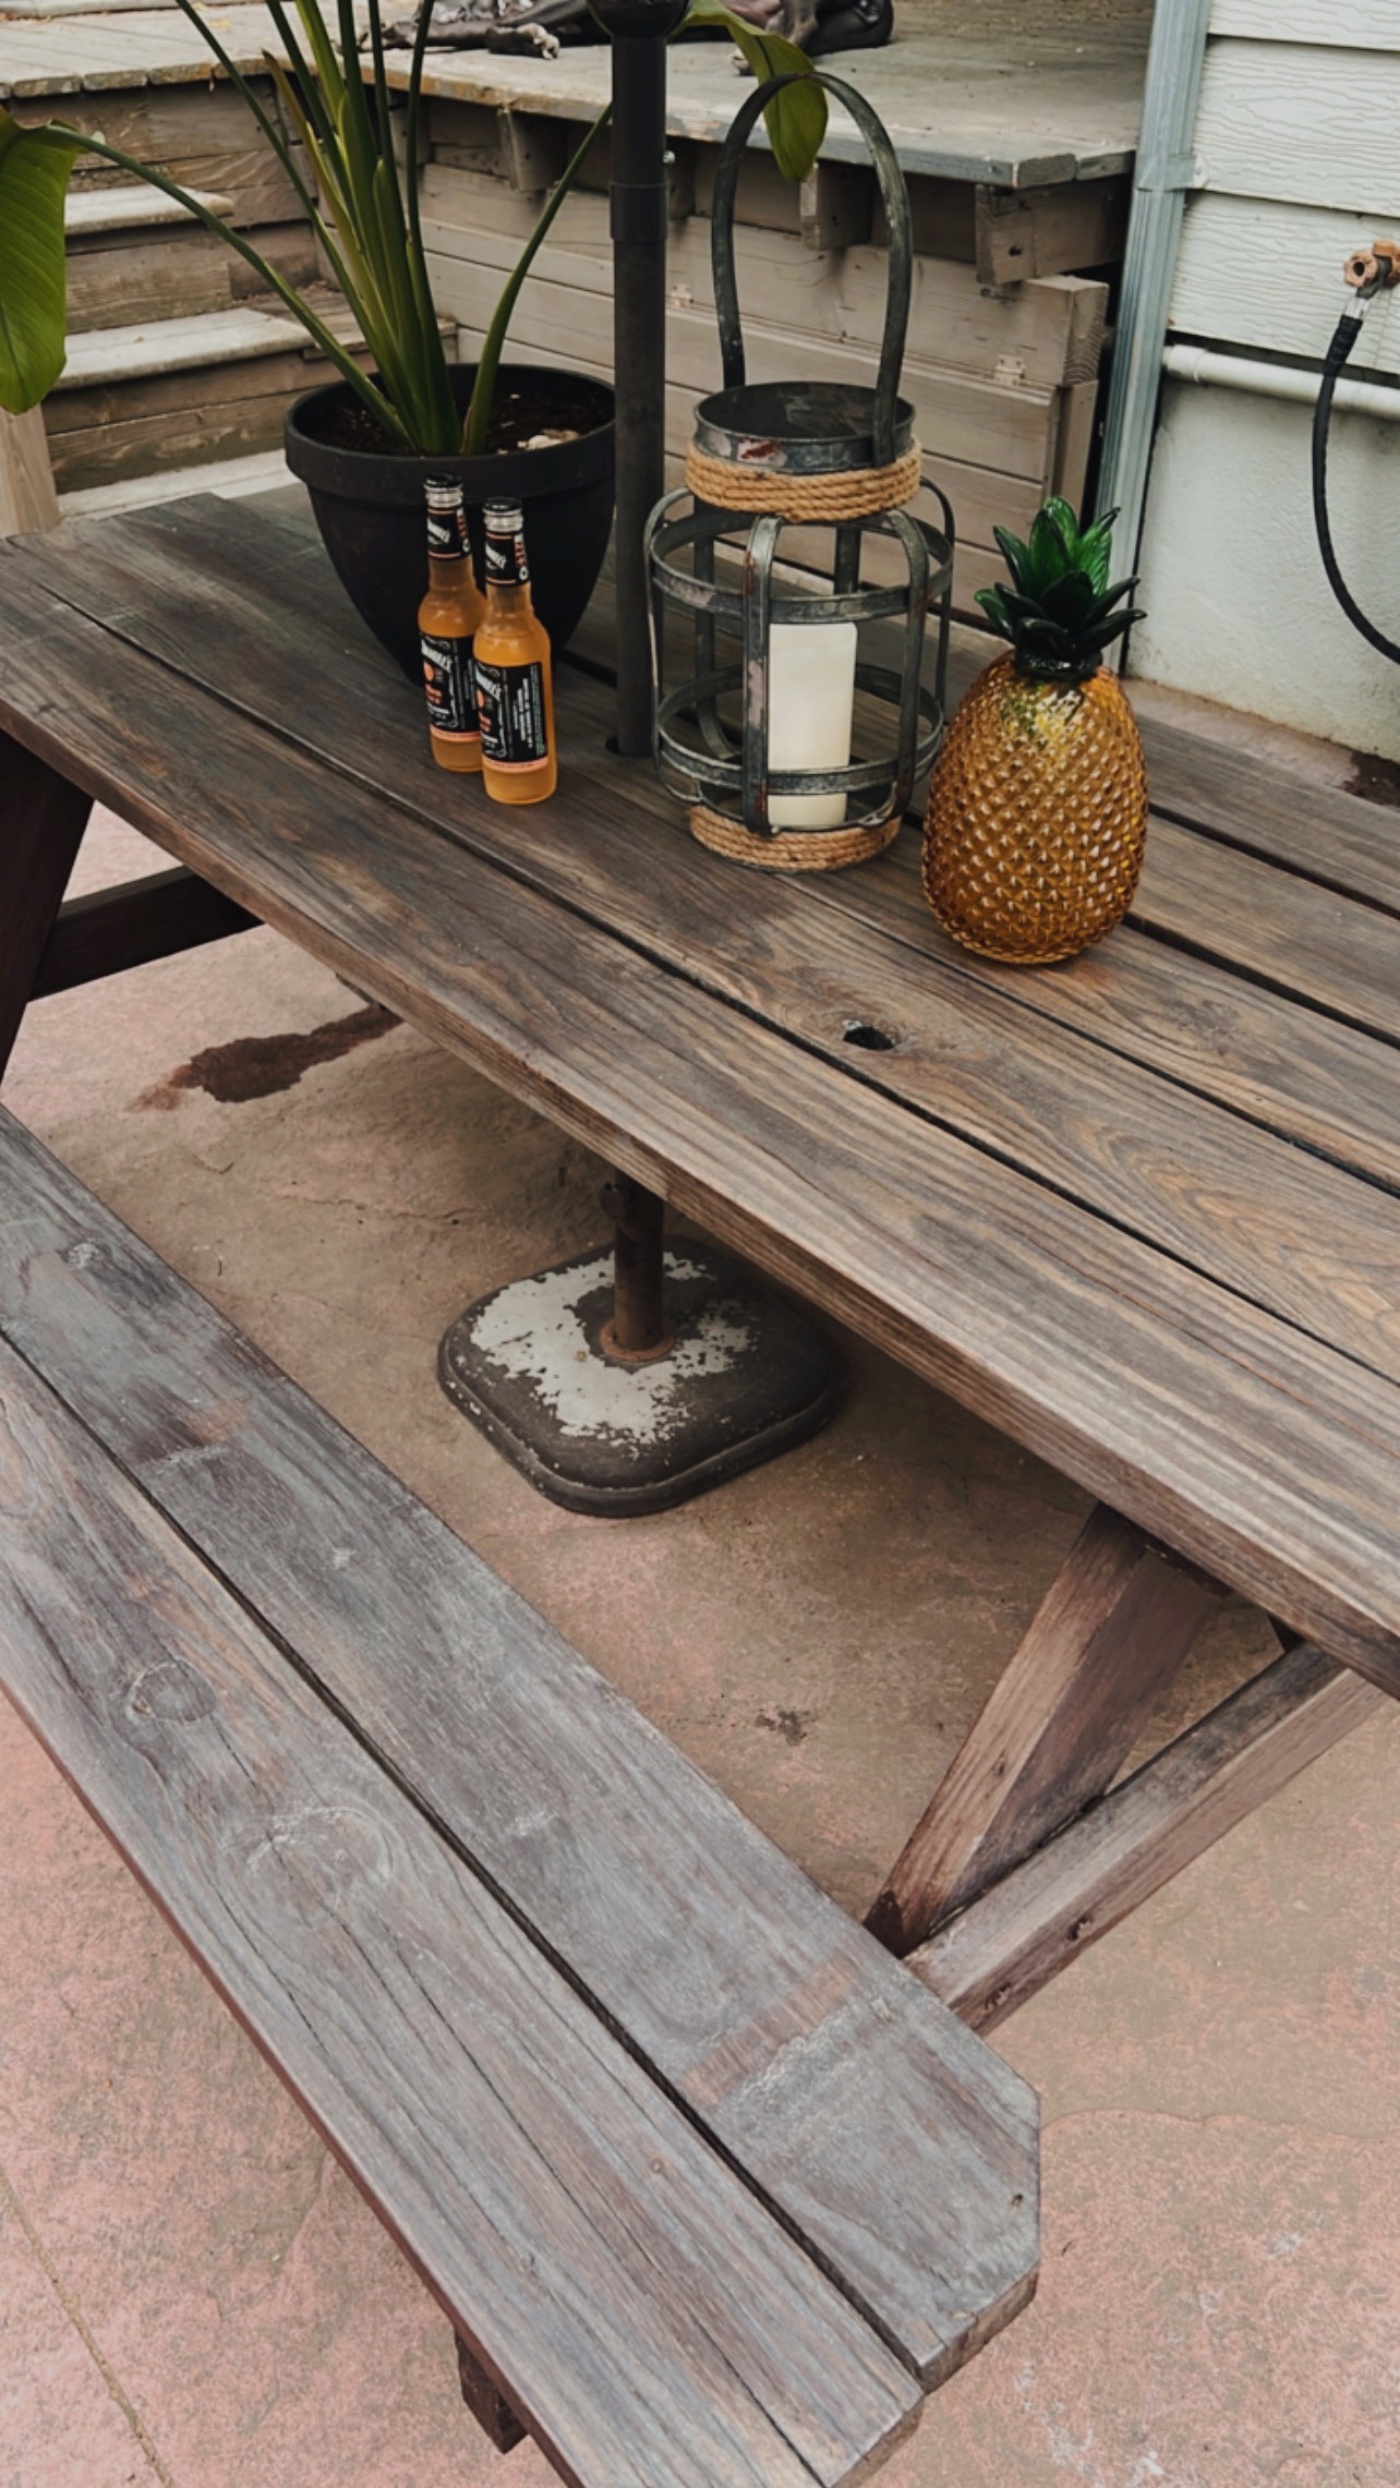
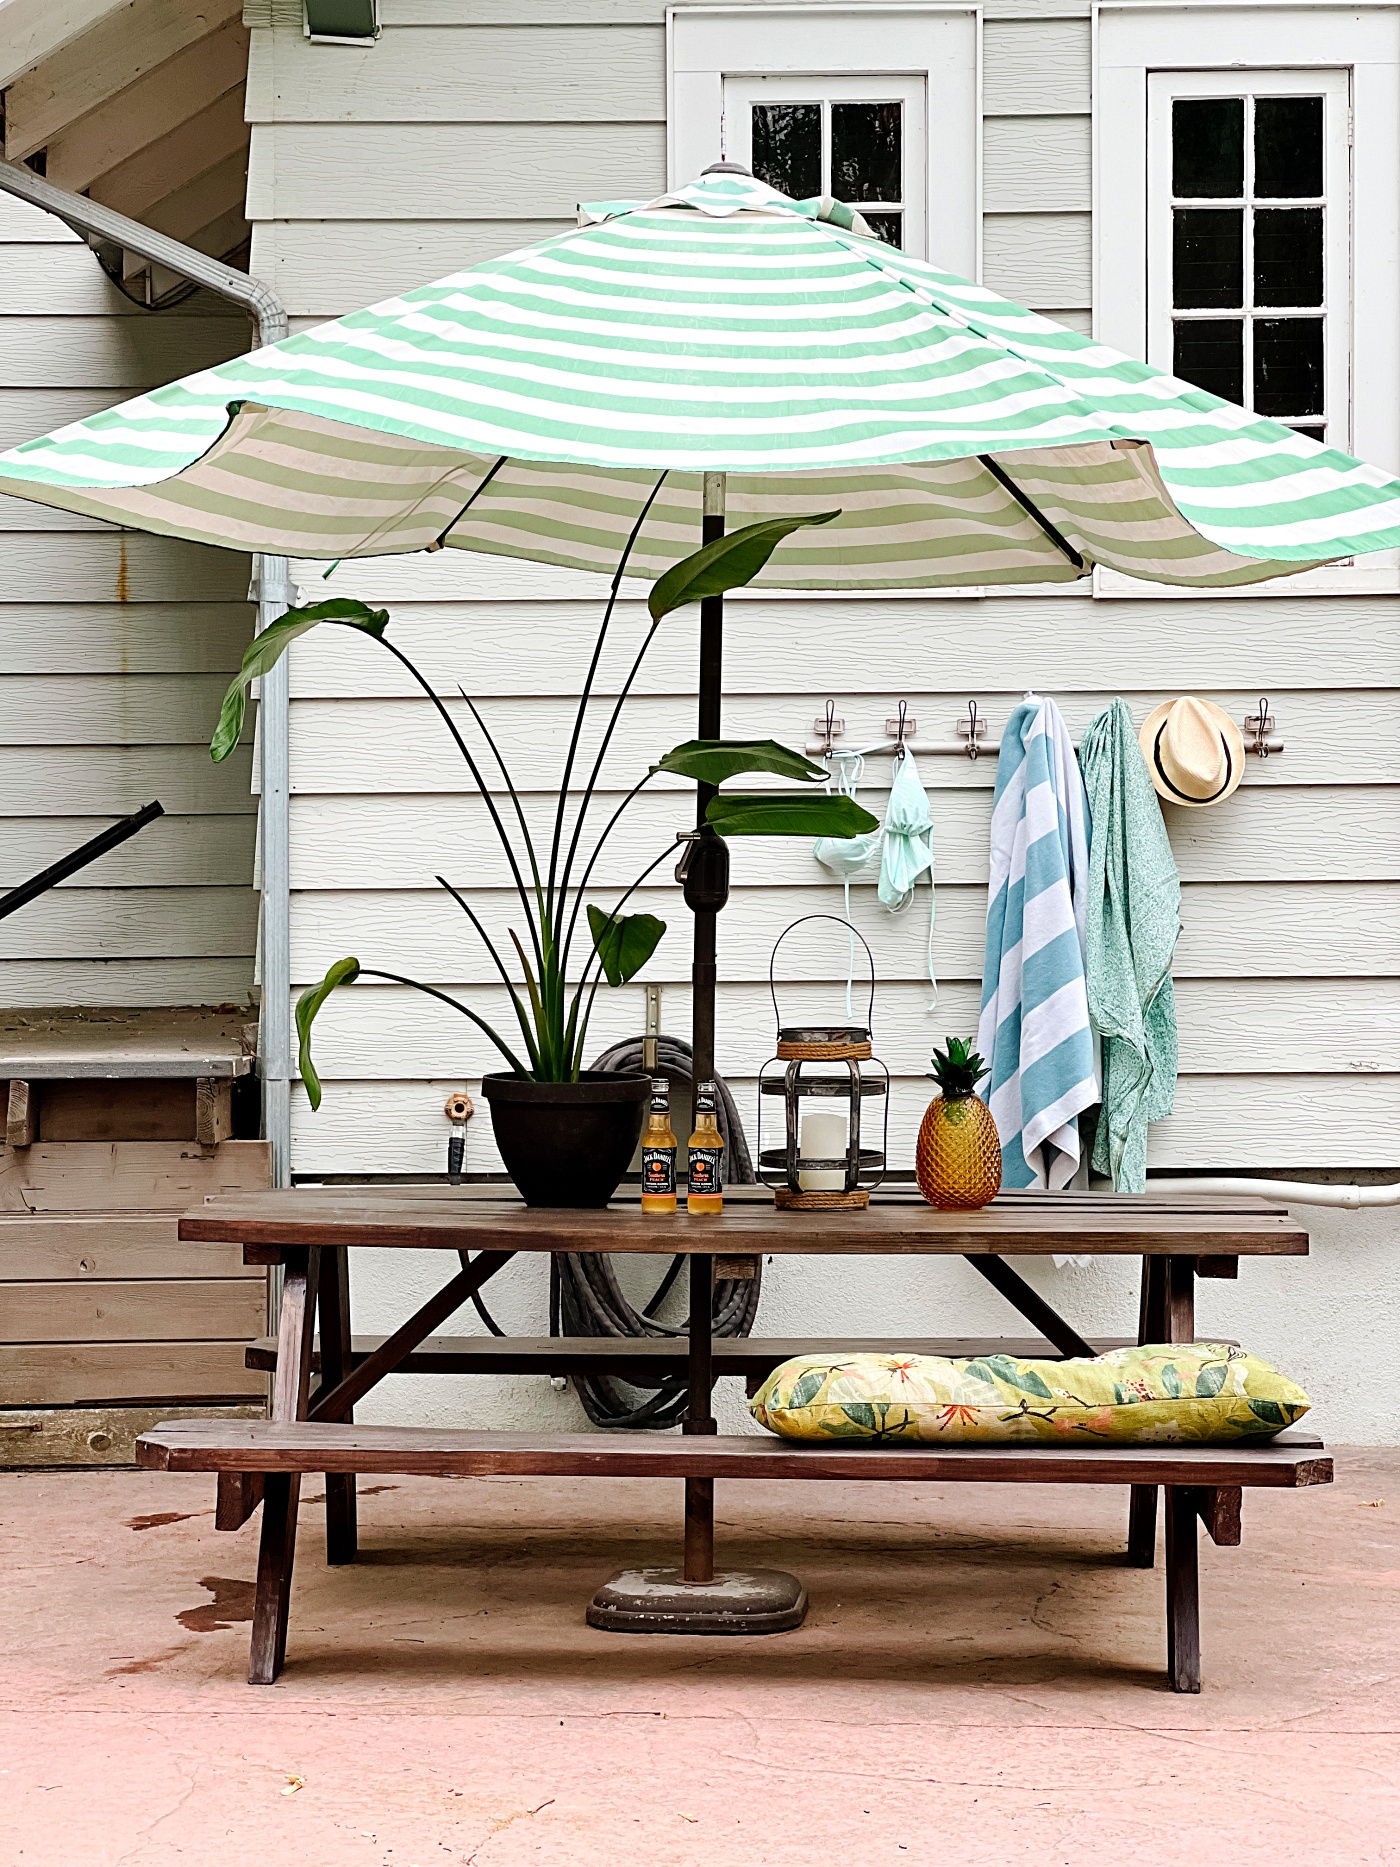
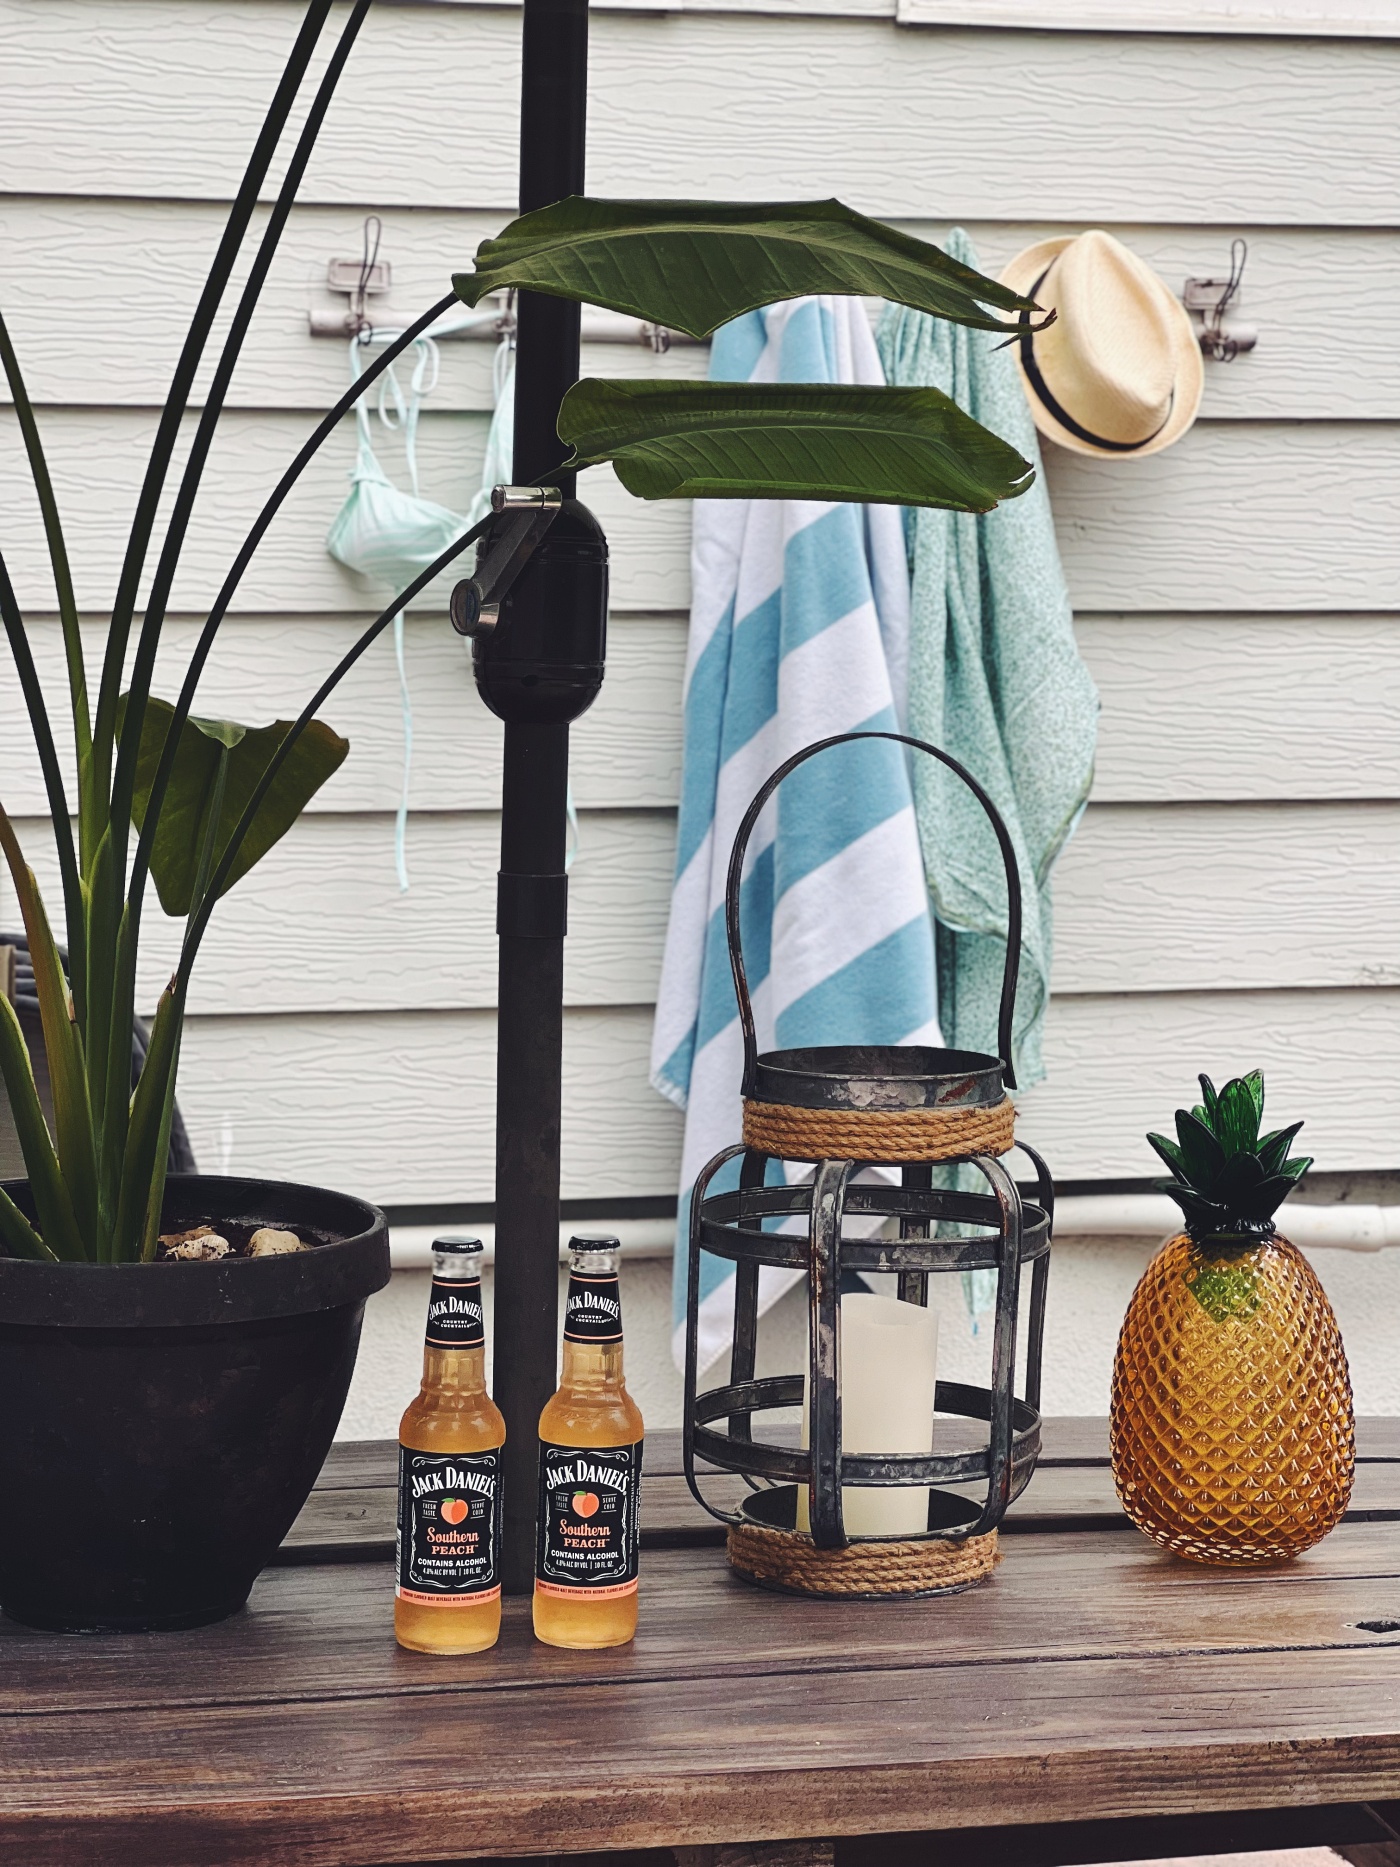
So once my picnic table was all dried, I added my green and white striped umbrella (similar option) back into the table and then I had fun creating a fun little summer set up to this space.
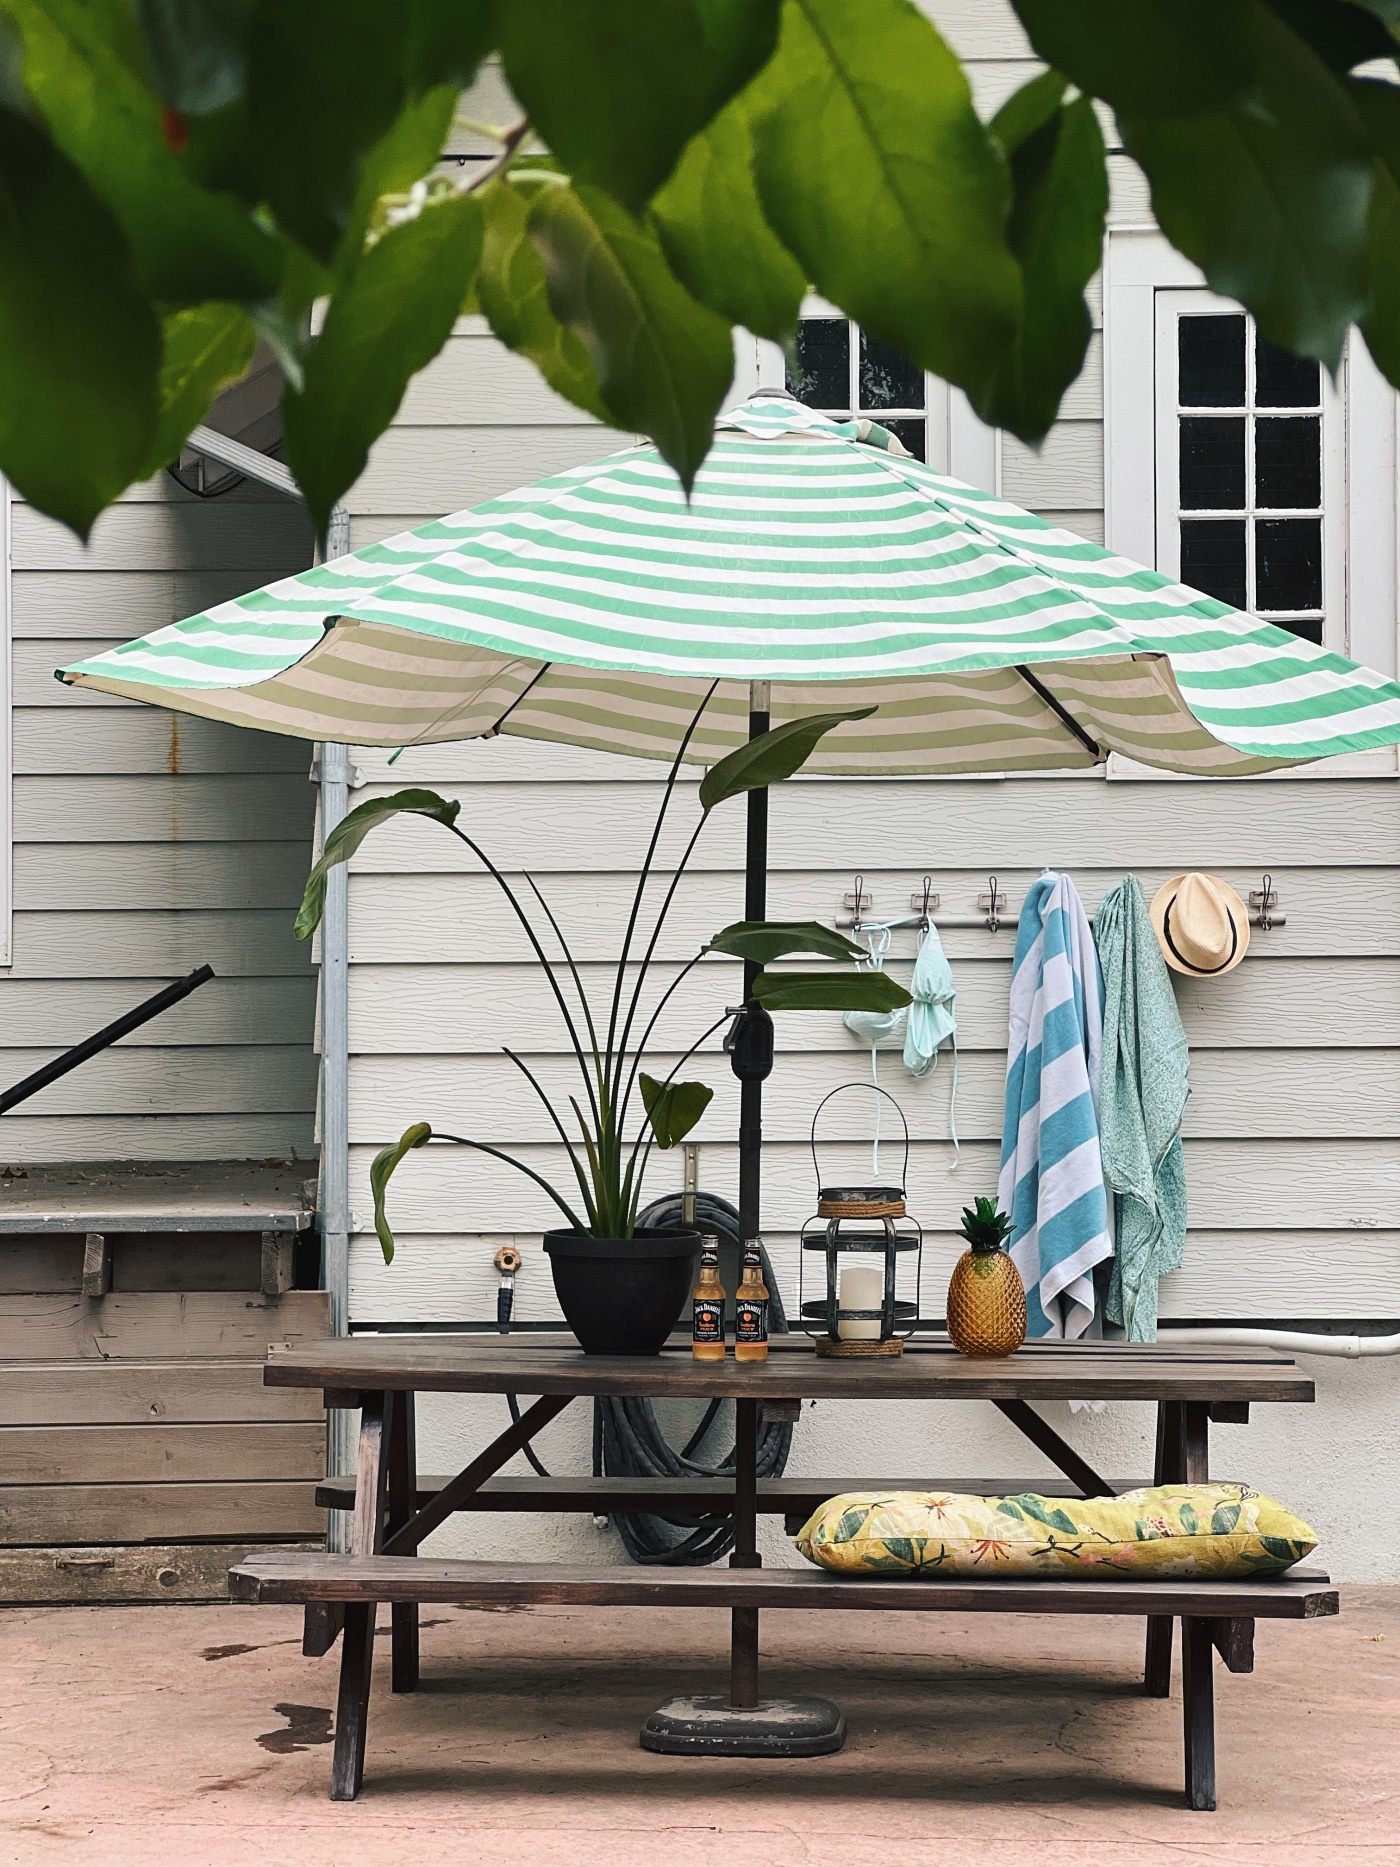
We weren’t using this table much before but now that it’s looking nice again we are. In fact, we just ate lunch out here and that was nice.
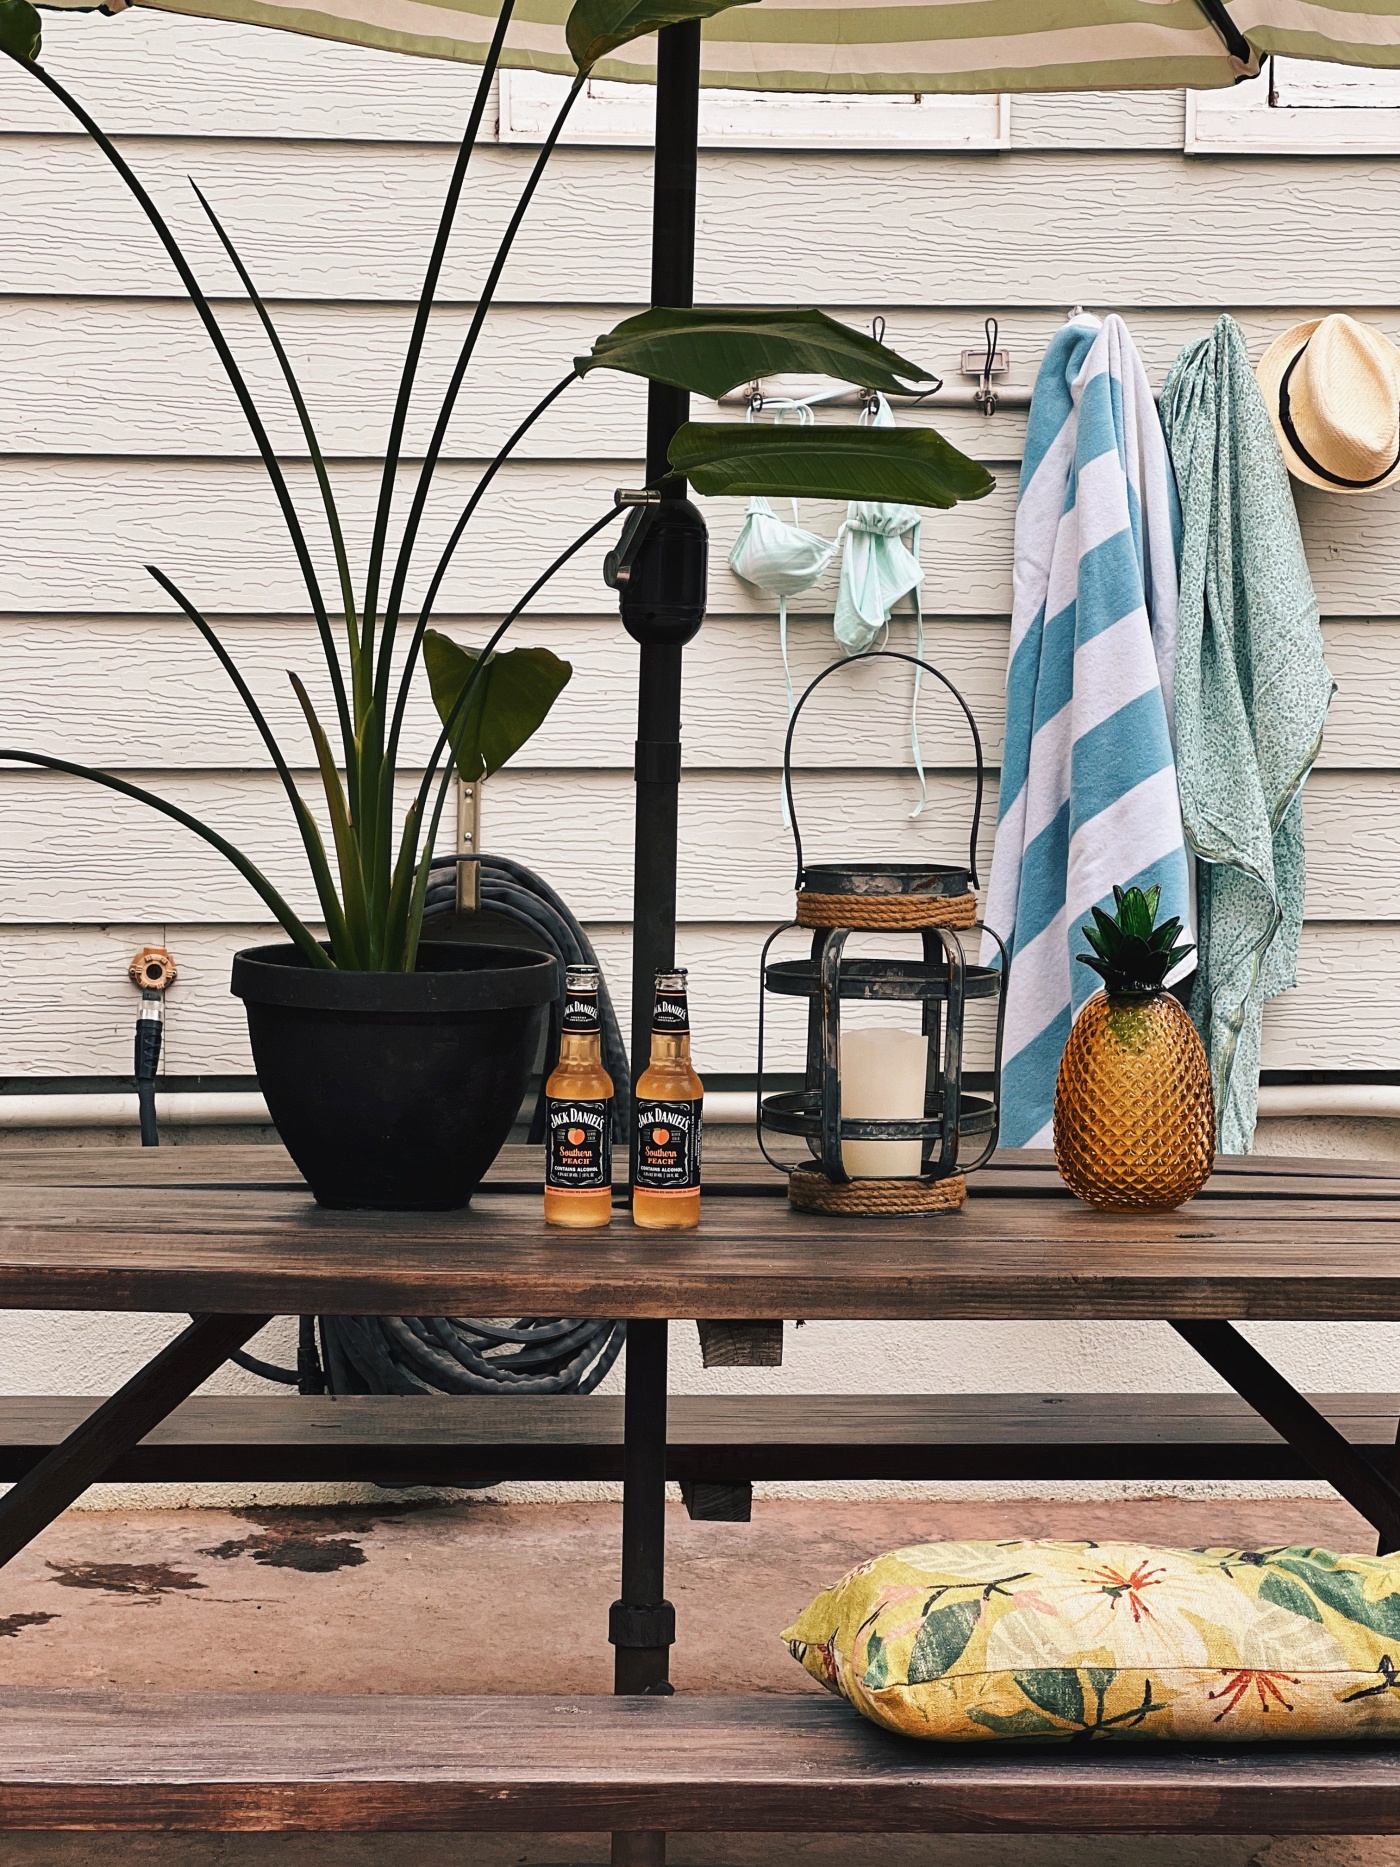
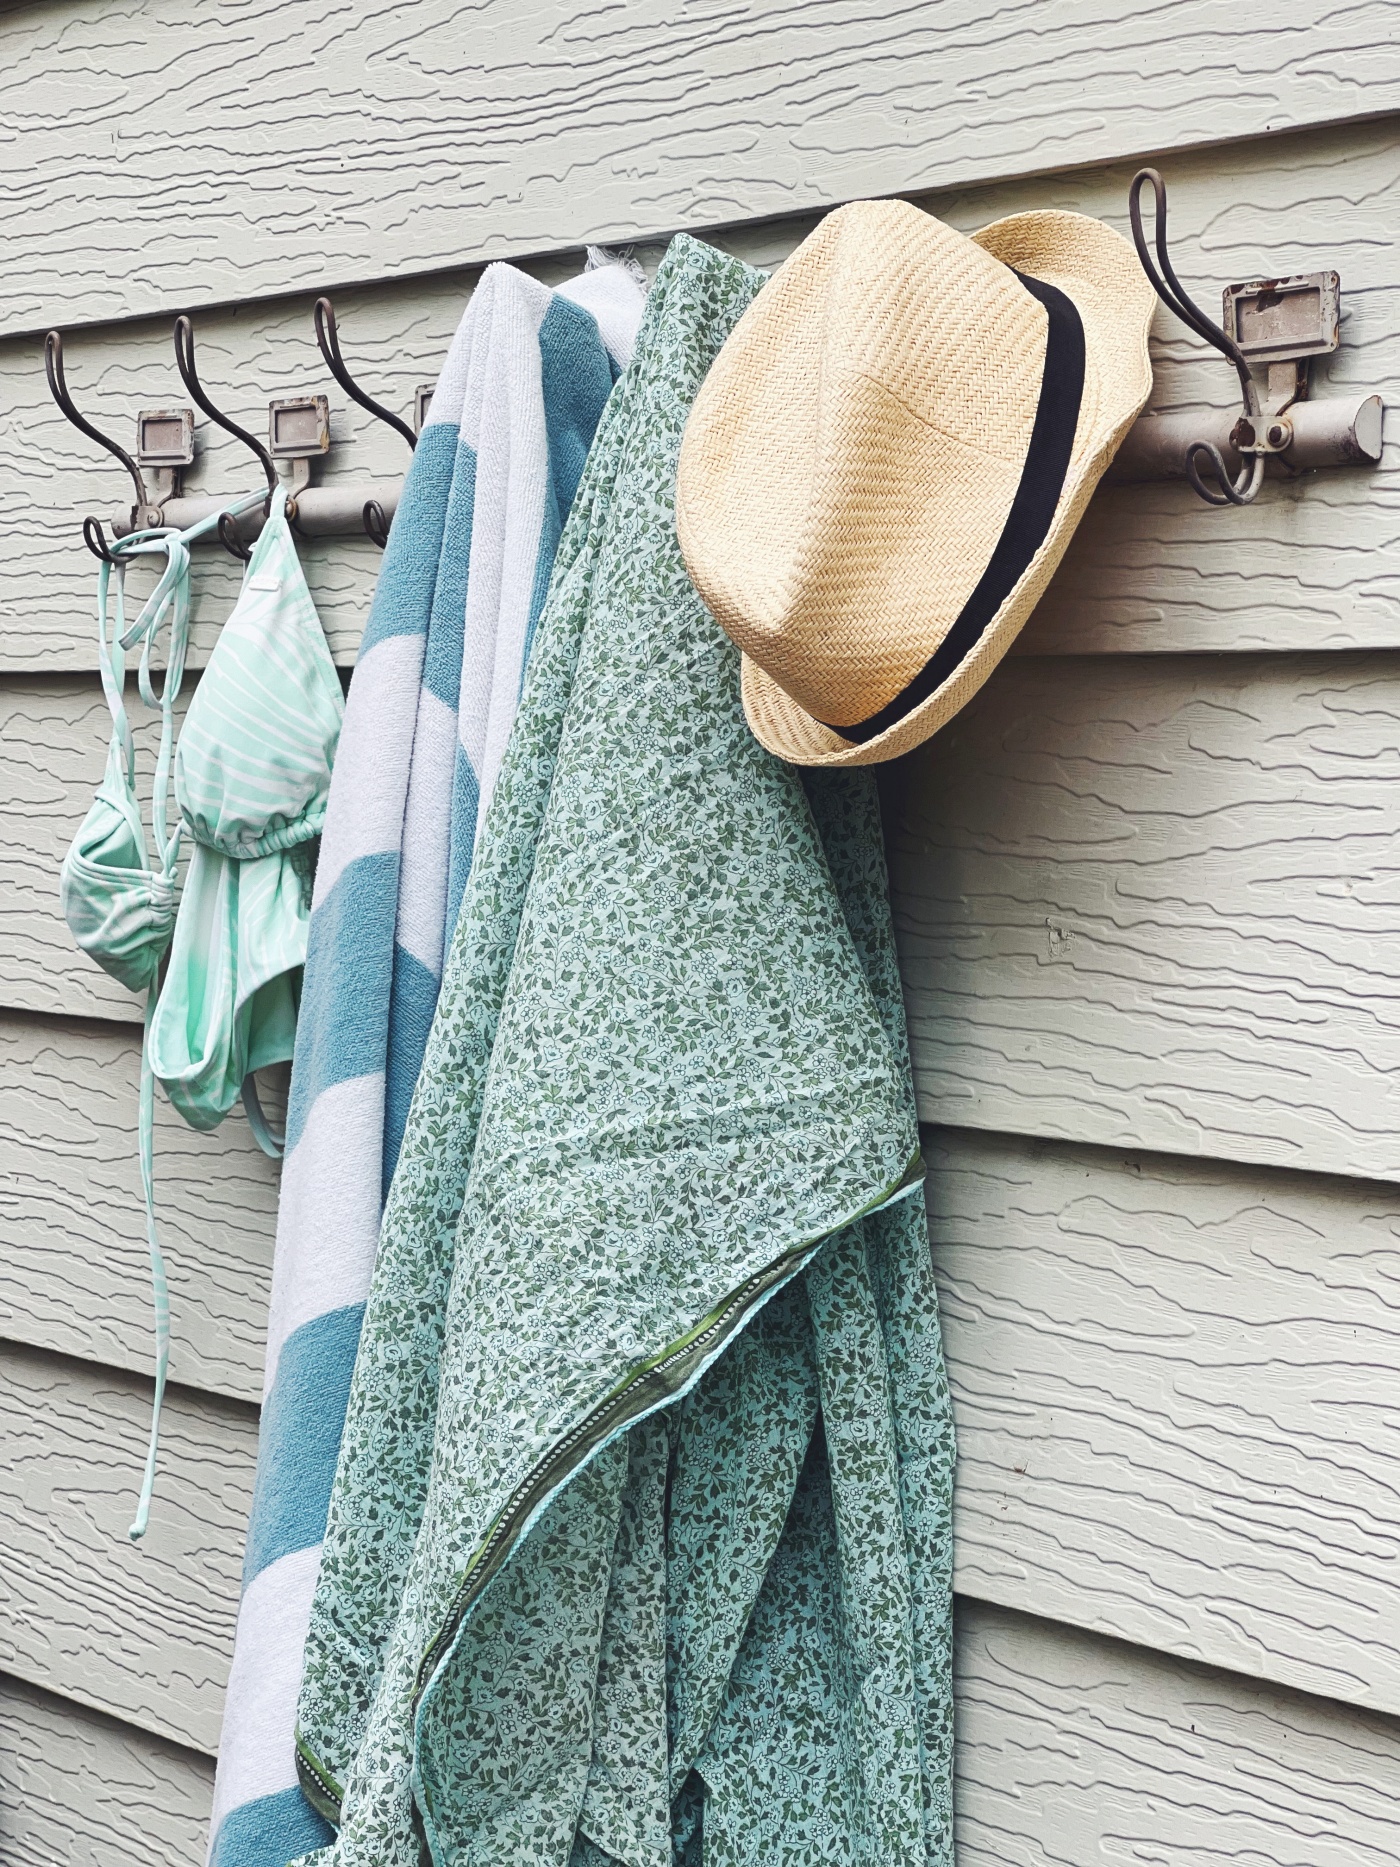
I absolutely love this metal coat rack that I’ve hung out here. I’ve had it for years, but I just saw that it’s still available, so you can grab you one HERE.
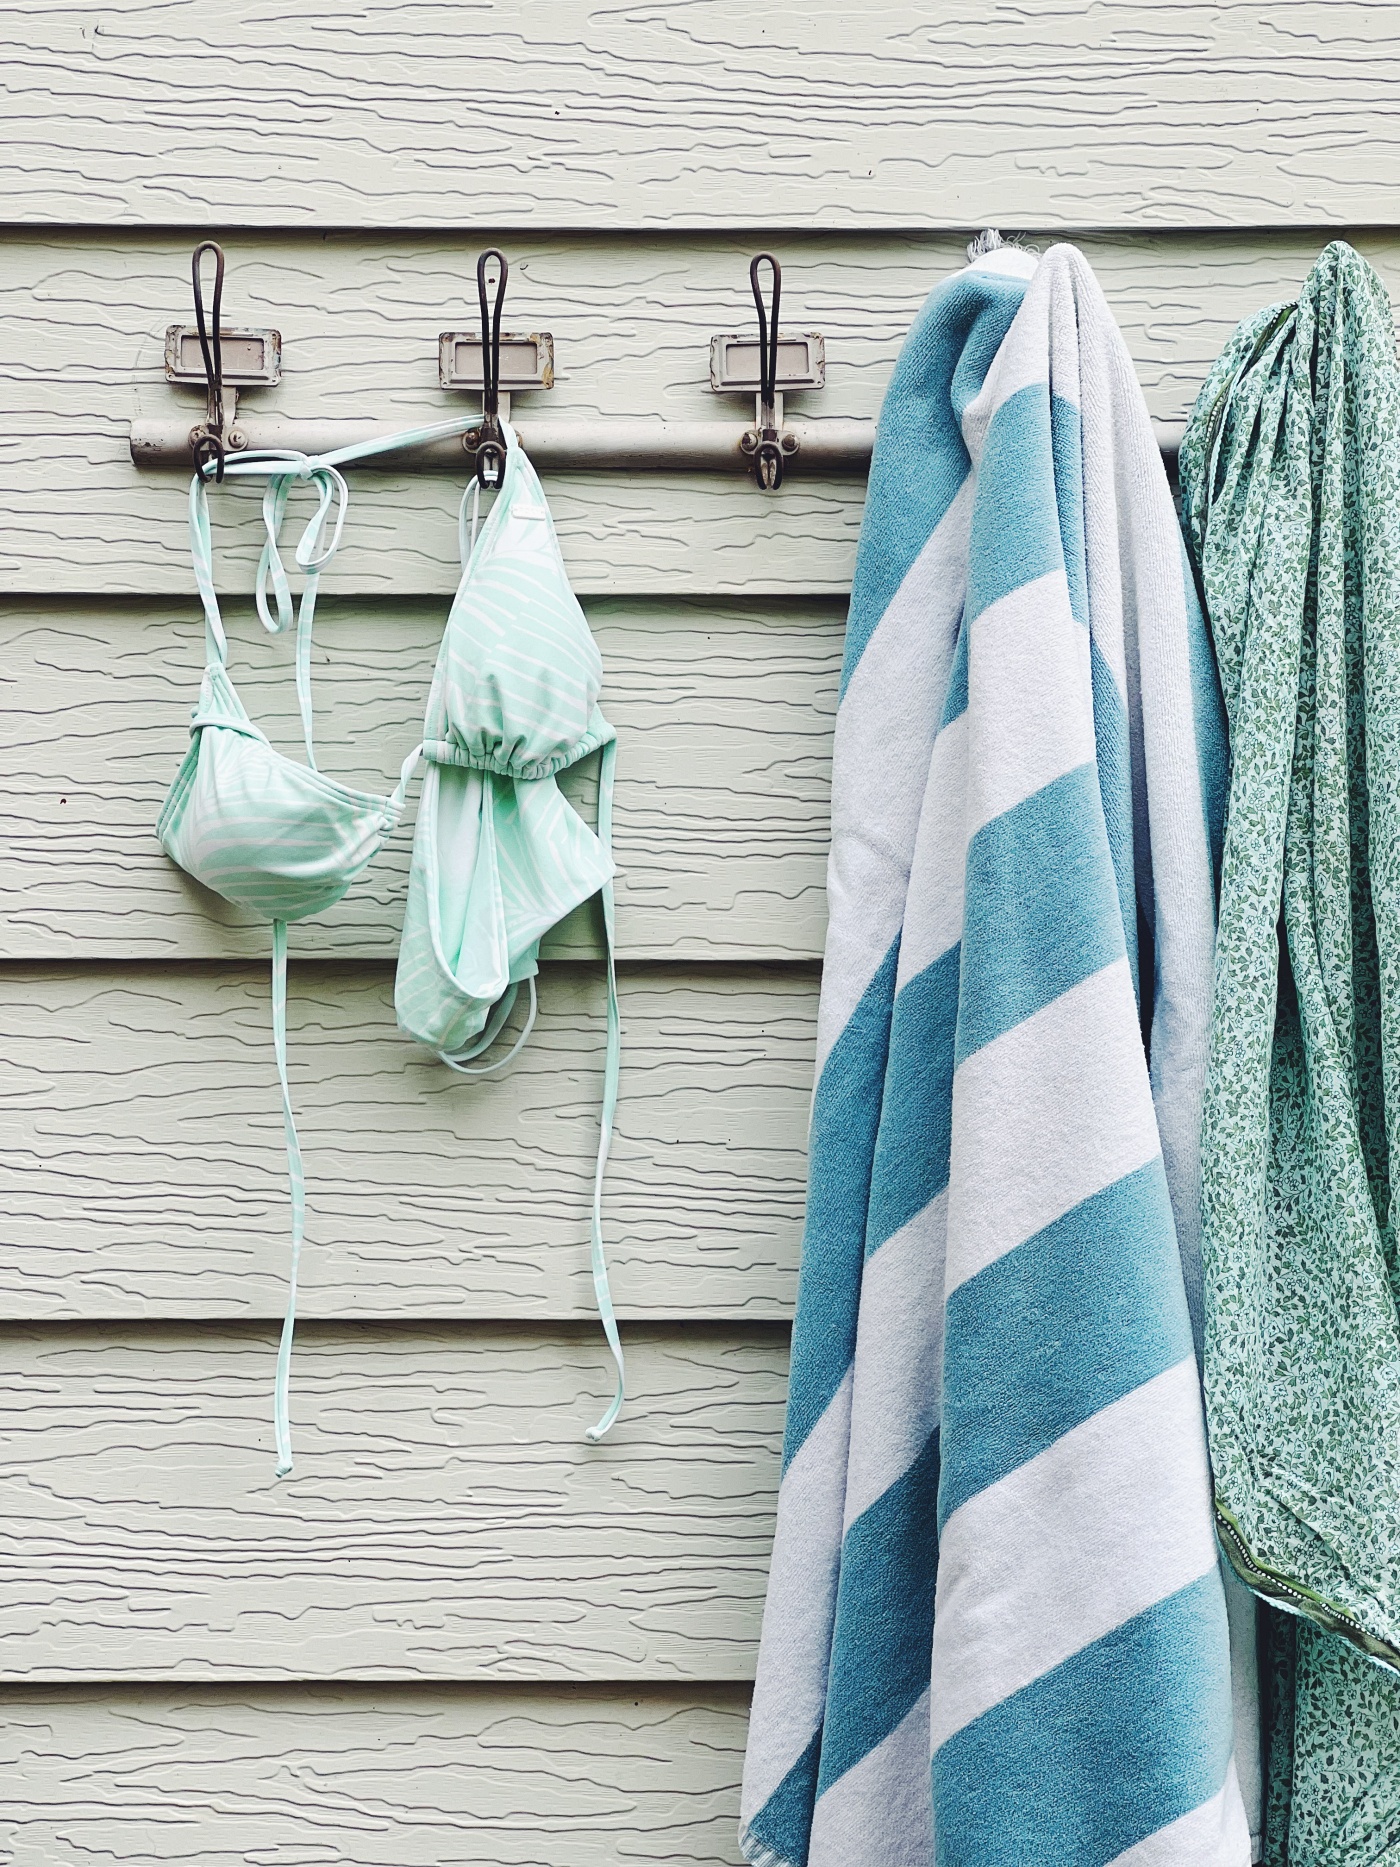
It’s nice to have hooks by the back door. We’re always hanging different things on it from beach towels, to coats to garden tools, it gets a lot of use.
I had to share this next picture because of how cute our Stormy dog looks 🐾
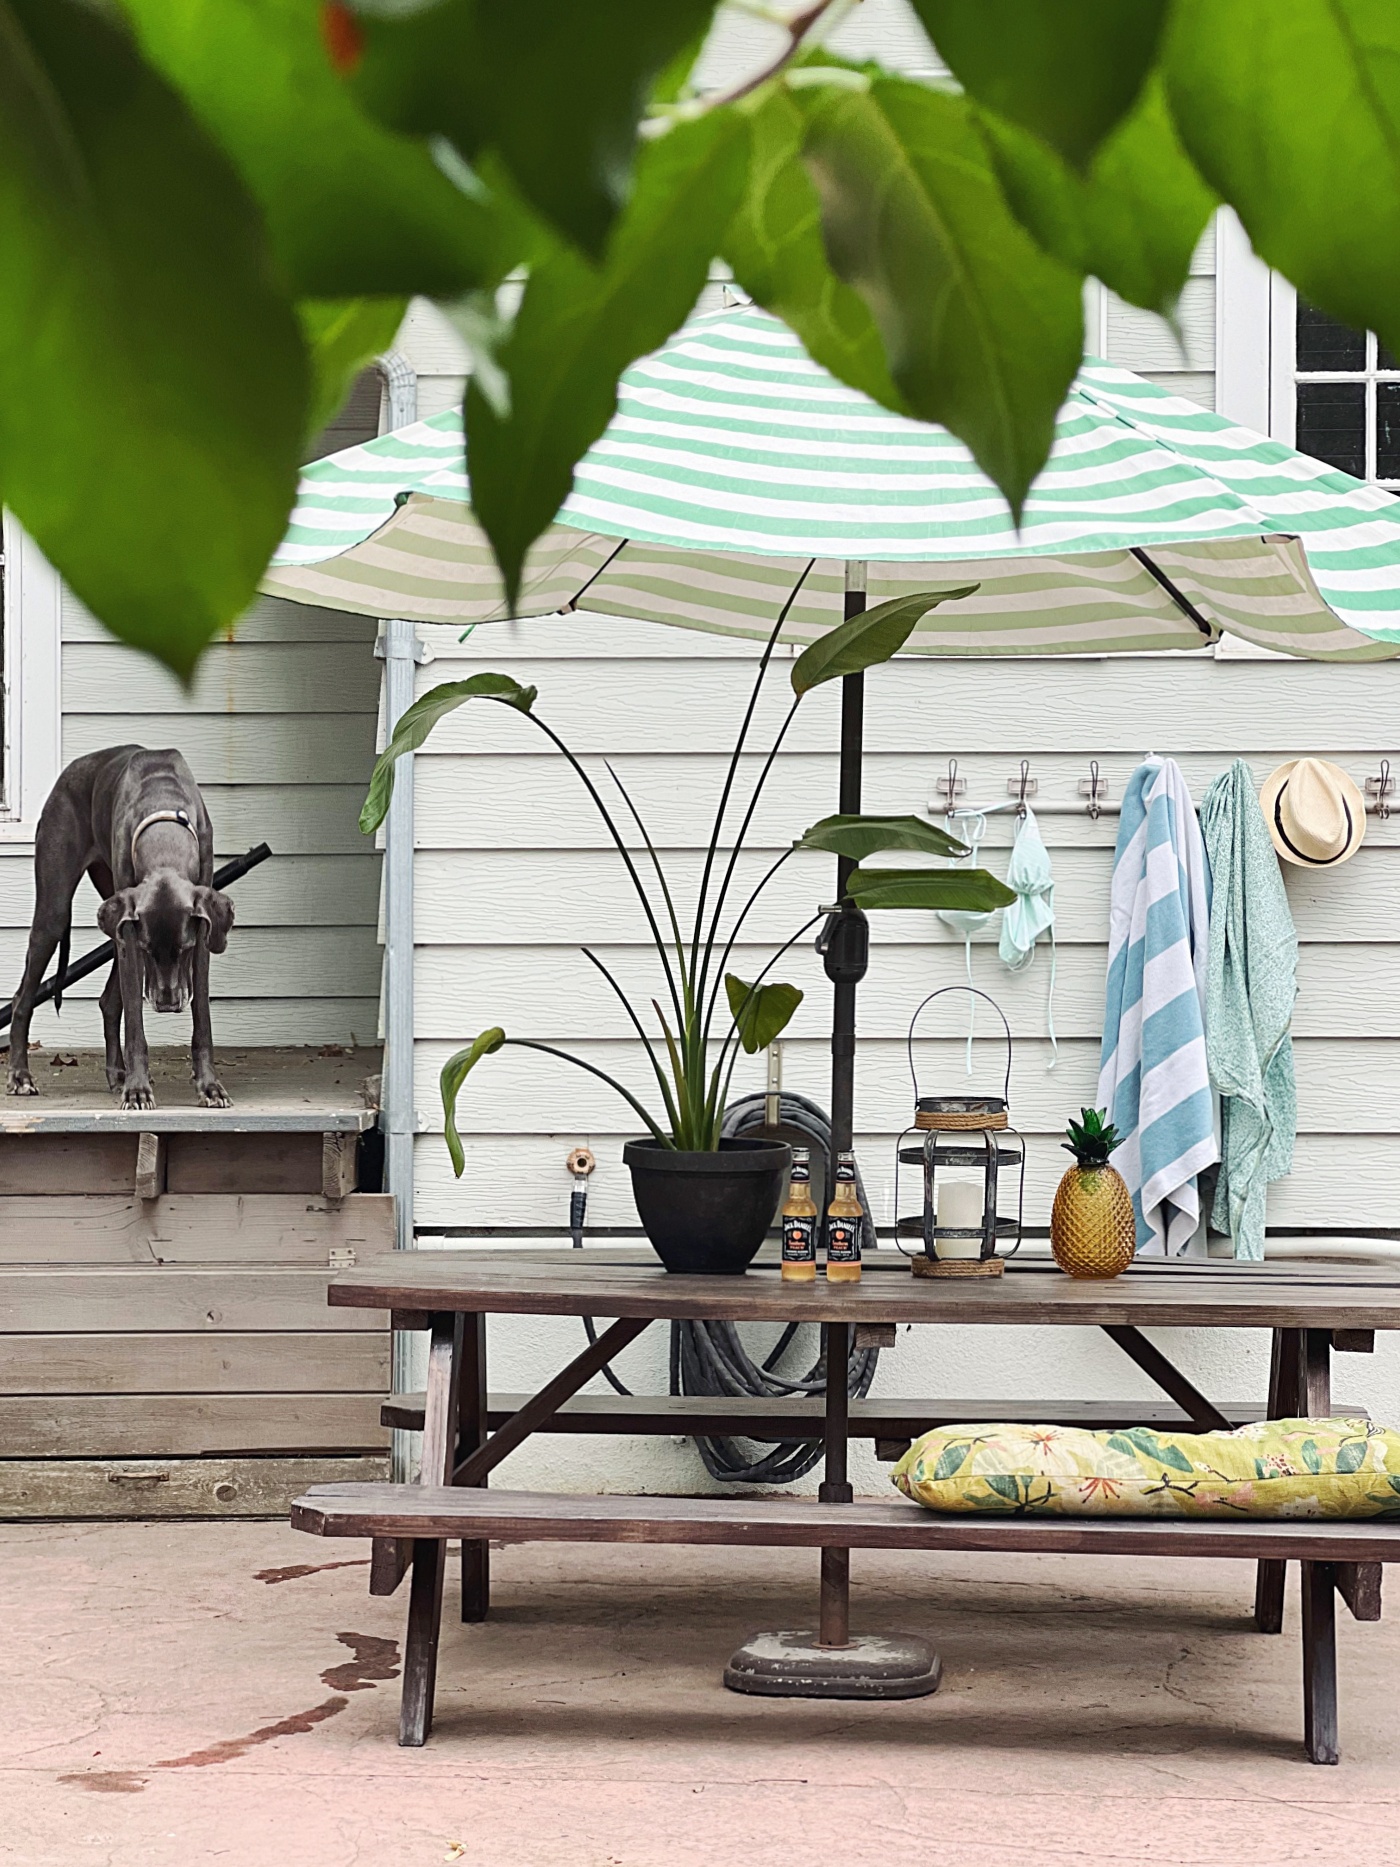
You can spot our backyard Beach Cabana in the background here. Did you catch my blog post about the Cabana? It was a big project, Jake and I tore down our play fort and built us a cabana. See more HERE. And then I shared a follow up post, about some additions we added to the Cabana, Seen Here.
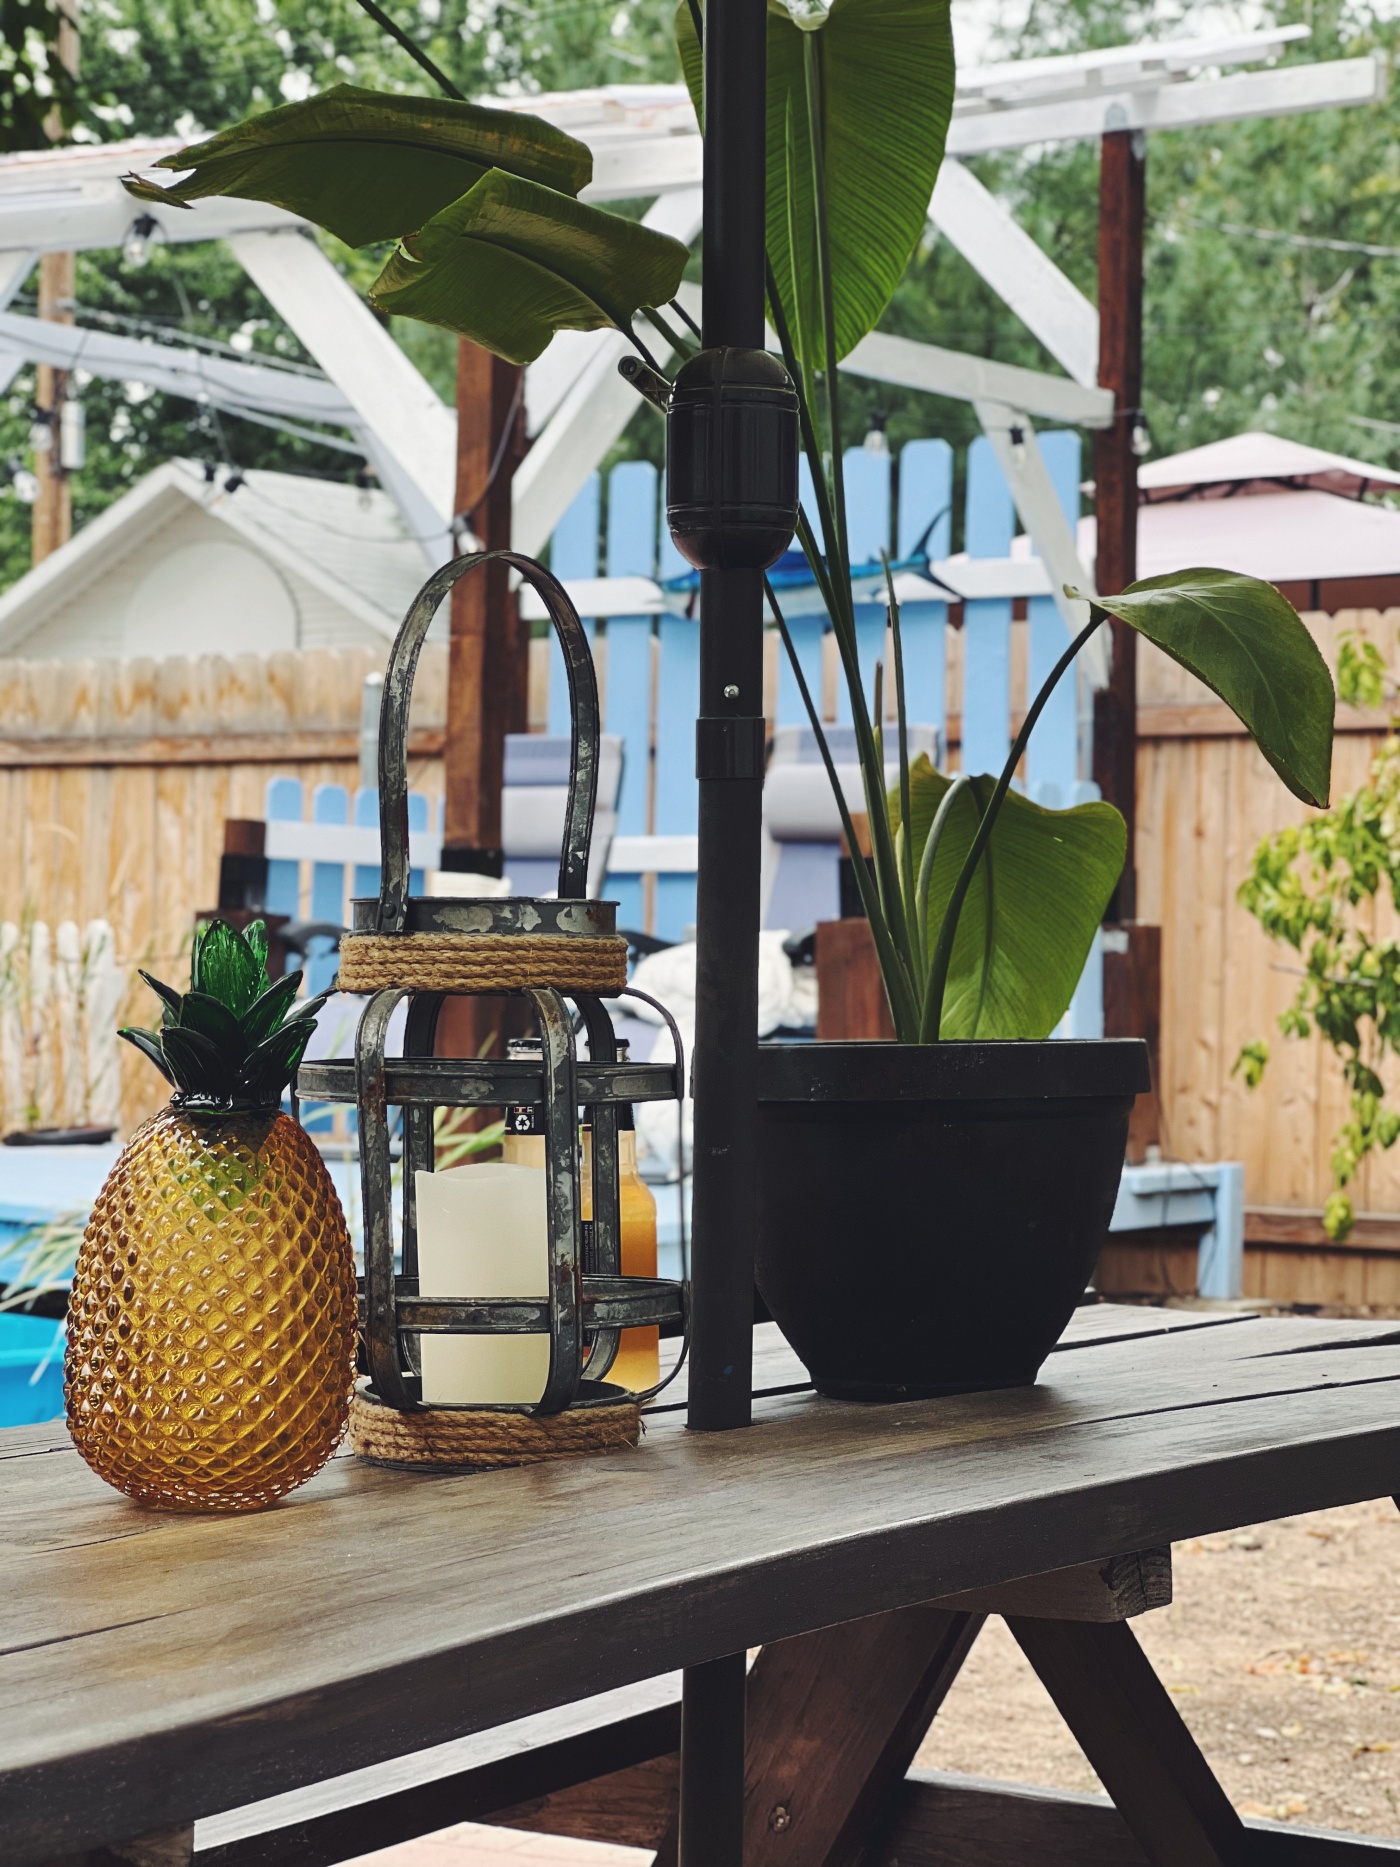
And then to make this space feel more beachy, (like I like to do) I brought out a tropical plant, a glass pineapple, and a lantern….and I guess a couple of beers too 😉
So Please tell me, what do you think of the re-stained picnic table? Any questions about anything? Let me know in a comment below or come chat with me on Facebook and/or Instagram.
If you like today’s post, you are welcome to PIN it along with any of the images from my blog on PINTEREST. Find a Pin It button by hovering over any of the pictures.
Thanks for stopping by today,
Emily
