A few months ago I shared this project over at Ella Claire.
And today I thought I’d re-share it here on my own blog for any of you
who may have missed it.
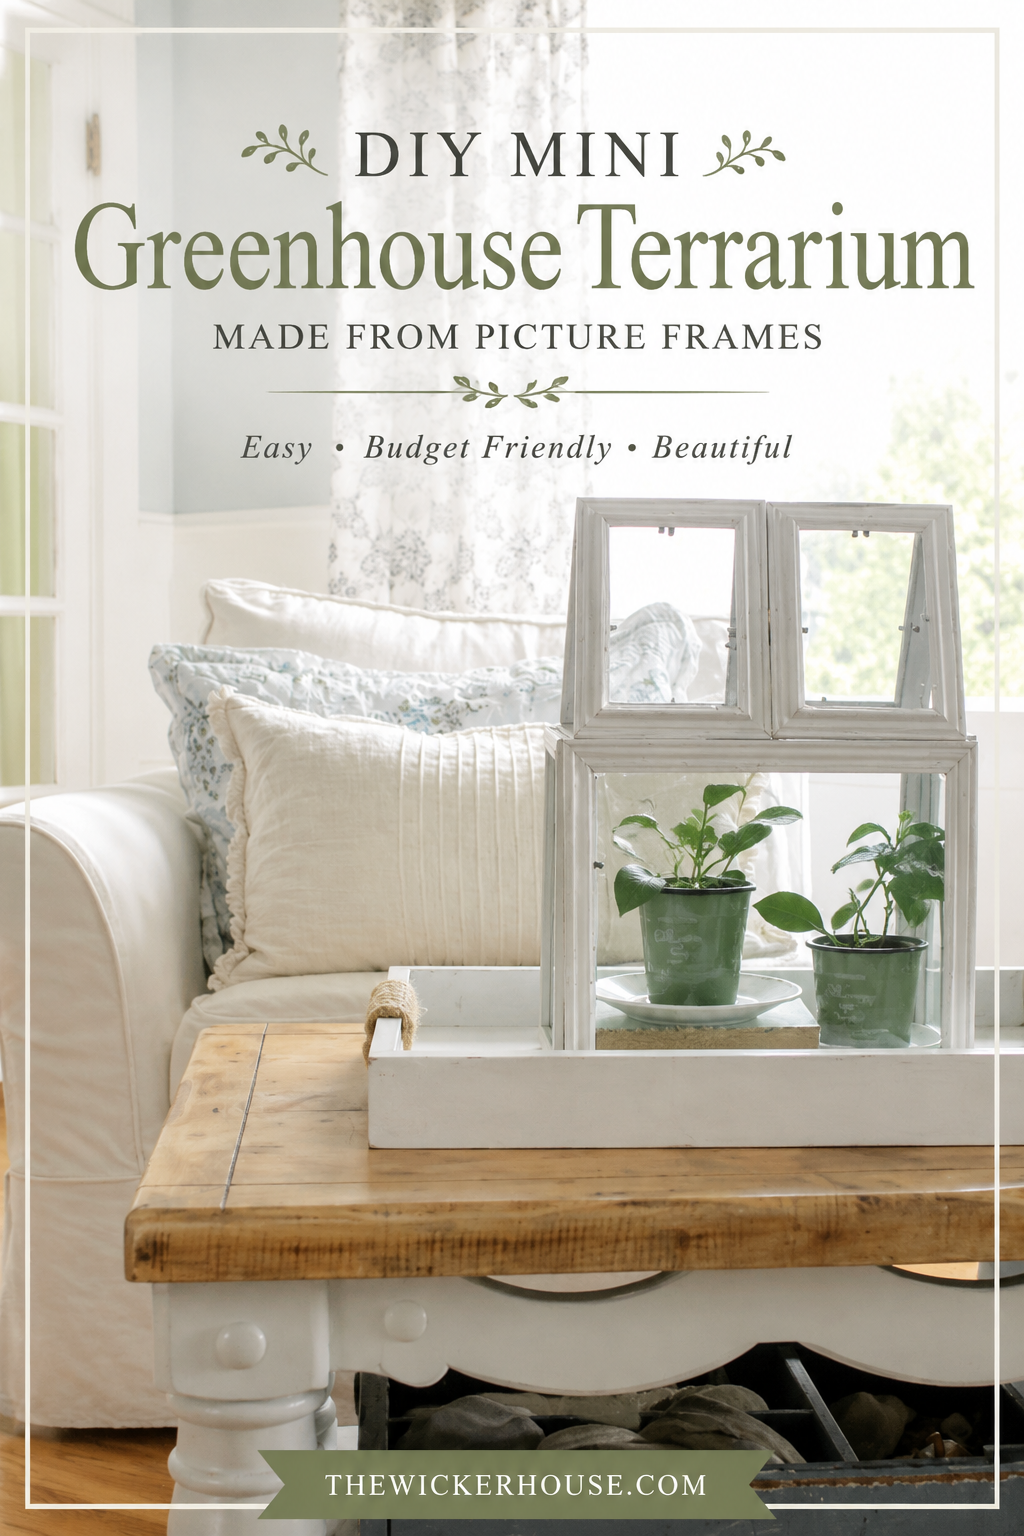
I made this terrarium out of picture frames I bought at the dollar store.
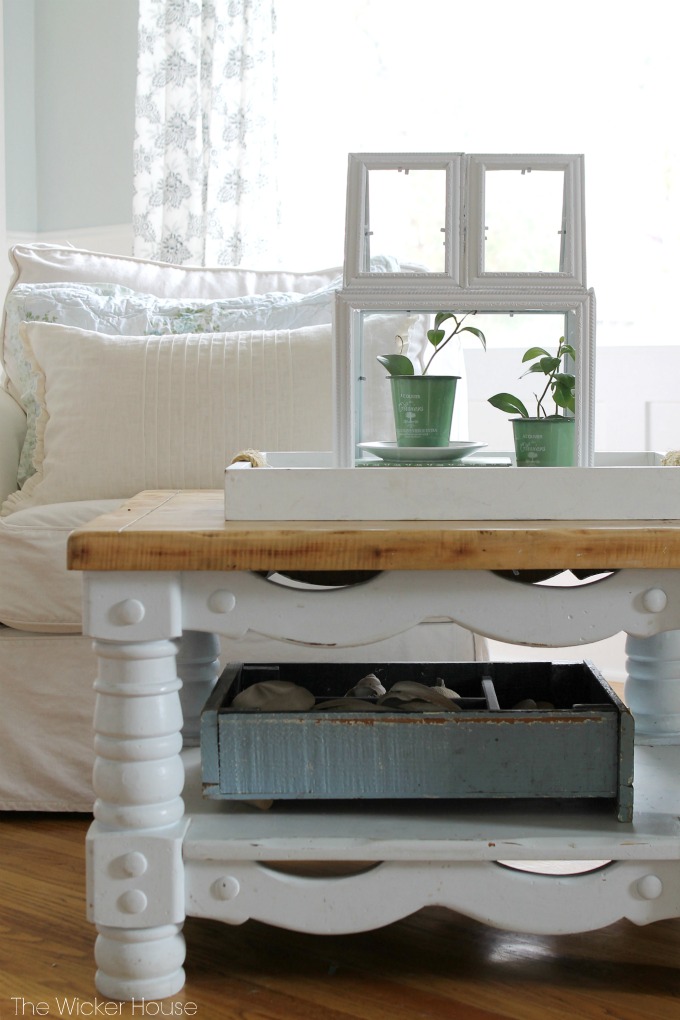
I came across this idea one day on Pinterest and decided to give it a try.
The instructions I found were somewhat complicated and so
I have come up with a simpler way to make one.

Other instructions involve brackets, screws and hinges.
I made mine with lightweight frames, hot glue, and white duct tape. Like I said, Simple 🙂
To make a picture frame greenhouse like mine, you will need to start out with
8 lightweight picture frames;
Two 8 X 10’s, Two 5 X 7’s and four 4 X 6’s
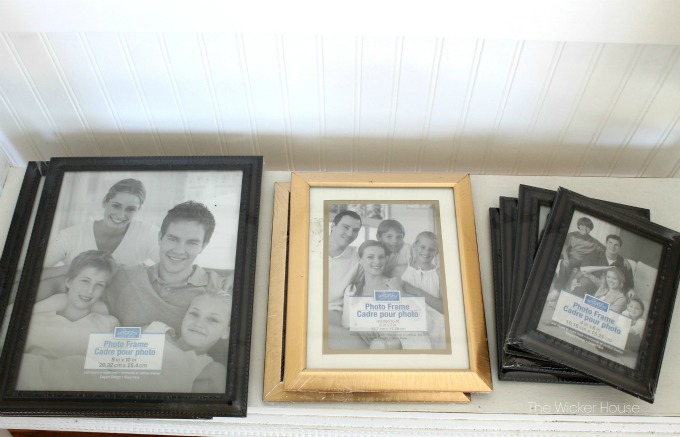
The perfect place to find lightweight frames is at the dollar store.
The frames need to be lightweight so that they will hold together easily with just hot glue.
Before purchasing my frames, I laid them all out on the floor at the store, making sure that they lined up perfectly together.
The two 4 X 6’s next to each other need to be equal length to the 8 X 10’s
When you get your frames home, the first step will be to paint them.
Remove the glass and backing of the frames, then spray paint them on both sides.
I used Rustoleum semi-gloss spray paint.
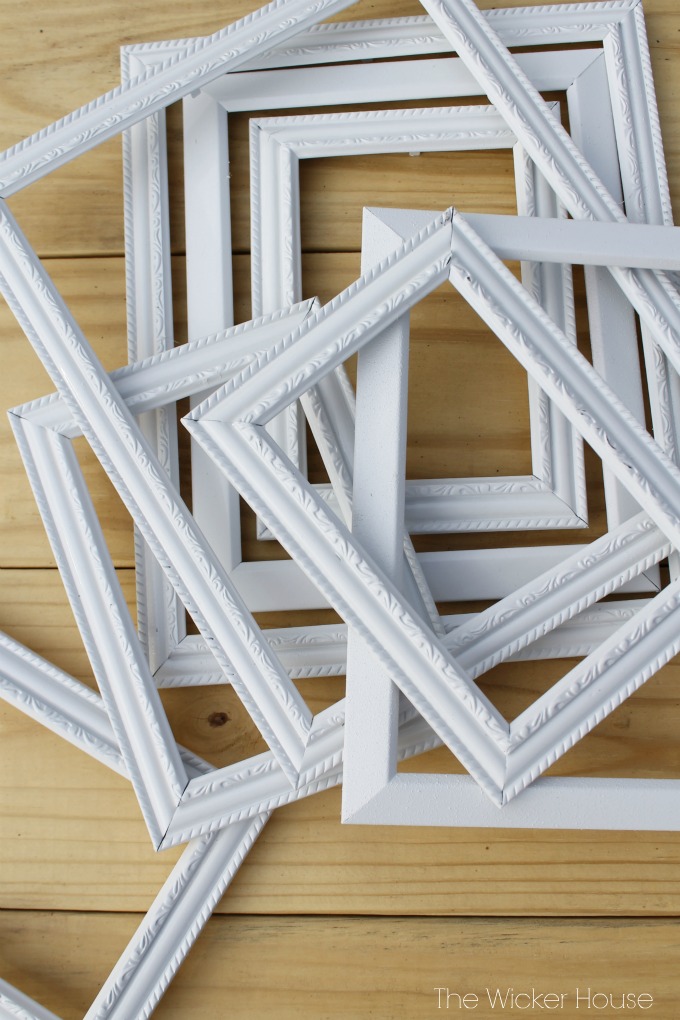
Once the paint is dry, it’s time to glue the glass back into the frames.
Place hot glue in each of the four corners of the frame.
Be careful not to add too much or it will show through the glass.
Now lay the glass into place.
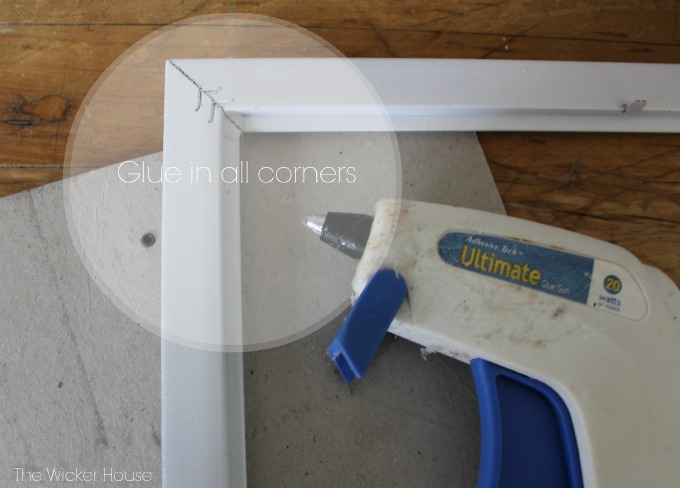
Secure with the metal tabs.
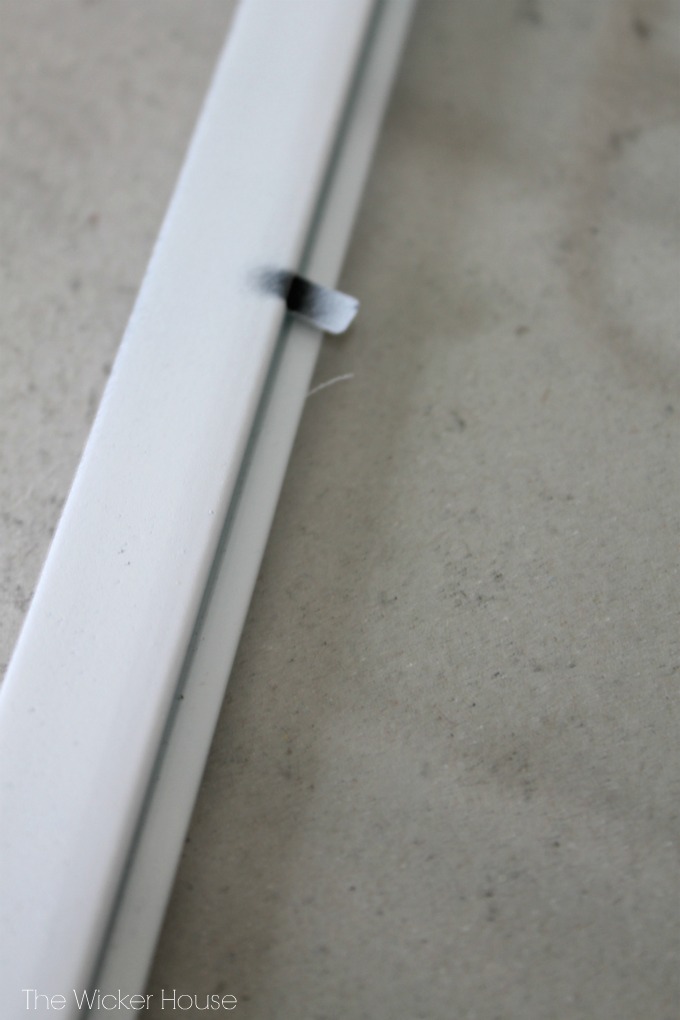
Now run the glue gun down into the cracks between the frame and glass.
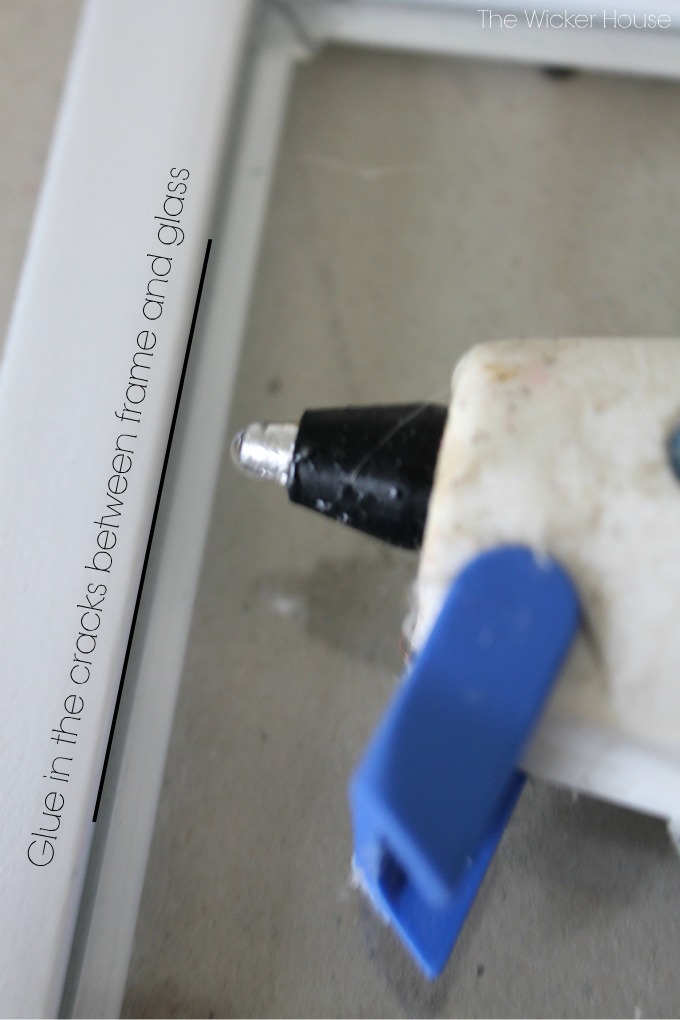
Once all of the glass is glued into the frames, it’s time to construct the greenhouse.

Run the glue gun down the side of your 5 X 7 frame and glue onto your 8 X 10 frame.
Contunue glueing on each frame until you have created a box.
Now run the glue gun at each corner on the inside of the box. This will help to secure it even more.

To create the roof, first glue the 4 X 6’s to each other lengthwise. You will be making two that look like this:

You will NOT be gluing all four frames together, instead you will want to use white duct tape.
The duct tape will create a flexible edge that will allow for the roof top to fold over.
Note: I also added duct tape over the sides I had glued together, but realized later that this was unnecessary. You only need to tape the four frames together (see line below).

It helps to have someone holding the roof while the other person is gluing it into place.
Once the roof is on, your greenhouse is finished and should look like this:

Place greenhouse over your favorite little plants next to a sunny window, and watch the plants grow.


I don’t think I could be any happier with how my green house turned out.

What do you think? Any questions about anything? Let me know in a comment below or come chat with me on Facebook and/or Instagram.
If you like today’s post, you are welcome to PIN it along with any of the images from my blog on PINTEREST. Find a Pin It button by hovering over any of the pictures.
If you like the type of decor that I share, then be sure to check out my SHOP MY FAVORITES Page. I keep it updated with all of the fun Coastal, Cottage, and Farmhouse Decor that I come across on a daily basis. I personally want EVERYTHING that I have listed there.
You can also Check out my Amazon Page HERE. It too is full of all sorts of favorites.
Thanks for Stopping by,
Emily
Shop this post:
If you Like this post, You may like these too: