*Disclaimer: This blog post contains Affiliated links which means that I earn a small commission for purchases made through these link.
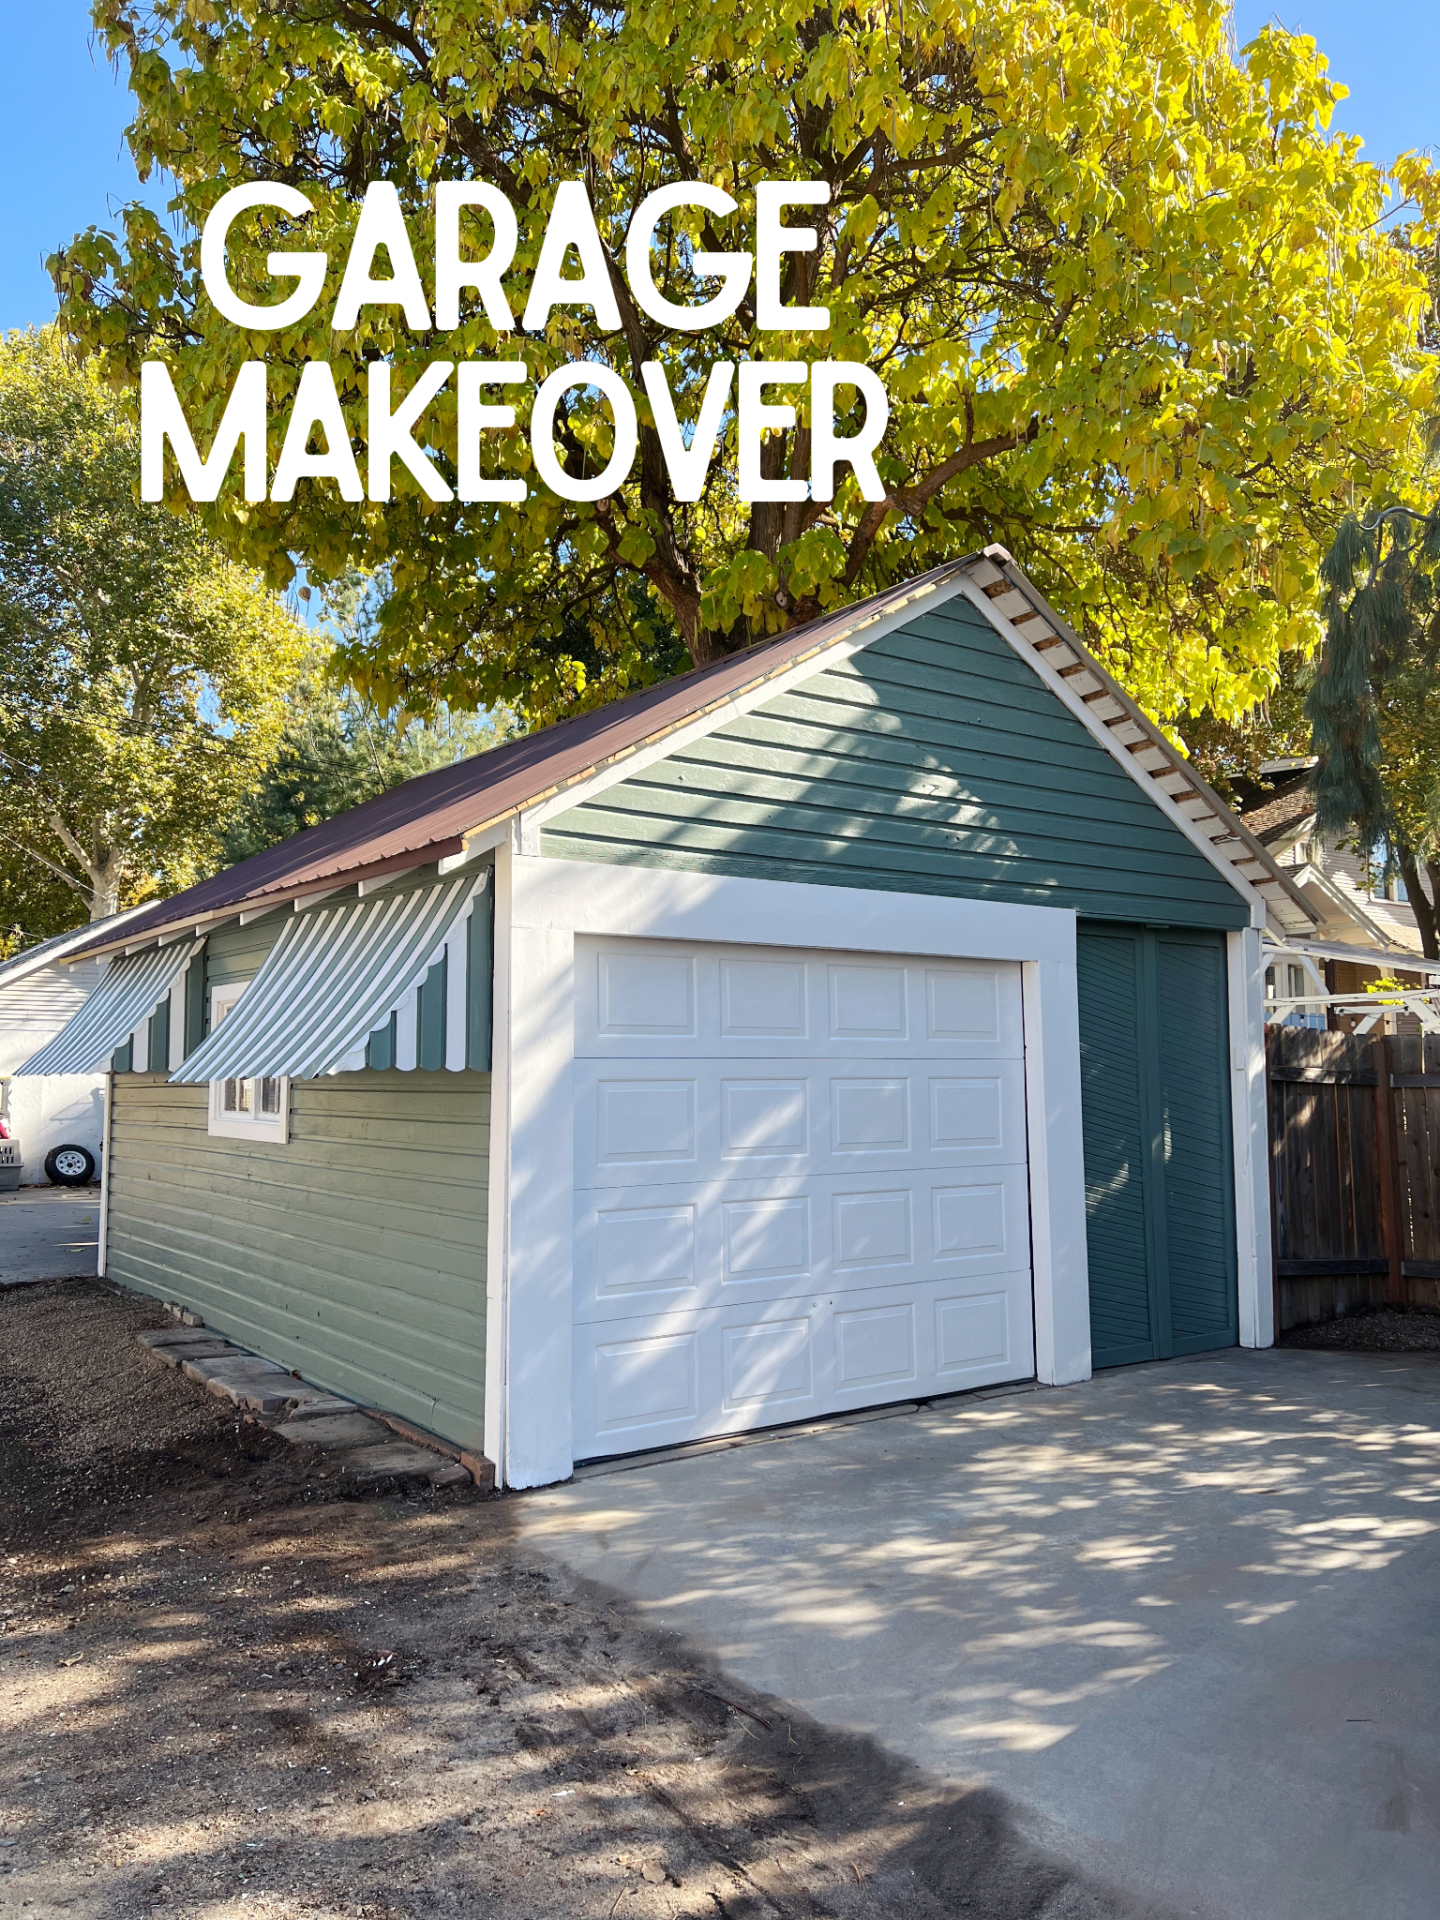
After a Month of labor and hard work, I’m so excited to get to share my finished Garage Makeover with you! Today’s post will be full of before and after pictures and some tips I’ve learned along the way. I also want to point out that I did this project all on my own, so if you are thinking of taking on a project like this on your own, then I hope I can encourage and inspire you to do it.
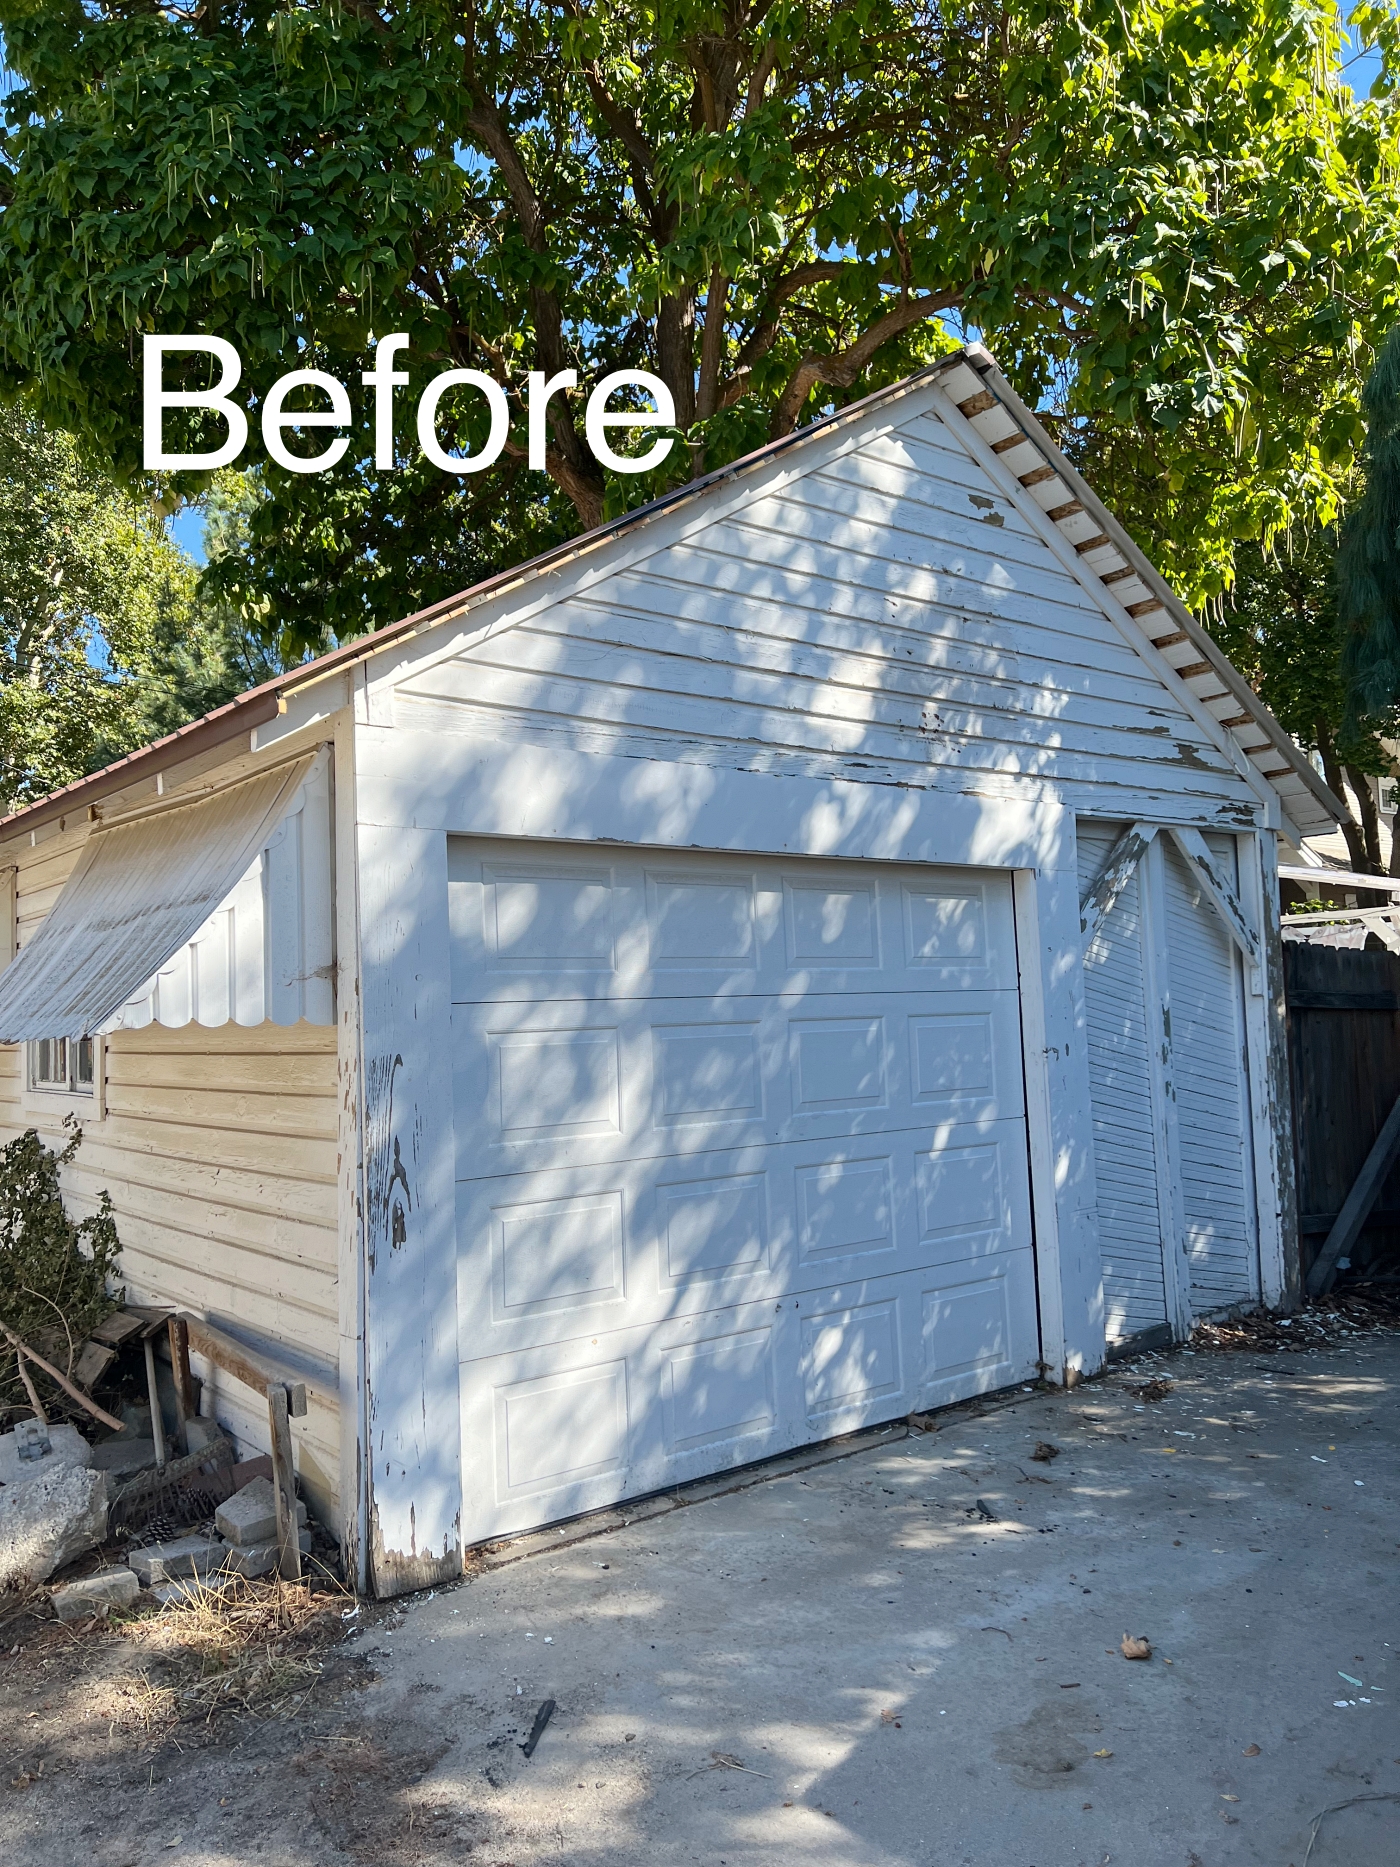
Our garage is detached from our house and is located in our backyard with an ally street driveway. It’s a very small garage, my neighbor even referred to it as a shed, in which I was offended by. I think it’s cute and has some charming details. Our house was built 100 years ago, and I believe this garage isn’t too much younger.

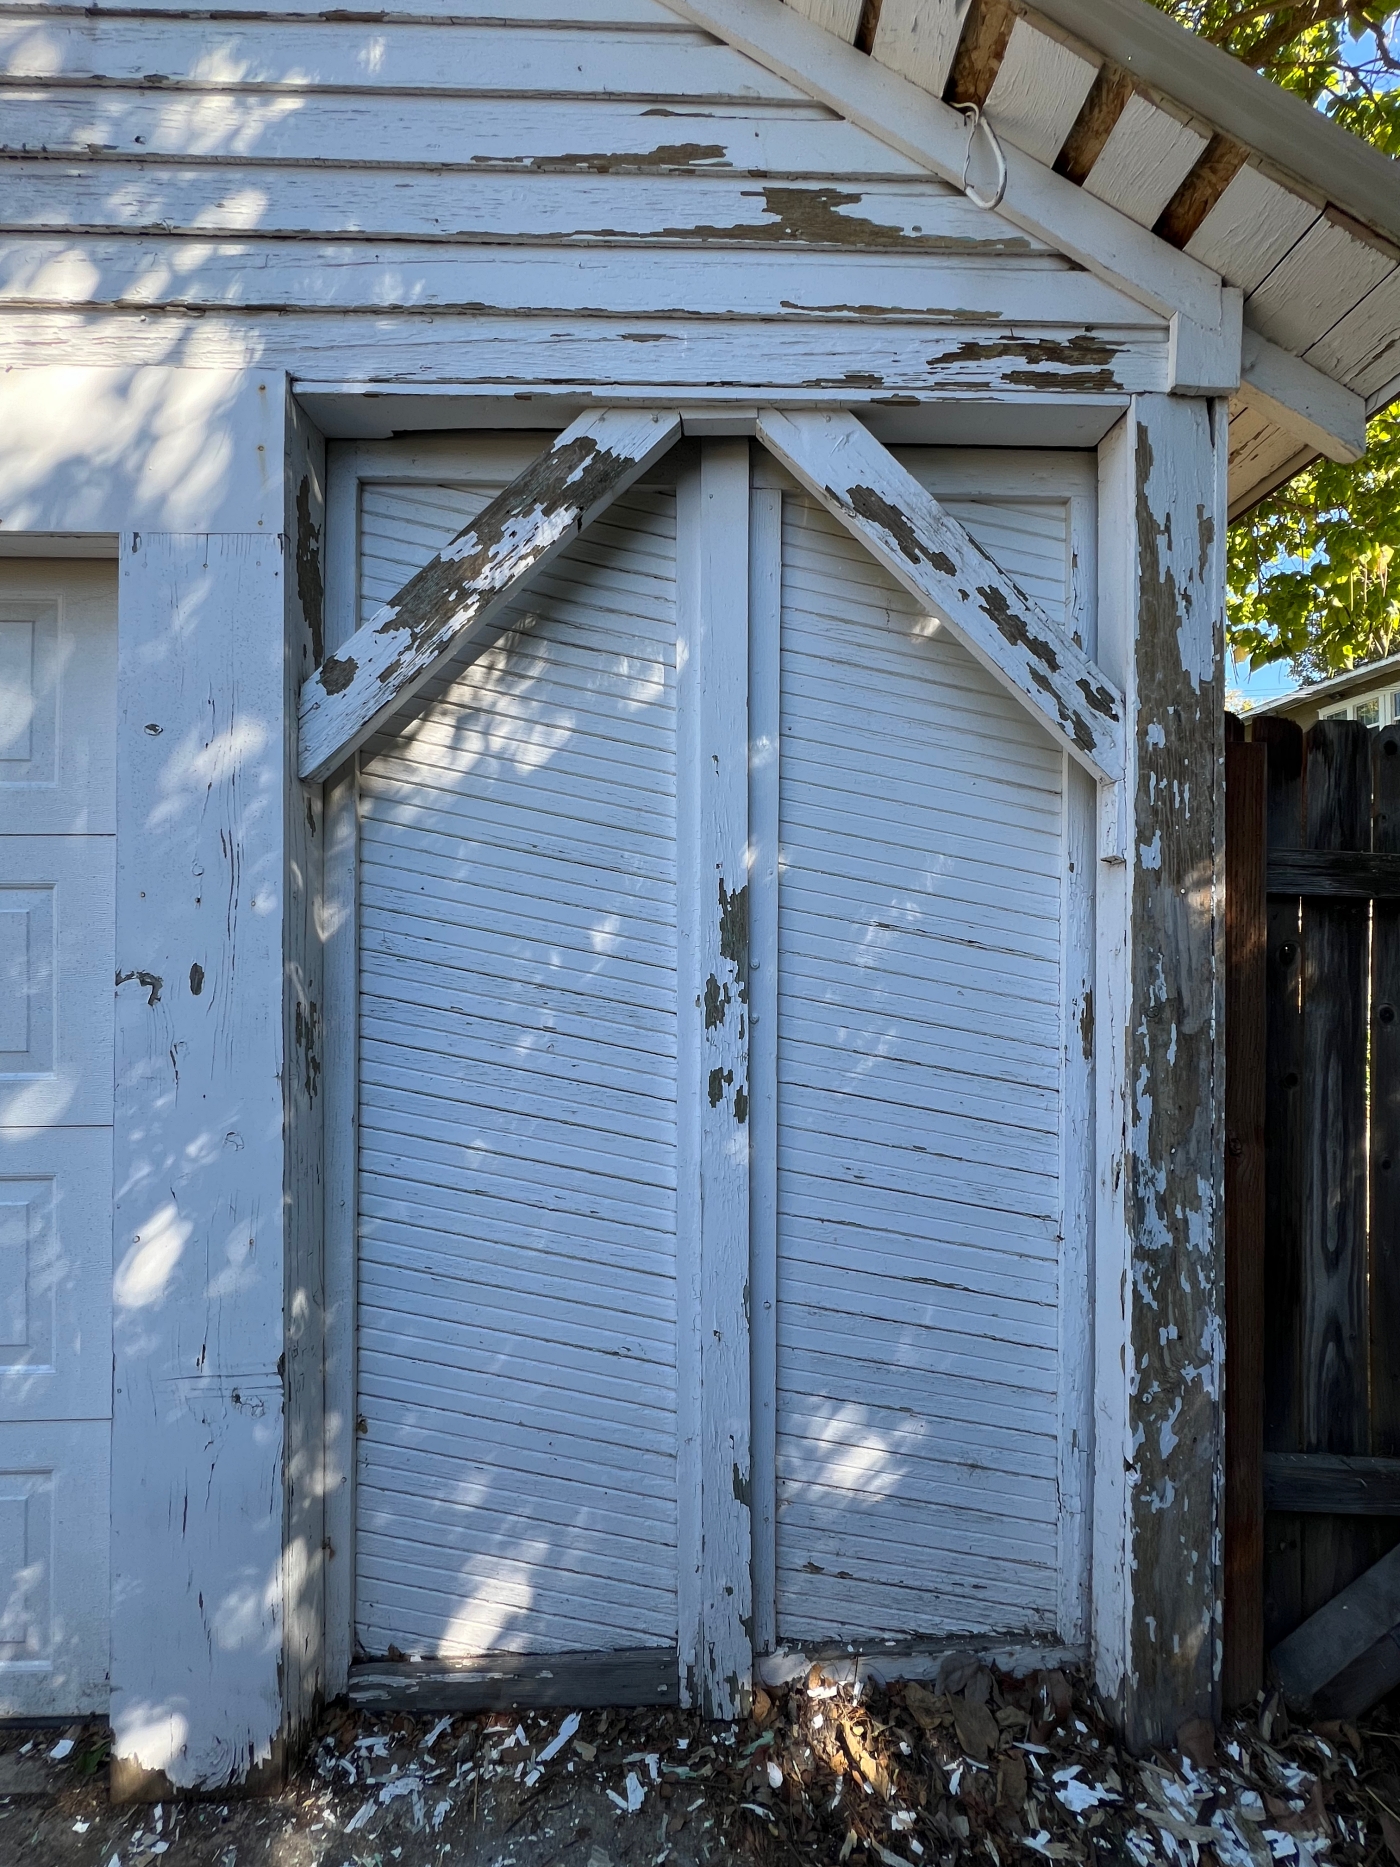
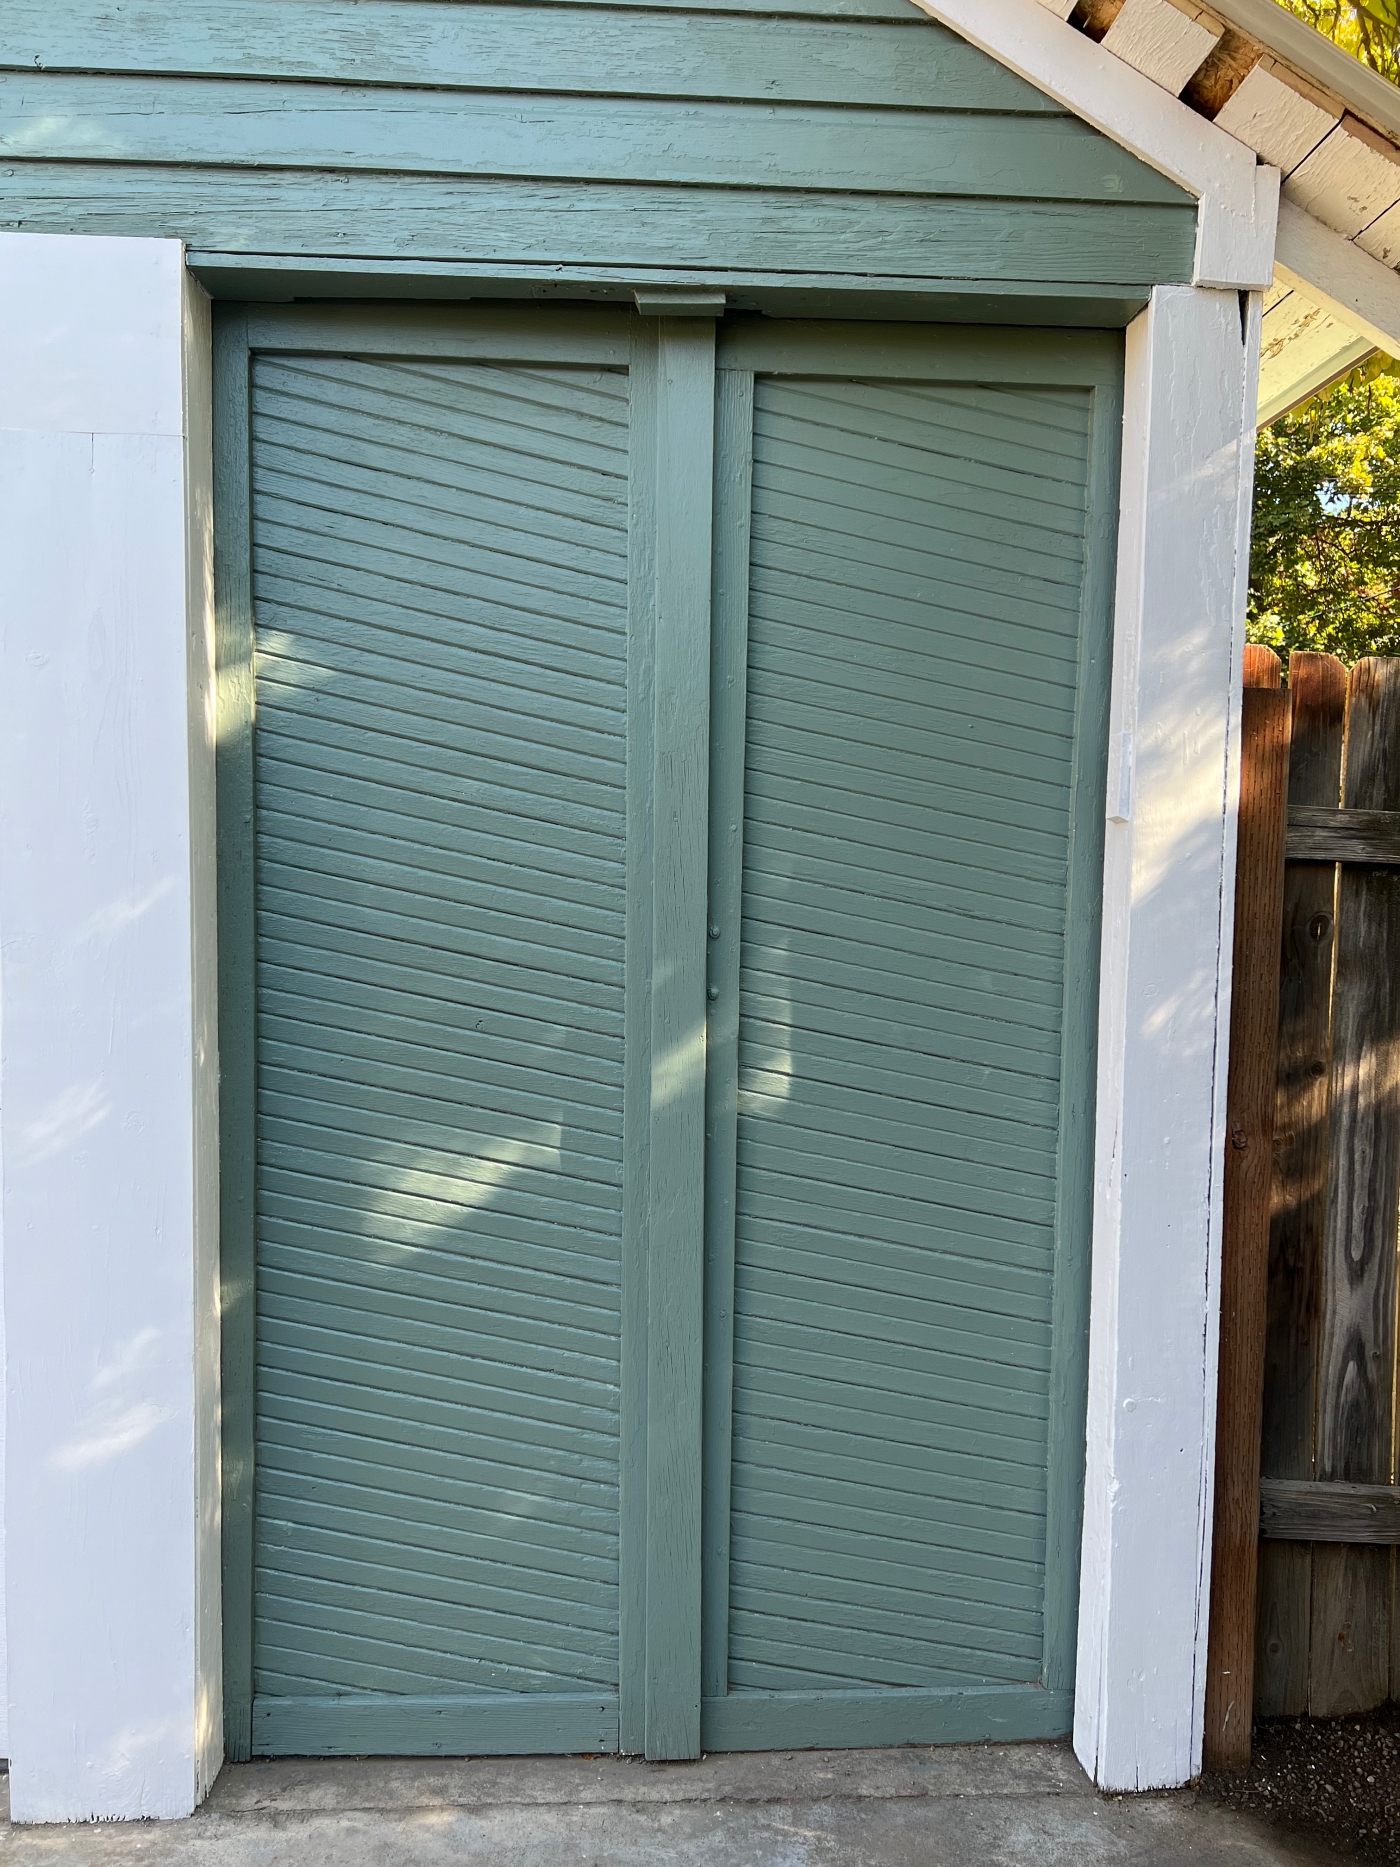
Part of what I’m calling “Charming details” is this old door. On the inside it has a slider rail like a barn door to open and close it.
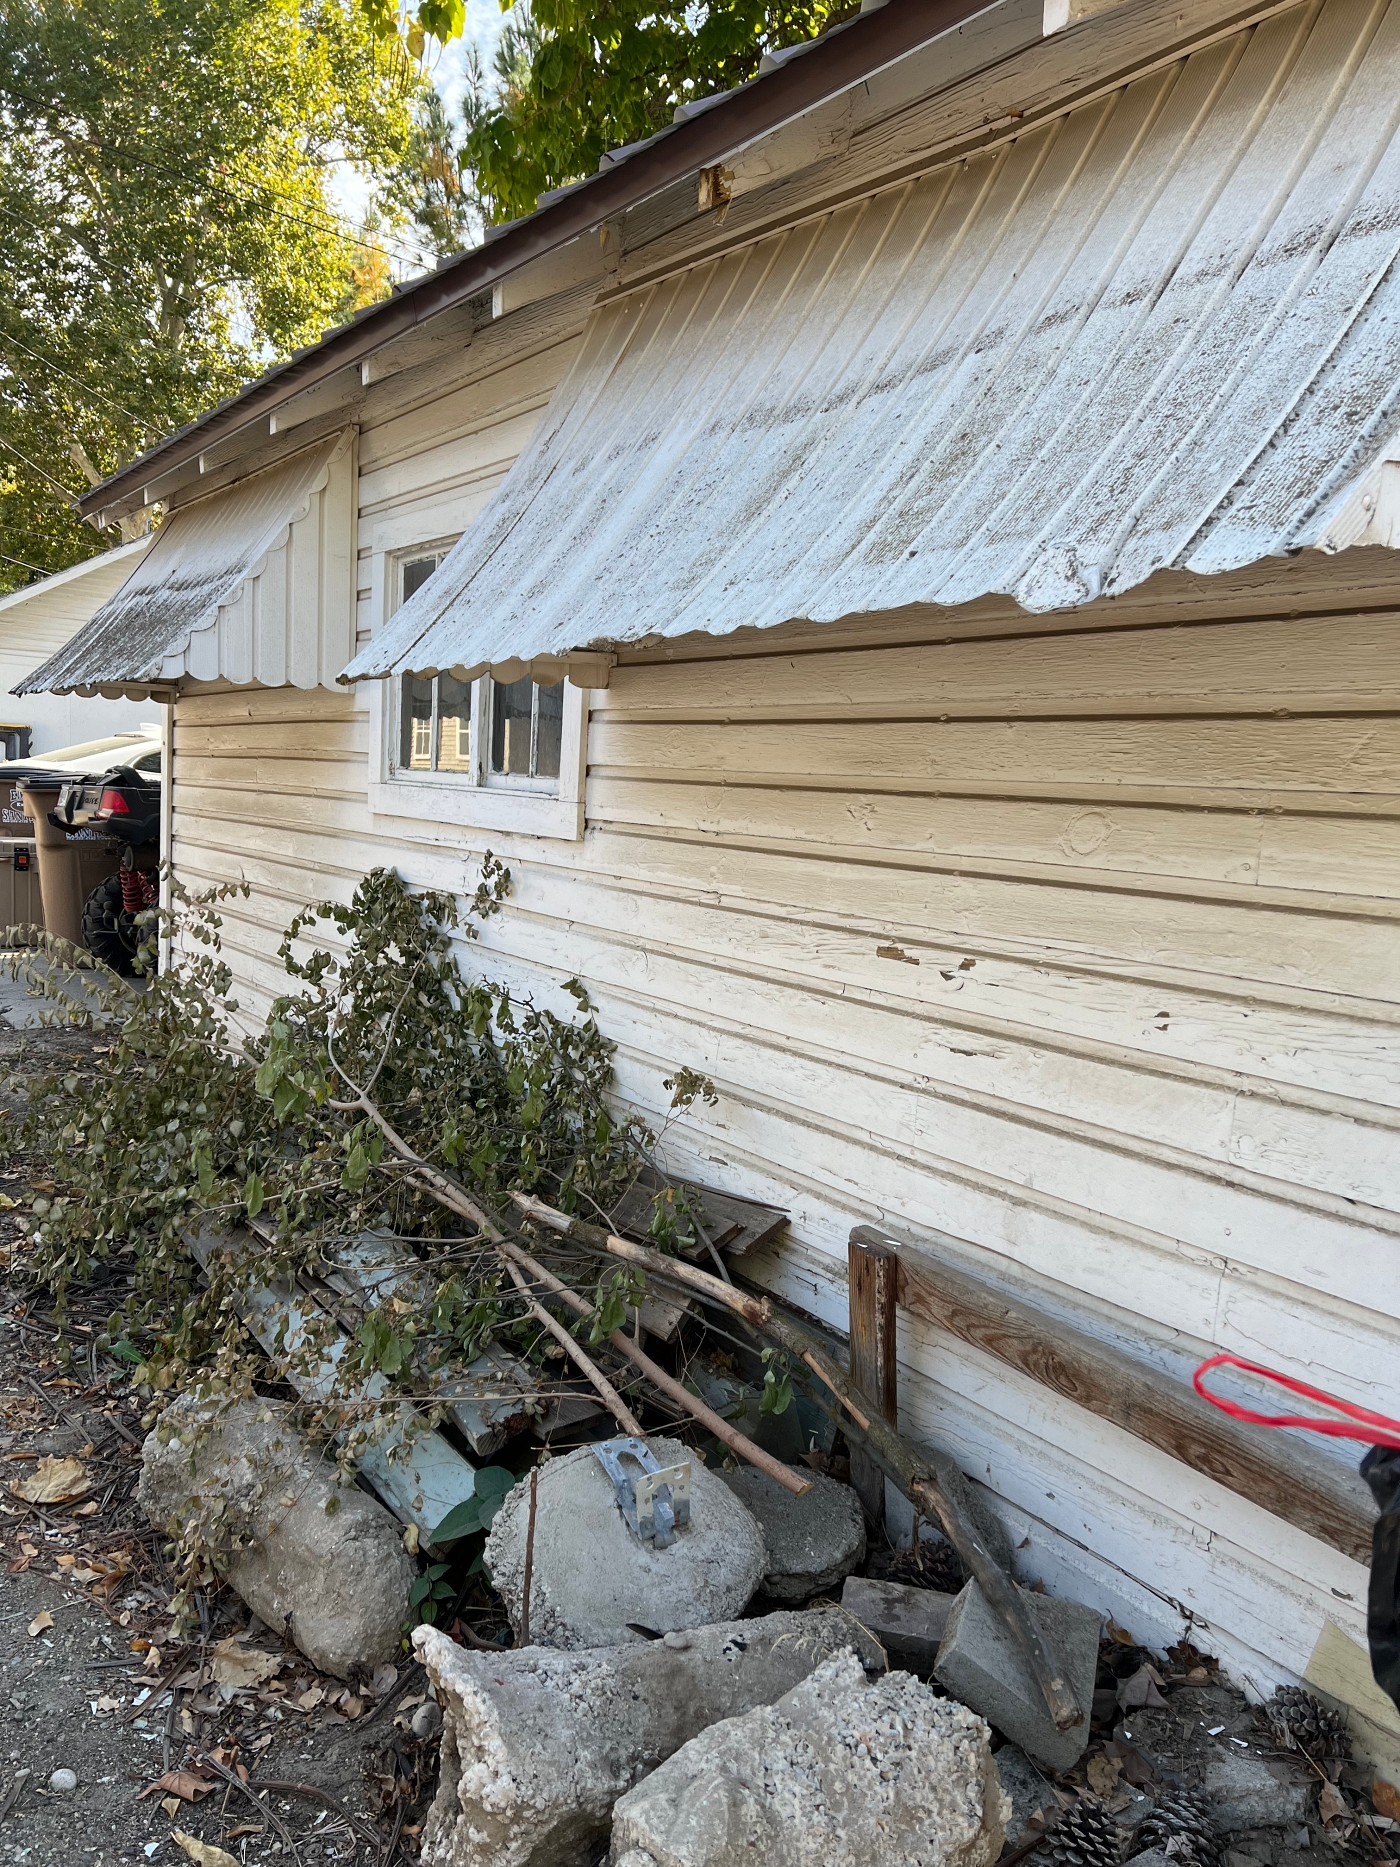
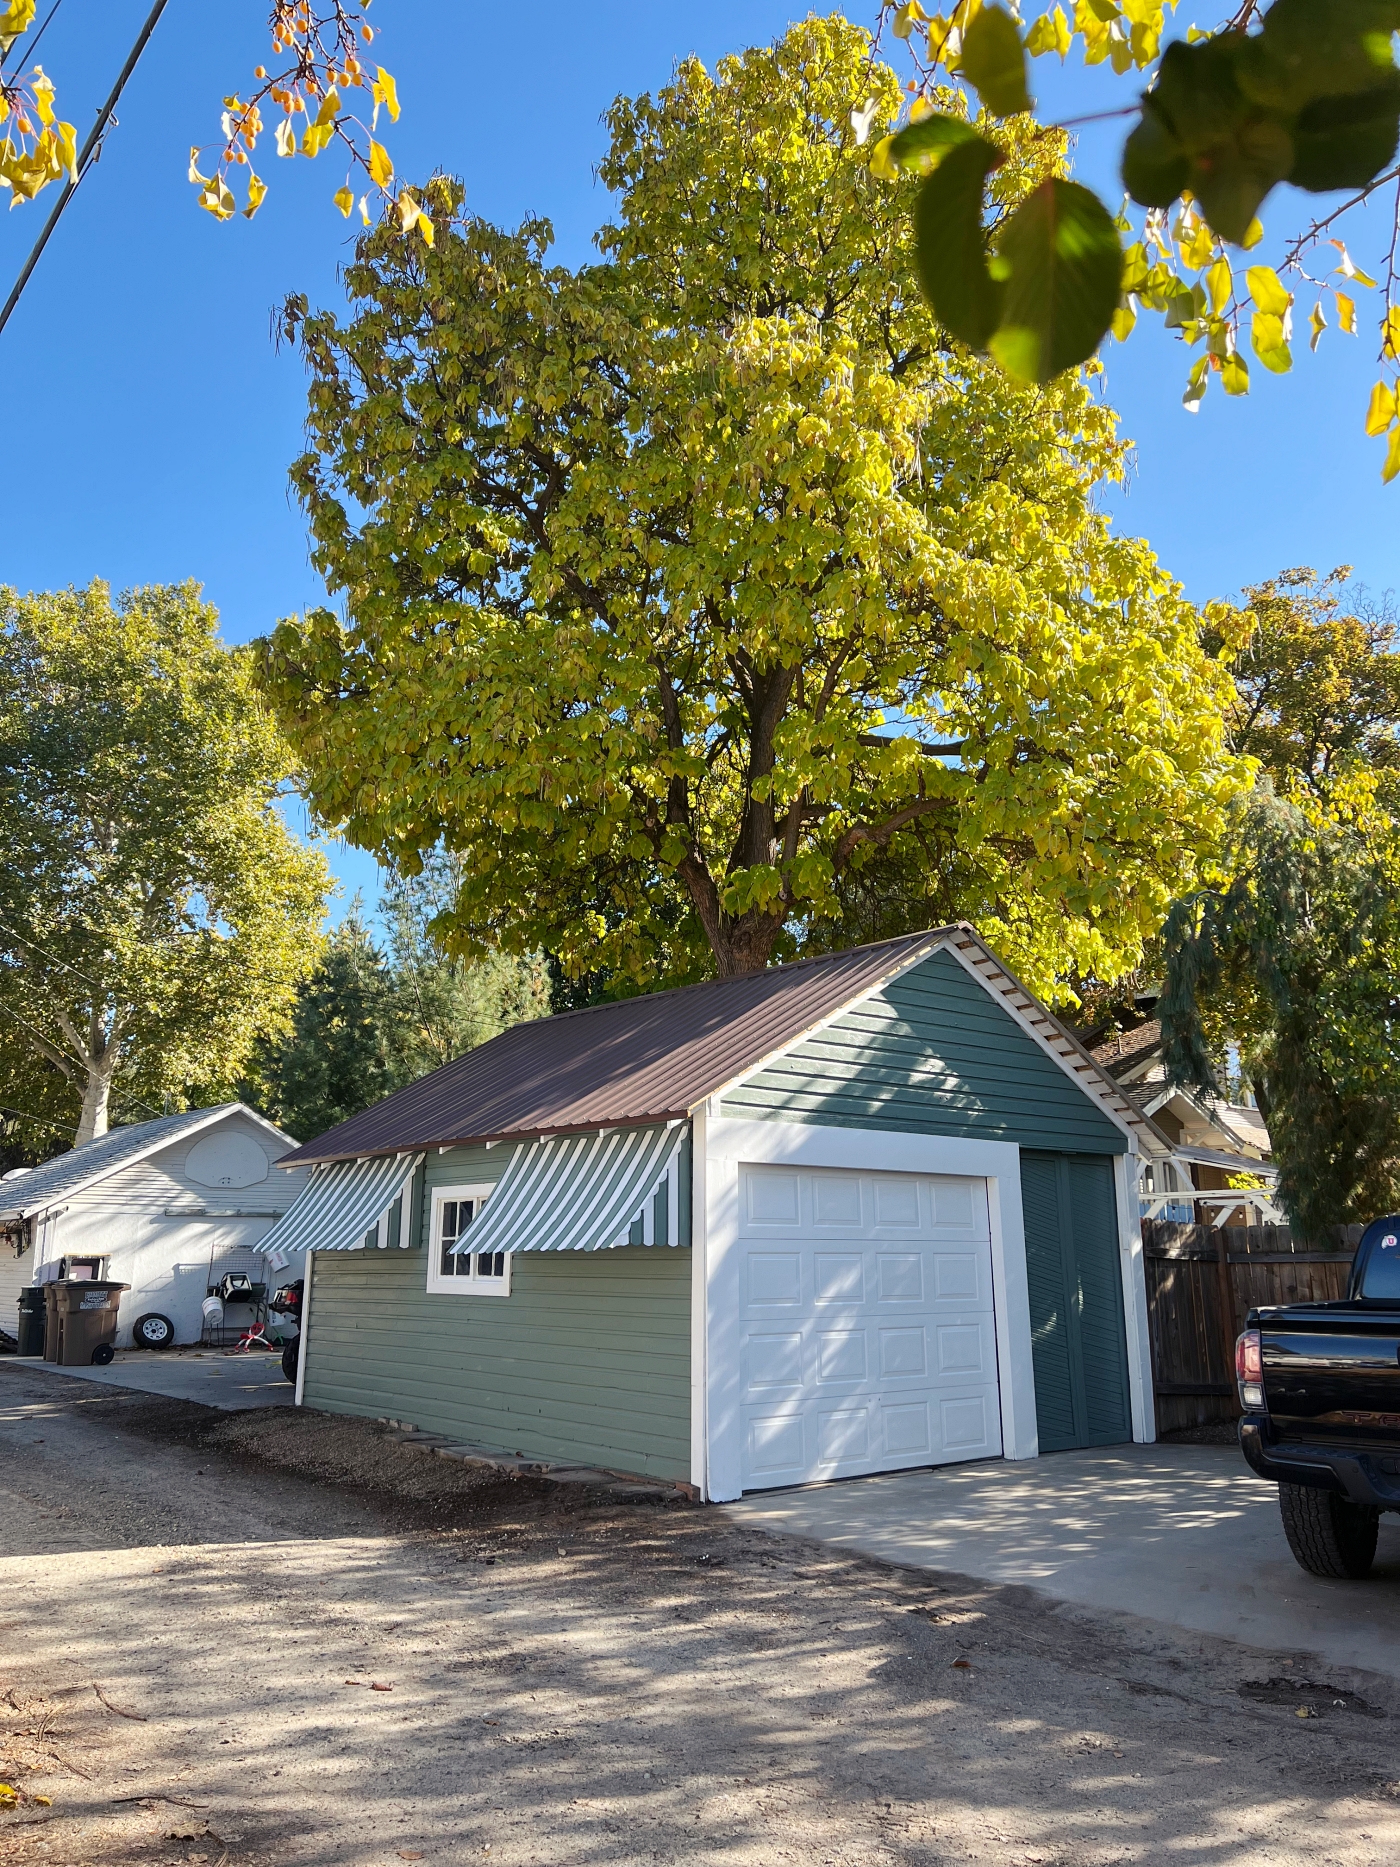
Also charming, are the metal awnings and an old window. Even though I have always thought of our garage to be cute and charming, it was in need of a makeover.
What inspired me to finally makeover our garage was that we got a new roof. It’s the same brown metal roof that we got on our home (Blog post Here). Re-roofing our garage was a lot more work than we thought it would be. The roofers had to completely remove the roof and add a new one. (not the frame, but all of the plywood). There was also old shaker shingles underneath the assault shingles that all had to be removed.
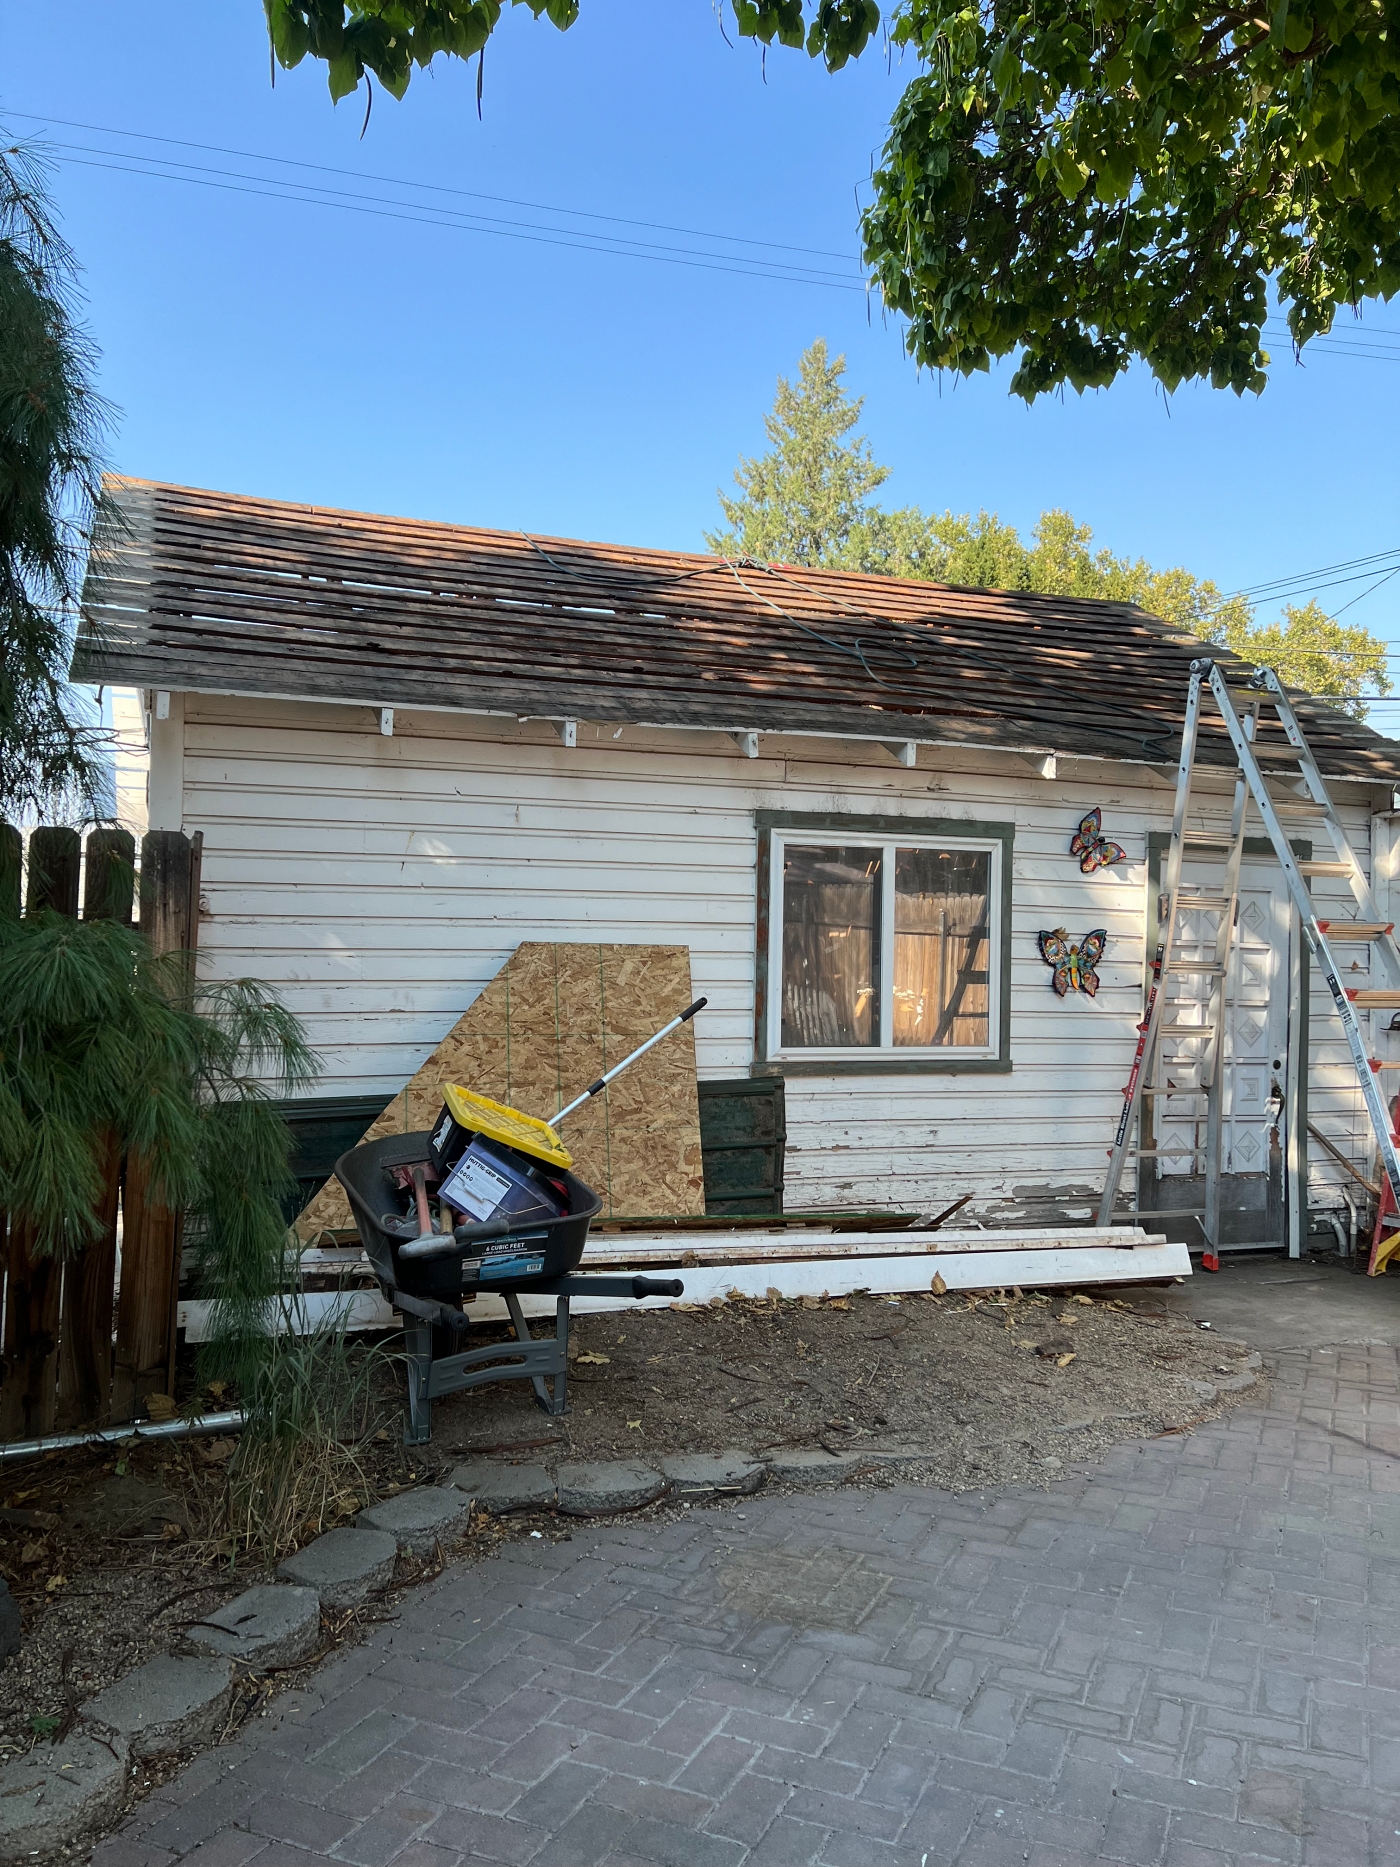
After our new roof was put on, I immediately wanted to re-paint our house. I decided that painting the garage first would be a wonderful way to choose a new color. I also knew that I could paint the garage myself so I got to work right away. I first had to do a ton of scrapping and sanding, but then it was time to choose a new color.
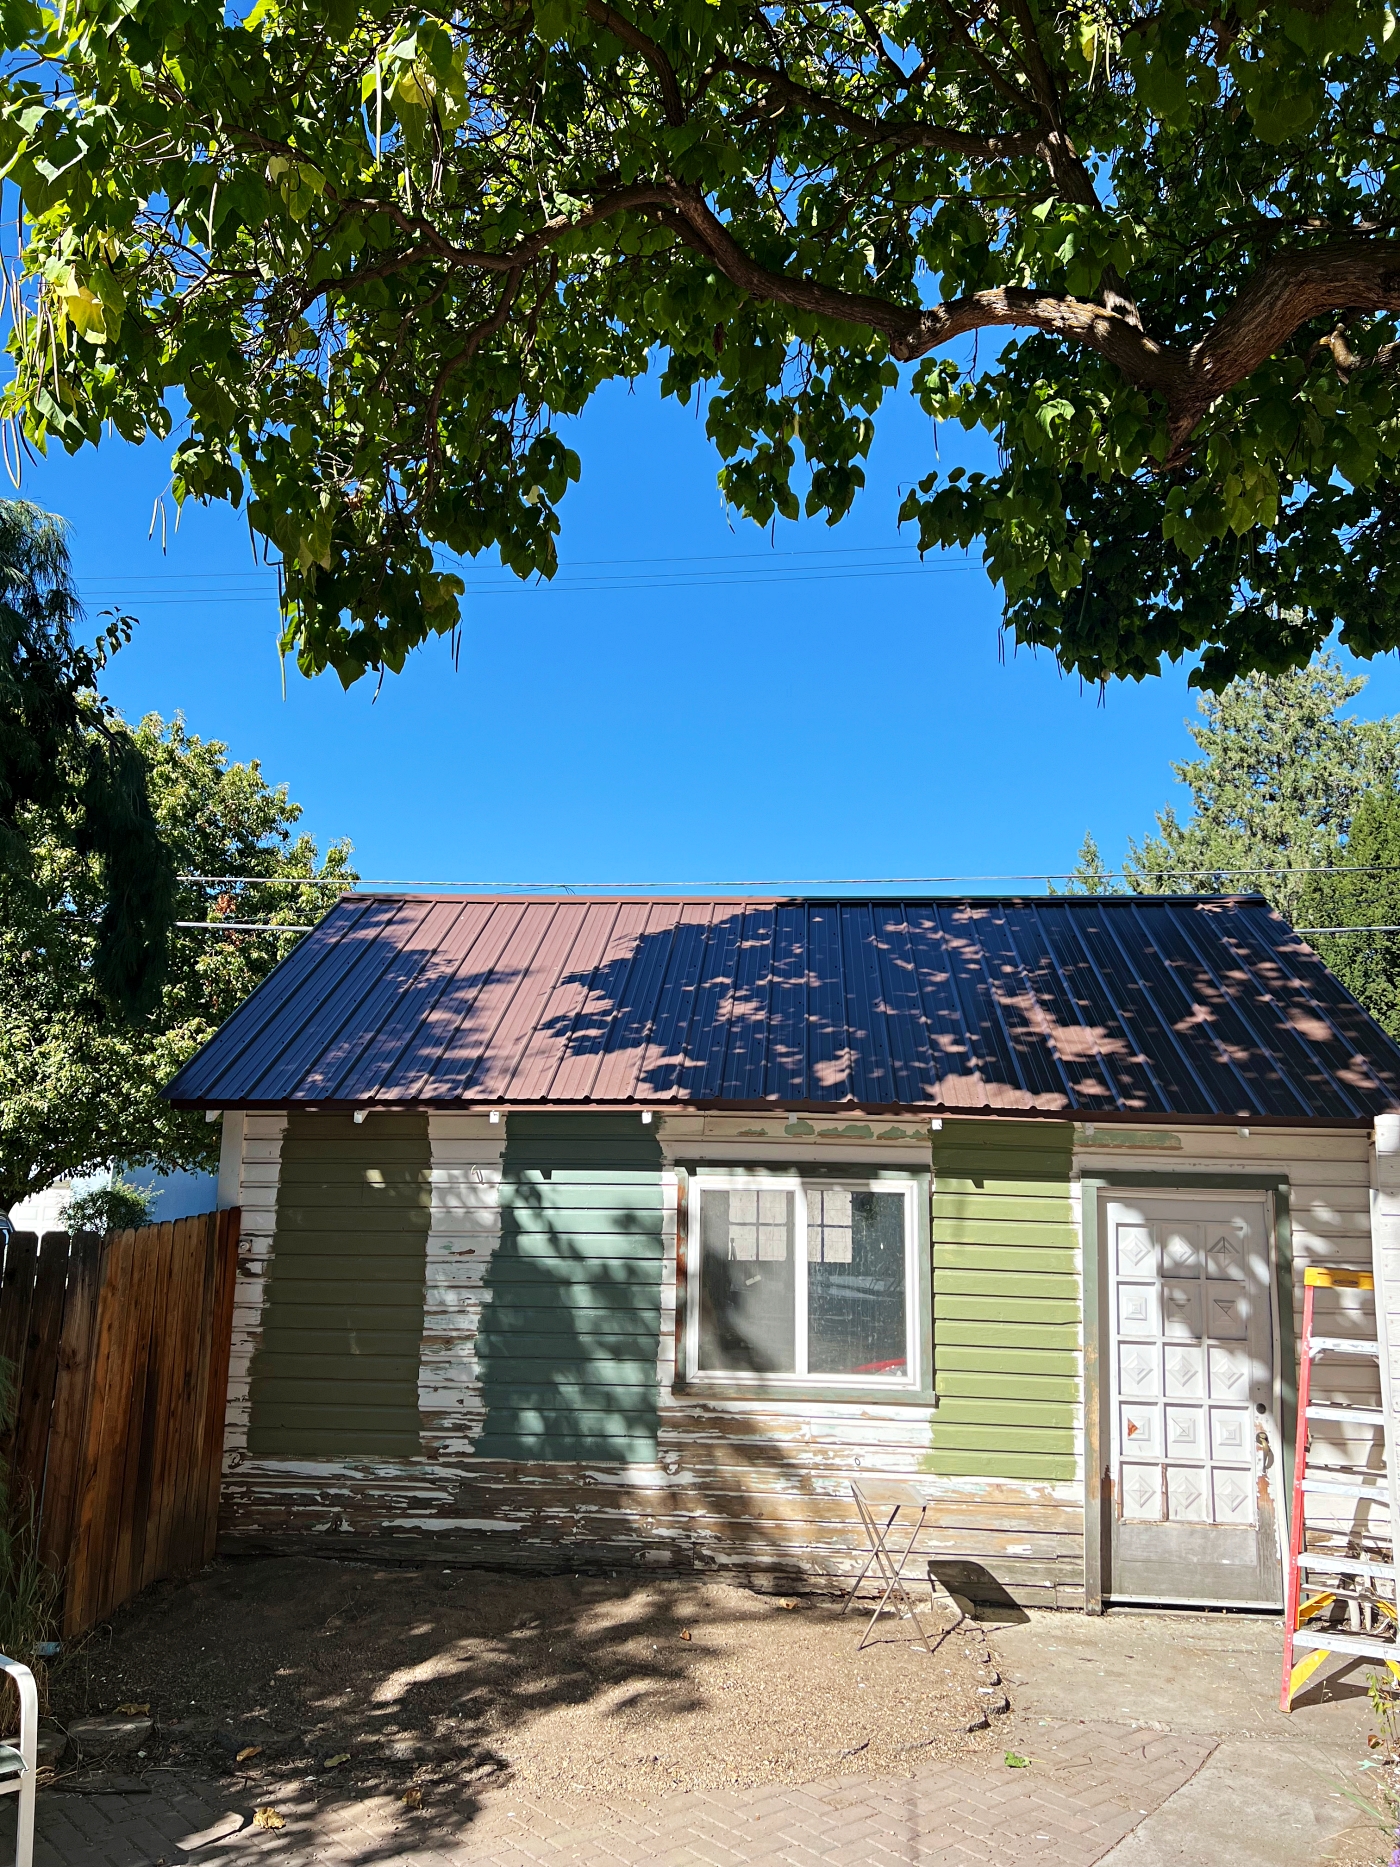
Choosing a paint color is always hard, but choosing a paint color that will potentially go on your whole house is a whole other level of hard. After staring at samples for days and days, I felt like a Green would be best for our house, and then eventually I picked out three greens that I liked. I picked up samples and added them to the house.
Tip: Paint on Large samples to really get an idea of a color, and then watch to see how it changes throughout the day in different lighting. Exterior Paint colors can read so different from when they are used as interior.
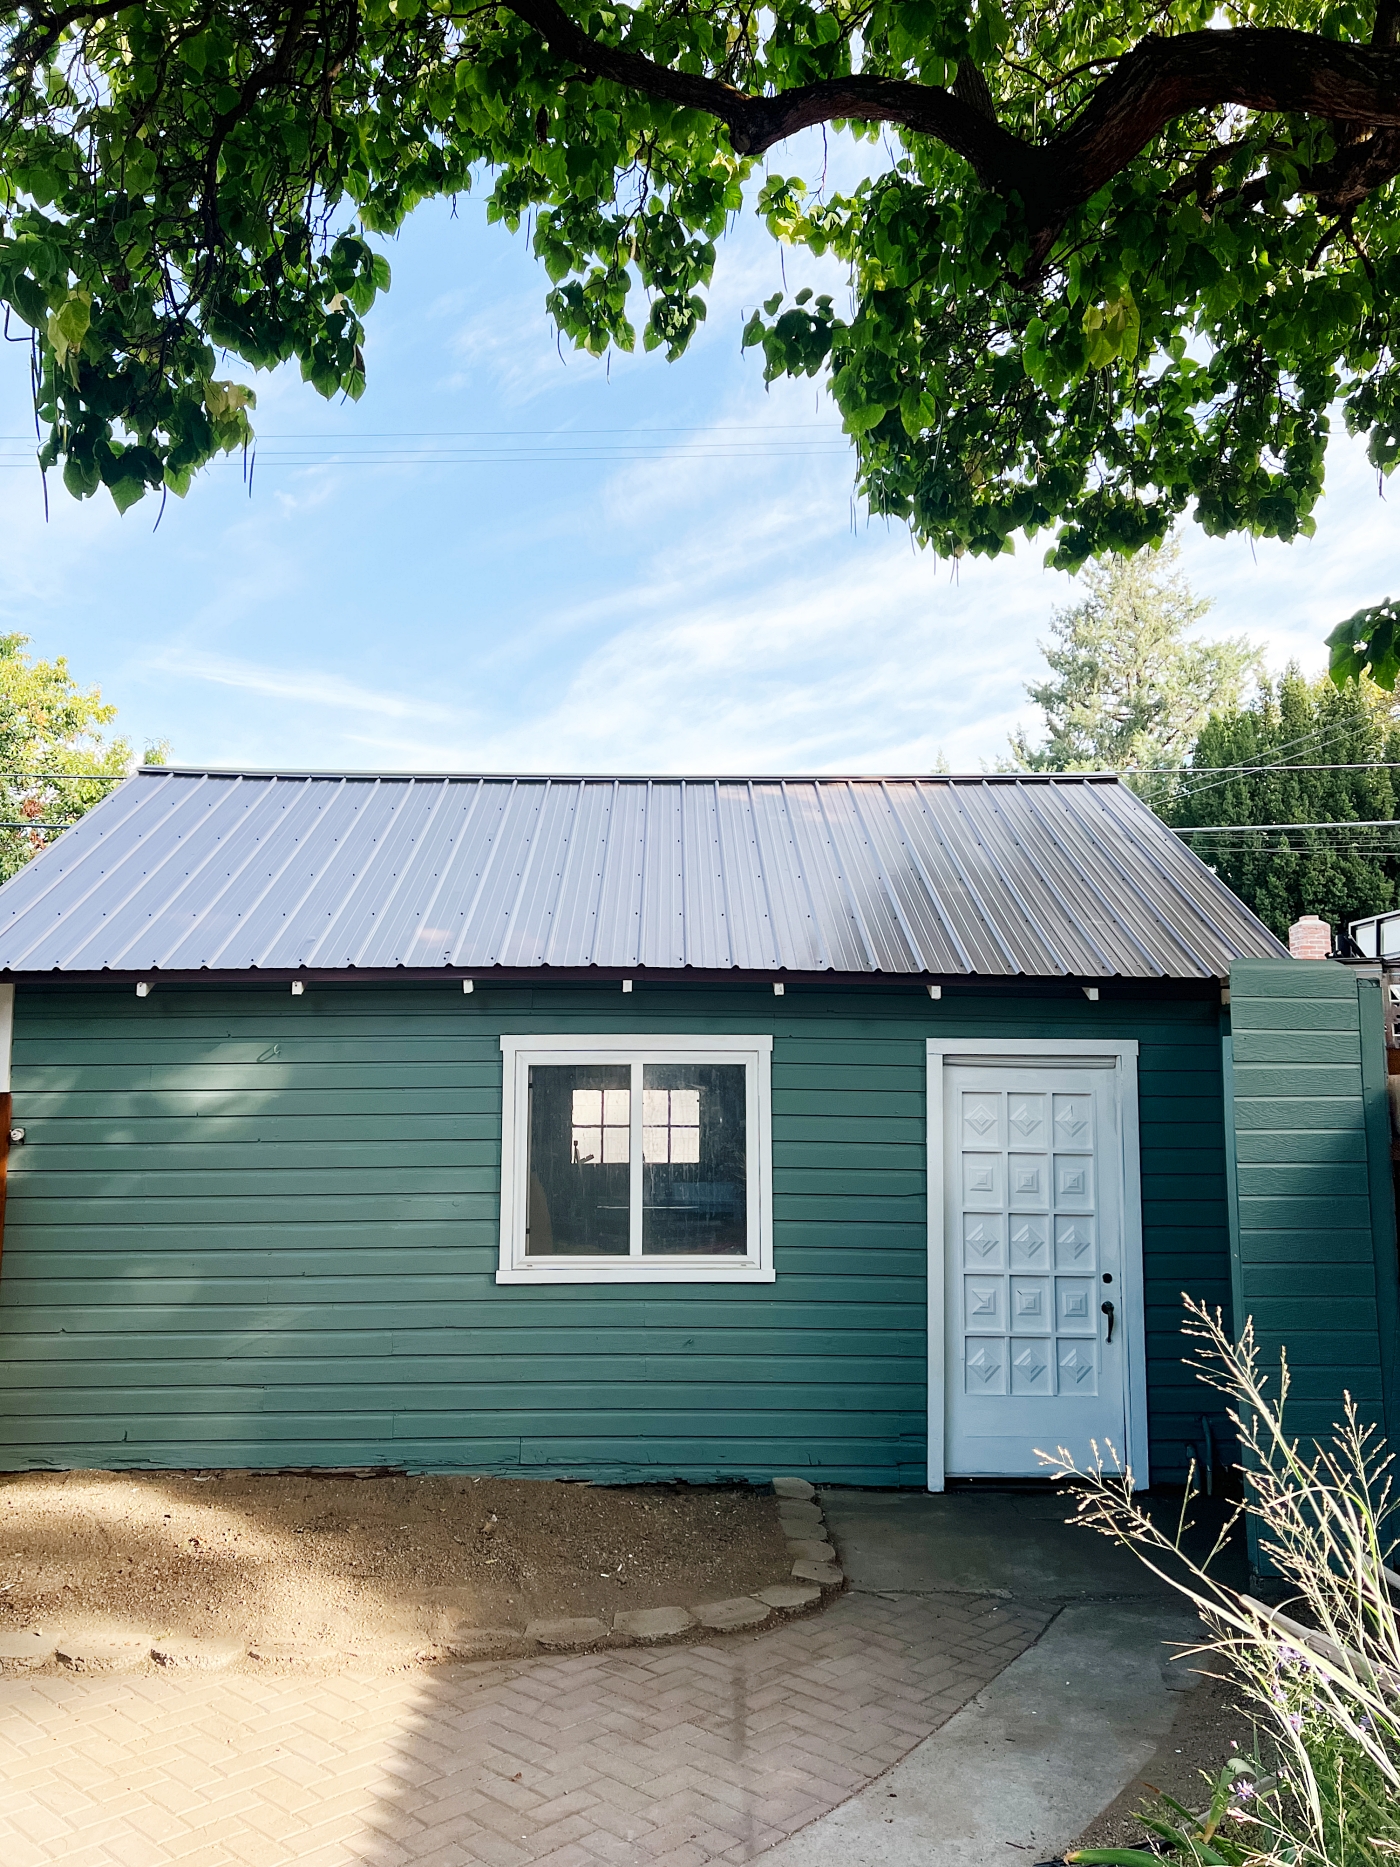
The color I choose is called, Martini Olive from Color Care paint at True Value.
I’m not a fan of the name. Sounds like I should be painting a parlor not a garage 🤣 But whatever! The paint is an Exterior paint and in a Satin Finish. The Sample was Satin and I liked the way it looked so that’s why I choose satin. The research I found said that Semi-Gloss or Satin is best for painting a house.
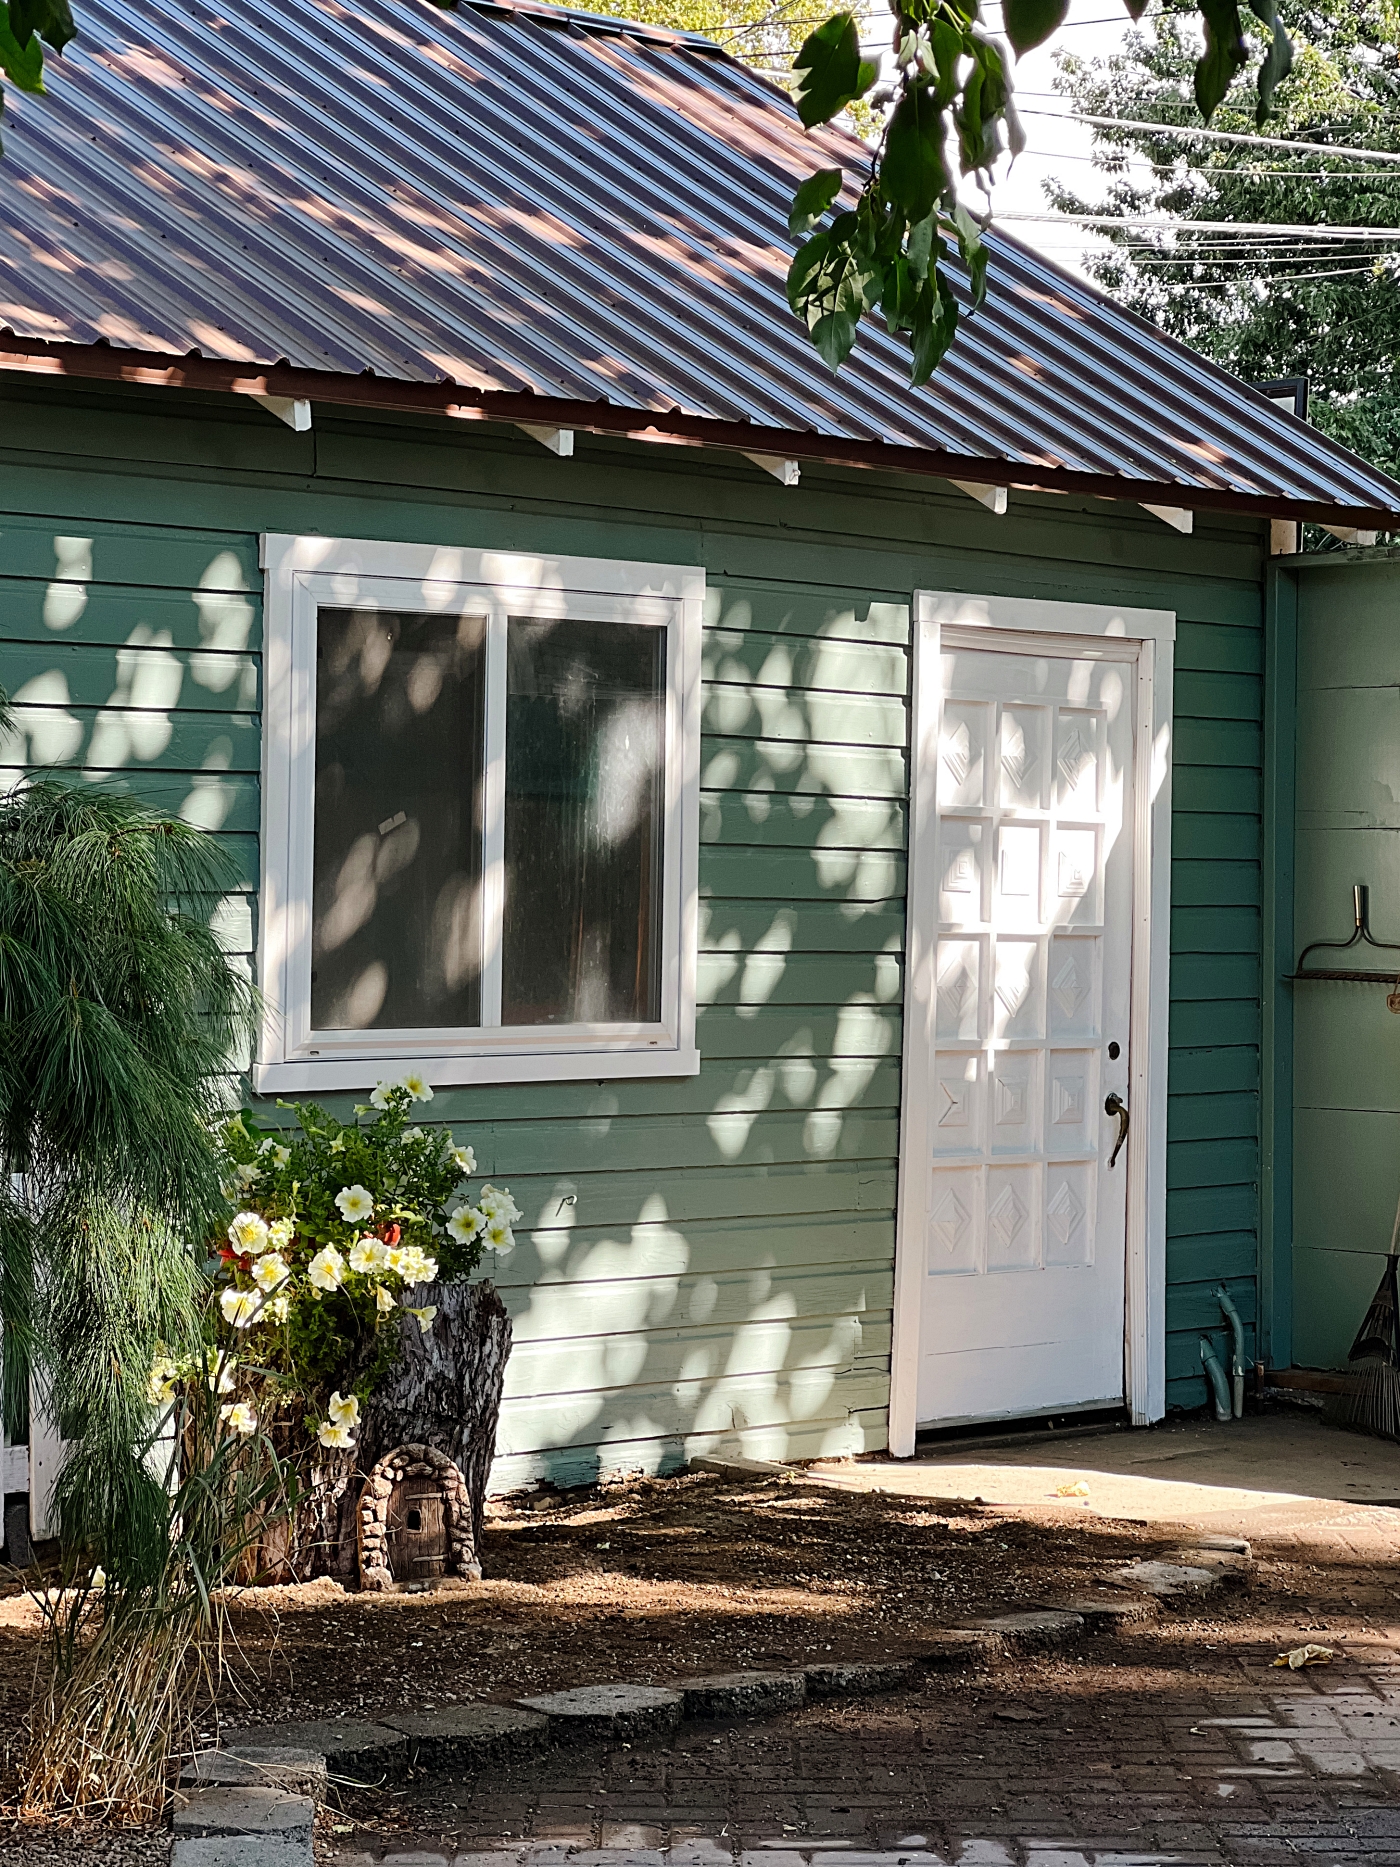
I liked that this paint color has a touch of blue in it; almost like a Juniper Berry or a Blue Spruce green (much better paint names)😉 I also felt like this color went the best with the brown roof, and also I just liked this color best as I was painting on the samples. It was almost a gut feeling you could say.
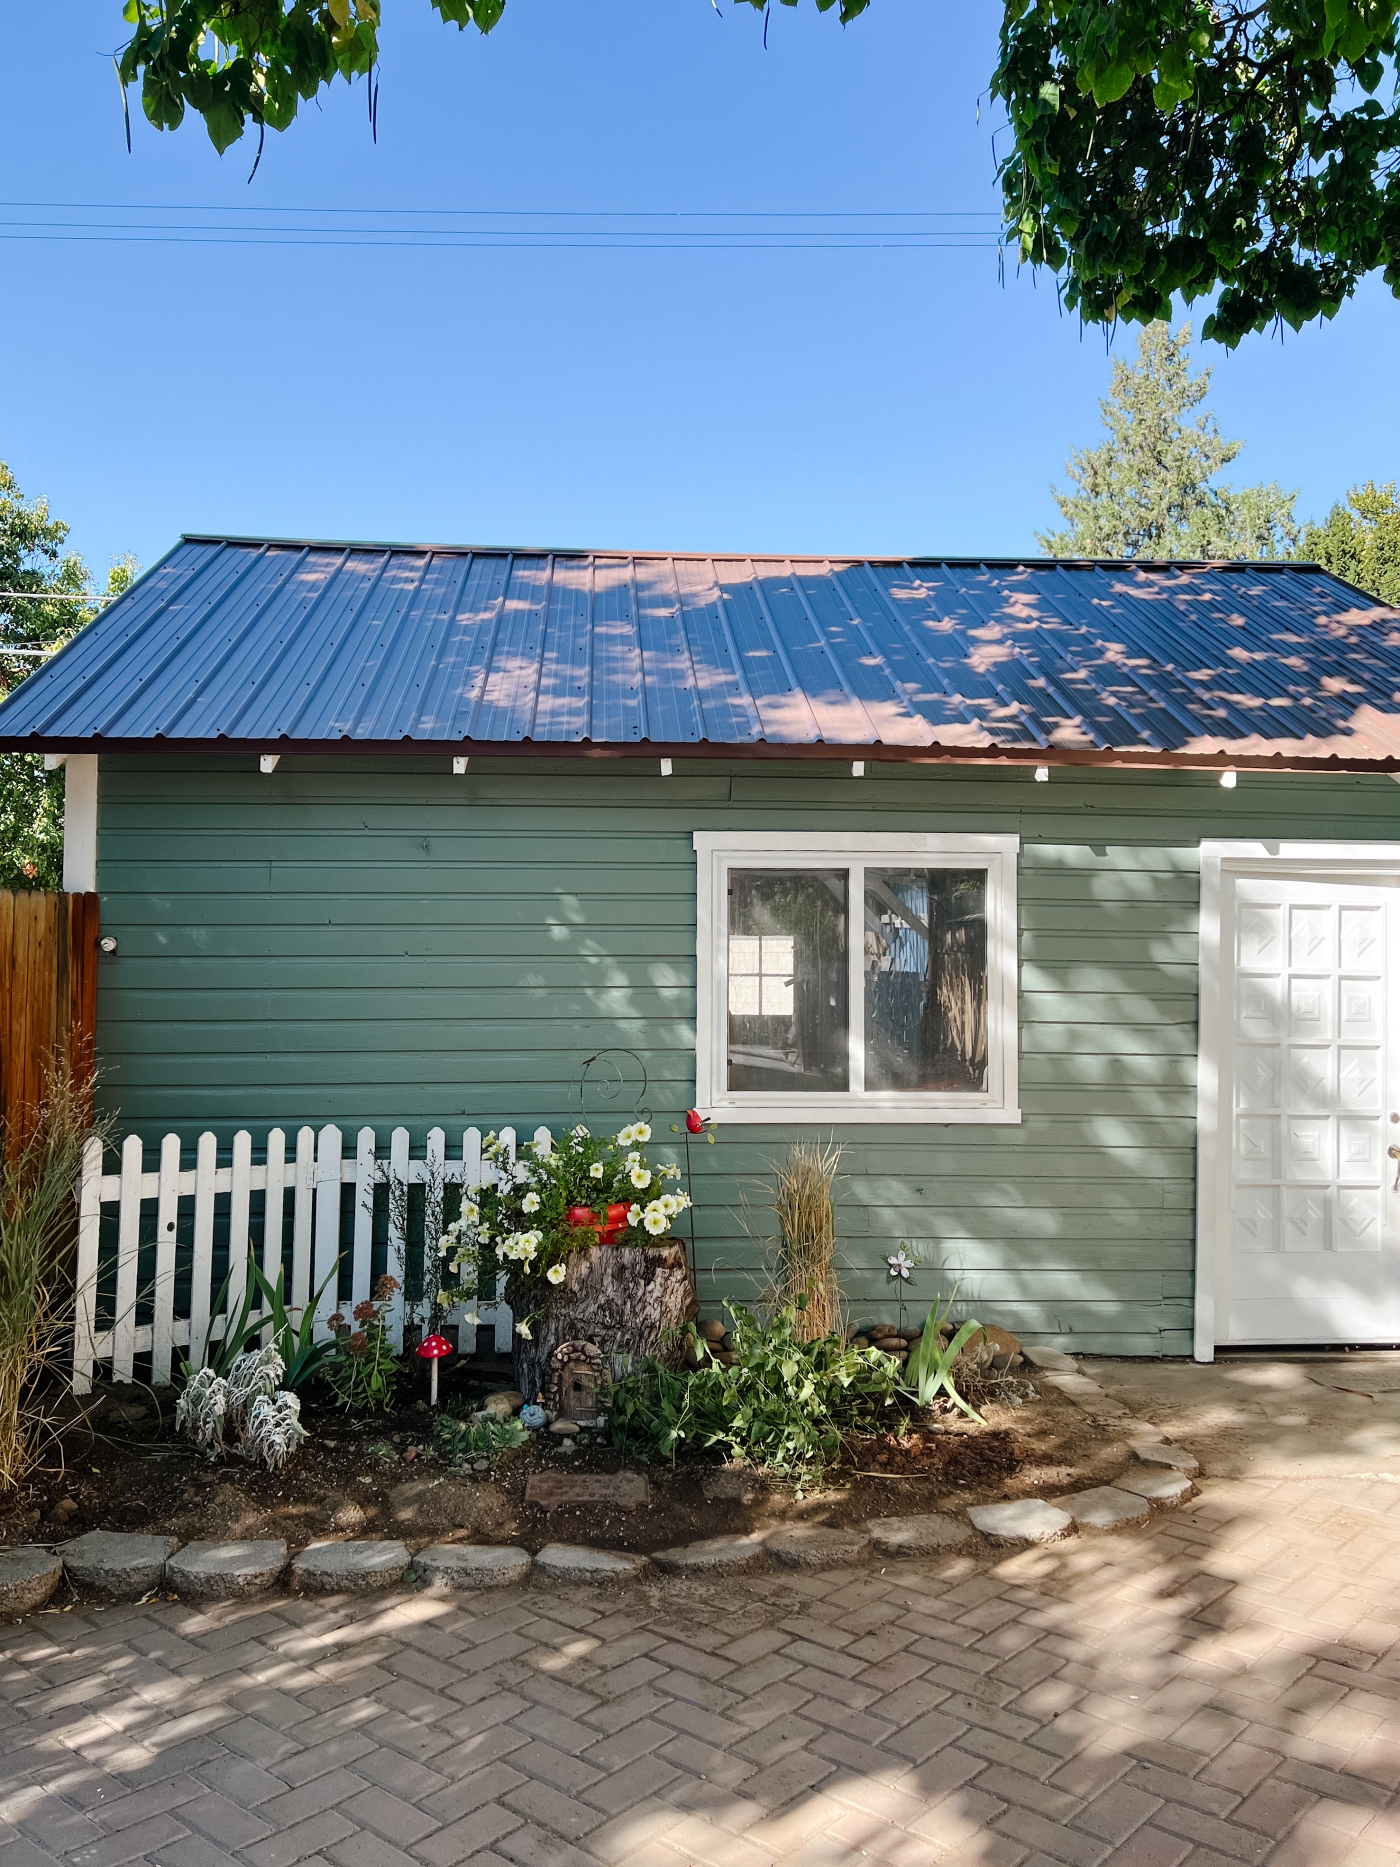
It made sense to first paint this side of the garage. It’s the side we see the most from our backyard. After the green was all painted, I added some fresh white paint to the trim around the window and on the door. The White Paint is also from Color Care at True Value, it’s Exterior Paint in a satin Finish, un-tinted straight from the can. White/Pastel Base. Straight off the shelf white has always been my go-to white paint.
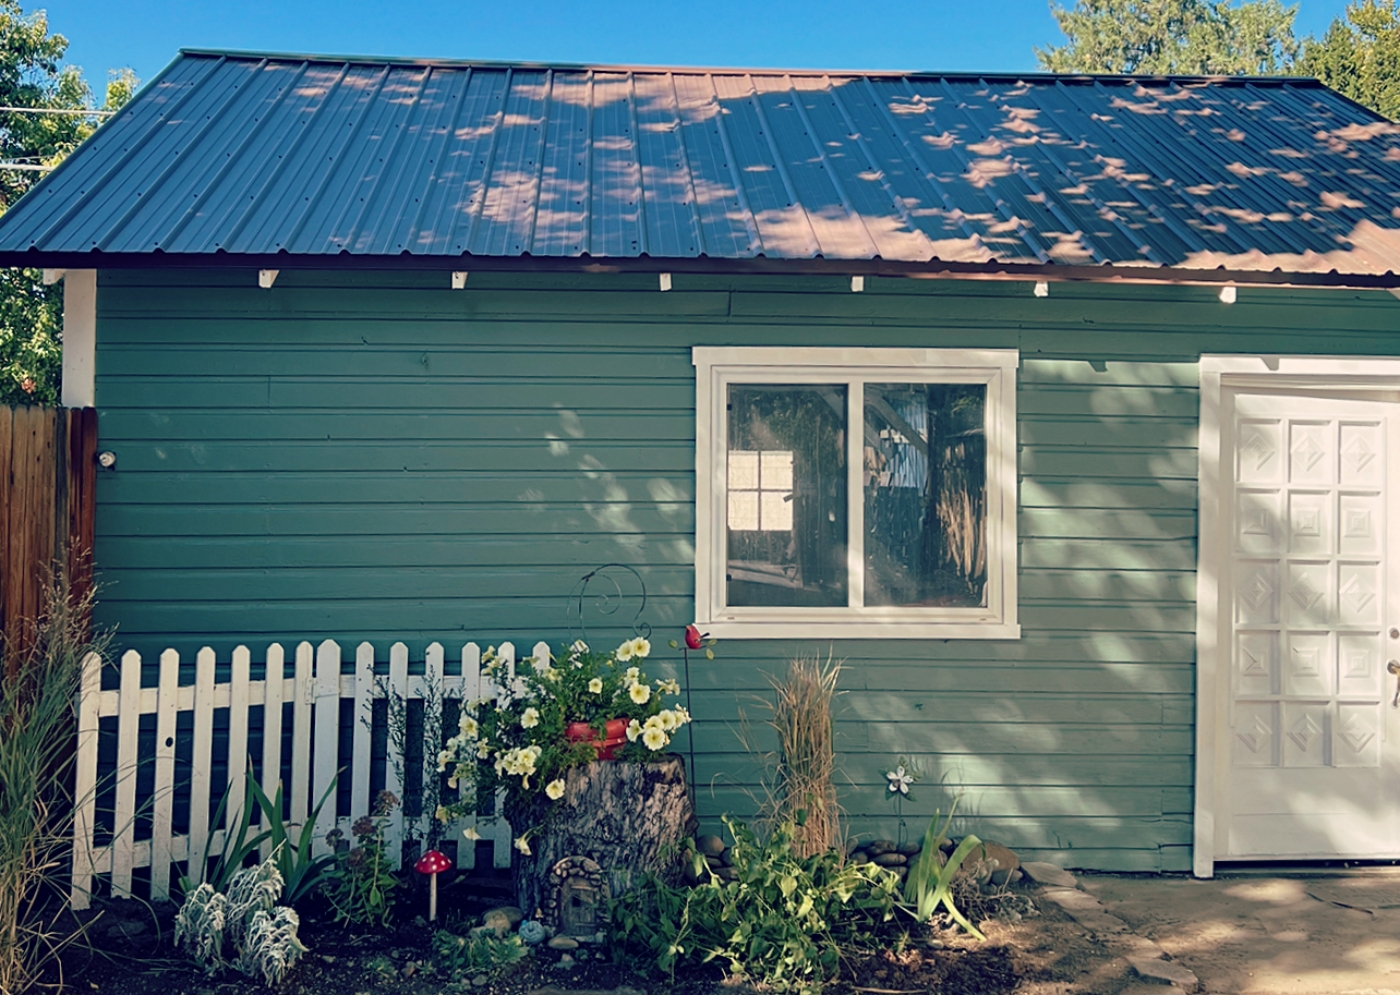
I moved my whole fairy garden from another location in our backyard to this area in front of the garage. I first had to level out the dirt, and then I brought over the white picket fence, Log stump, and all of the plants. It was a lot of work, but it looks so much cuter here in front of the garage. I think it will get better sunlight here too.
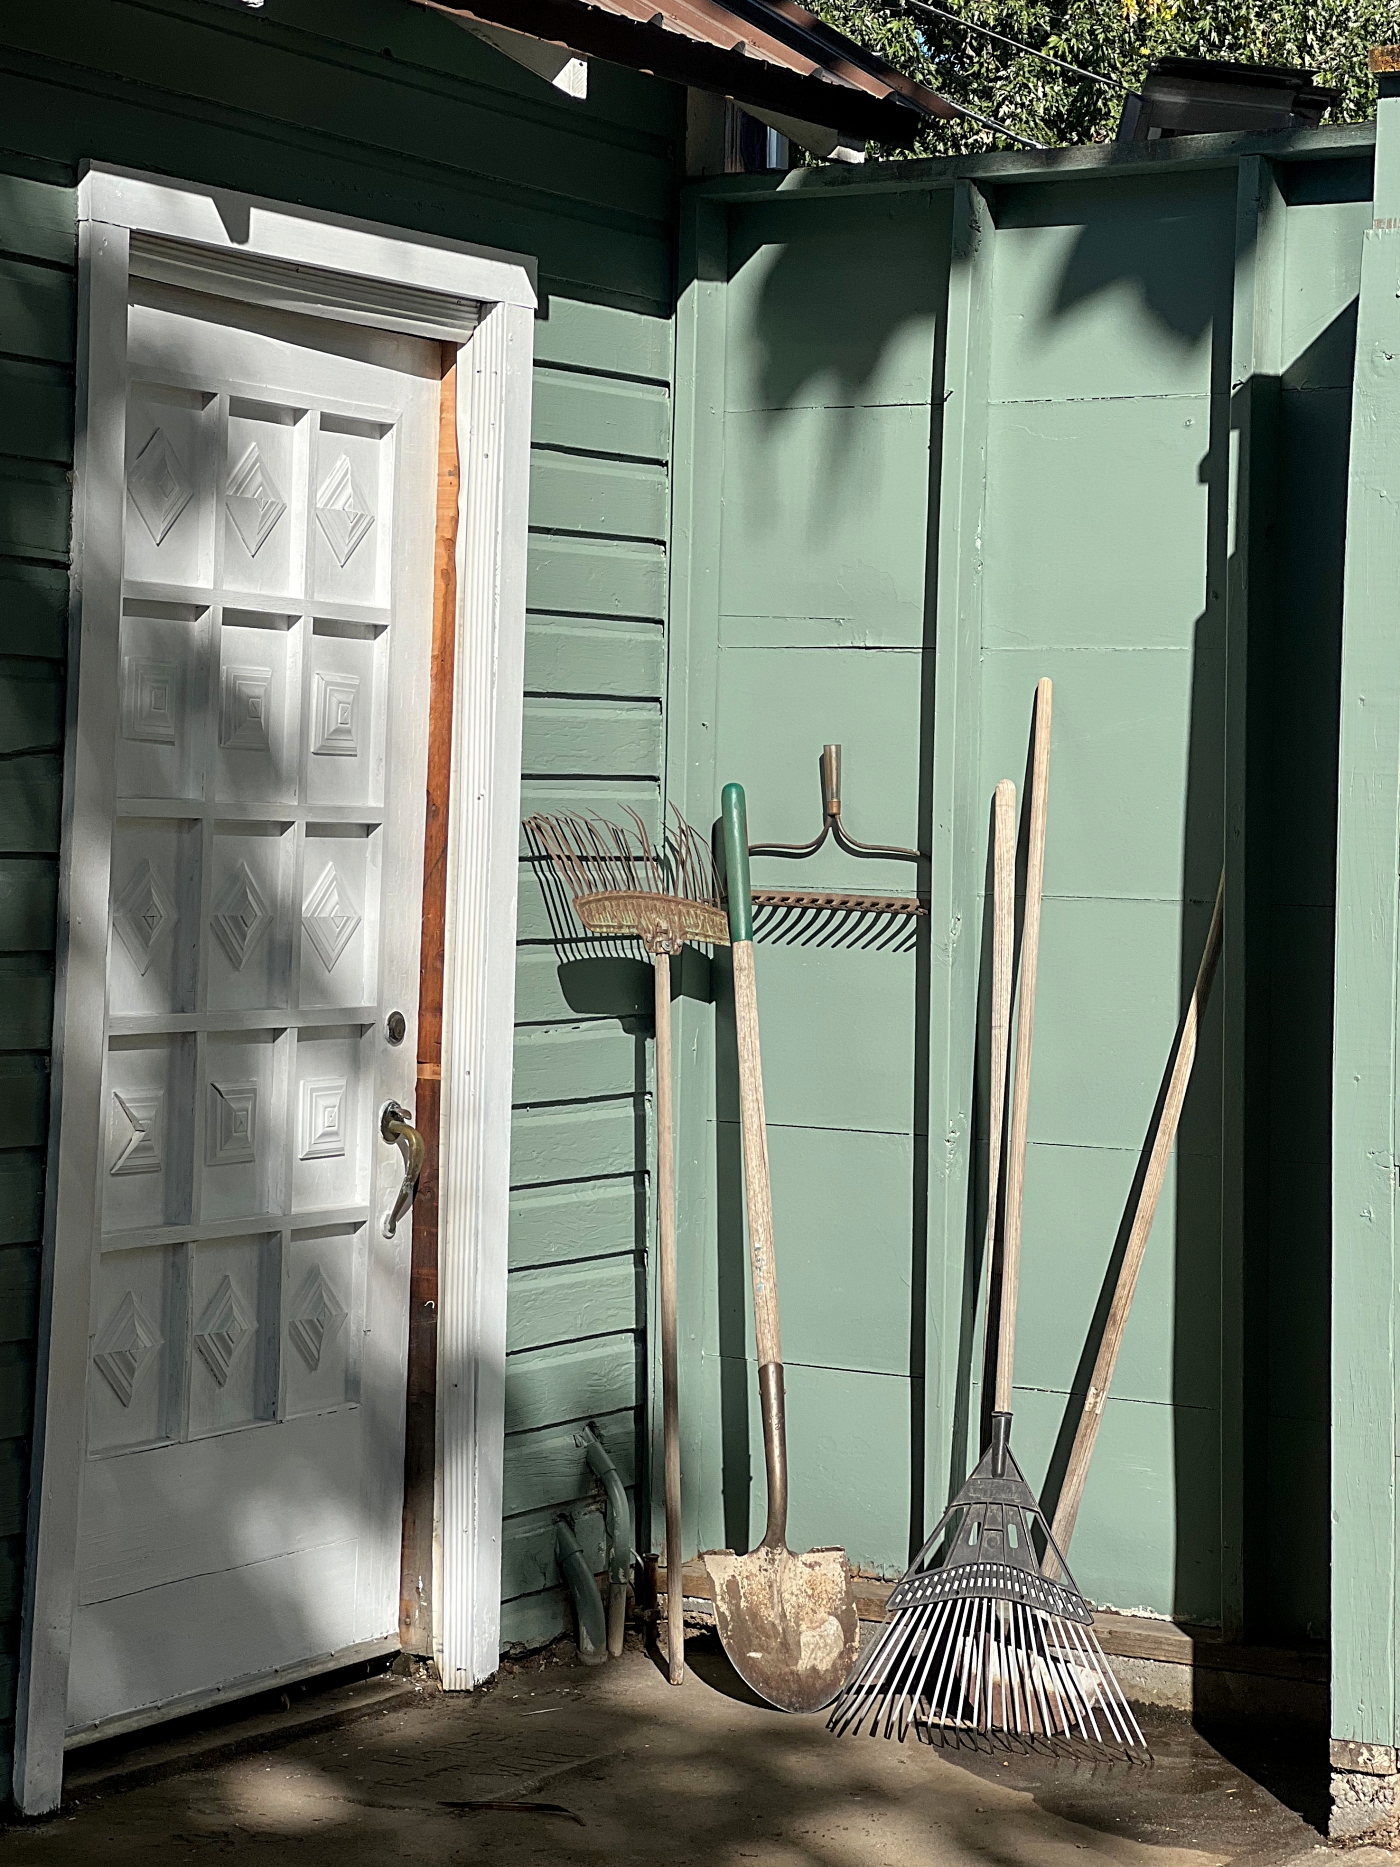
There is a little cubby area next to the door which is a great place to keep yard tools like rakes and shovels.
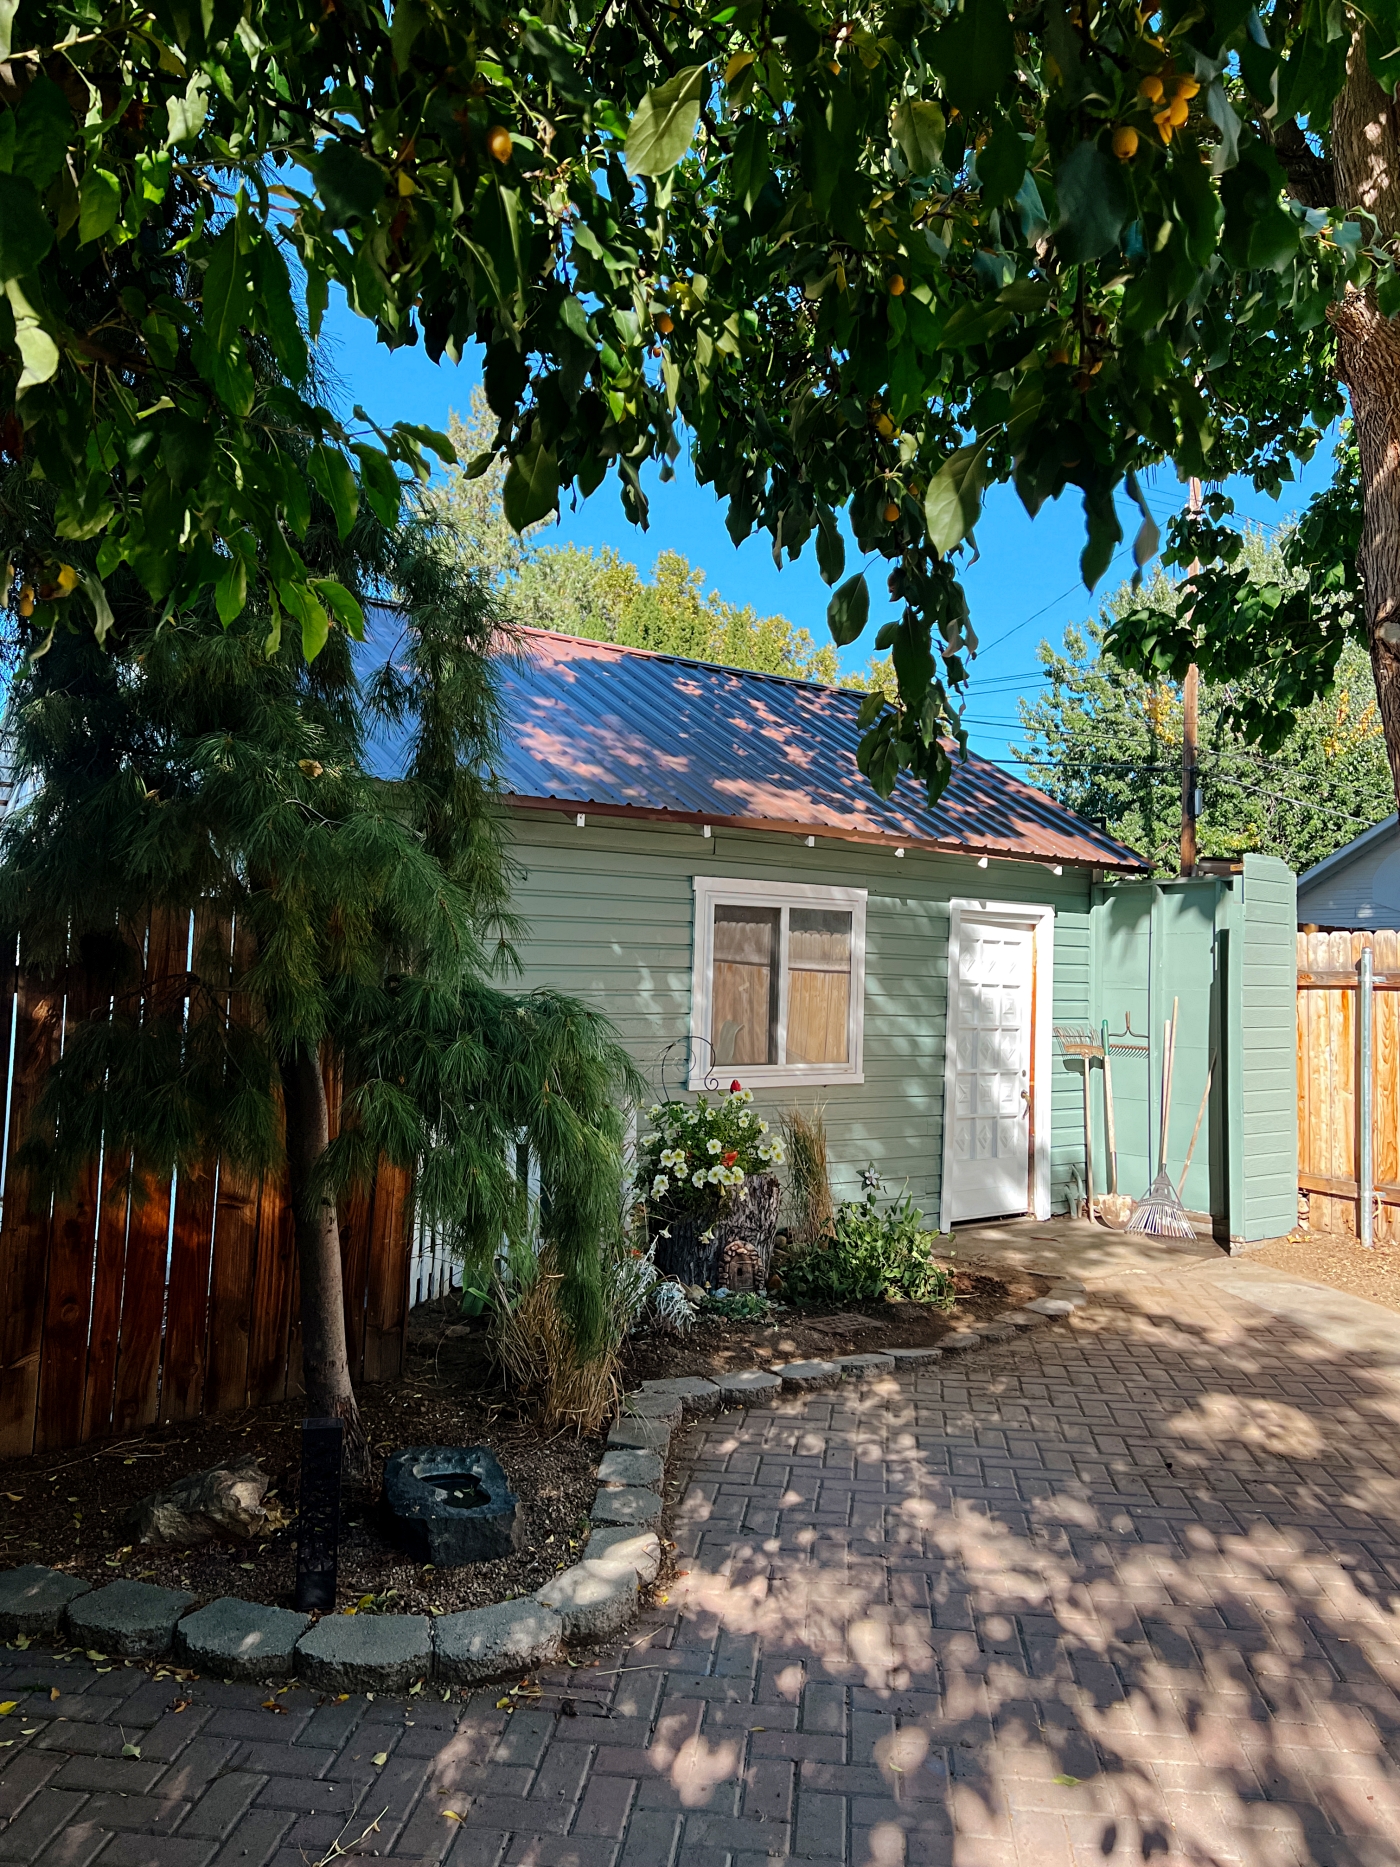
Overall I was so happy with how it turned out, so it was now time to move on to the other side of the garage.

On this side, I had to move a lot of stored wood and cement first, and then onto scrapping and sanding. I’ll link all of the tools I used at the end of this post, but I used a belt sander and a lot of muscle to get off all of the flakey/chippy paint.
My Tool Box: Find all of My Most Used Tools HERE
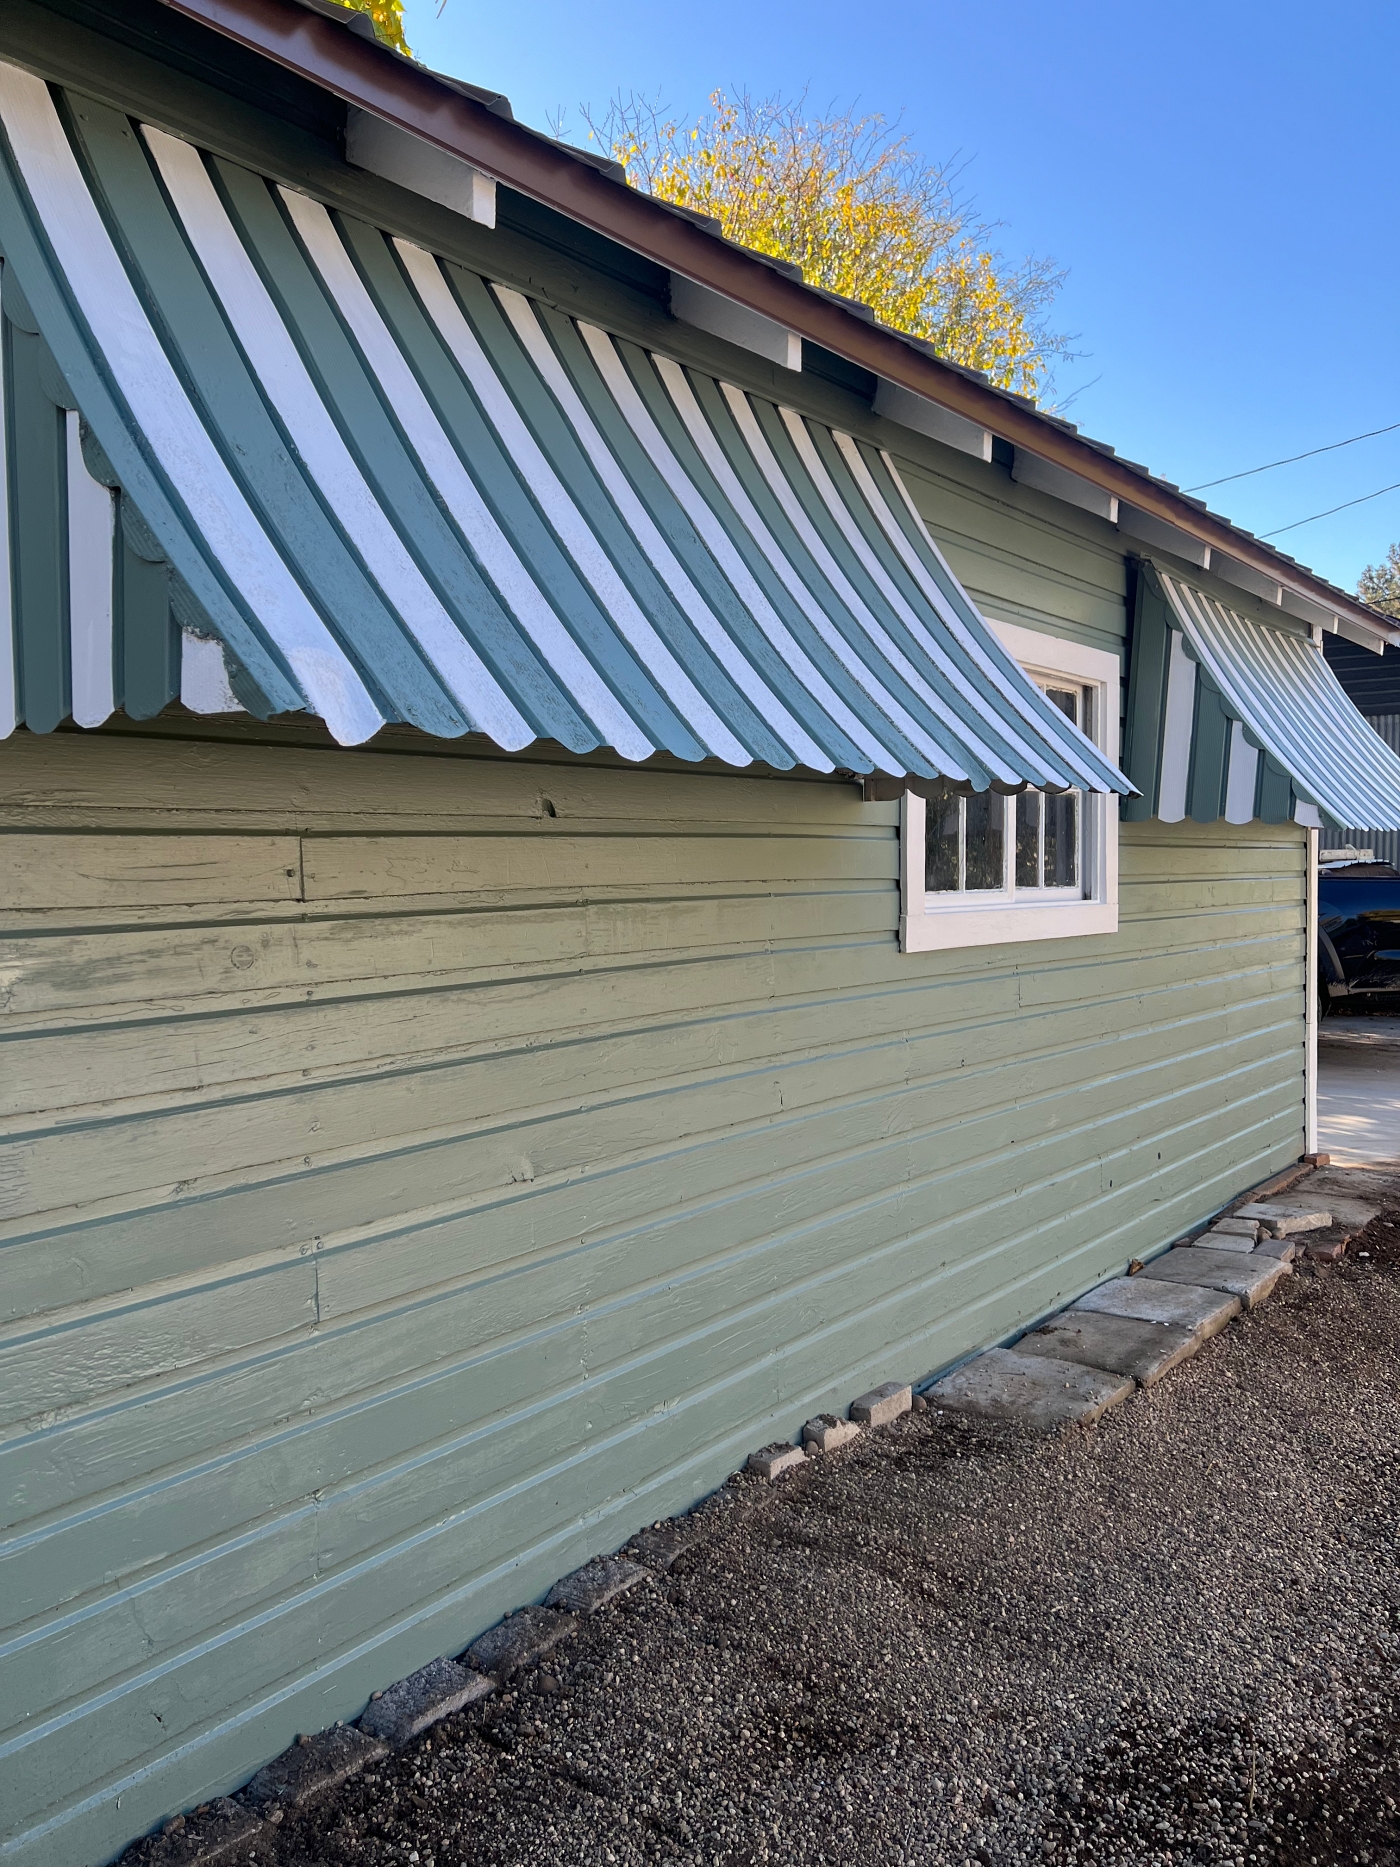
I then painted these metal awnings. I felt like they were just begging to be painted in stripes. I absolutely adore how they turned out. For some reason I think they have a Serena & Lily look to them. And How sweet is that scalloped edge?

Because these awnings really don’t belong here, I believe that they once went above the two front windows on the front of our house, which I’m kinda tempted to put them back on the front of our house, but I also think that they would block out a lot of the light coming in so I’ll hold off. They are nice here though because they can be a cover to trash cans or logs, and also they help to move water out from the garage when it rains.
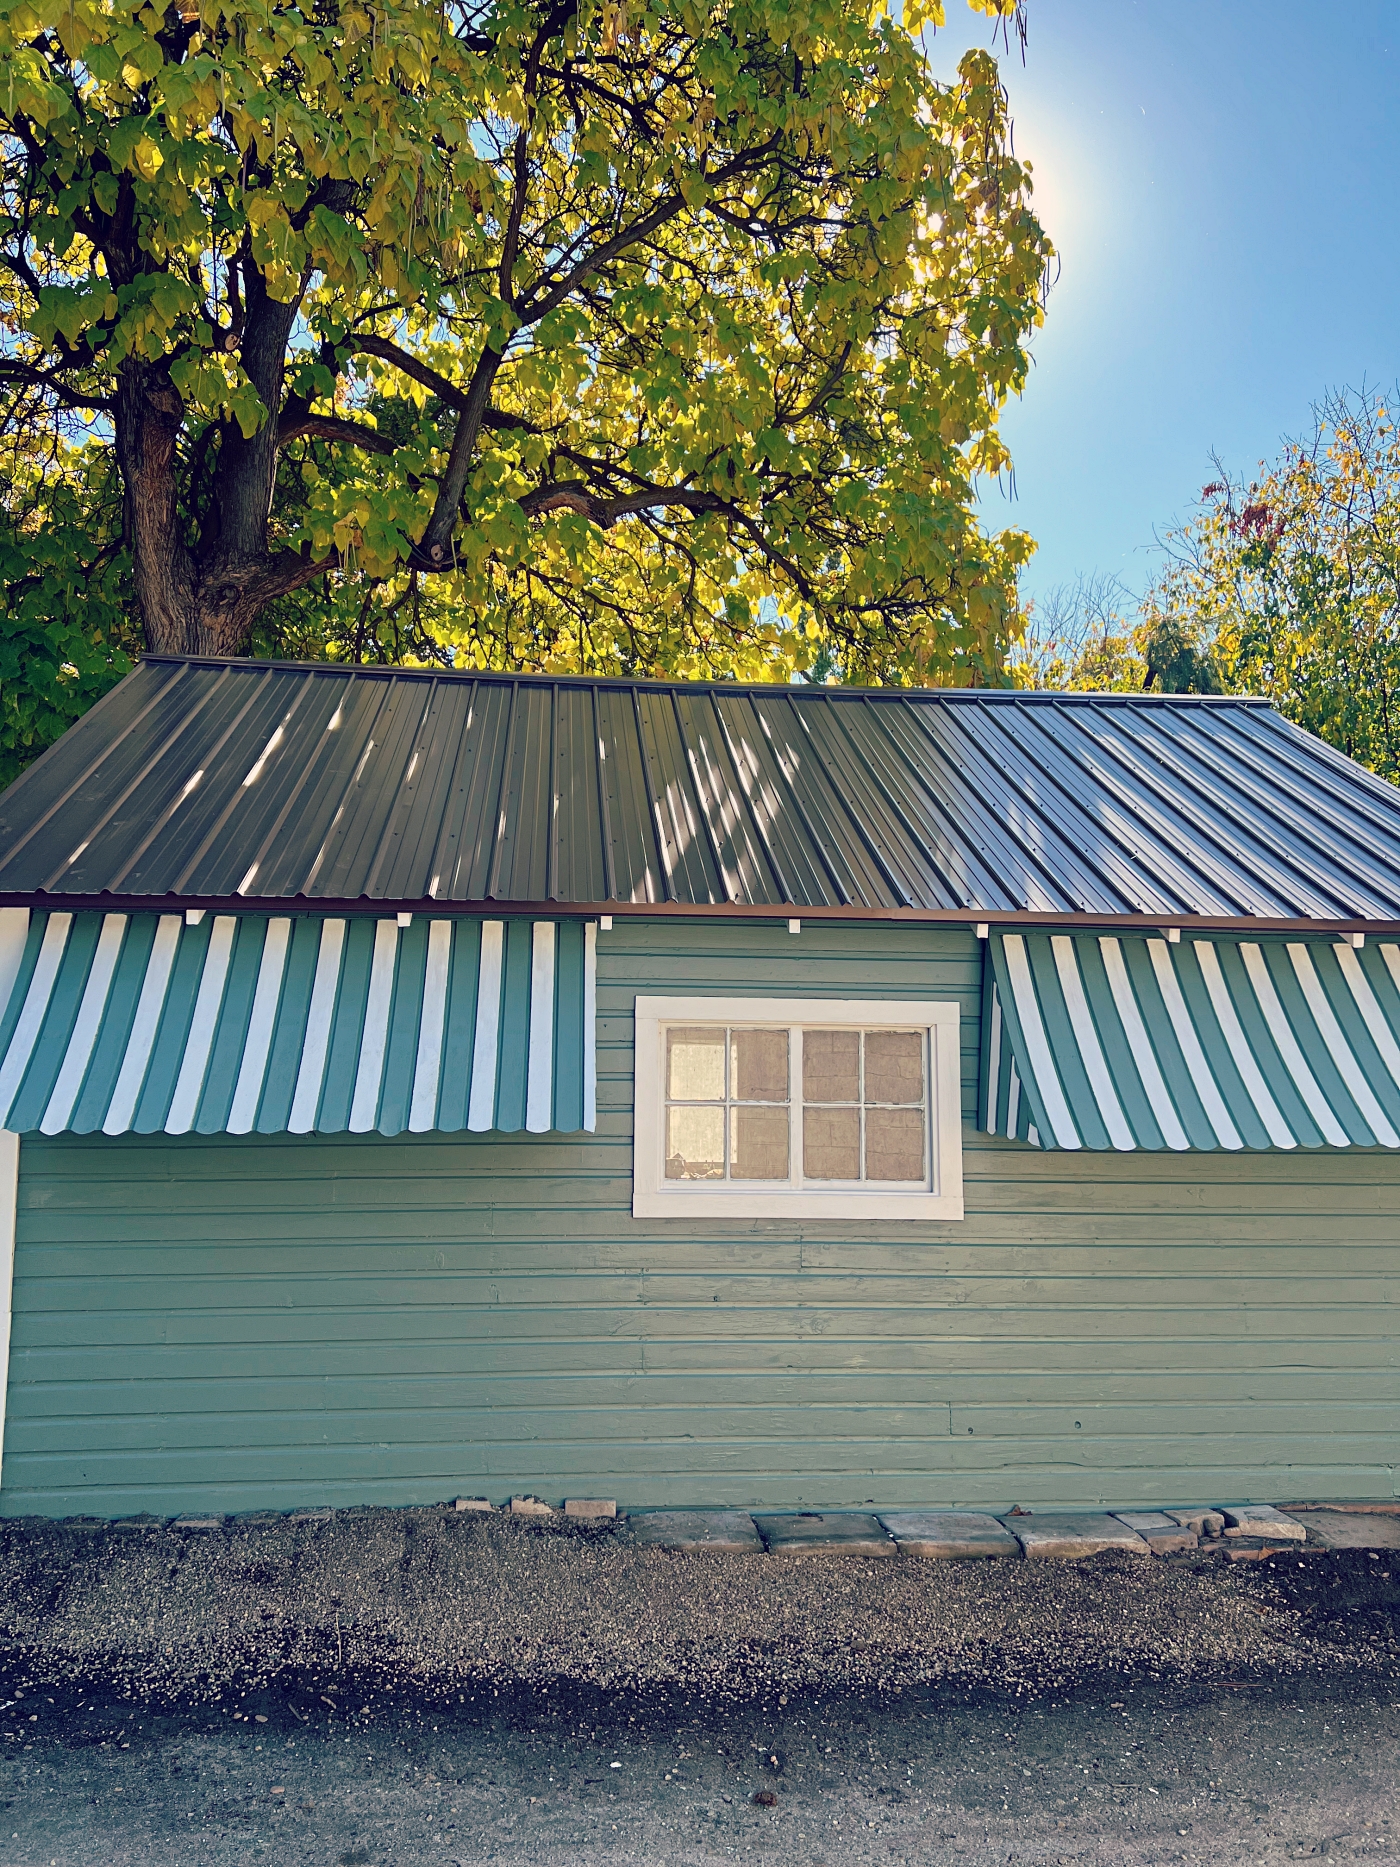
That old window got some fresh white paint as well. I feel like it needs a flower box under it, but maybe another day.
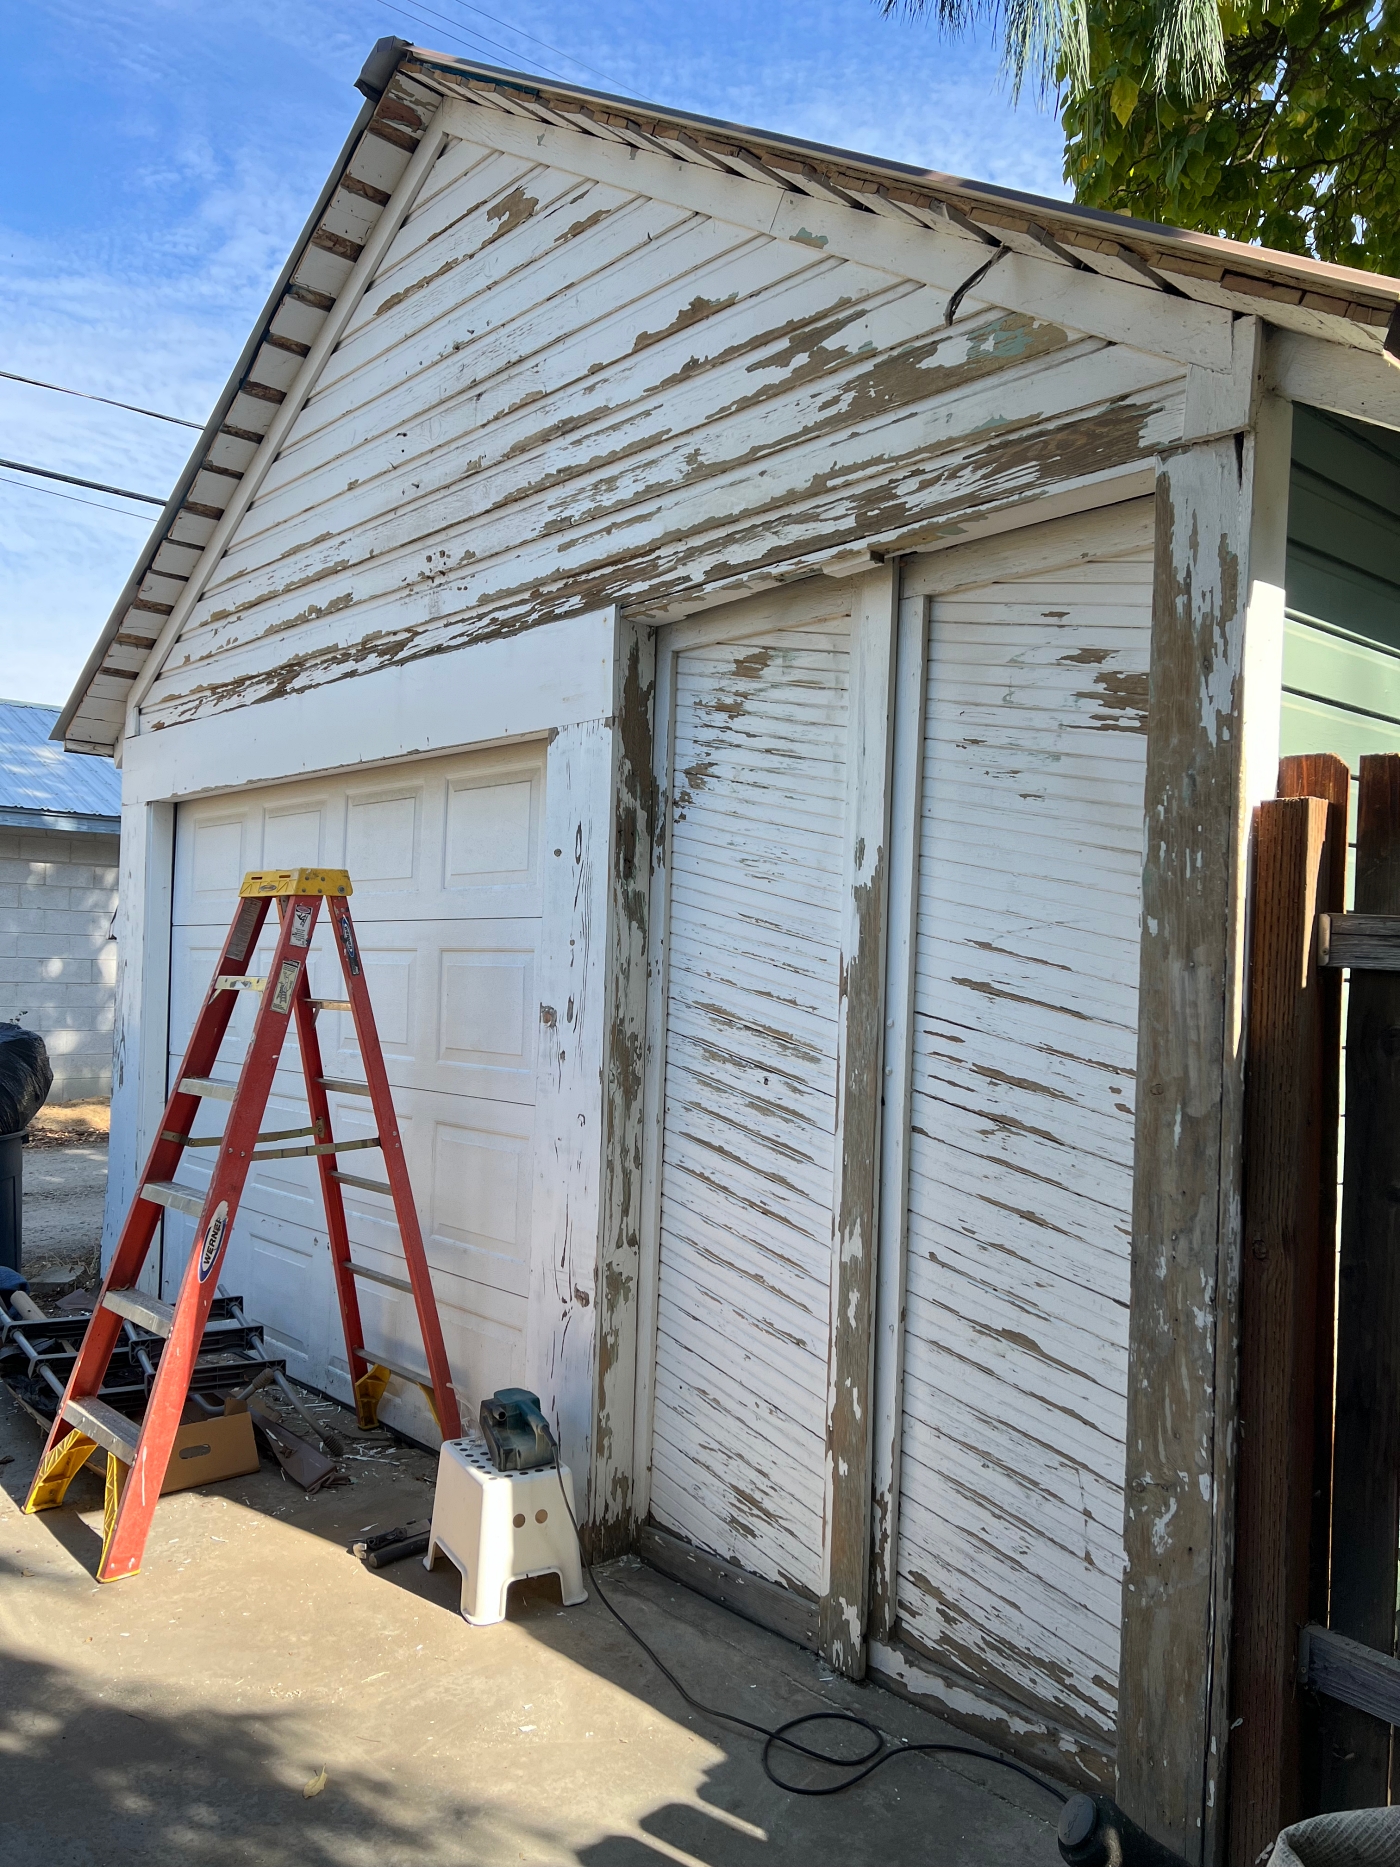
Okay, and then it was time to paint the front of the garage. As you can see from the above picture, it too got scrapped and sanded a ton. We also had to remove a basketball hoop and we removed the angled wood that was over this door before (this I had my husband and son help with, but otherwise, again, All Me 😊)
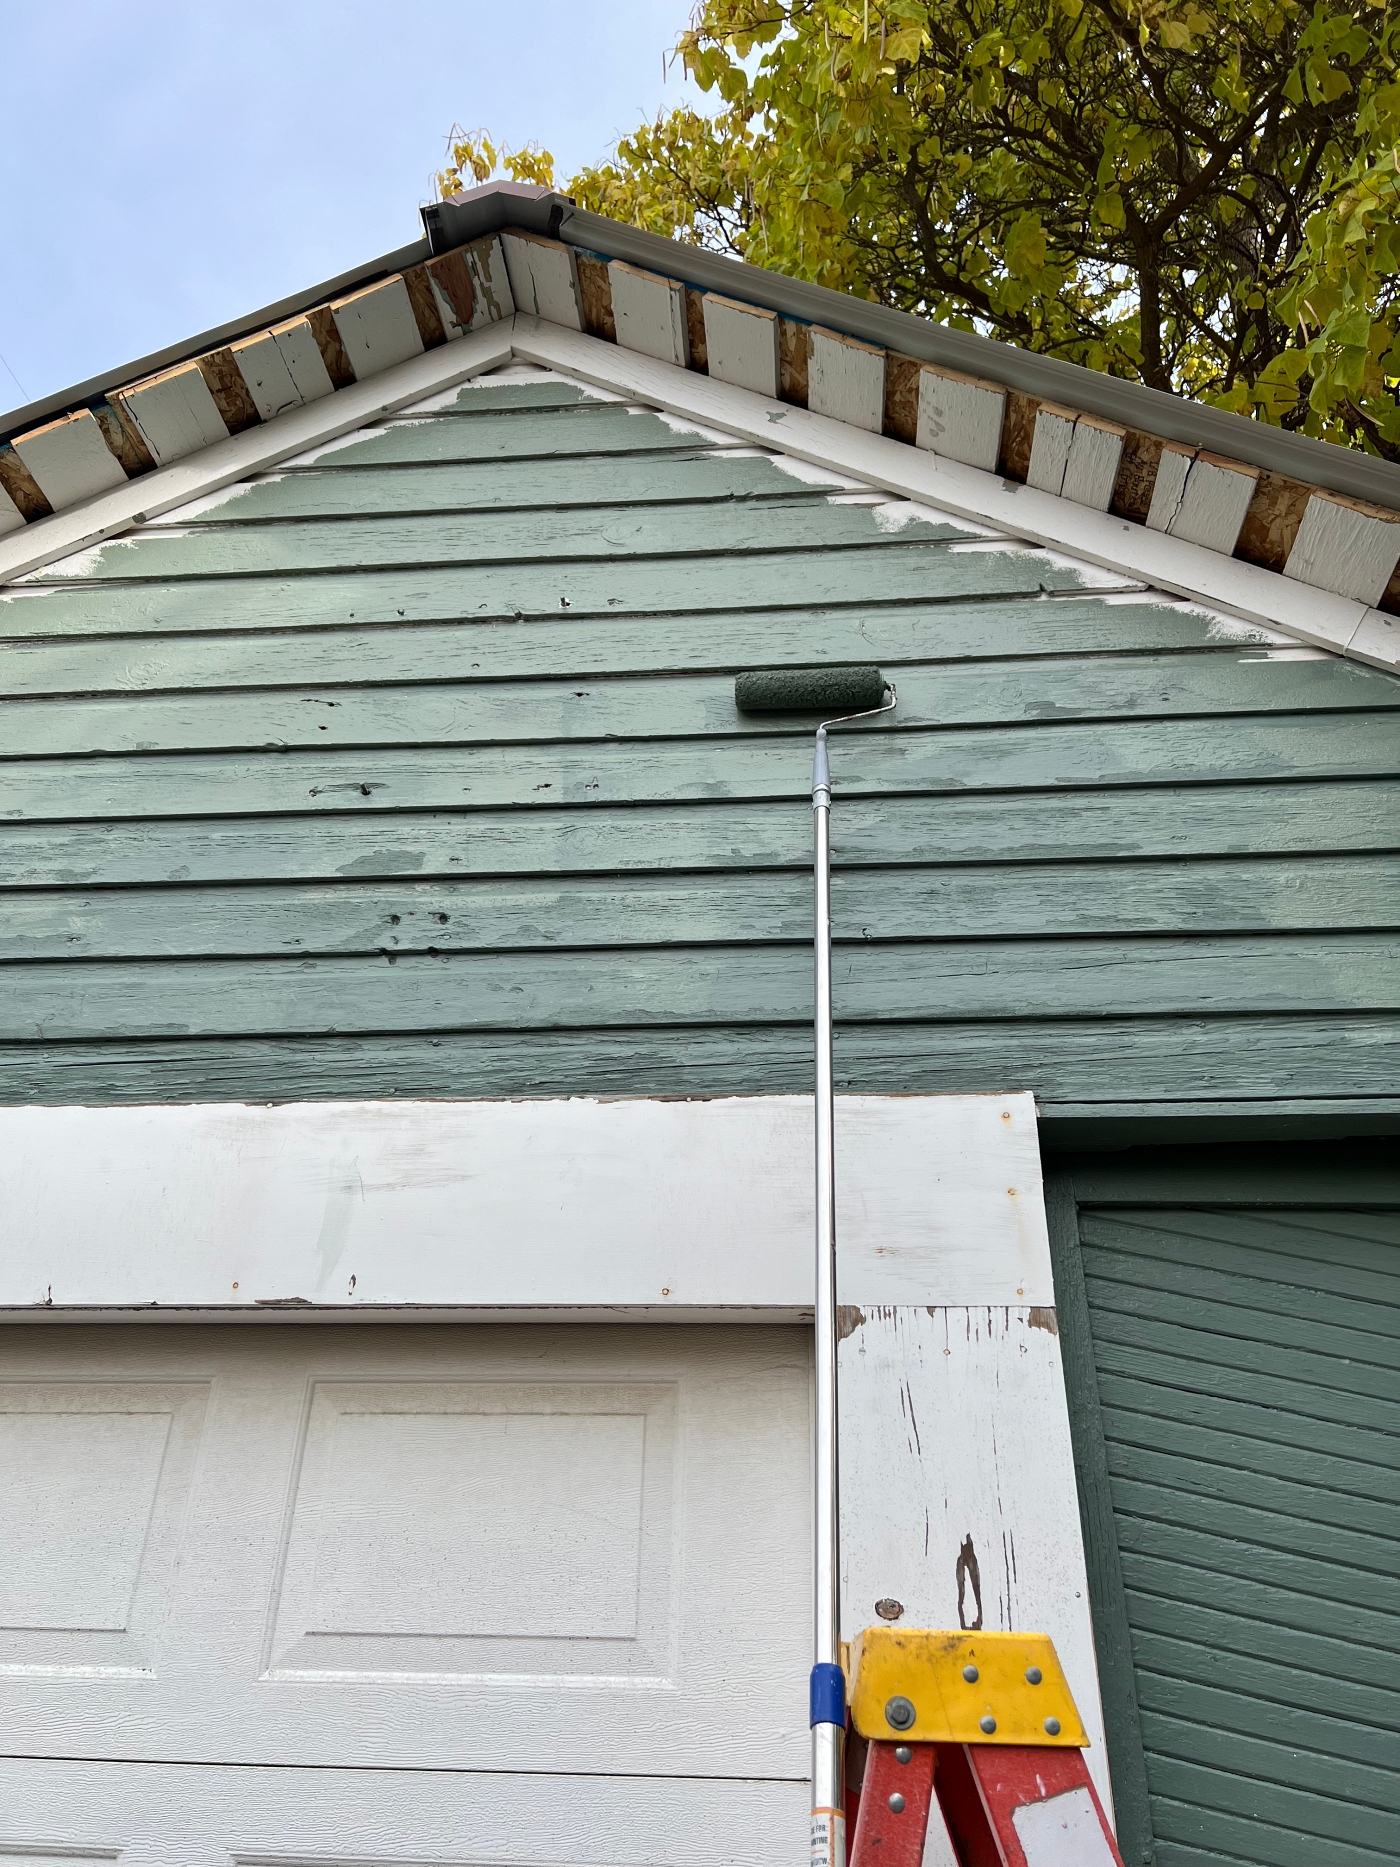
I was able to paint this much by standing on my 6 foot tall ladder, but then I had to figure out how to reach the very top. I looked into buying a taller ladder, but the one I thought looked the less scary was 400 bucks. I also didn’t know how comfortable I would feel being up that high so I had to get creative…..
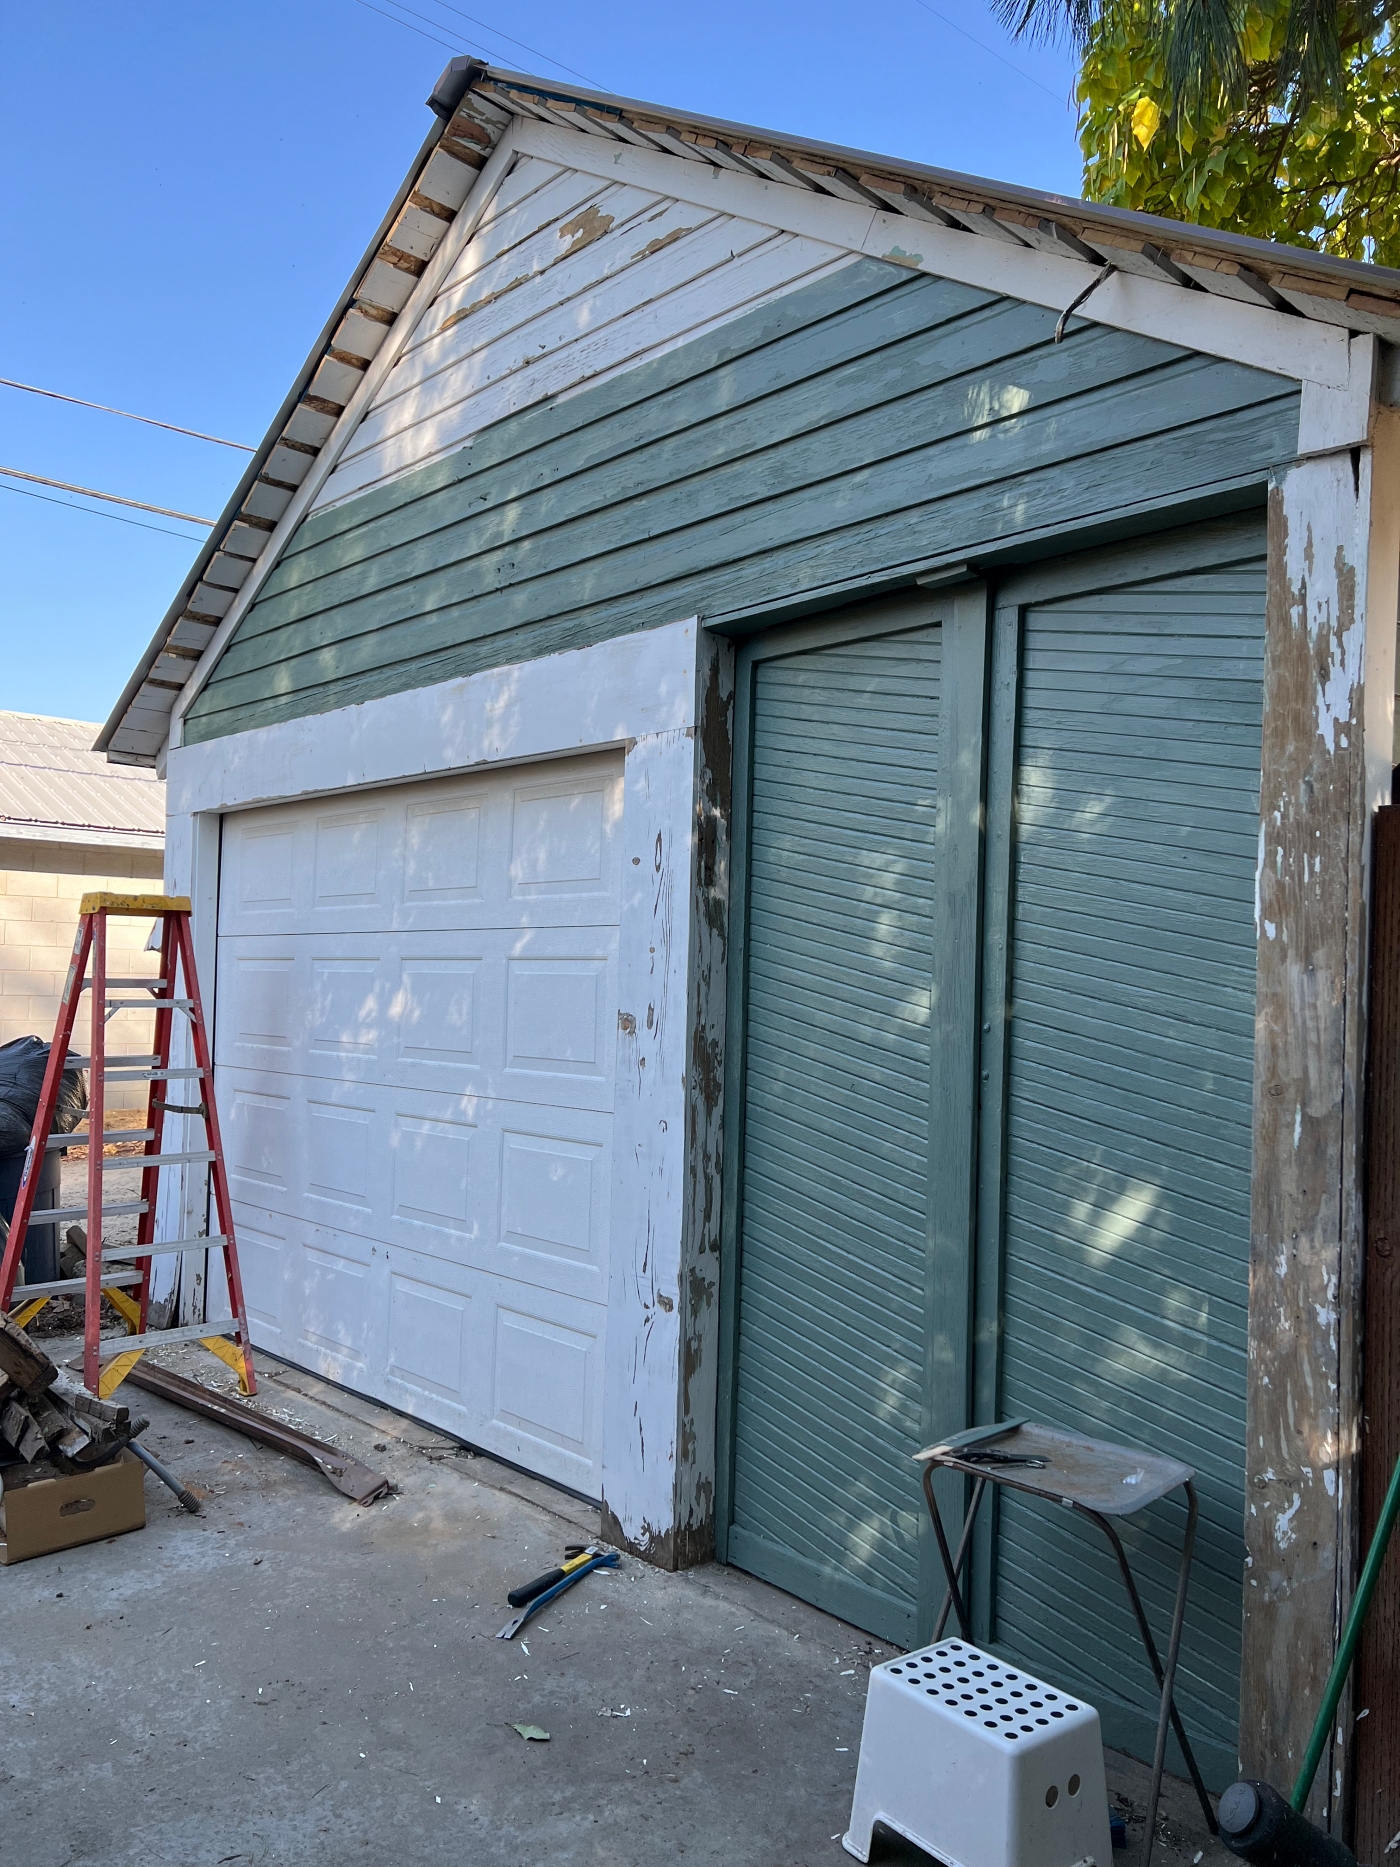
I used a really long extended paint pole with my paint roller to get the majority of the top portion. And then…..
I duct tape my paint brush to the extension rod to trim in. I’ve actually used this technique before when painting our back stairwell. I blogged about it HERE. I also just discovered that they make a product for this so you don’t have to use duct tape. Find it HERE along with other painting tools I use.
Tip: Use an extension rod to reach those high areas. Get One HERE.
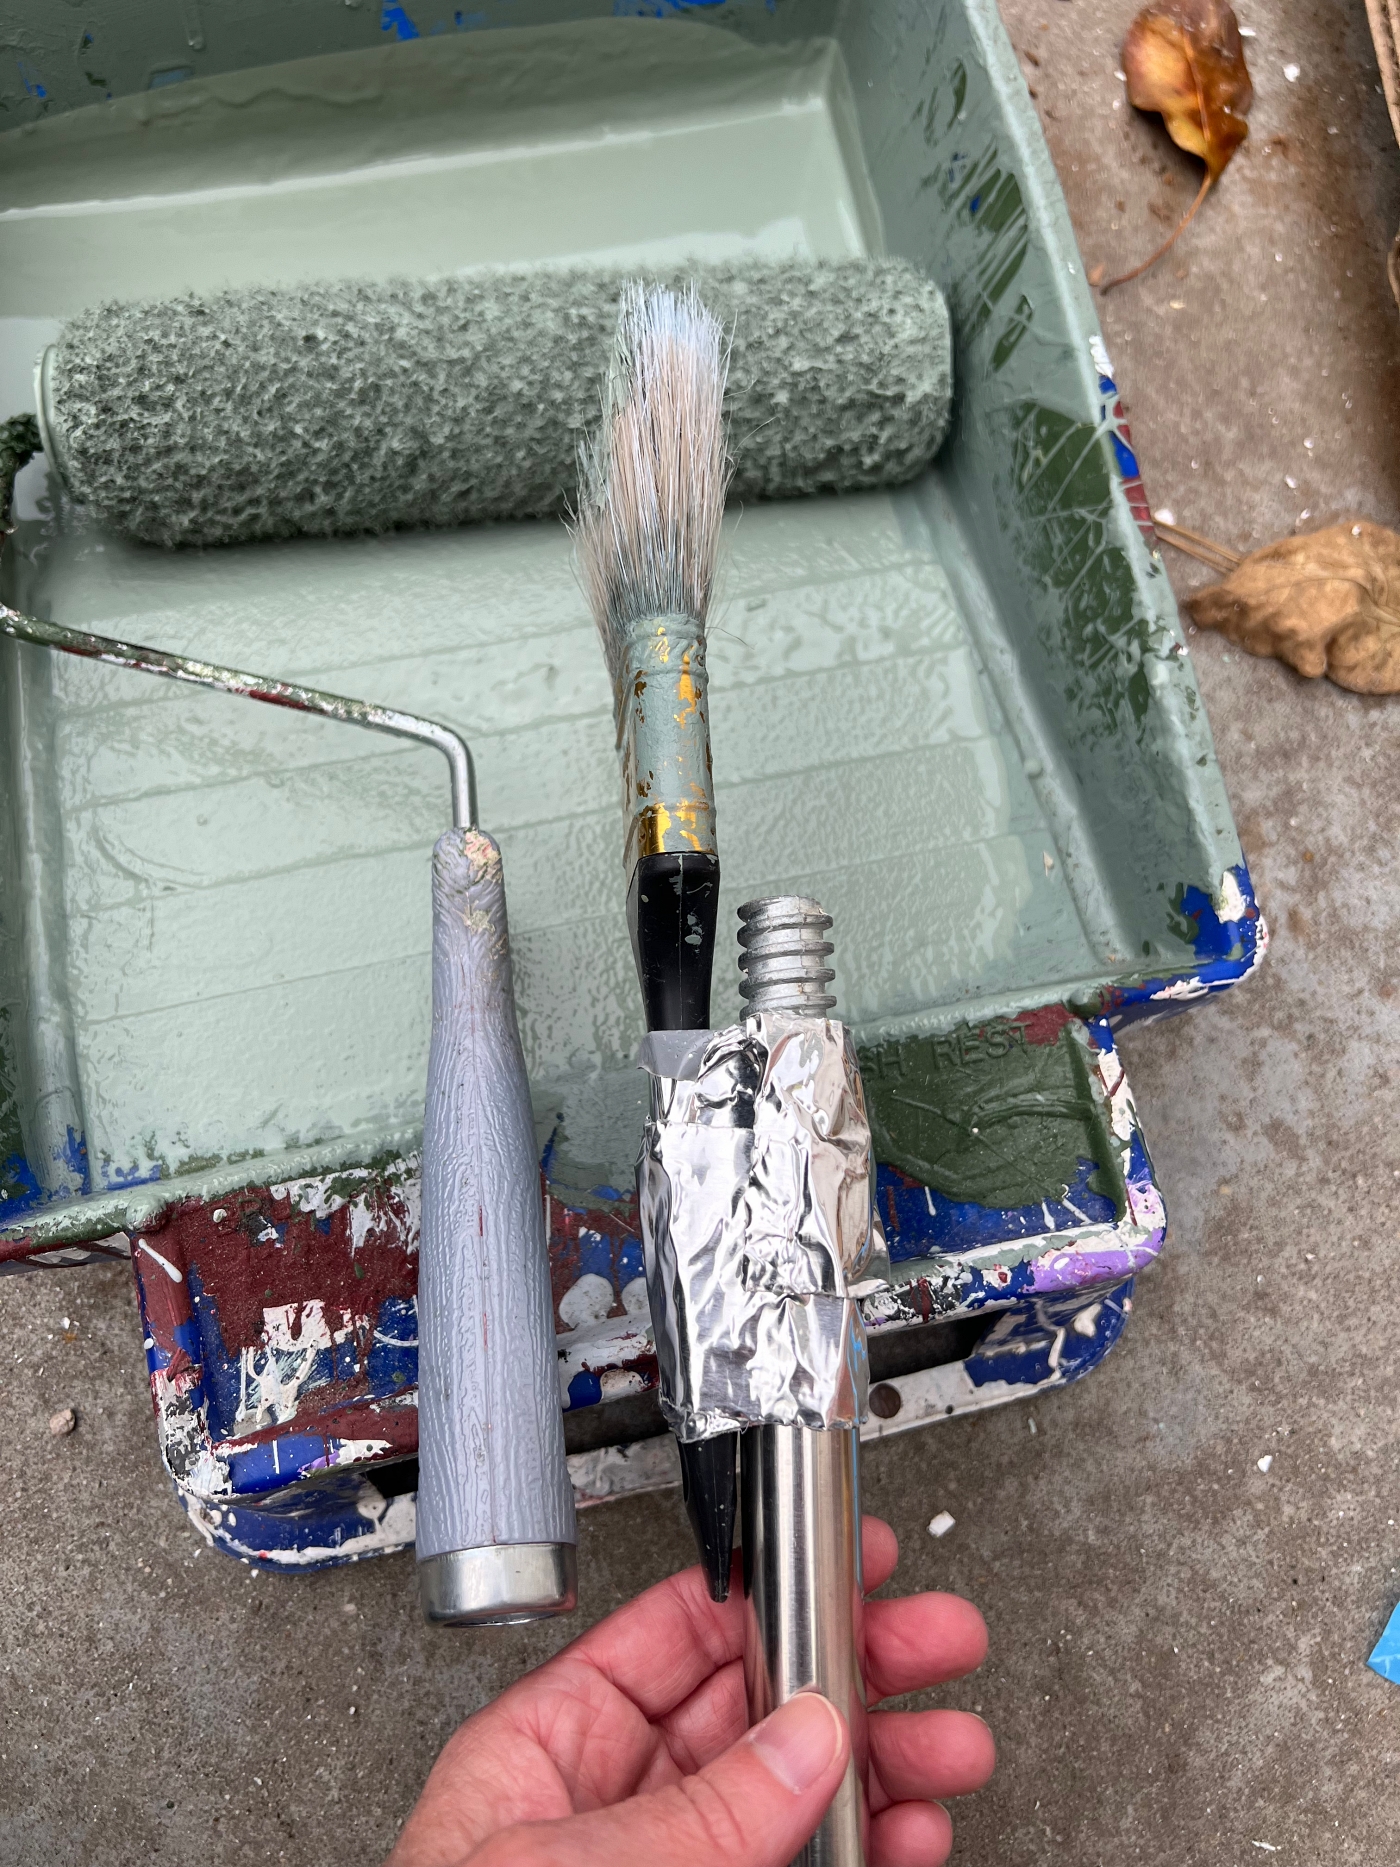
It was tricky, and the results are not perfect, but it worked great as far as I’m concerned. Note: Our roofer still needs to add some trim to the top and then all of the raw wood you see should get covered up.

I then painted the trim and the garage door with fresh white paint. A Fresh coat of white paint always adds a finishing touch.
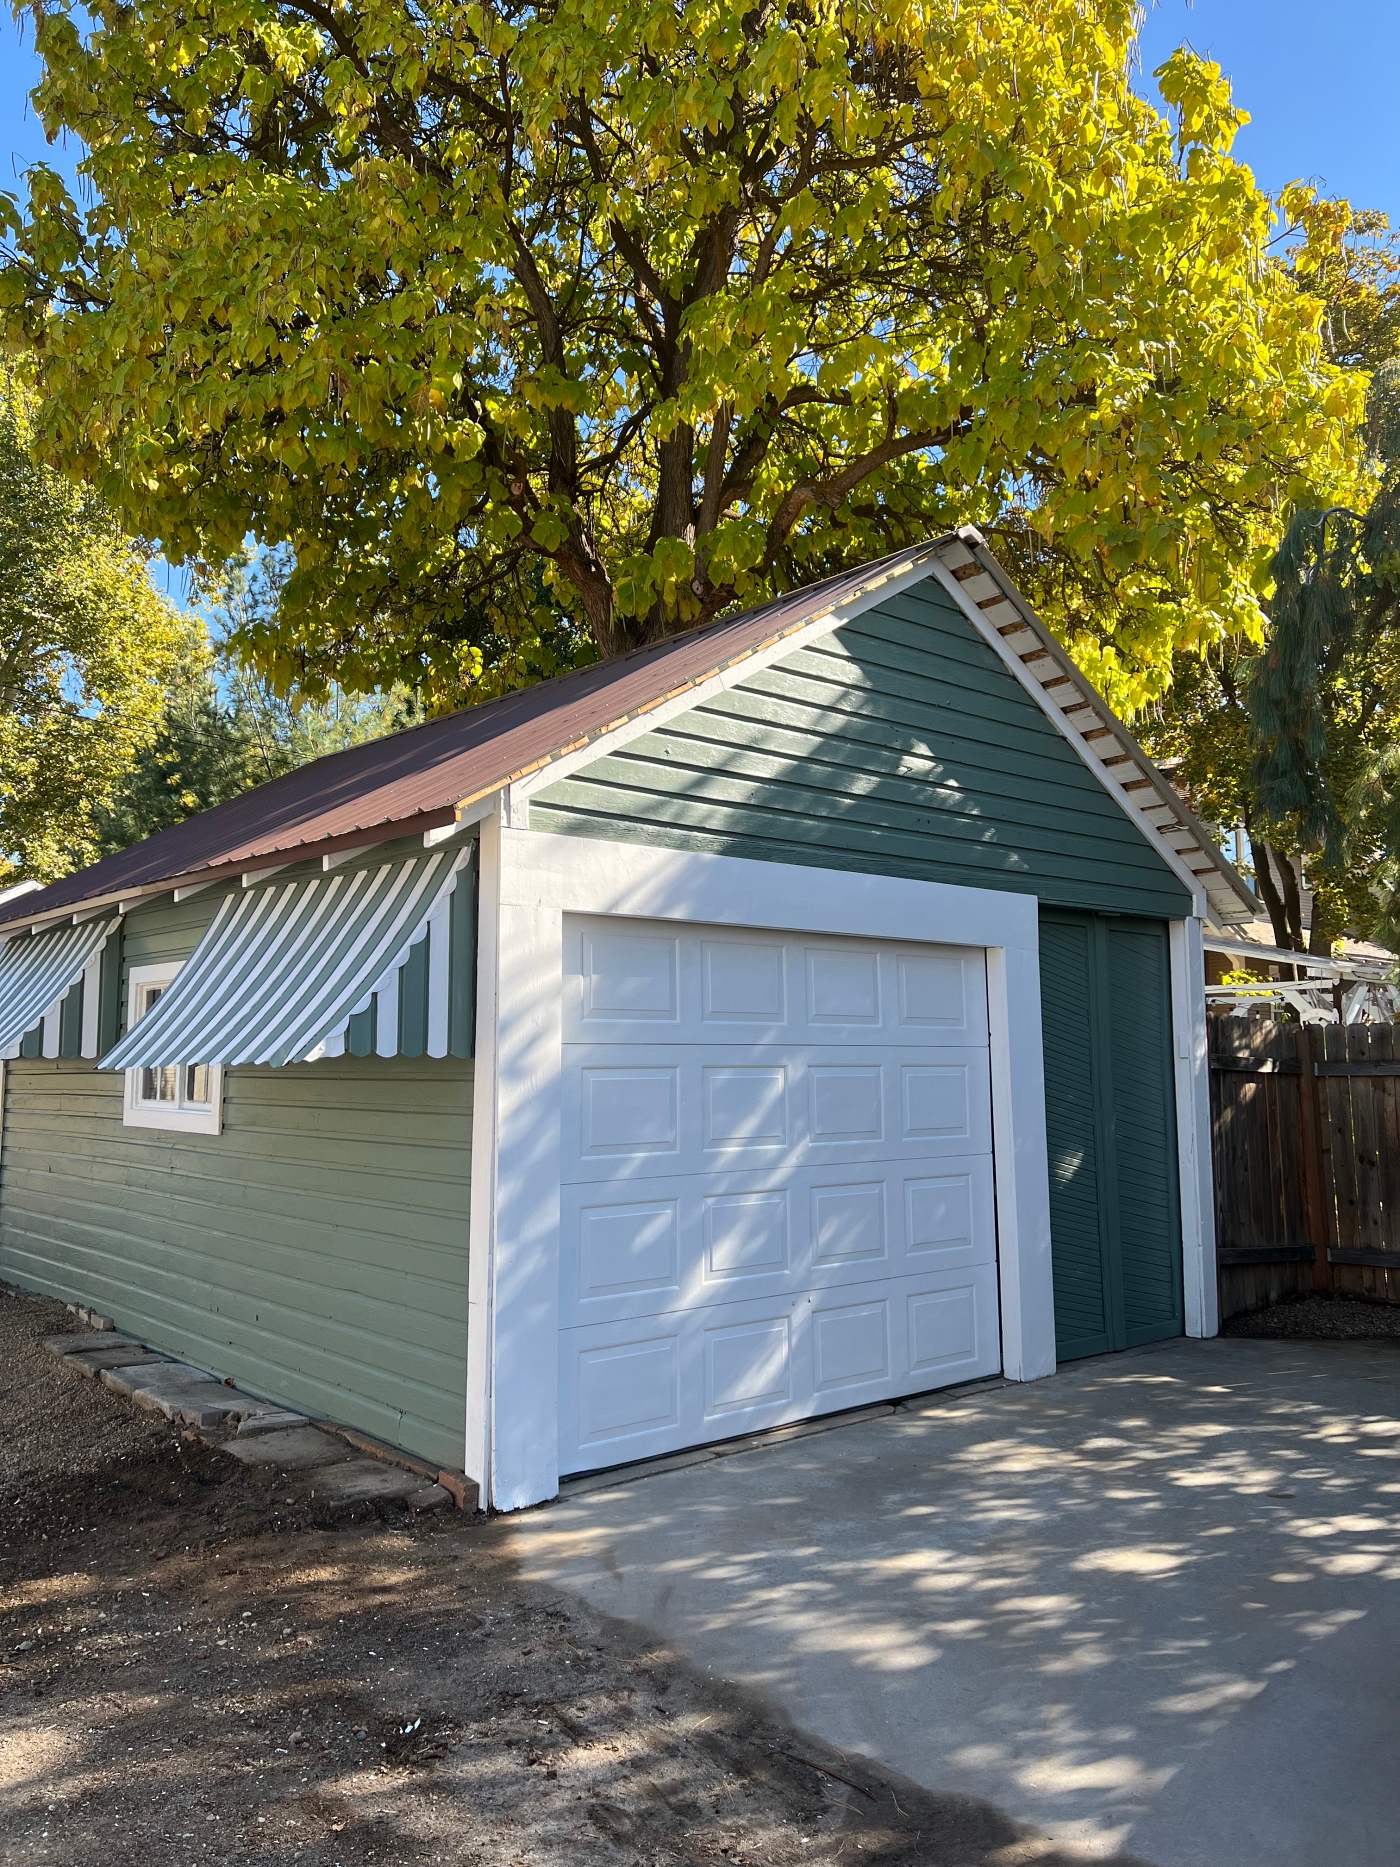
Also, I couldn’t have asked for a prettier background for my pictures. That big old catalpa tree just started turning its fall colors.
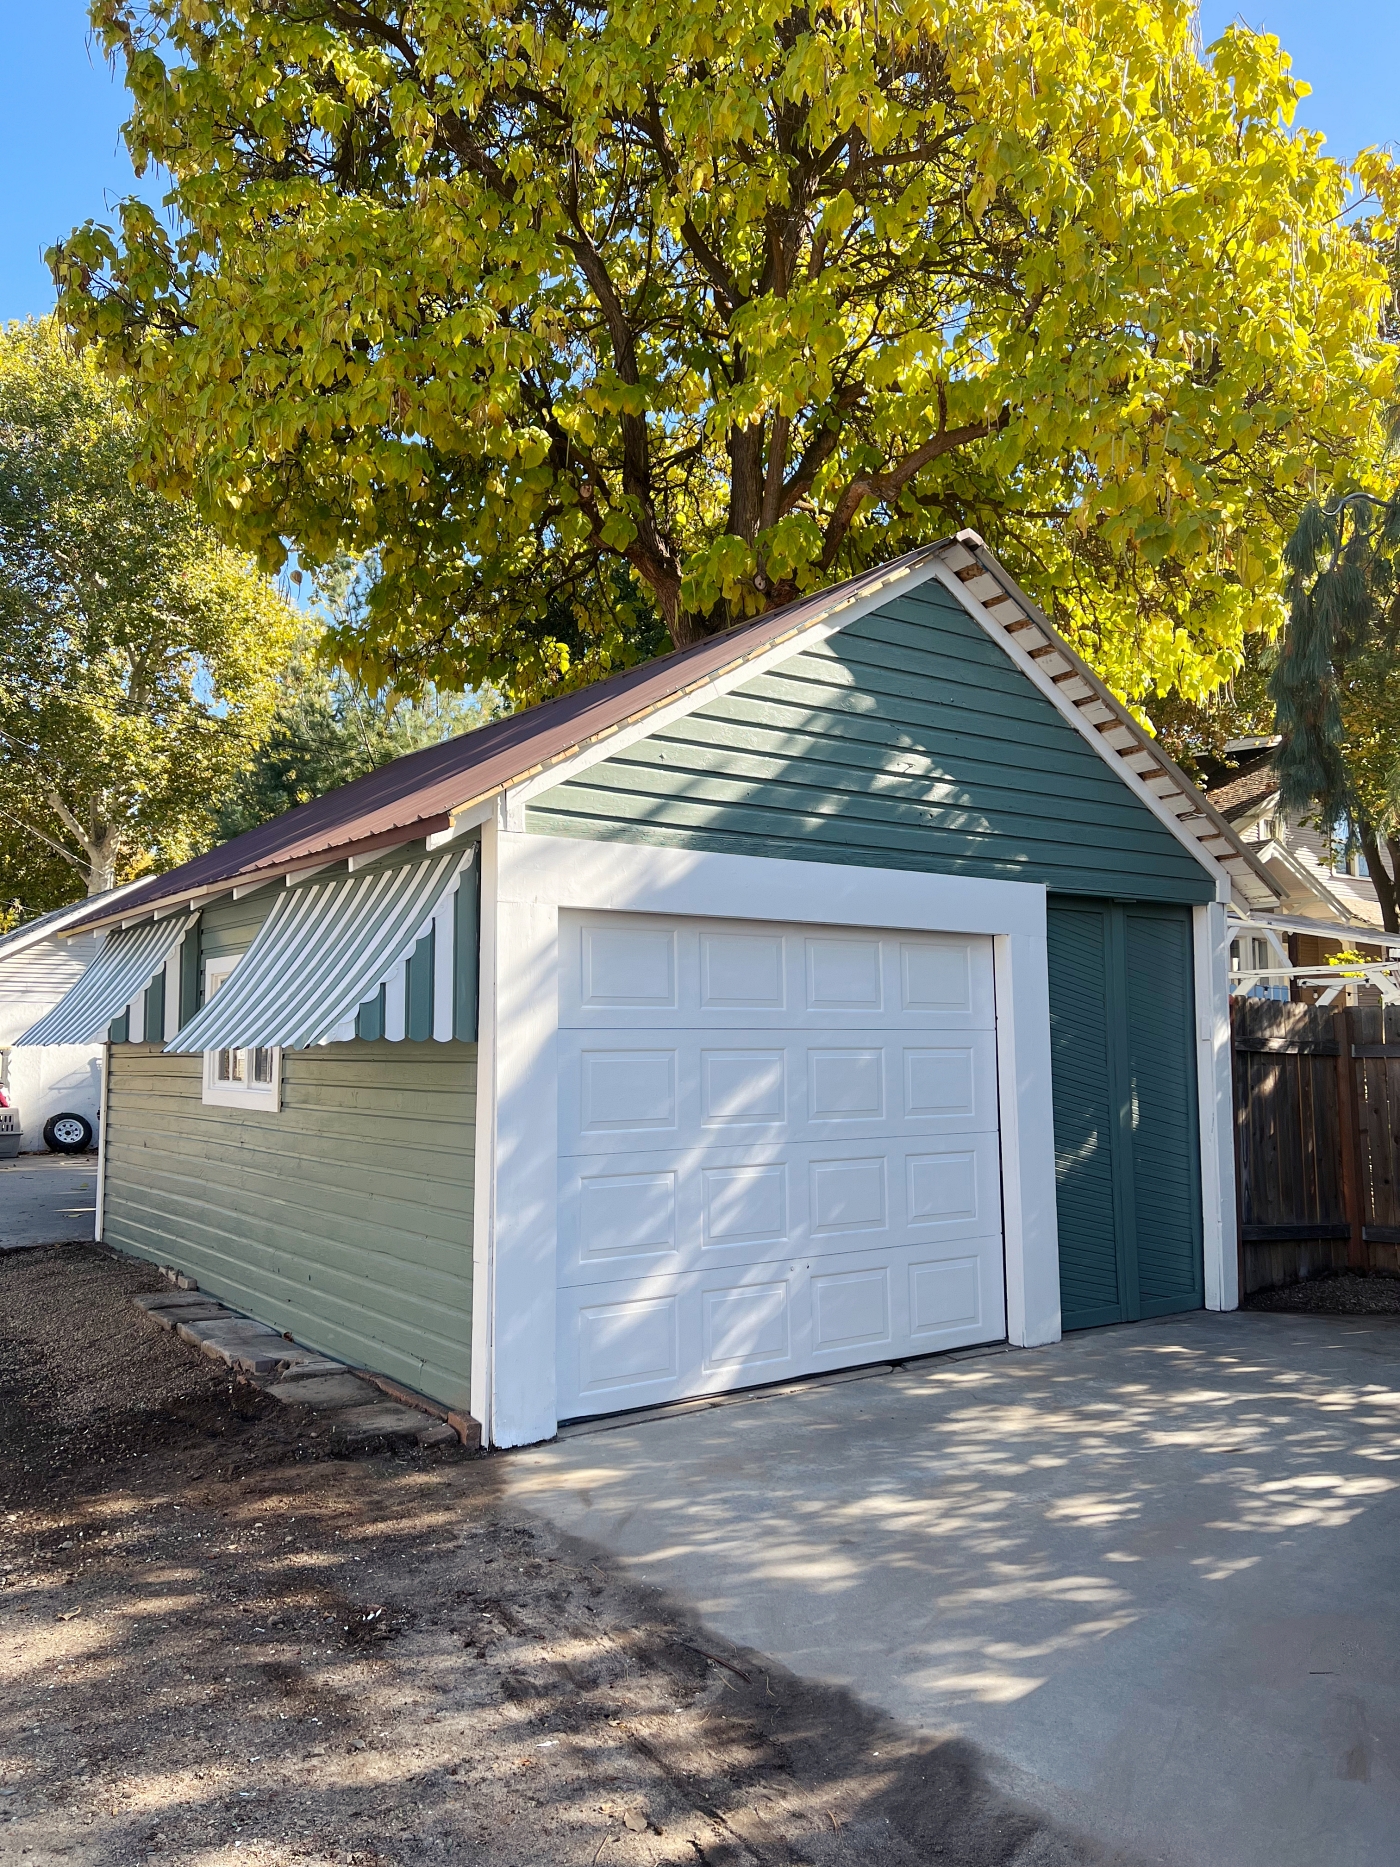
I did not paint the back side of the garage and I’m not sure if I will. You see, it’s actually on the neighbors side and I kinda don’t know what to do there. So for now I’m leaving the back side white.
As far as the inside of the garage, we have done a lot of cleaning in there too. We’ve got it cleaned out enough that we could actually park our truck in there, which will be nice in the winter.
So Tell me, What do you think? Any Questions or Comments? Please let me know below or email them to me at thewickerhouse@yahoo.com or come find me on Facebook and/or Instagram
And remember, you are welcome to PIN any of the Images from my blog on PINTEREST. Find a Pin It button by hovering over any of the pictures.
If you like the type of decor that I share, then be sure to check out my SHOP MY FAVORITES Page. I keep it updated with all of the fun Coastal, Cottage, and Farmhouse Decor that I come across on a daily basis. I personally want EVERYTHING that I have listed there.
You can also Check out my Amazon Page HERE. It too is full of all sorts of favorites.
Thanks for stopping by,
Emily
