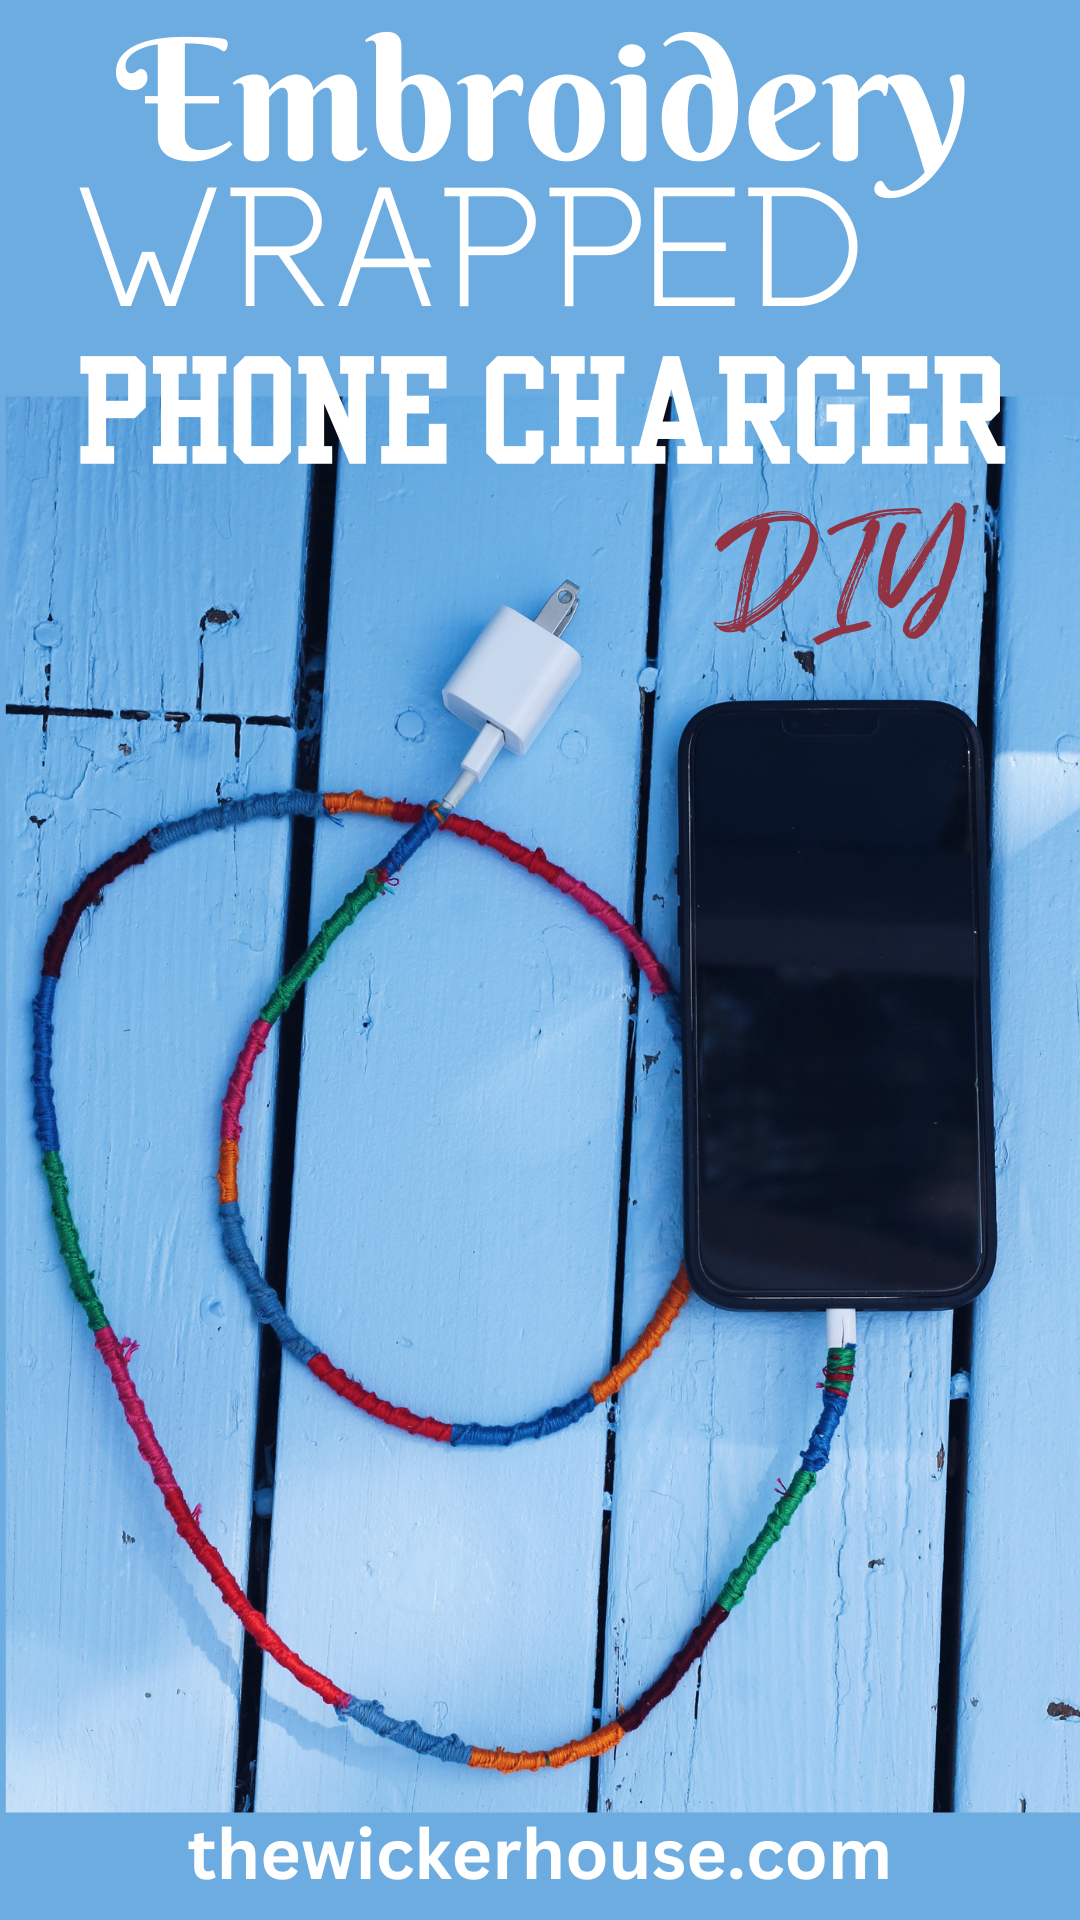
I actually came across this idea on Pinterest a while back and I was excited to give it a try. I wrapped my phone charger in Embroidery thread and I love how it turned out. Let me show you how I did it.
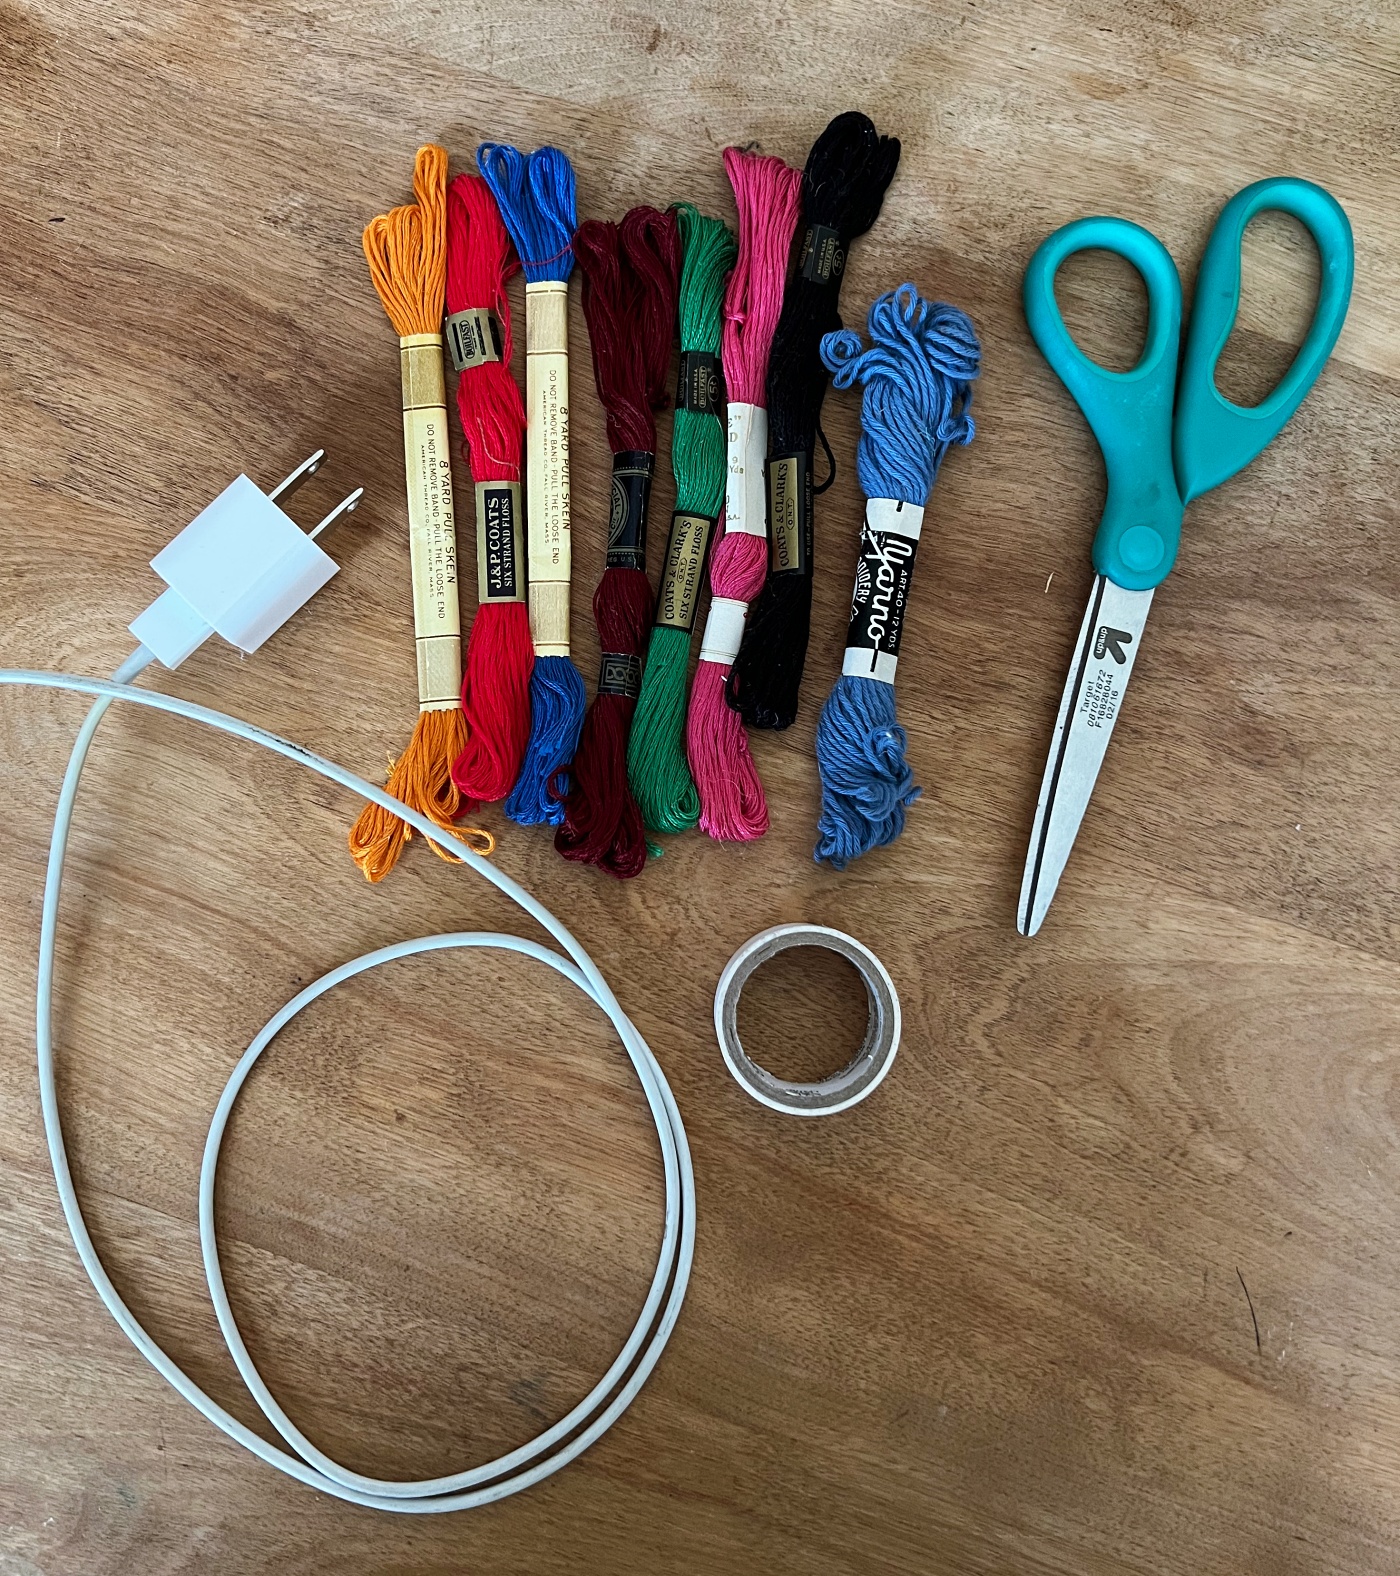
For this Project you will need:
- Phone Charger (You could probably also wrap earbuds, headphones, or really any cord you wish)
- Embroidery Thread –HERE is a Great Option of Colors.
- Electrical Tape – To fix any tears in your cord.
- Scissors
- Patients – this project takes hours so enjoy the process.
*These are Affiliated links which means that as an Amazon Associate I earn a small commission for purchases made through these links.
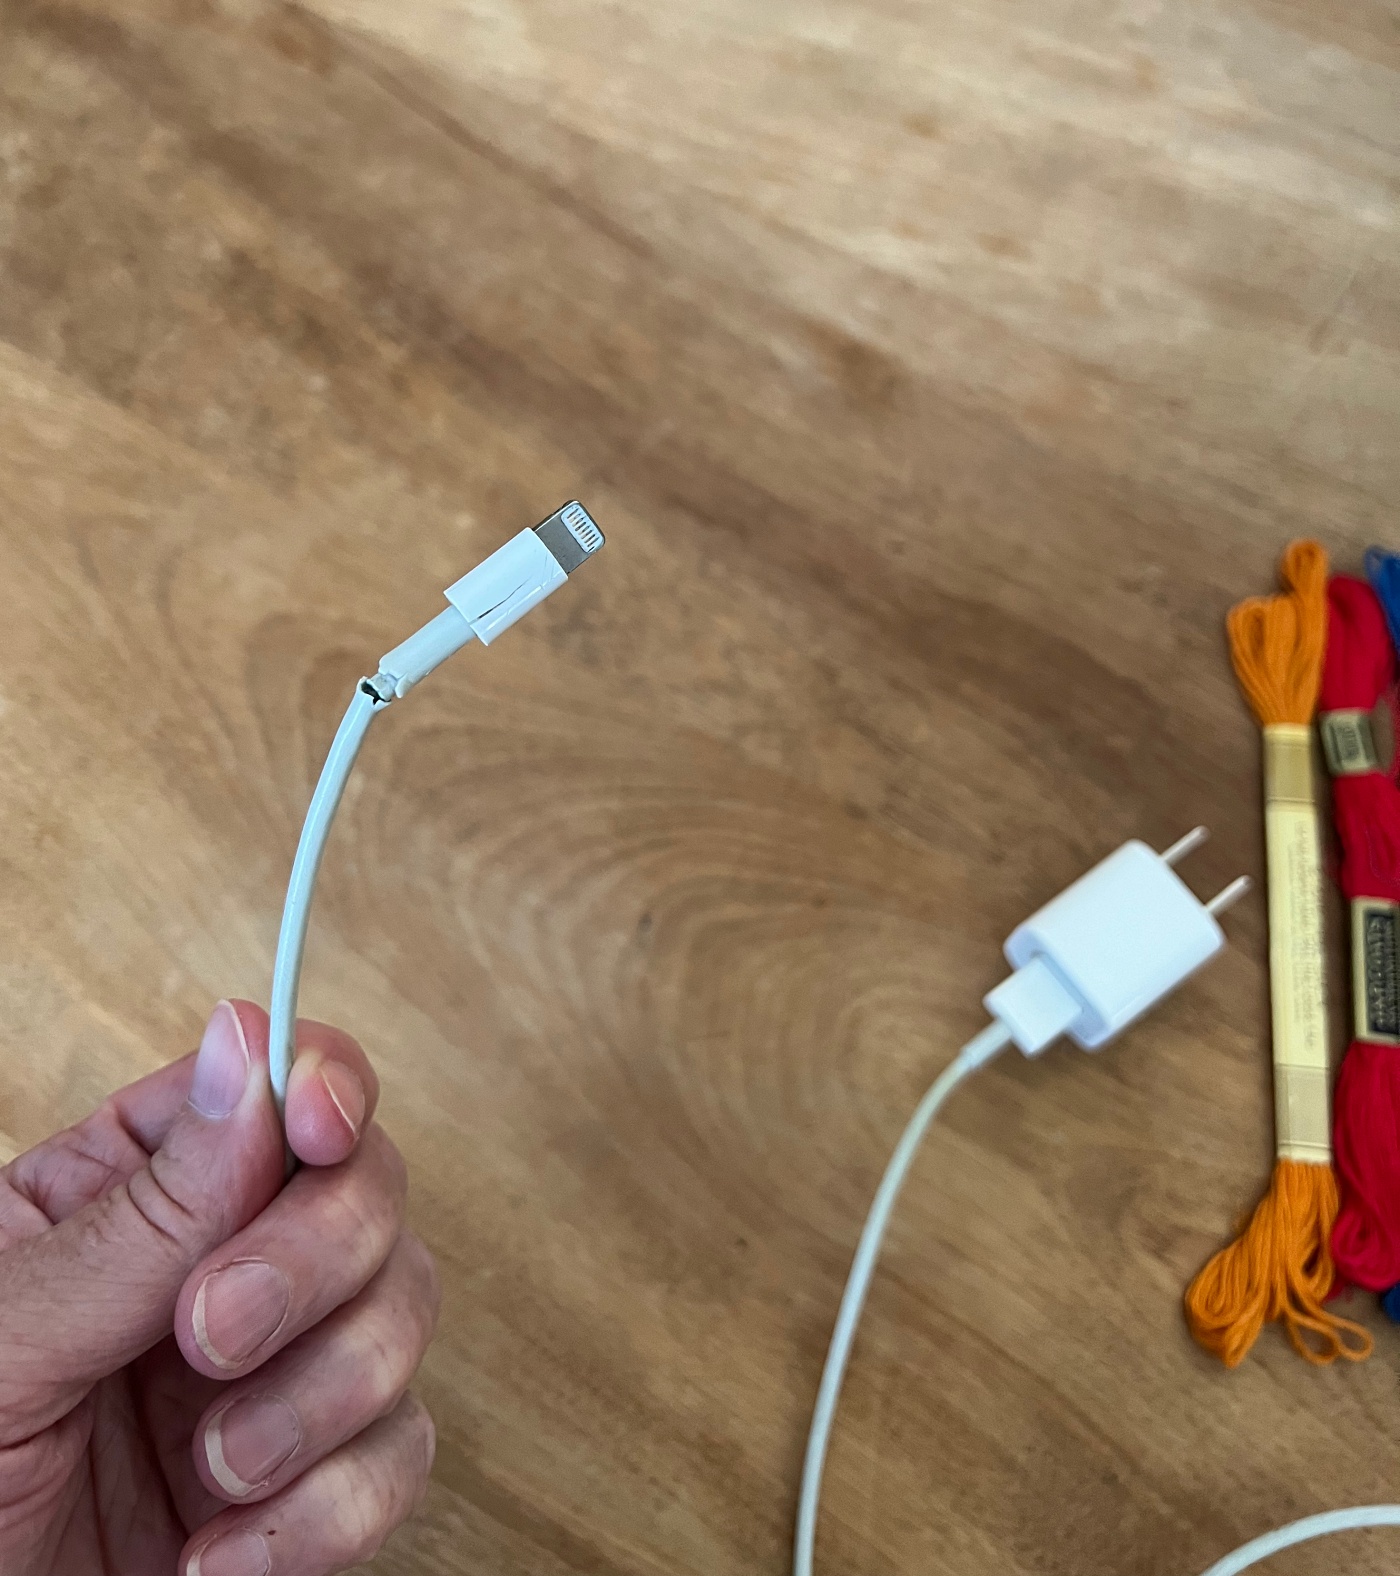
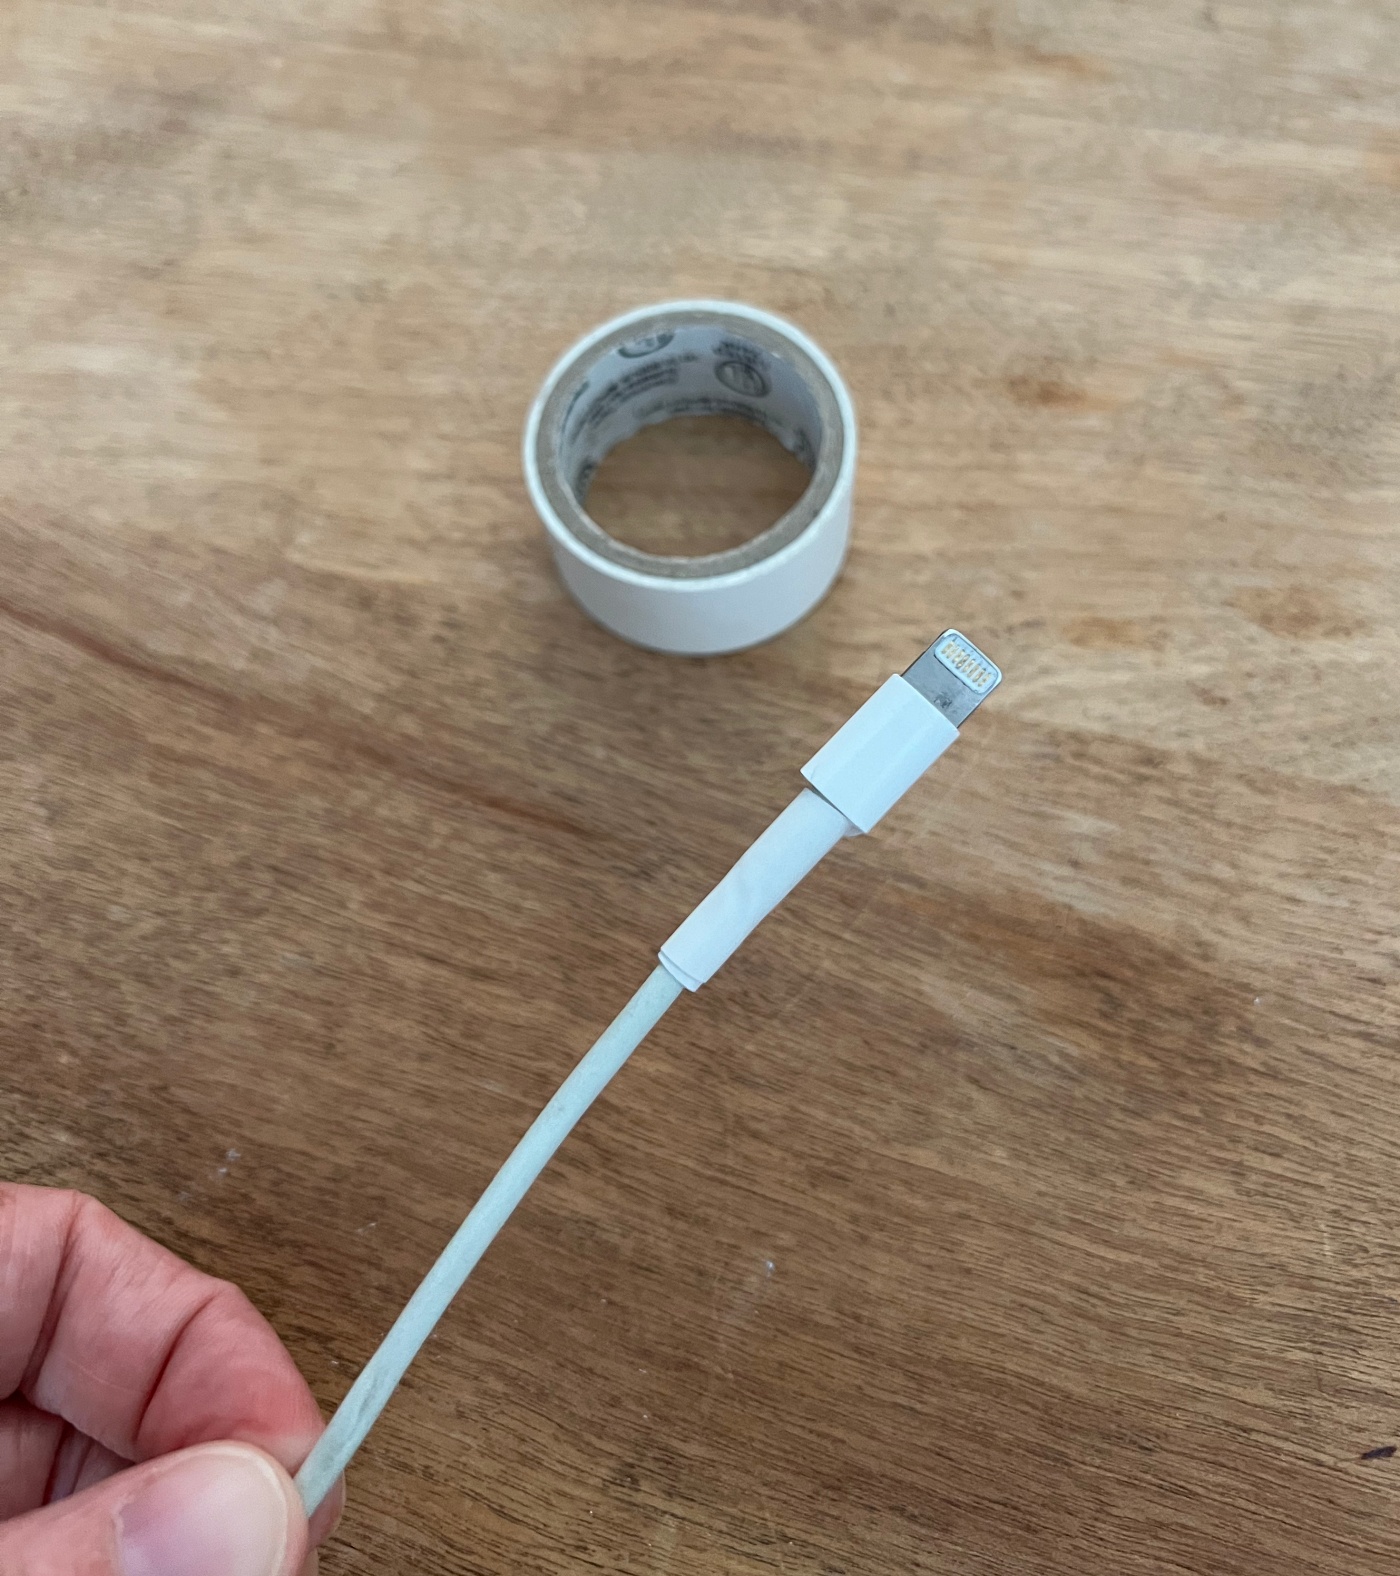
First things first, if your cord has any tears in it, let’s get those fixed right away. Electrical tape is the best way to fix this. I like to use White Electrical tape just in case it shows up in the end. Simply wrap a very short piece of electrical tape tightly around the cord to cover the tear.
This is a good thing to do even if you do not wish to cover your cord in embroidery floss.
Next, Pick out the colors of embroidery floss you want to use. Use as many as you wish. I used 7 different colors for mine. The more threads you use, the thicker your cord will be in the end. I probably wouldn’t use more than 10 or any less than 5, but you definitely could if you wish. If you wanted your cord to be only one color, you could do that as well.
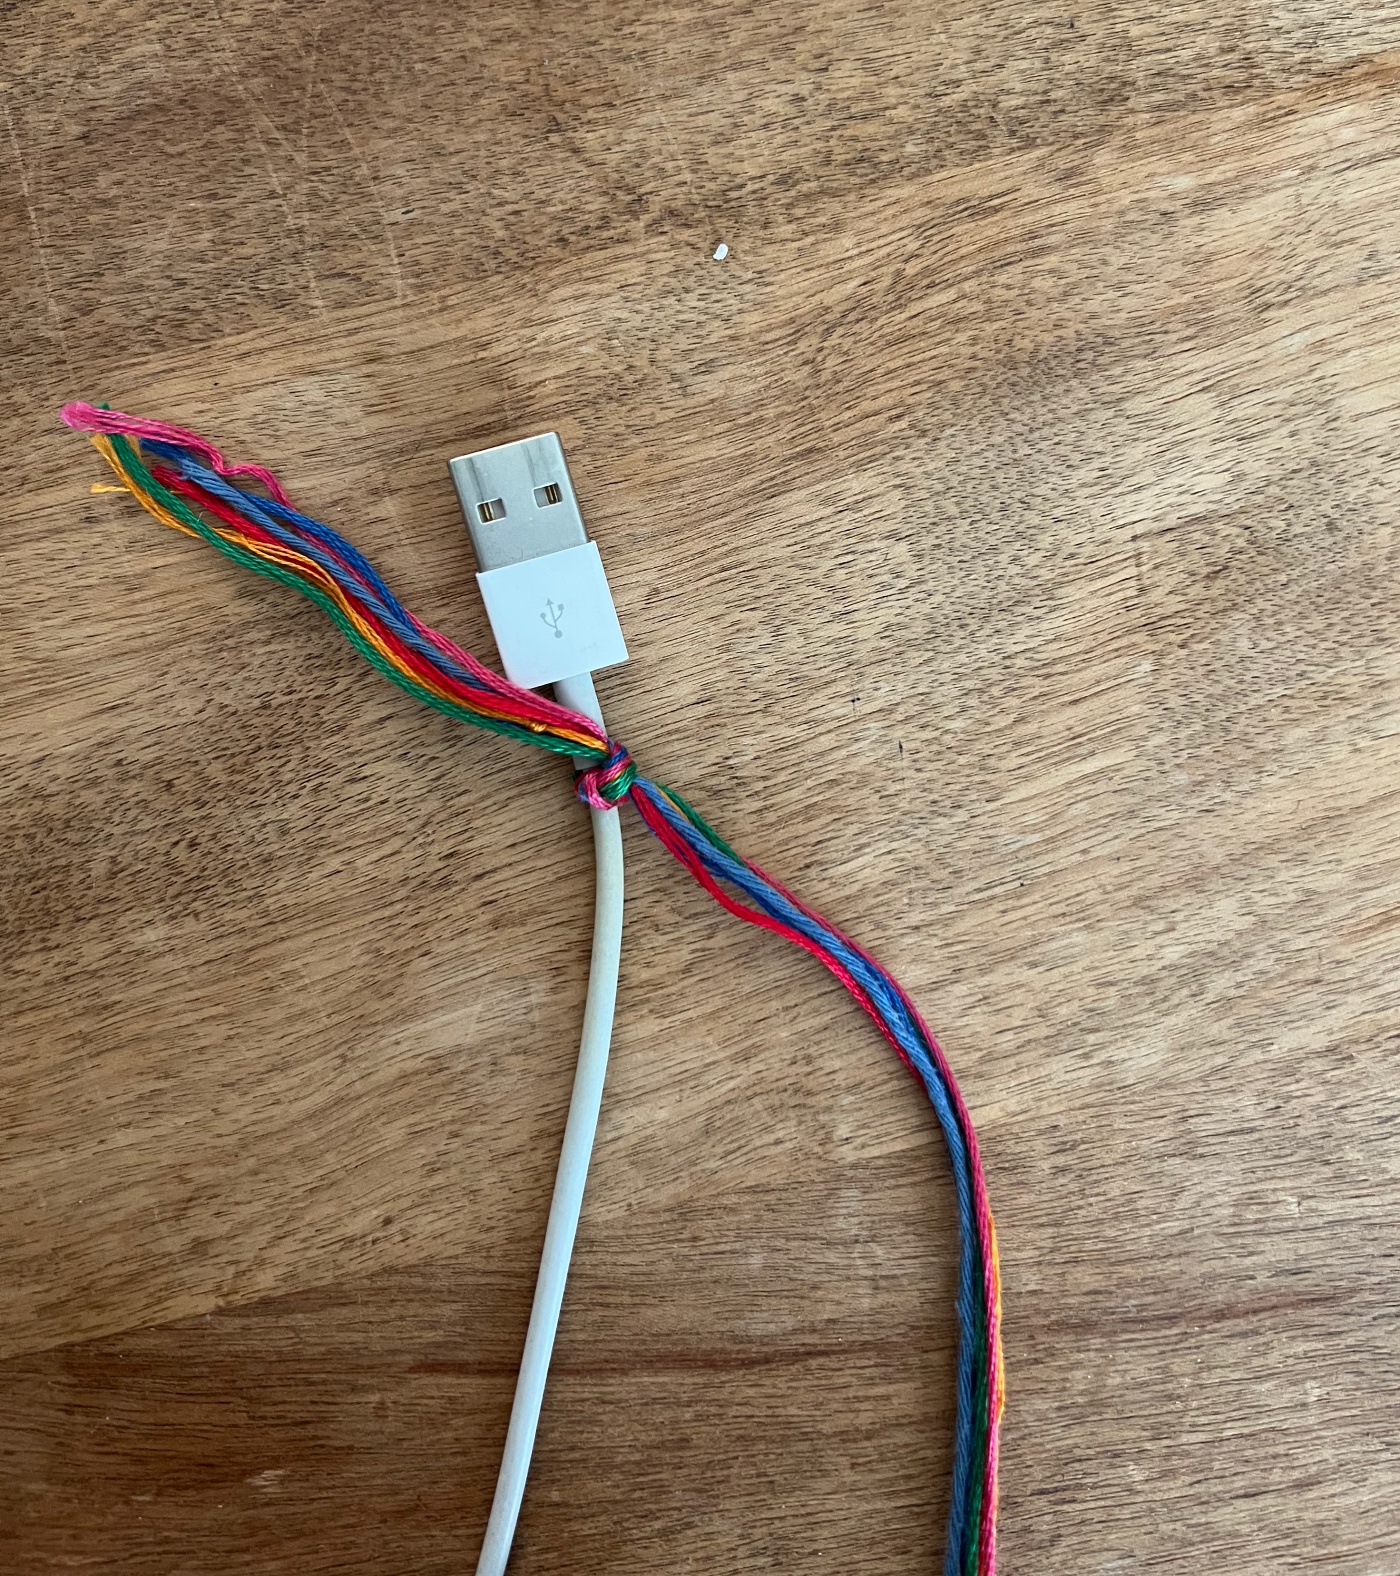
Now the instructions I read said to cut the thread 3 times the length of your cord. I actually ran short so I’m going to suggest that you cut your threads to be 4 times the length of your cord. Measure and cut each color of thread you want to use, then tie tightly onto the cord. I suggest only a double knot here. You don’t want your knot to be too big. You should also have about a two inch tail on the short side.
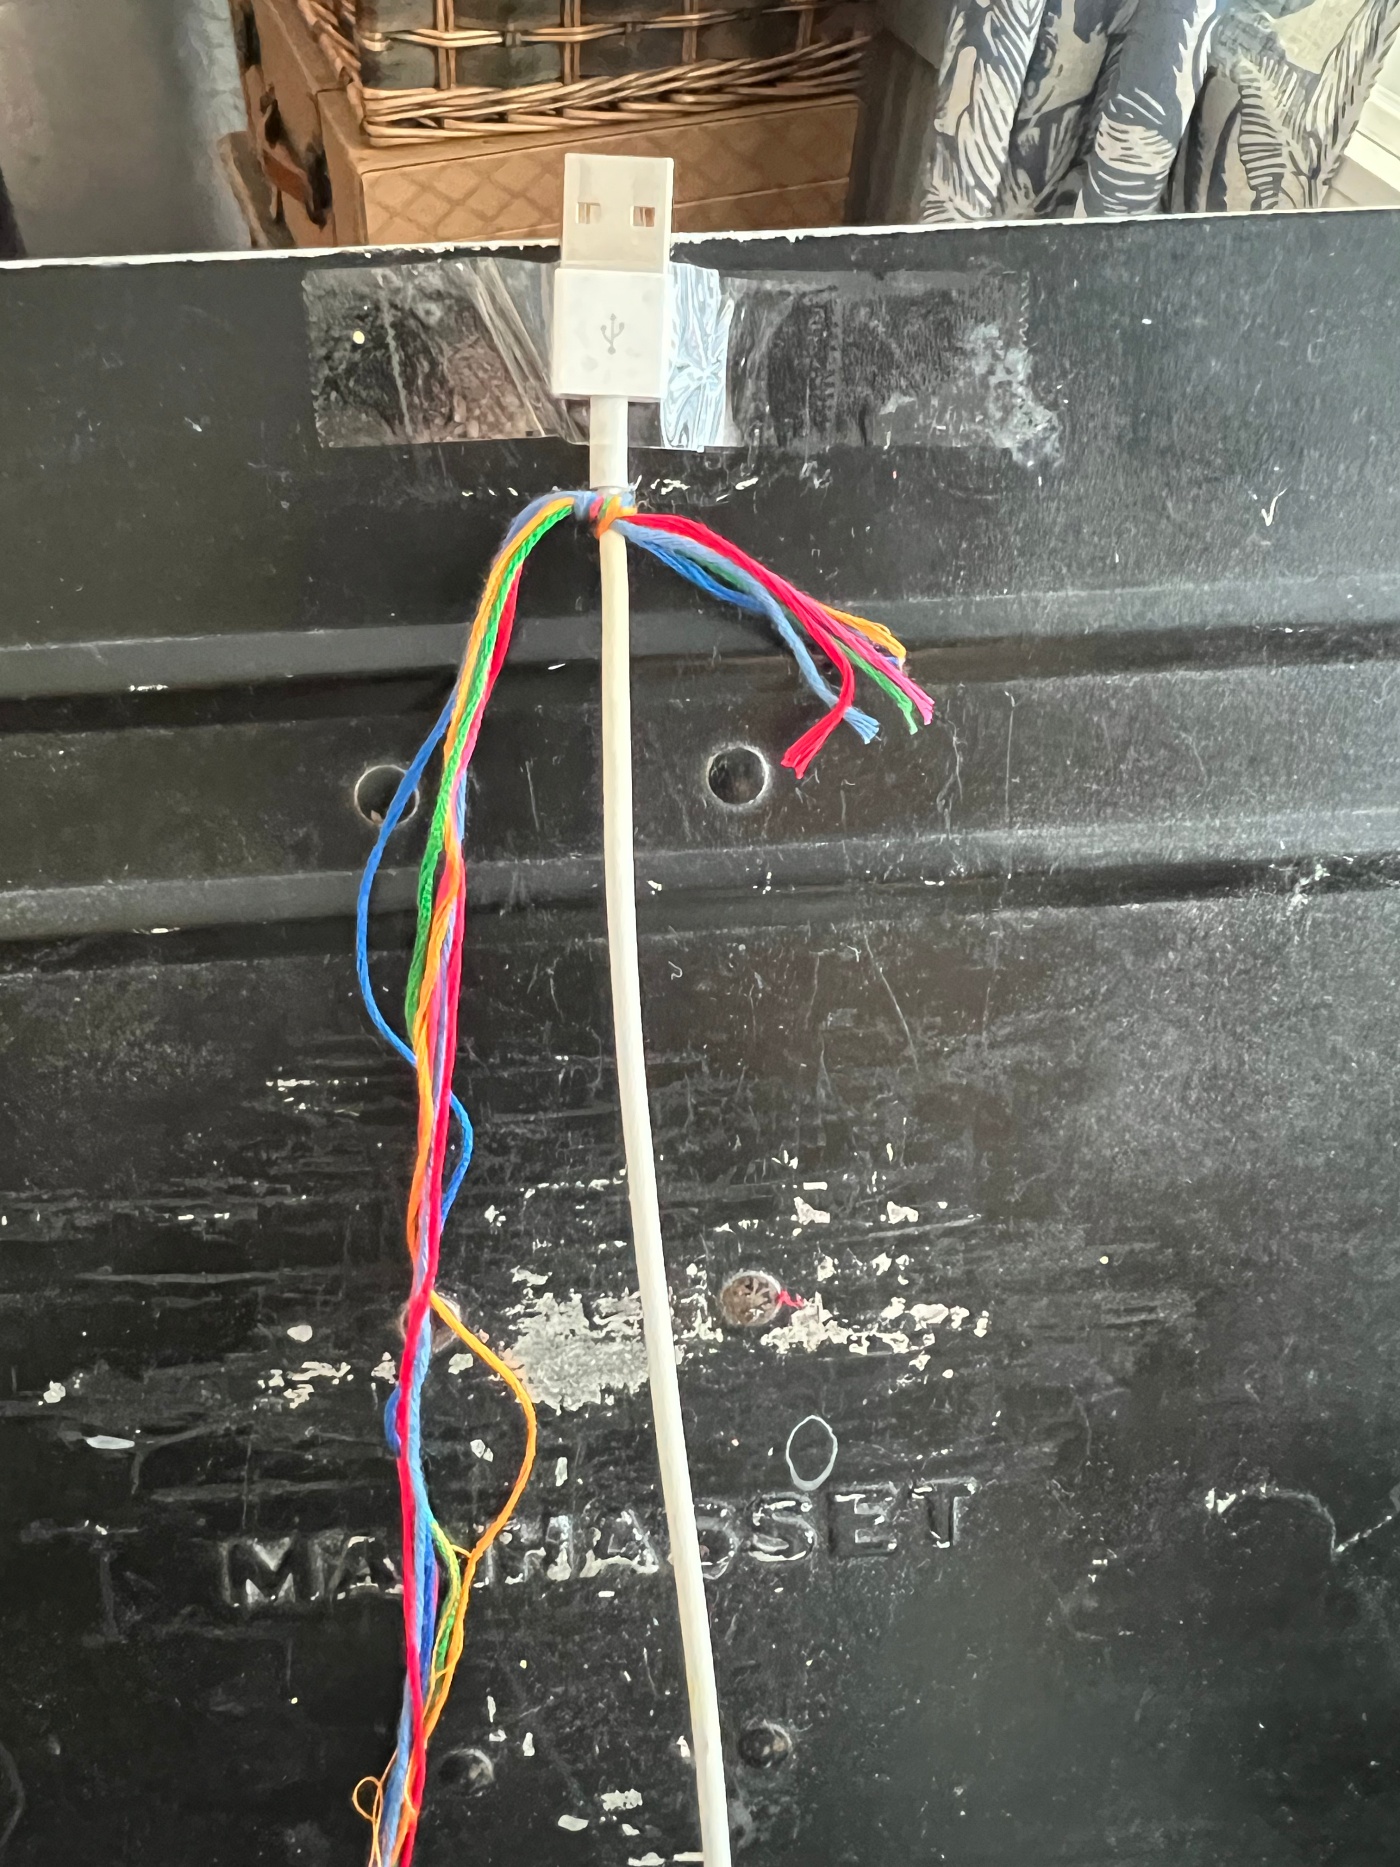
Use a piece of tape to attach the cord to a surface. Here I taped mine to a music stand and this worked great. Another day I used a binder clip to hold it onto a blanket as I sat on the bed to work on it.
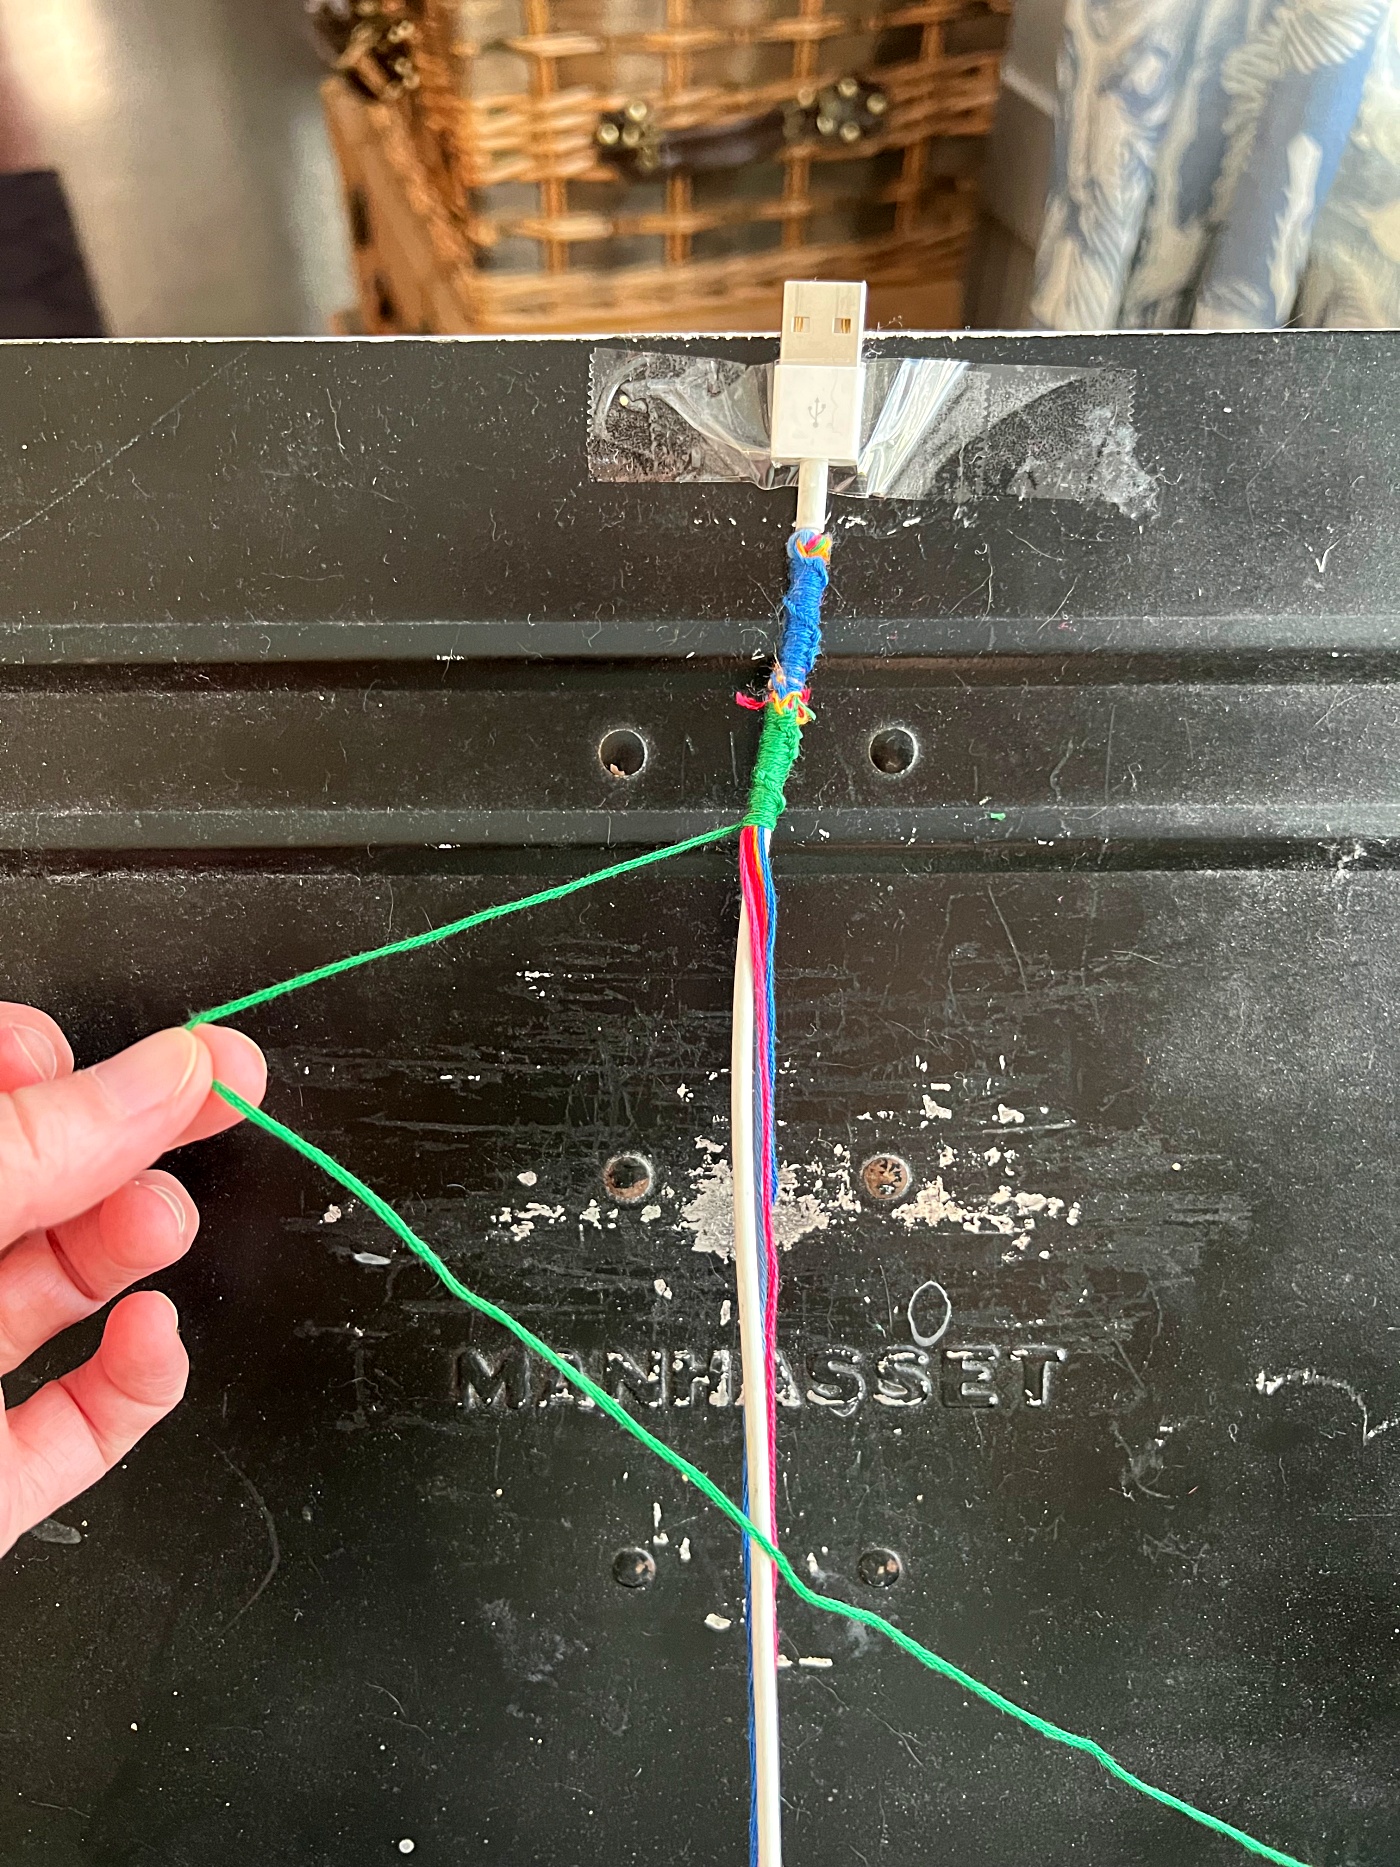
The pictures above and below will show you how to make the cascading knots. So first create a number 4. Then bring the end under and through then pull tightly. Mine looks a little messy. This was my first time attempting this so learn from my mistakes. The reason for my mess was the extra tail of threads, I didn’t get them covered good enough, so keep this in mind as you make yours.
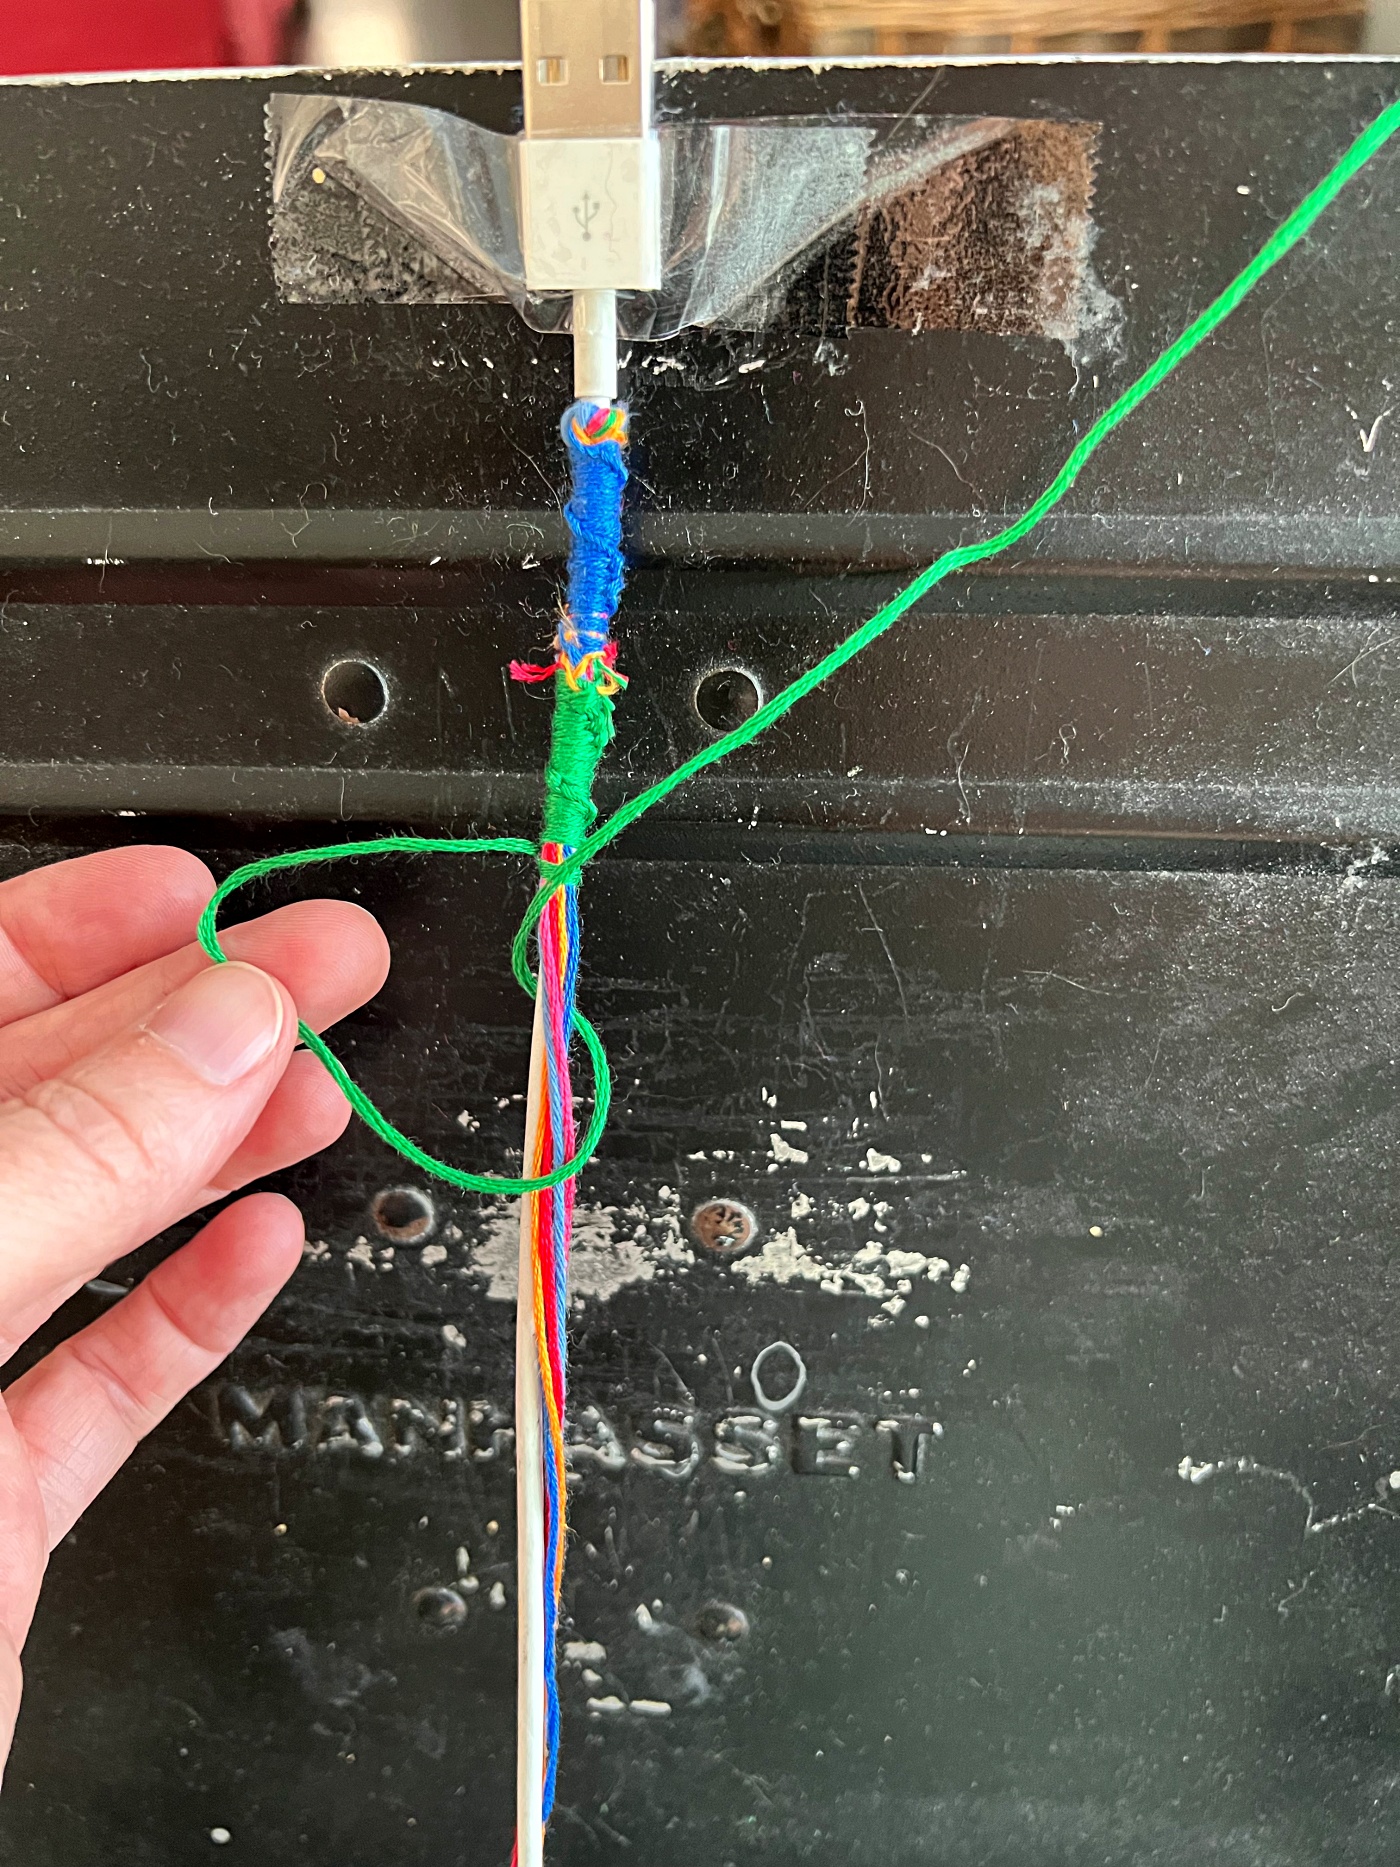
Here is a video that should help you understand the knots better. Once you want to change colors simply take the color you want to use next and begin tying the knots with that color. You can make your color sections as long or as short as you wish too. I just changed mine whenever I felt like it.
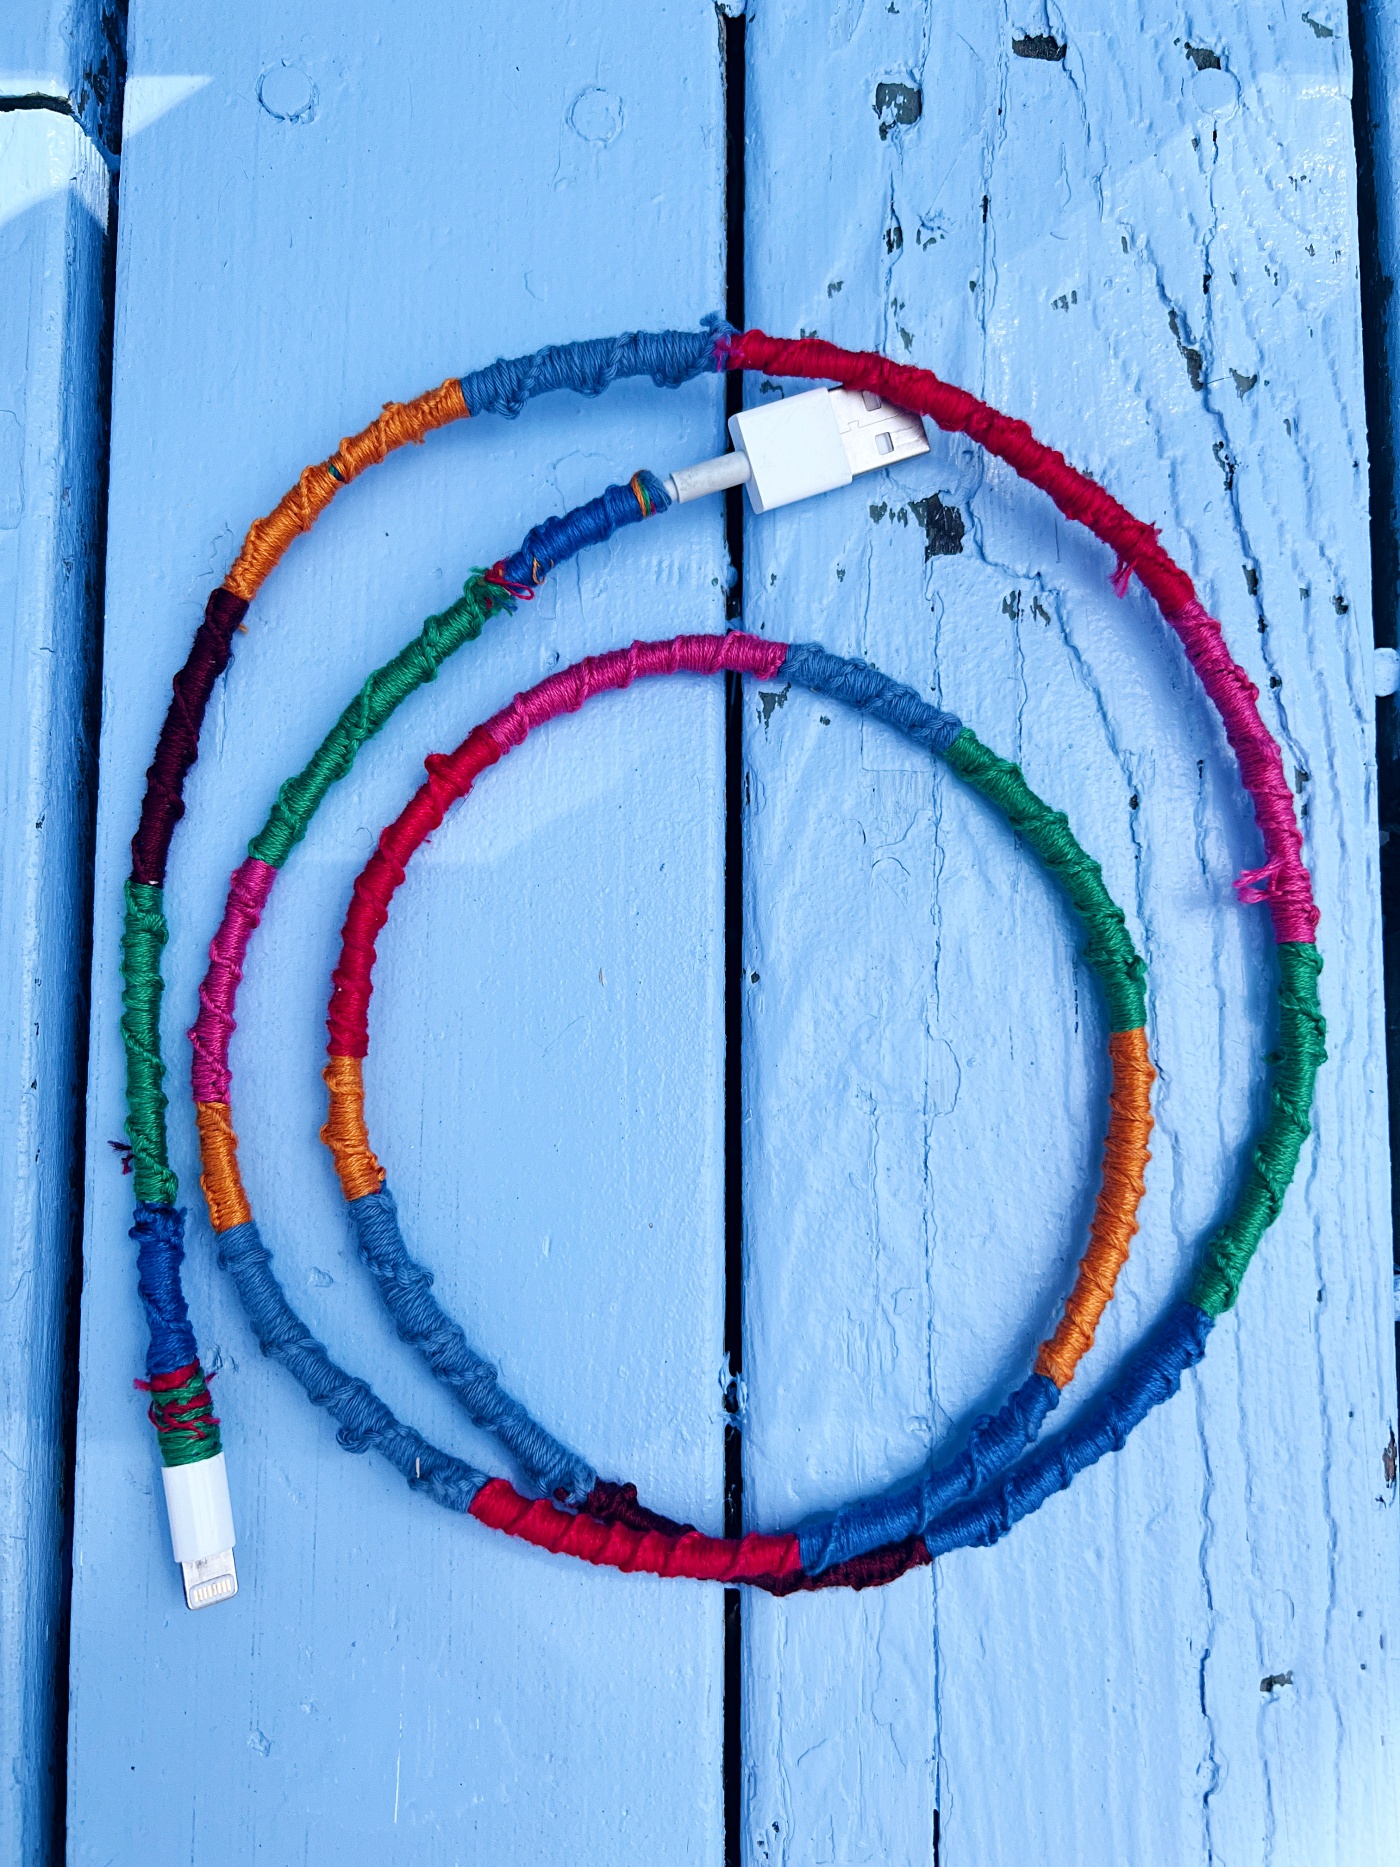
Like I said, I ran short on my strings, but it was an easy fix, I just simple tied more string onto the existing string to make it longer.
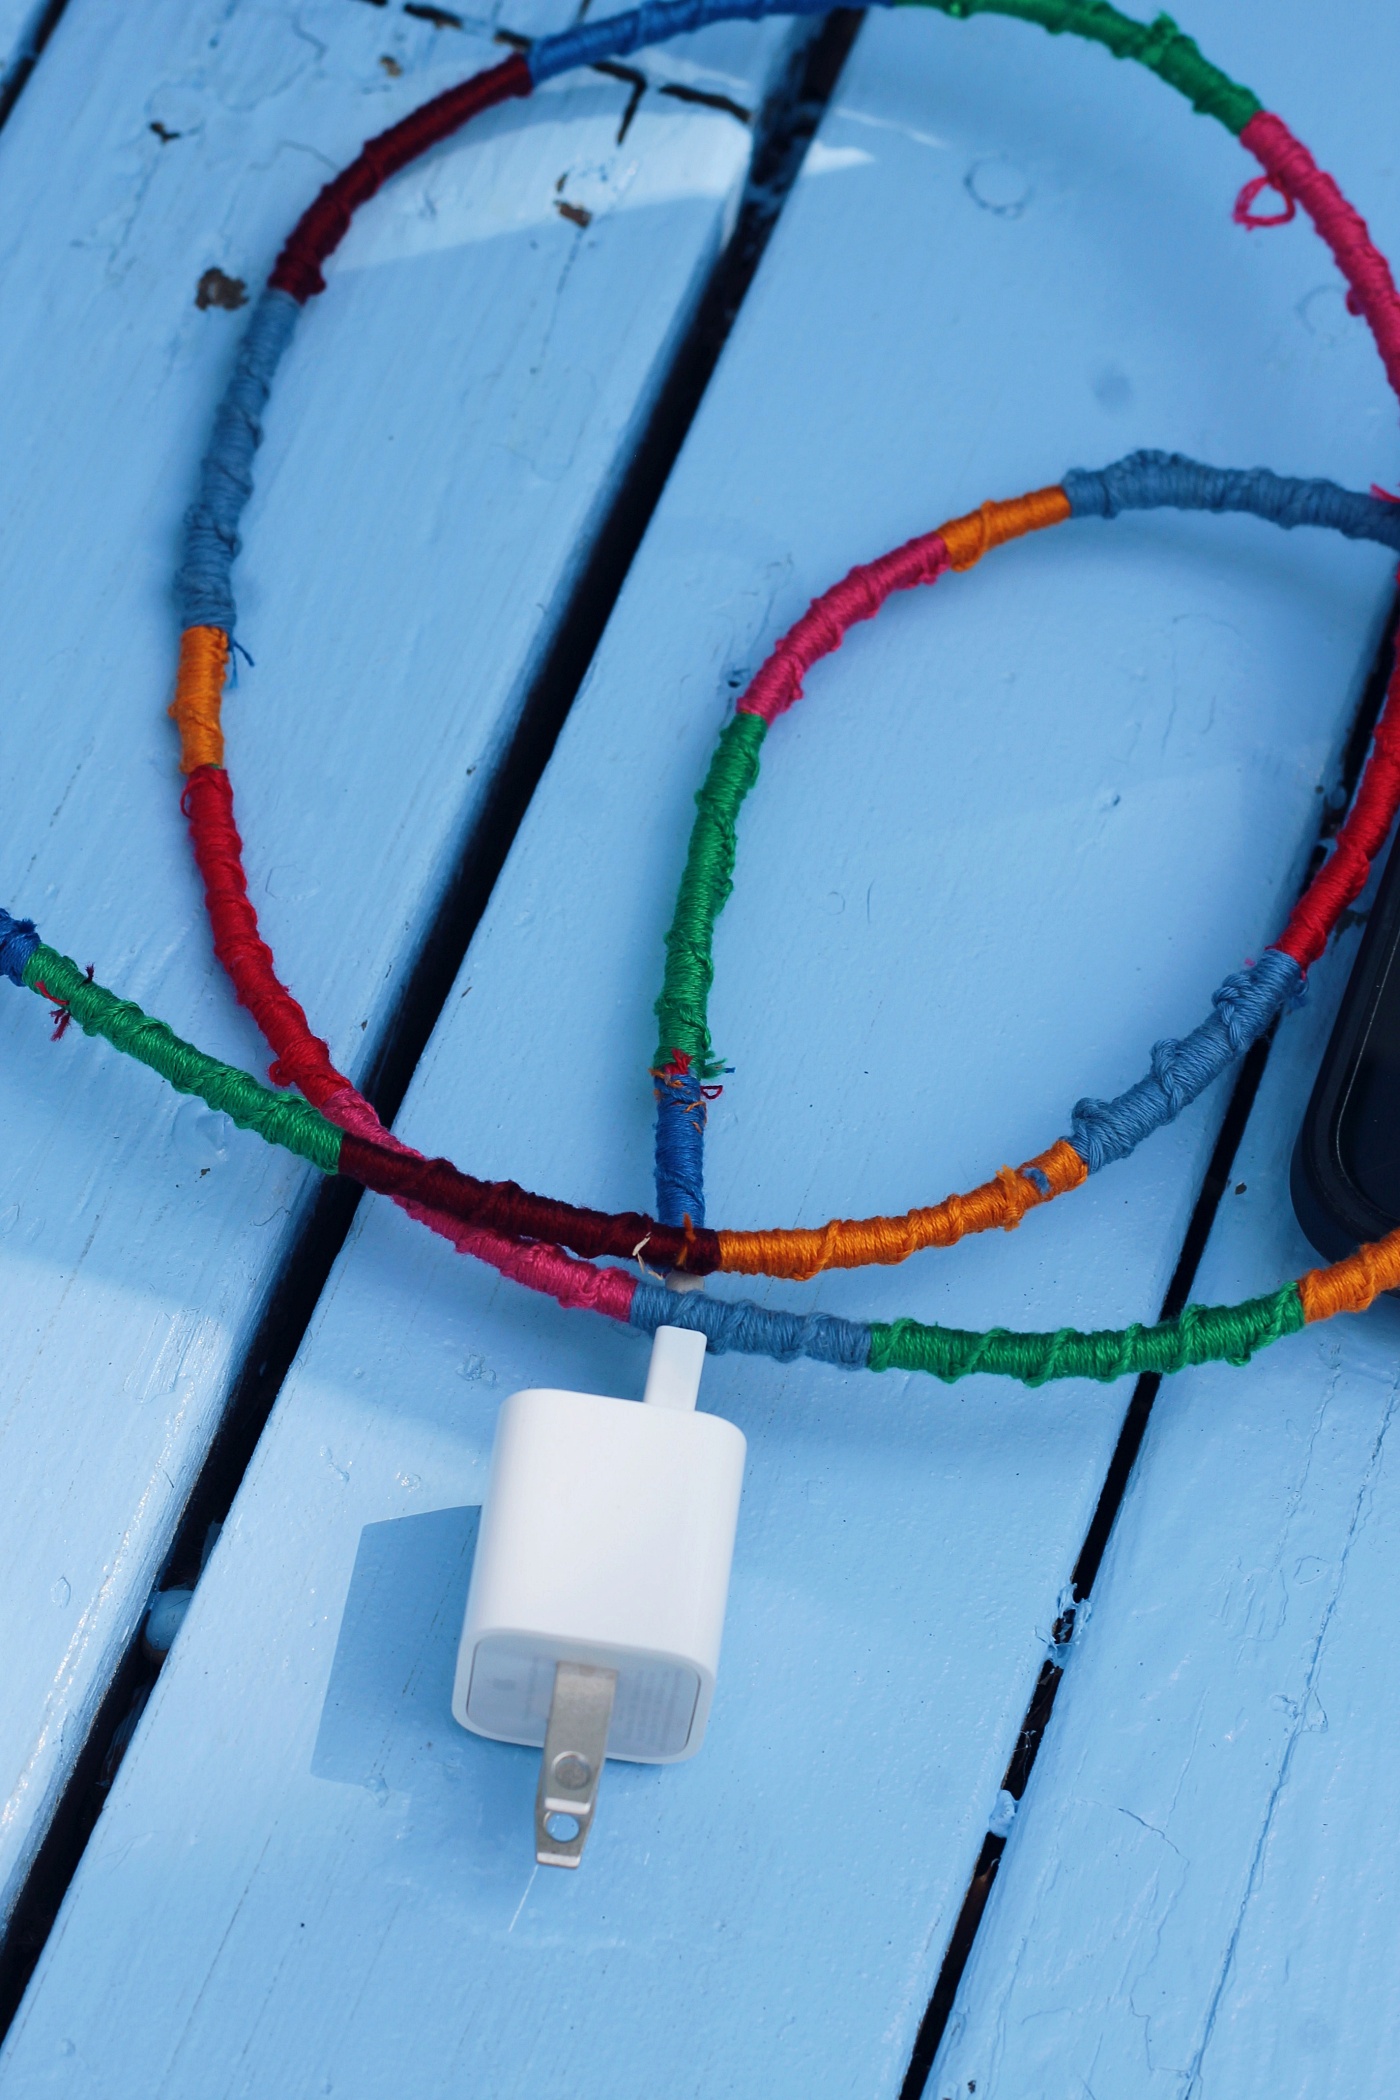
If you look at mine too closely, you will see that it’s not perfect, but I’m okay with that. I’m really happy with how it turned out. I think it is super cute! I’m sure I will want to do this again sometime down the road to another cord.
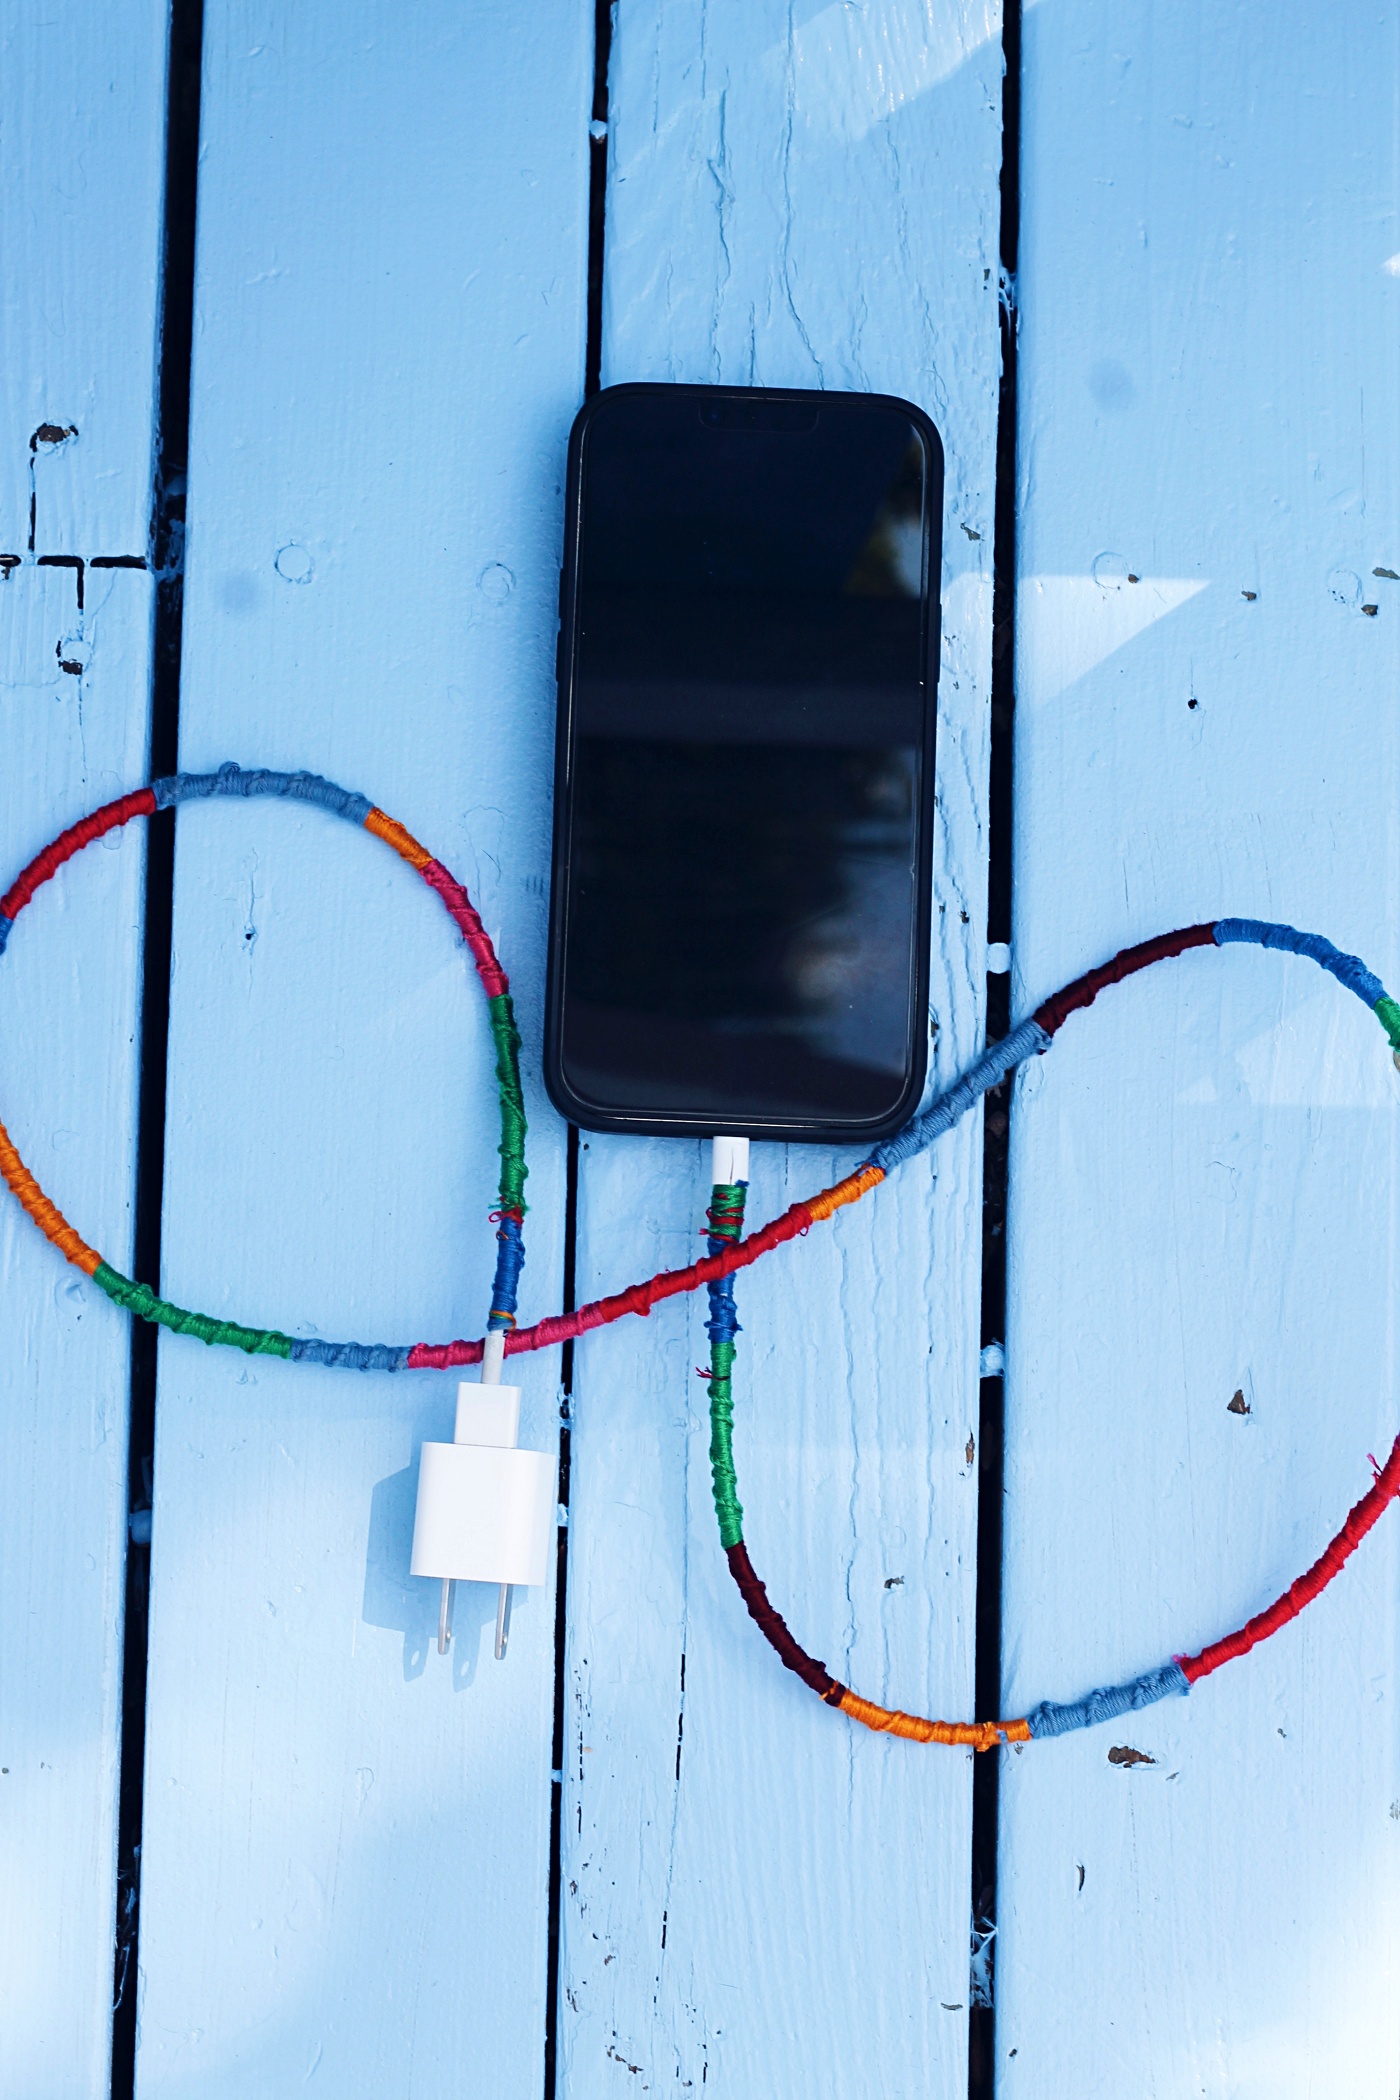
Not only does the embroidering thread make the cord fun and cute, but it’s also great for helping it to not get tangled up. And it’s great for the purpose that everyone knows it’s yours so no one will try to steal it. 😊
So what do you think? Is this something you want to try out? I hope that you do!
If you like today’s post, you are welcome to PIN it along with any of the images from my blog on PINTEREST. Find a Pin It button by hovering over any of the pictures.
Let me know what you think about this blog post in a comment below or come chat with me on Facebook and/or Instagram.
Thanks for stopping by,
Emily
