I have a really simple project to share with you today!
I got super creative and used electrical tape to update our boring windows. This was definitely a trial and error kind of project since I was basically making it up as I went along. So today, not only am I going to share how I did it, but also a few mishaps I faced along the way.
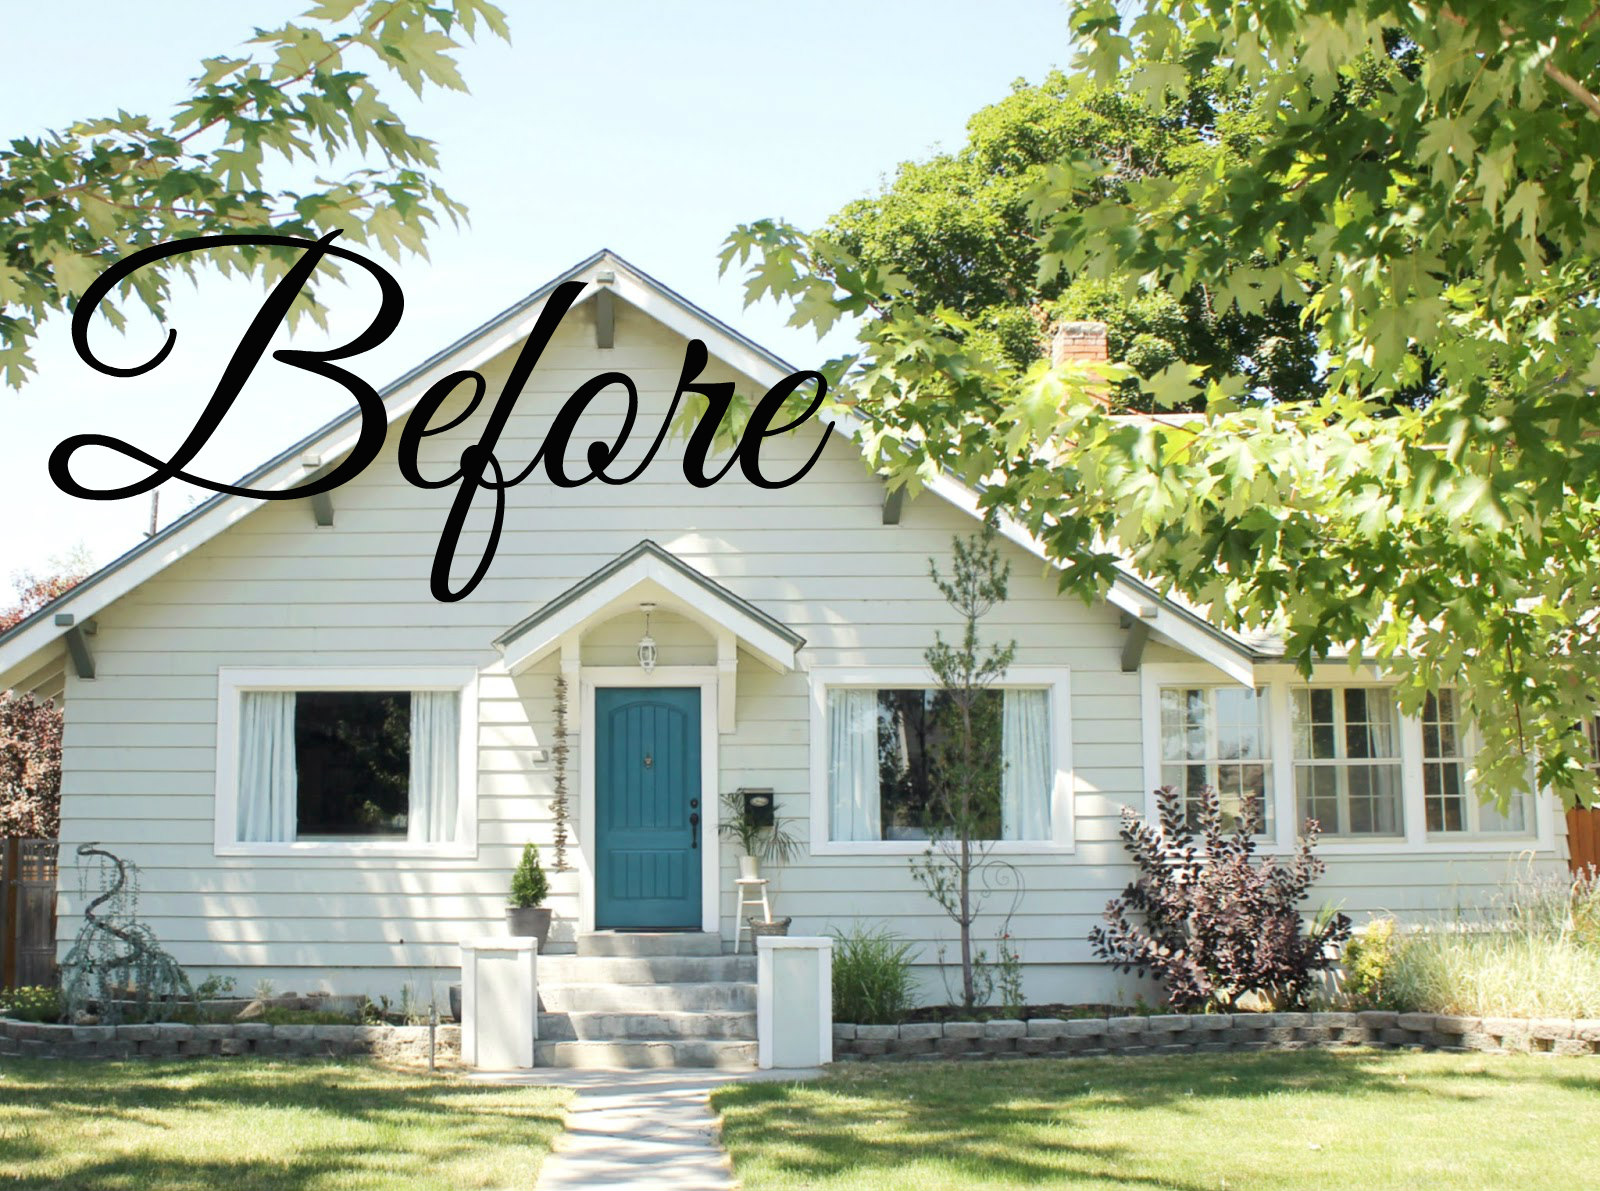
Our home has two big windows on the front of it, and from the outside these windows just looked like two big black squares. Ideally, I would like to get some wood blinds or interior window shutters, but either choice would need to be custom made to fit our windows, and both choices would be quite costly as well.
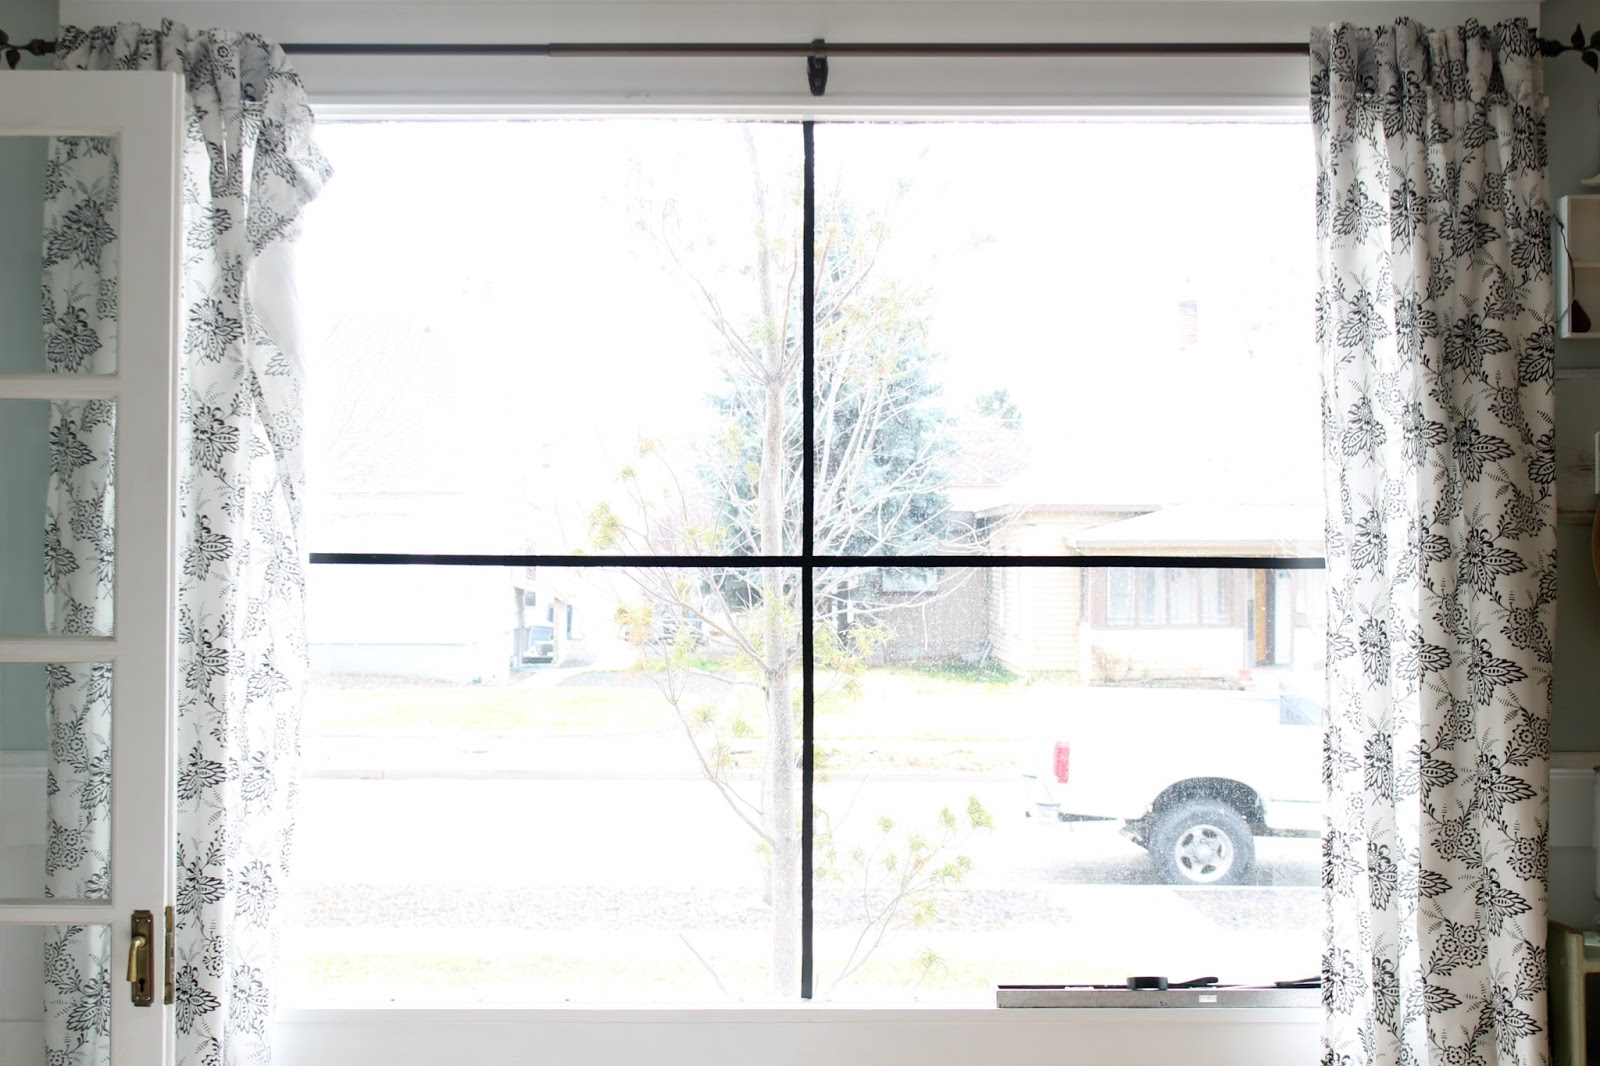
And if you know me, or have followed my blog long enough, then you already know that I don’t like to spend a lot of money on home improvements, and so I’m constantly thinking outside the box to come up with easy, low cost, solutions for updating our home. That is how I came up the idea for using electrical tape to create the look of window panes on our windows.

I first washed our windows really good. Next, I measured out where I wanted my lines to be. Then I began adding the electrical tape to the window. First I created a cross in the center, then I applied more lines going vertically and horizontally.
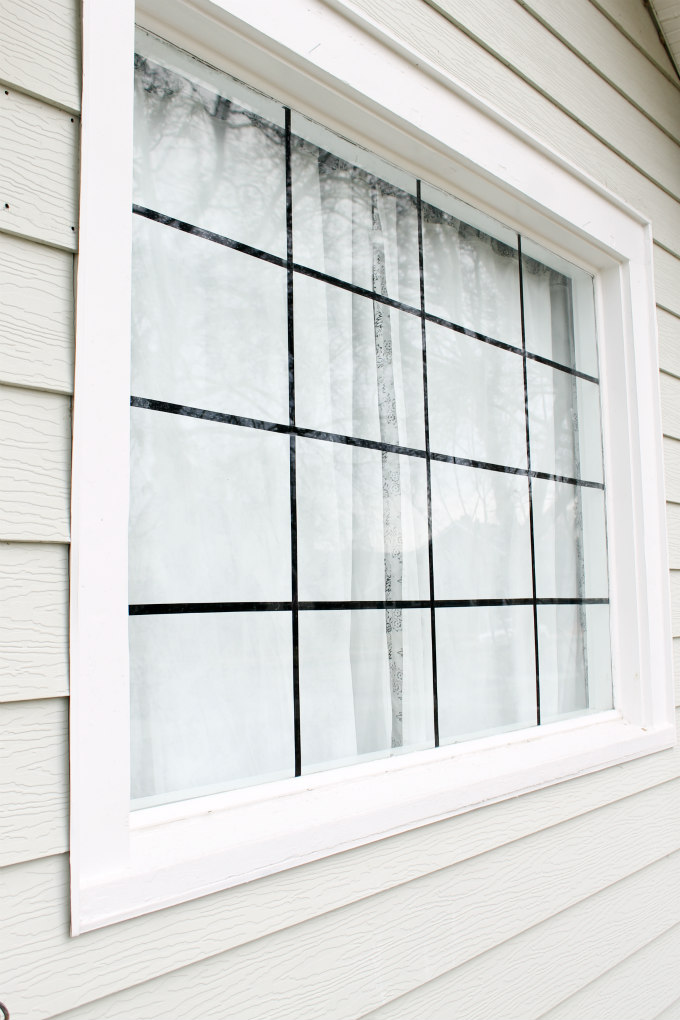
It was actually a little bit more difficult then it sounds. It took a lot of adjusting to get the lines straight, but in the end I was really excited with the outcome.

Once I compleated the living room window, I repeated the same process on the dining room window.

I was so tickled with the results. But then this happened. . . .
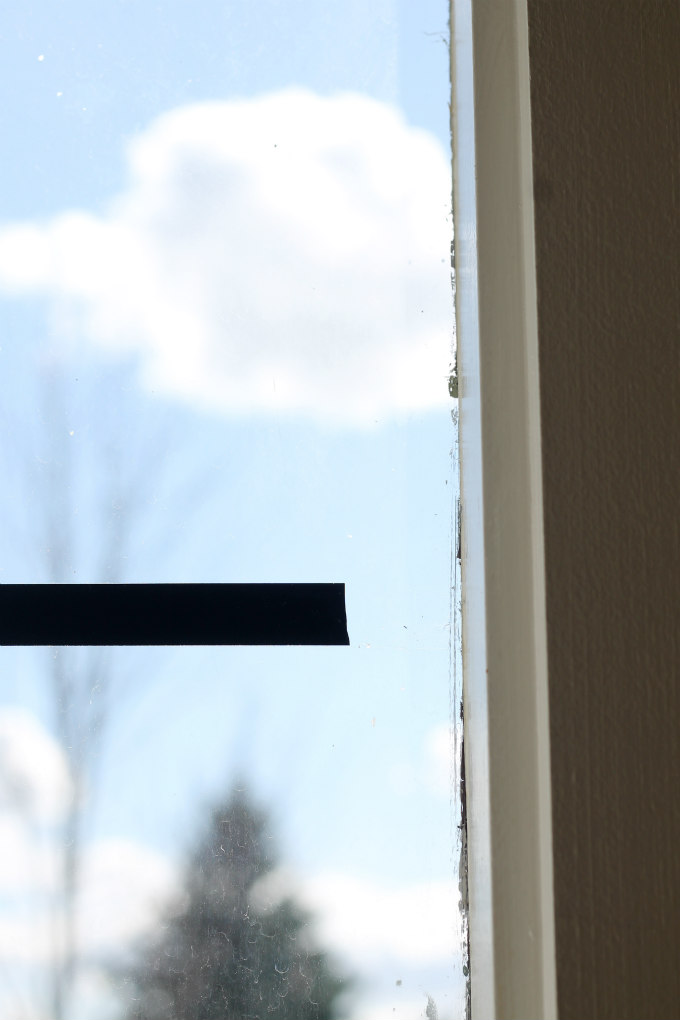
A couple days after applying the tape, the tape began to shrink and slide.

Oh No! So in the areas where this had happened, I removed the tape and started over. This time I was careful to NOT stretch the tape as I applied it. I also used a credit card and scraped the tape to the window which allowed it to stick better. At this time I also added tape to the perimeter of the window which I hadn’t done in the first place.

And it worked! This time there was no more shrinking or sliding.
I really liked the look. I thought that the black gave the windows an almost Loft feel to them.
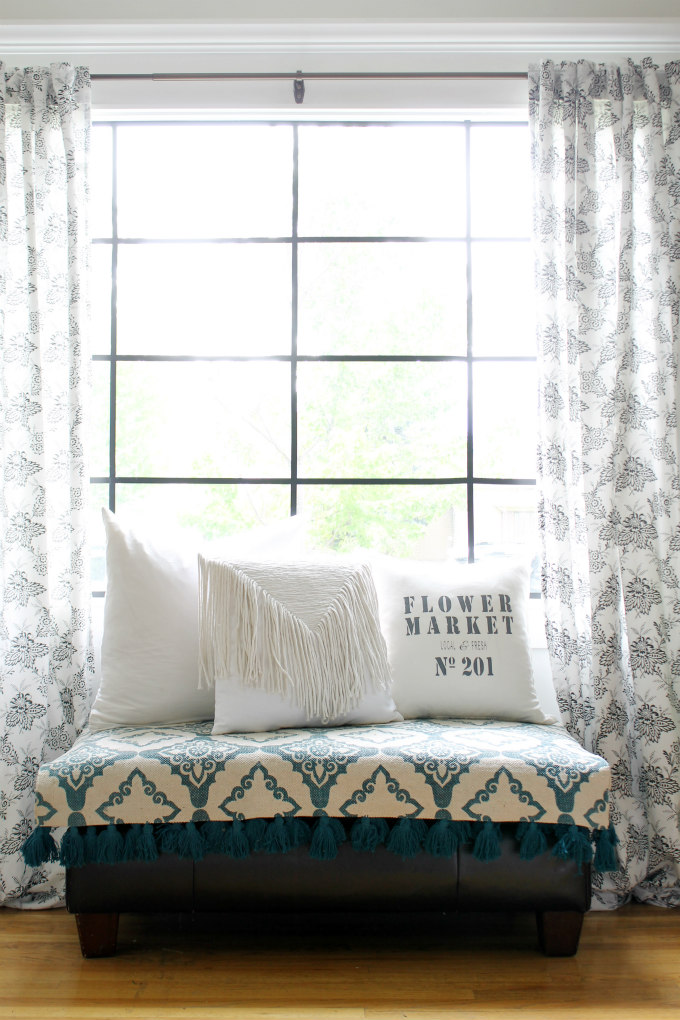
However, I few friends did mention to me that the black didn’t really match our house because the window panes that are in our sunroom are white and so it made the black look a bit out of place. I agreed and decided to switch out the black electrical tape for white electrical tape.
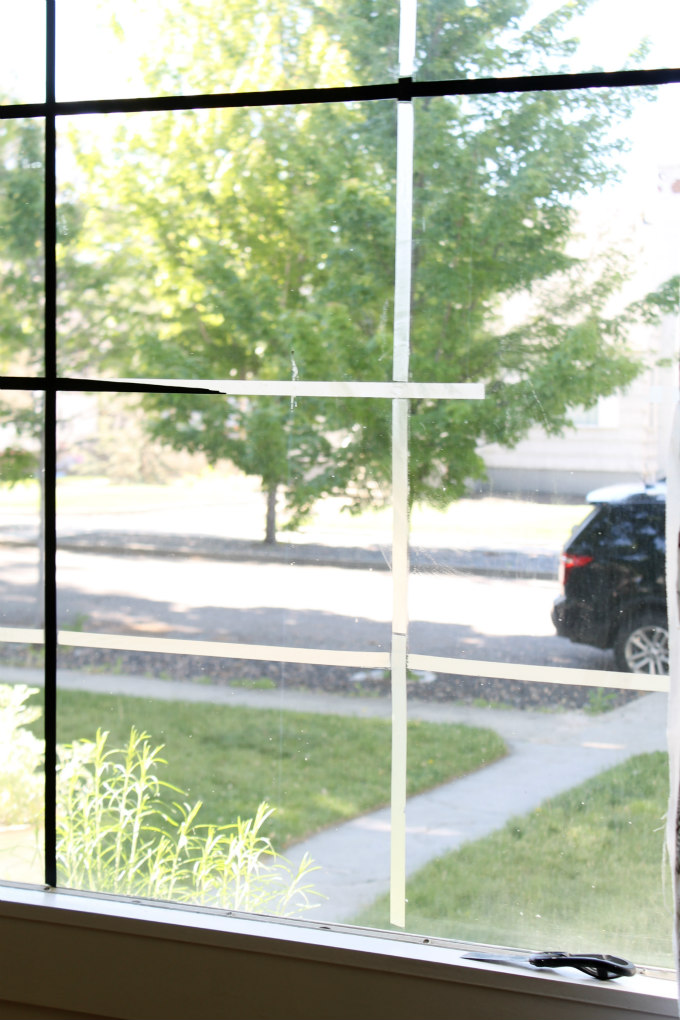
Honestly, I was a little scared to remove the black tape. I had nightmares that it wouldn’t come off, but it did. The tape peeled off like plastic, and the residue that was left scraped right off with a razor blade and window cleaner. So no problem there.
 I did a little brand comparison of white electrical tape, and I found that the Duck brand was a lot sturdier and less stretchy compared to the Scotch tape. So If you do try out this project go with the Duck brand. I can’t remember where I bought the tape from since I was all over town looking for it, but I do know you can buy it online HERE. Each of my large windows took about one roll of tape.

The second time applying the tape I knew what to do differently;First, I was careful Not to stretch or pull the tape too much. Second, I left overflow at the beginning and the end of my lines so there was extra tape in case my lines did happen to shrink at all. And third, I lightly scraped the tape with a credit card to make sure it was on good and that there were no air bubbles.
I’m happy to say, I haven’t had any other problems since. Here is an up close look at the tape from the outside.

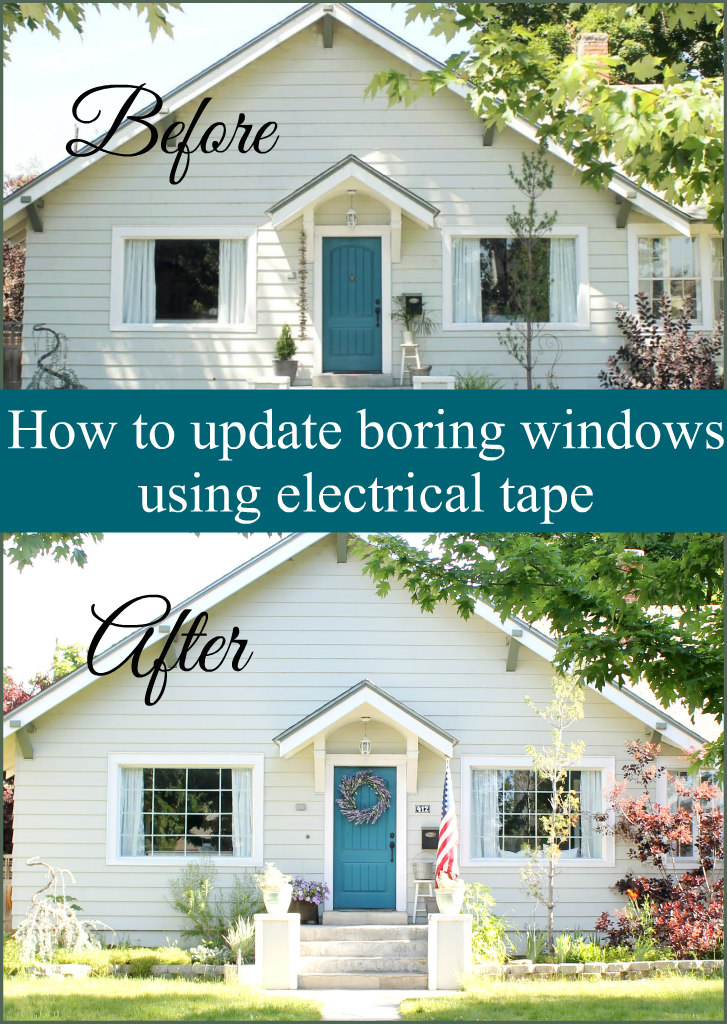
And here is a look at our house once I was finished. My big black squares have a bit more personality then they did before. Agree?

So what do you think? Is this something you would like to try out? I’d love to know if you do.
I still think some interior shutters (like these) would be super cute, but until then, I think my windows look better than they did before.
Like it? Pin It!
Thanks for stopping by,
*Emily

OMG, this looks AMAZING, I would have never thought to do something like this. What a wonderful look
I think the white lines look great'. You are creative enough to fix the thing you didn't like about your windows!
Whaaaat?! You are a smartie! I've been trying to figure out how to make my interior windows black but my window grids are in between the window panes. Dang! I think you just solved the problem for me. Sooooo brilliant!
So clever! Love it! First time here-your little cottage is darling! Joanna in Ca.
Looks fabulous! I love all your ideas!
So have they stayed in place? Any peeling or sliding?
So have they stayed in place? Any peeling or sliding?
Has the tape stayed in place since you originally placed it? Any slipping or peeling? Just curious. I may give this a try.
Thank you for your comment. Yes, the tape has stayed in place without slipping or peeling. I've had it up for about 7 months now and its held up nicely. Good Luck to you if you do try this, and Let me know how it turns out for you. Thanks!
wow, the window looks pretty beautiful now
I did the same thing to my windows. I used white boat marina detail tape. Car detail tape was not wide enough. It's easier to work with and does not stretch or shrink. It turned out beautiful. now I Want to figure out how to do a diamond grill pattern. Can't find any diy's on how to measure each differently sized window for the diamond pattern.