
Hey Friends!
You may have already seen my DIY Pumpkin Farm sign since I shared it HERE over at Ella Claire a while back, but today I wanted to share it here on my own blog for any of you who may have missed it.
I’m also sharing how I made it so you can make one too.
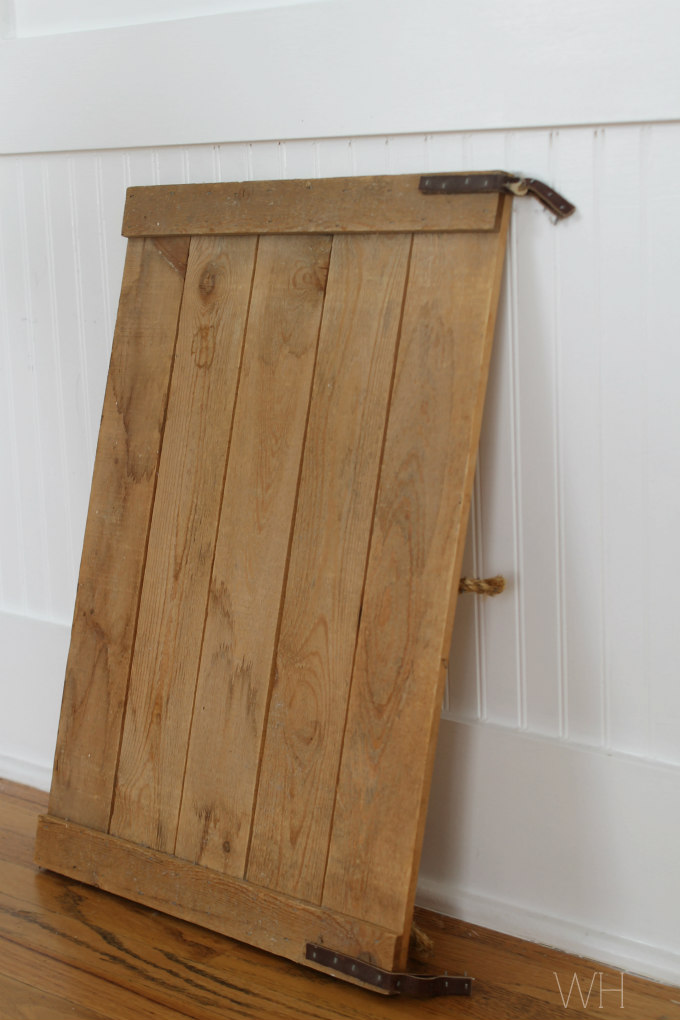
I started off with this crate lid I had laying around in our garage.
(You could make your own by piecing together 5 boards that measure 3″ X 11 1/2 ” each or you could use one flat board that is 16″ X 11 1/2″)
I then painted mine white.
Next, I went to Micheals and picked up one piece of ‘Orange Honeycomb’ scrapbook paper, ‘Orange Spice’ acrylic paint, and one corrugate pumpkin plaque.

I traced the pumpkin plaque onto the back of the scrapbook paper, cut it out, and glued the cut out paper onto the plaque.

Now for the lettering, I went to my computer and created the letters on Ribbit, a photo editing web-site. You could also create it on Pic Monkey. I played around with different fonts and sizes until I was happy with the look. I then printed them out, cut them down to size, and placed them on the sign.

I traced out the letters with a sharp pencil and a piece of carbon paper underneath. If you do not have carbon paper you could also use this method of scribbling on the backside of the paper with a pencil.

Once my letters were outlined onto the wood, I carefully filled them in with a paint brush and the craft paint.
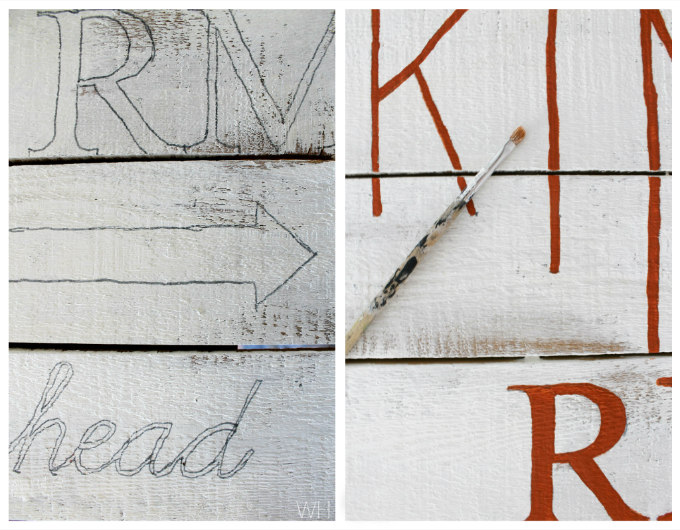
I used brown paint for the arrow.
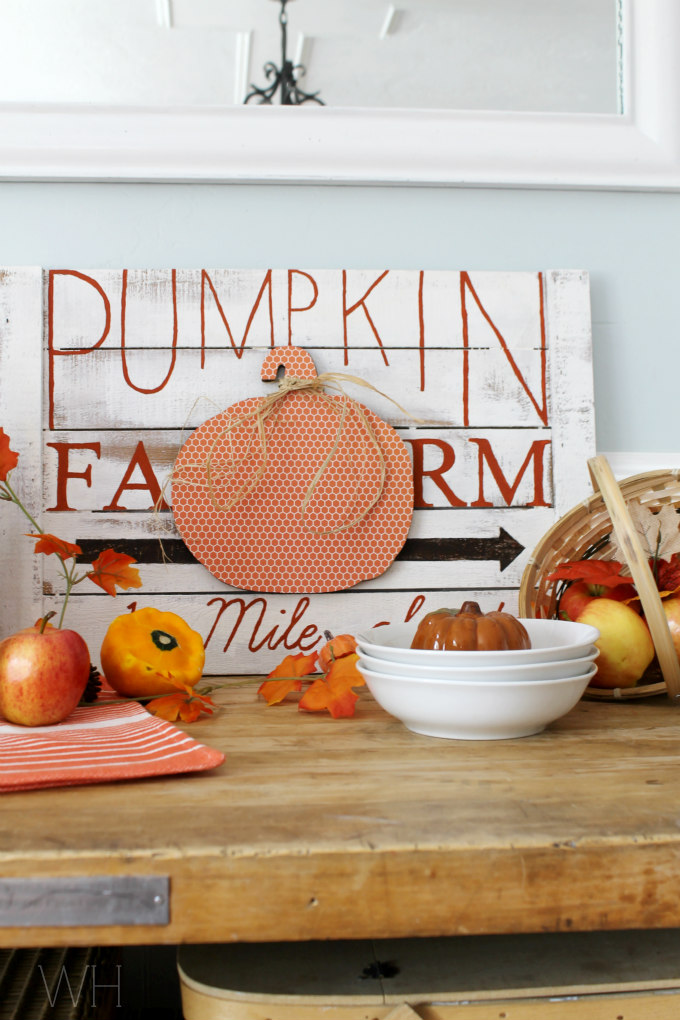
I tied a few pieces of raffia around the pumpkin stem and then hot glued the pumpkin onto the sign.

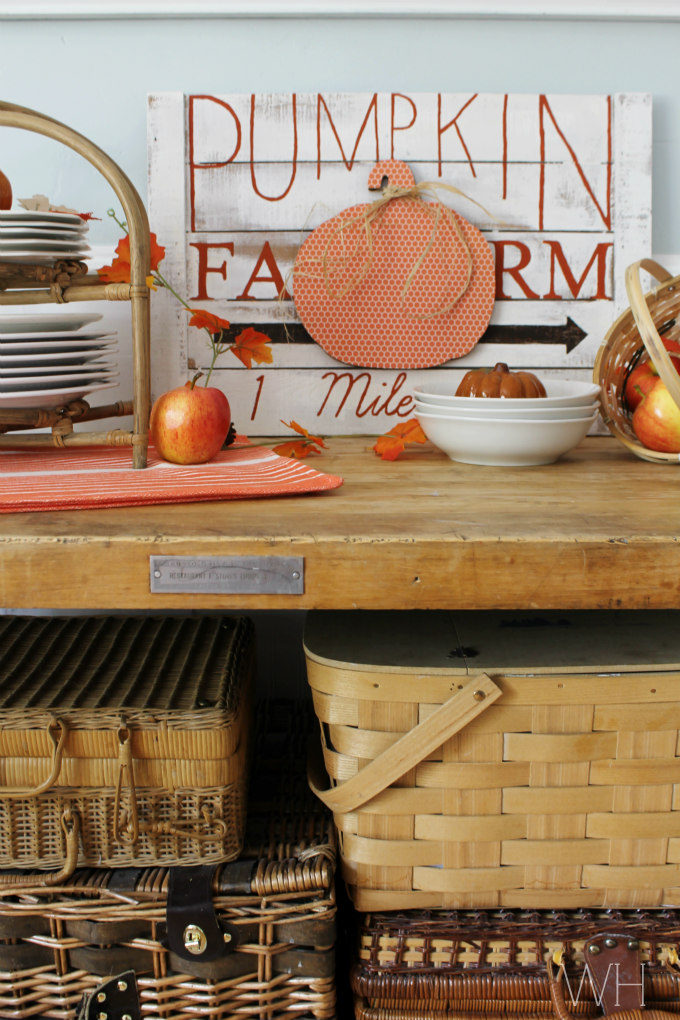

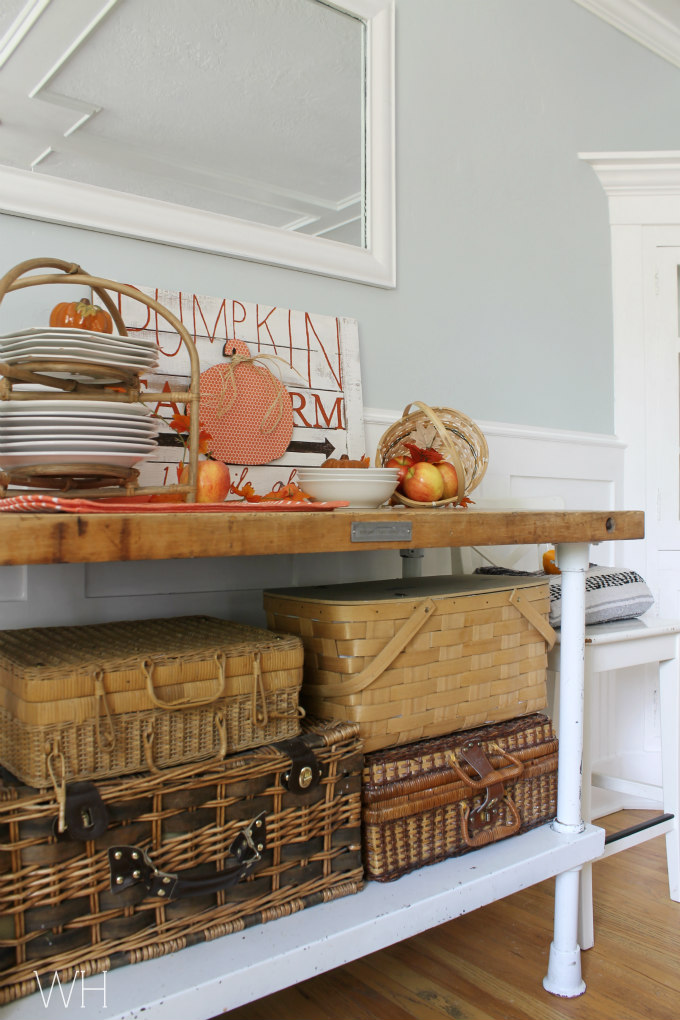
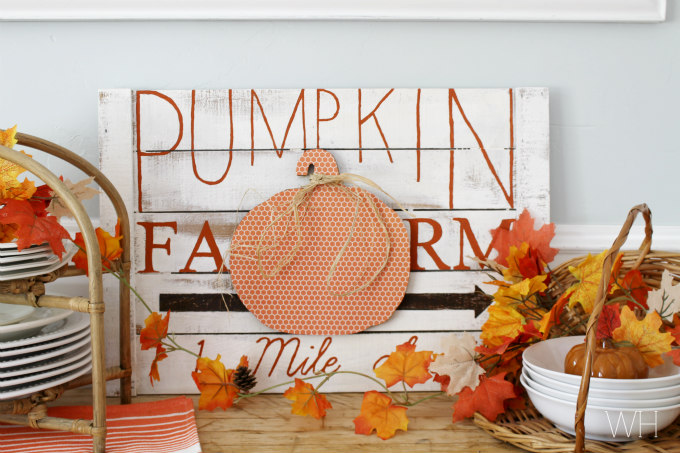
I brought in some other fall touches to add to my display.
The leaves and ceramic pumpkins were purchased from the dollar store.


This sign has been such a great addition to my Fall decorating this year.
Thanks for stopping by,
Emily

