
This is what the kitchen looked like when we bought the house, so obviously painting the cabinets was on the top of the To Do list.
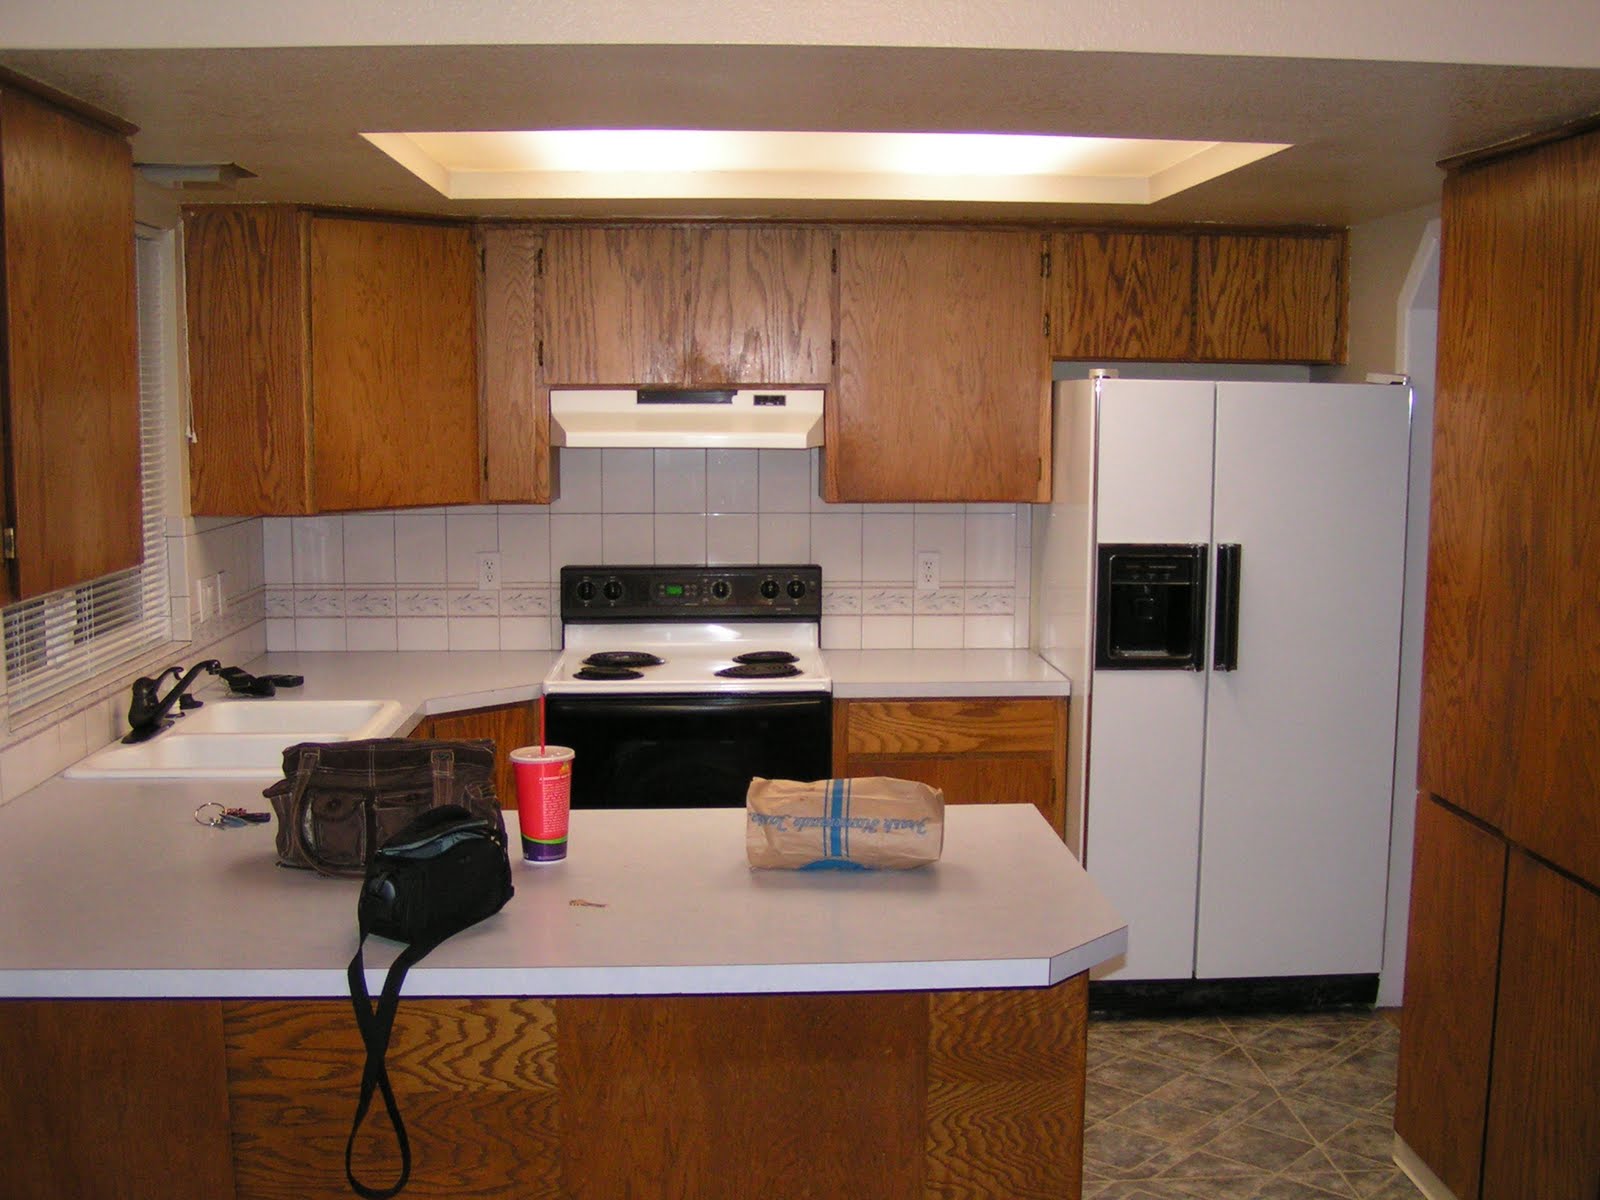 If you have never painted cabinets before and would like to, let me teach you how.
Step 1: Recruit all friends and family to help.
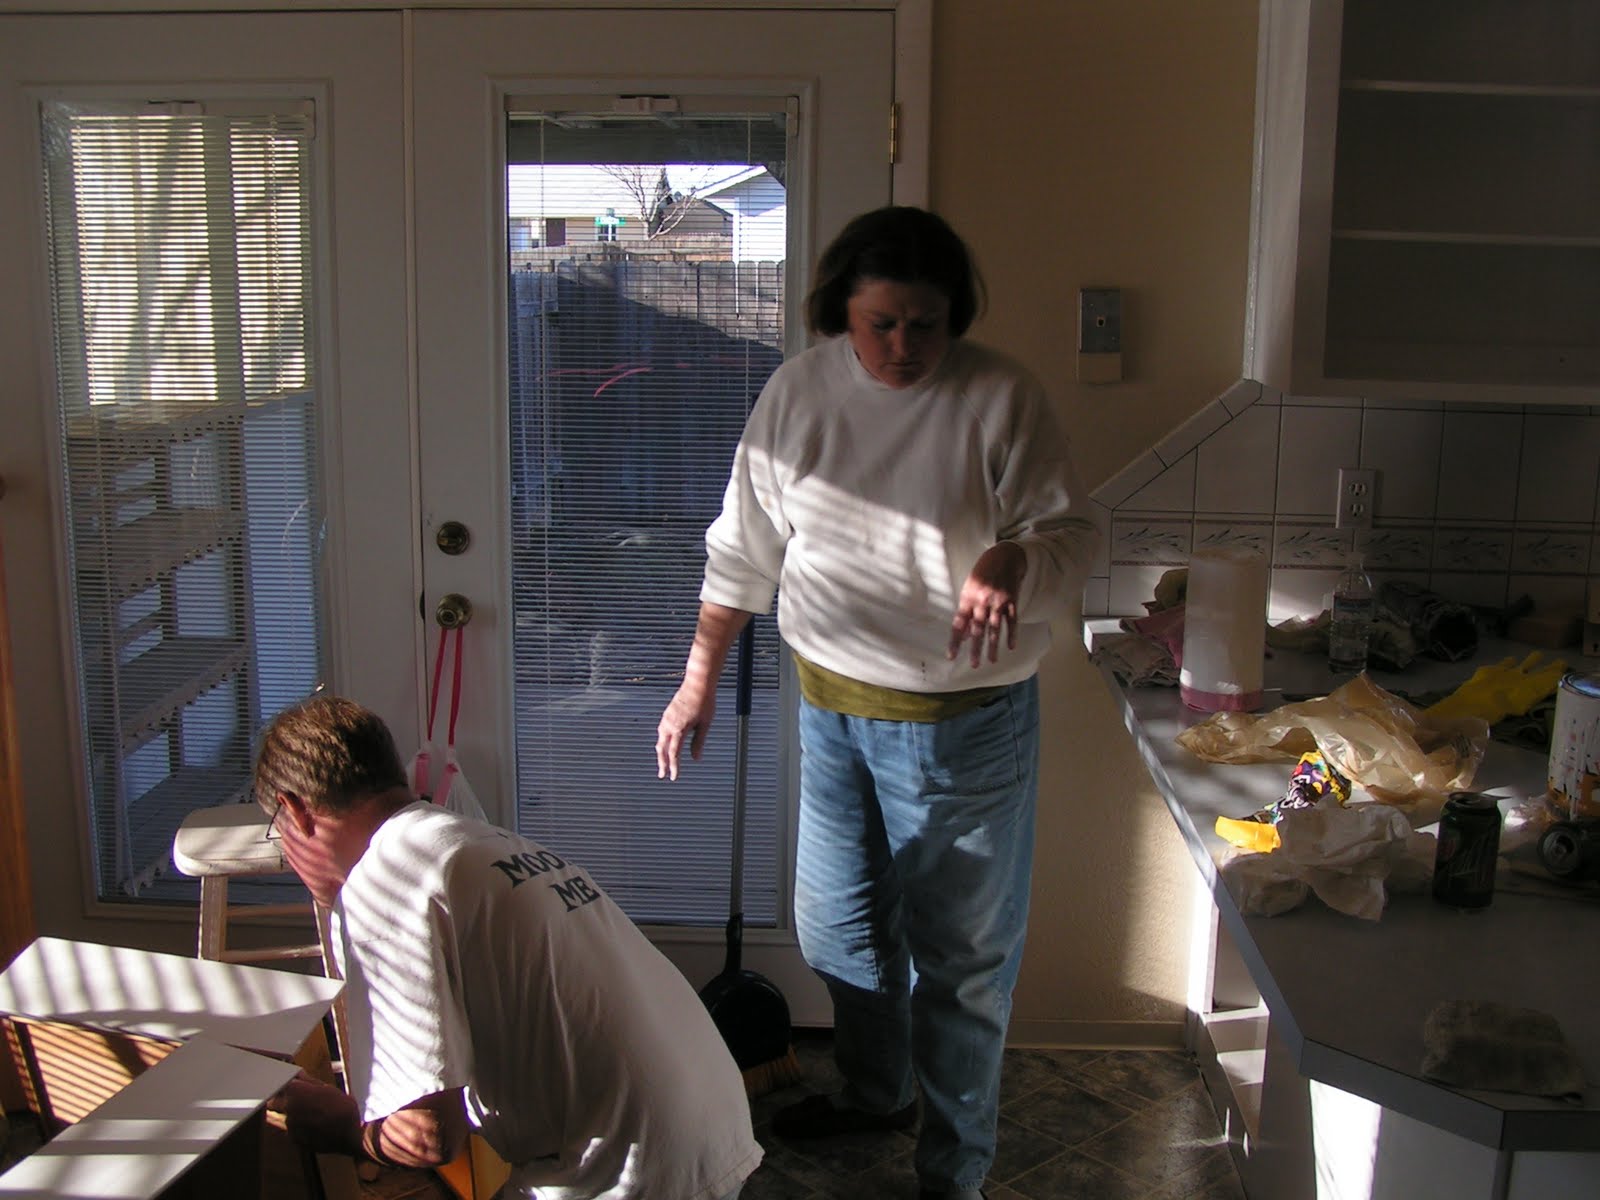 (This is my wonderful mother and uncle in-law hard at work).
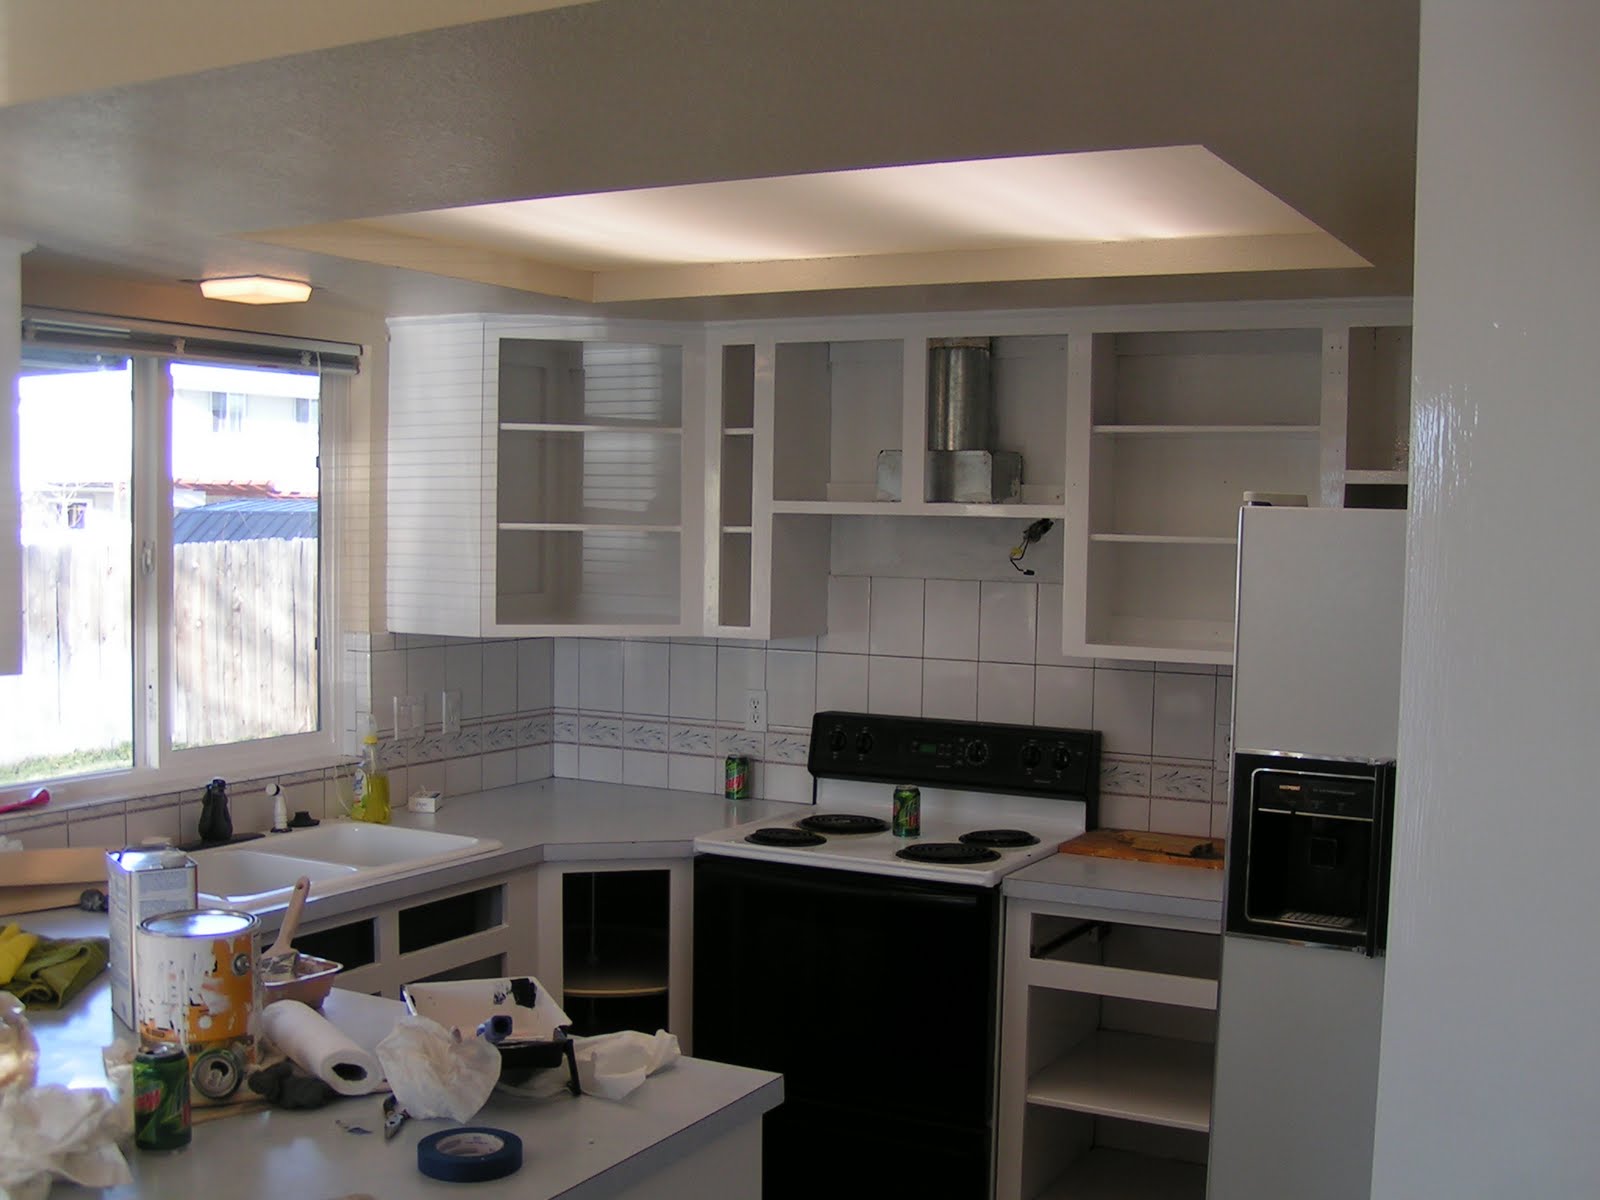 Step 2: Take off all hardware and doors and lightly sand everything.
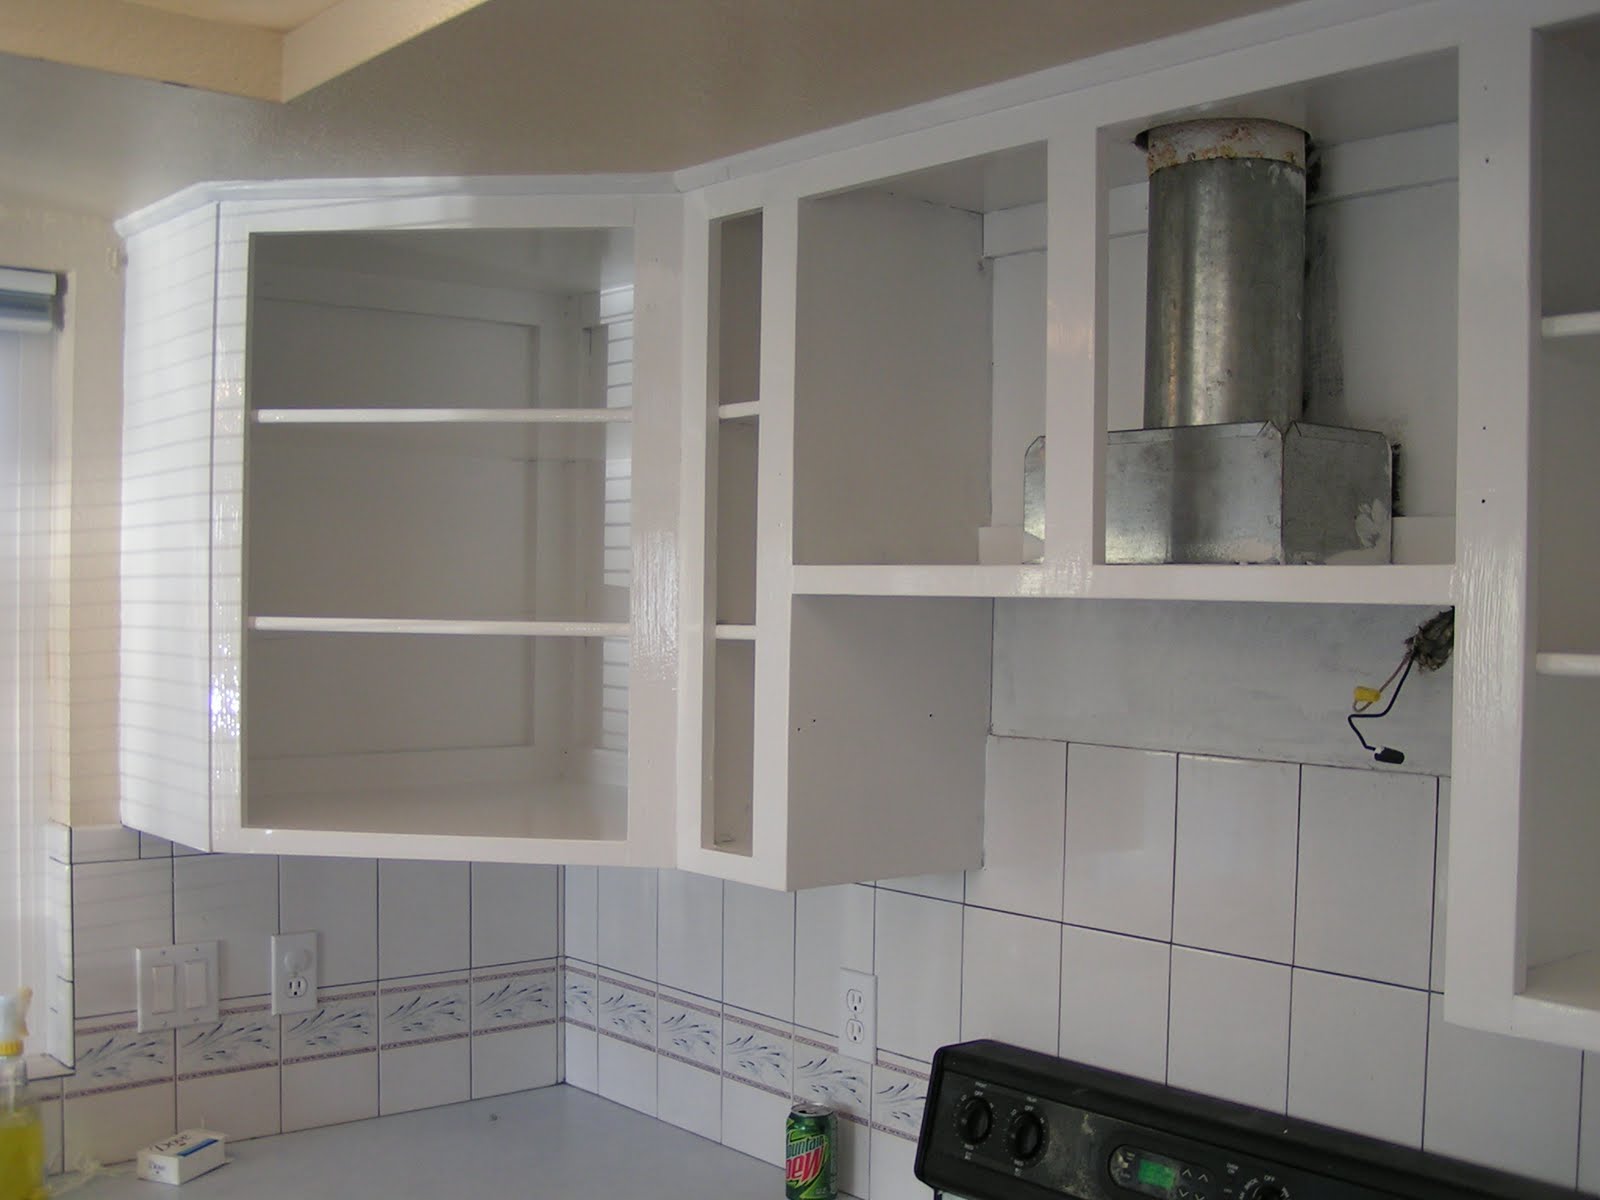
Step 3: Prime and paint. I used an oil base paint, I know most people stray away from oil base, but I was told that it will hold up much nicer.
The one nice thing about oil base is that you can actually store your paint brushes in the freezer without cleaning them. The oil base keeps them from freezing. Then you only need to clean them once when the job is all done.
My Tips: Paint the inside of your cabinets too. You’ll be glad you did when you open them up. And lastly be prepared to be painting for a good week straight, since you can only paint one side of the doors at a time and then with all of the touch-ups. It’s a big job!
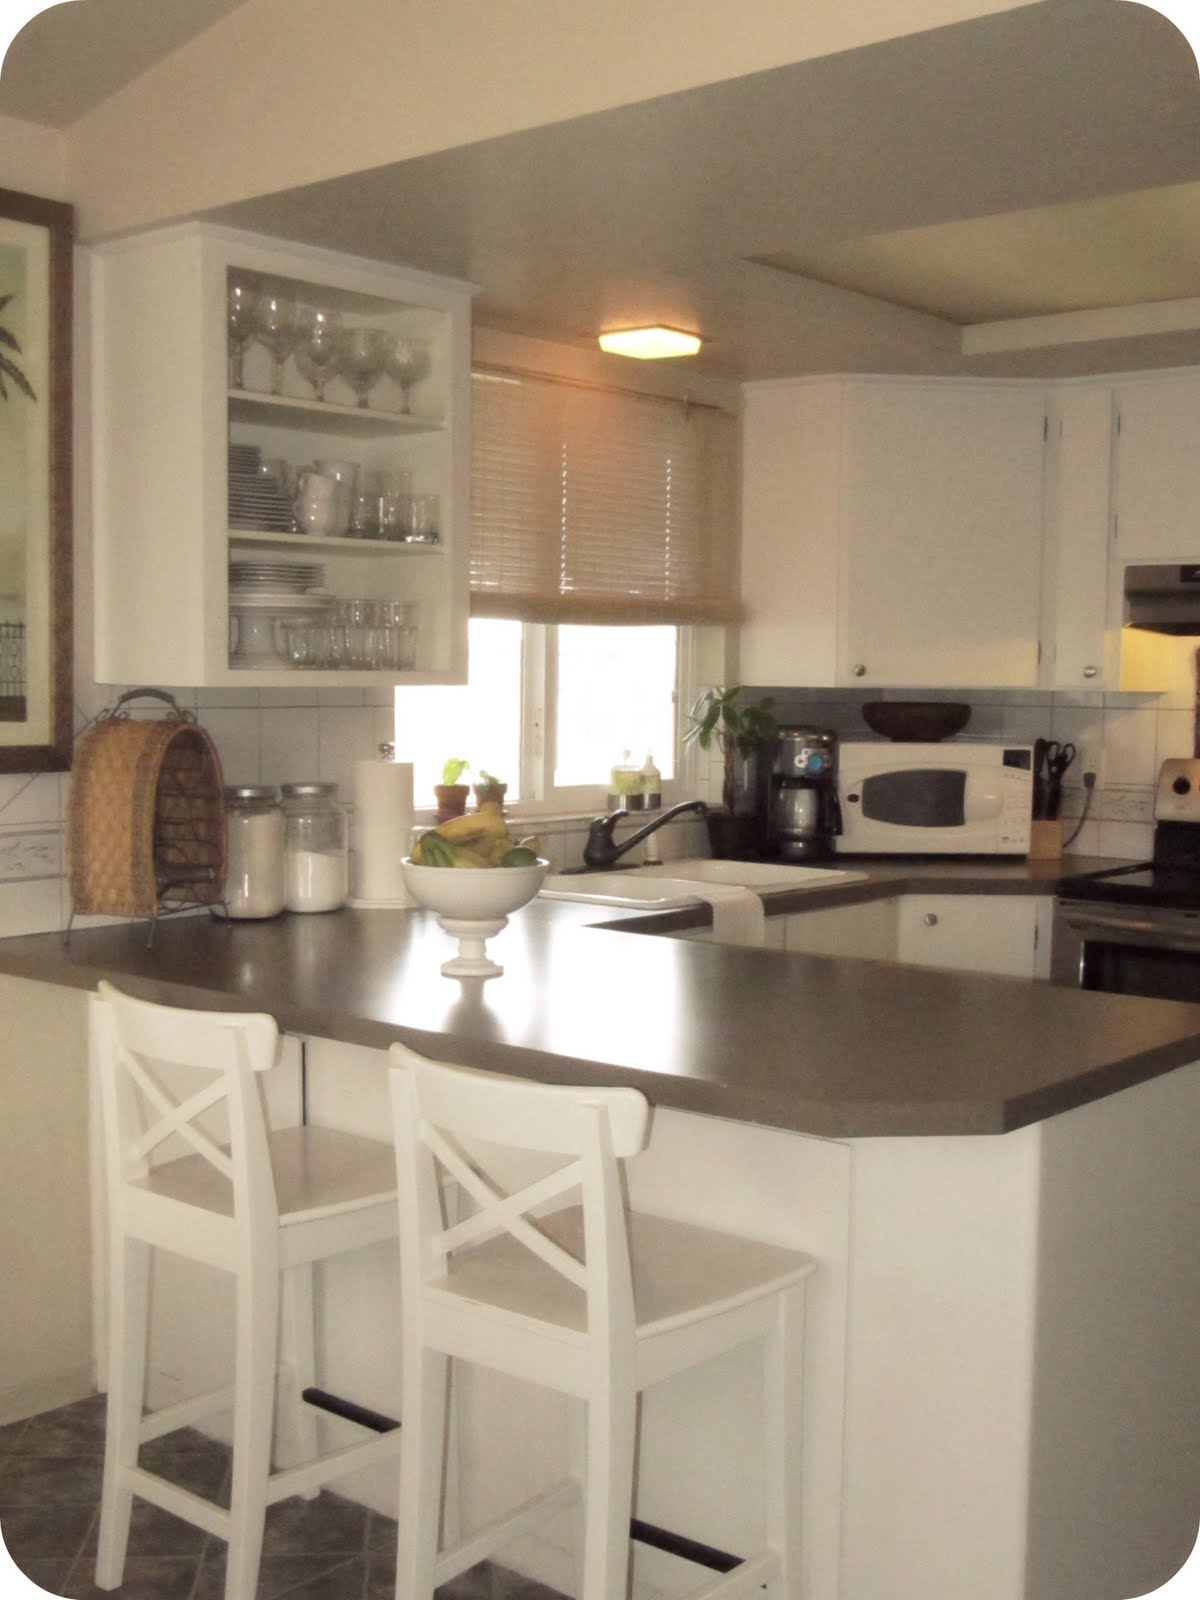
But the end result is all worth it. A brand new kitchen from a can of paint!!

By removing one of the cupboard doors, I now have a place to display my favorite dishes.

We also added new hardware.

I also painted the counter tops. There is a special counter top paint by rust-oleum. I chose the color, taupe but they have about 20 different colors to choose from. Then you just roll it on and wait a couple days for it to dry. It’s a small can, but I only used half of it. So I have extra for any future touch-up. It’s held up surprising well.

We have also put in a new stainless steel stove, hood and fridge.
I’d still love new floors, lighting and back splash. So hopefully I’ll be posting more updates of the kitchen in the future.
Update to this Post:
Want to learn more about my painted counter tops? Gohere.
Want to see how my kitchen looks currently? Go here.
Linking up here.


