
Hello!
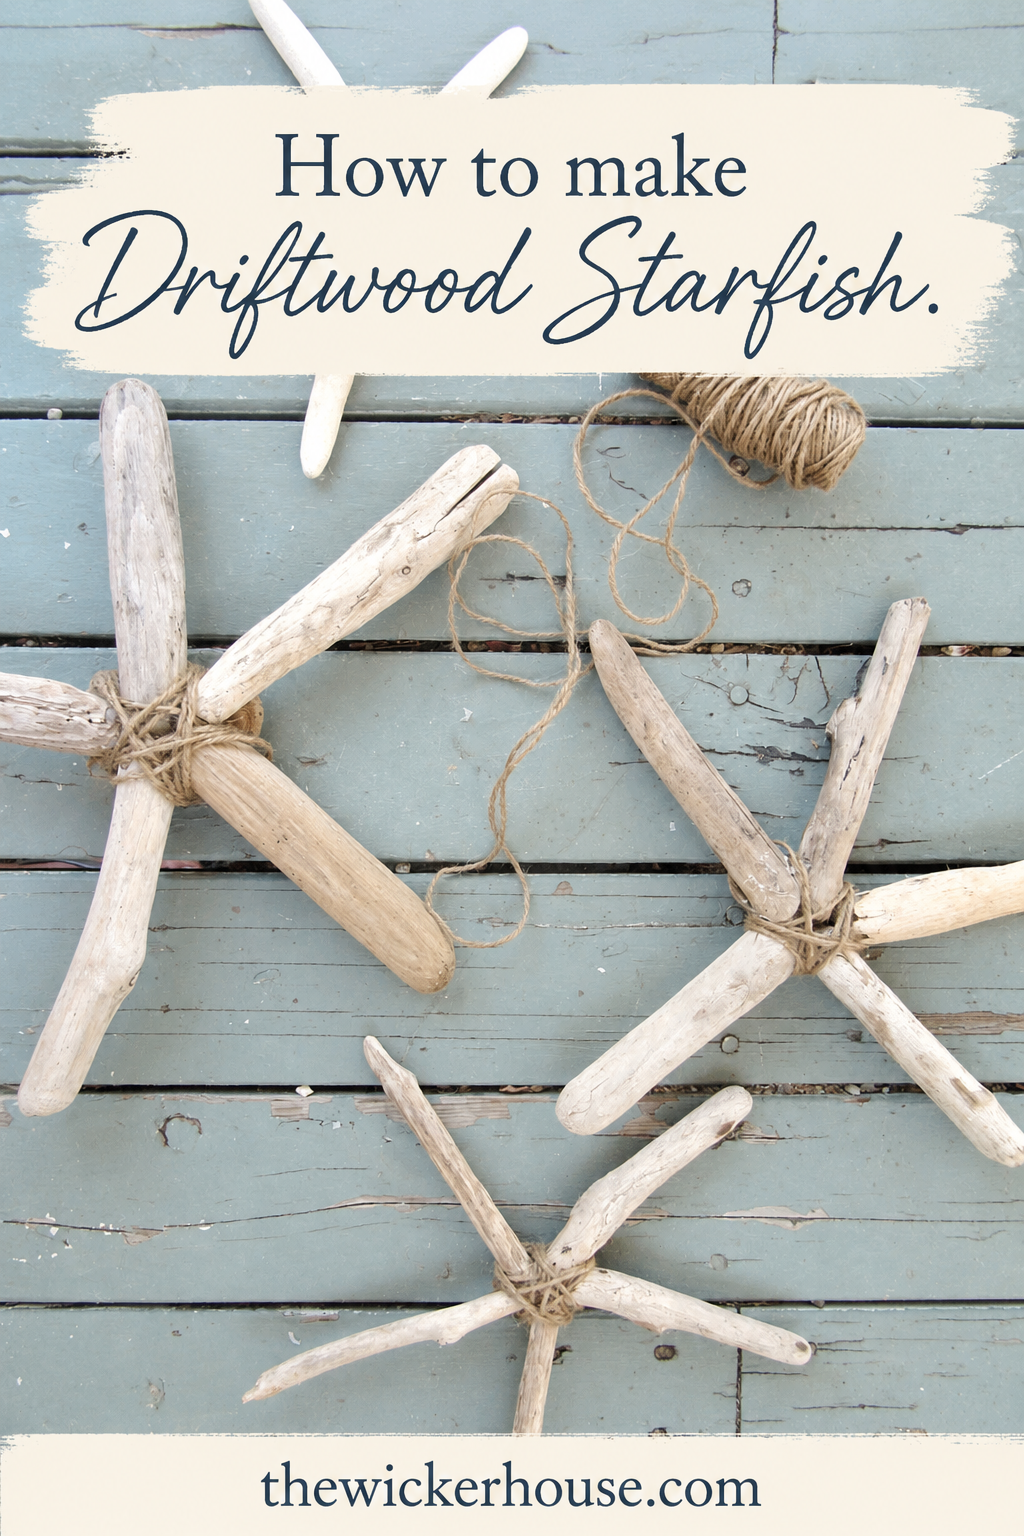
I made these Driftwood Starfish out of some driftwood I had collected on my last trip to the beach.
So today I thought I’d share how to make them.
Step 1. Go to the beach and gather up some driftwood. . . I know that probably sounds easier then it really is, right? Unless you just happen to live near a beach, and in that case I’m super jealous of you.
So for the rest of you, like me. who only dream of living by the sea, just remember to gather up more then your share of driftwood on your next beach vacation to have on hand for projects like these. . . that’s what I do.

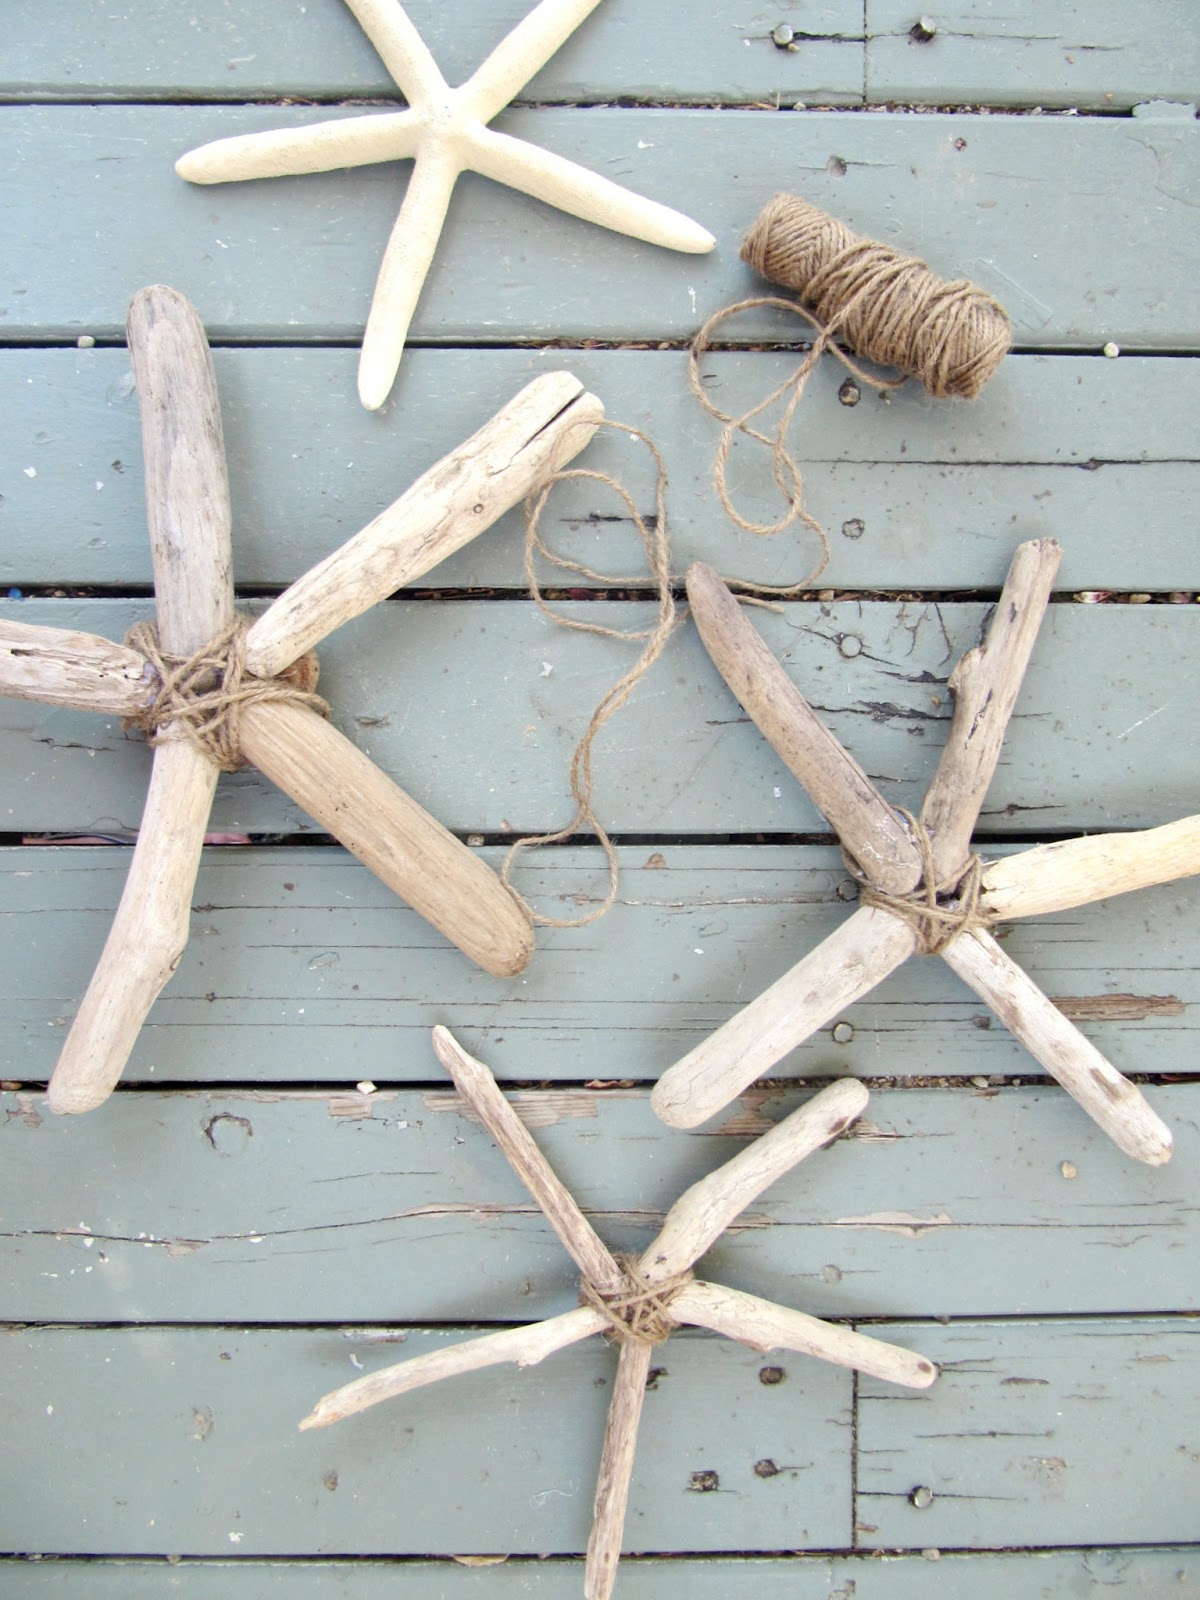
Step 2. Lay out 5 pieces that are the same length and form a star.

Oh and you will also need to find a piece of driftwood that is small and round to act as the center base.

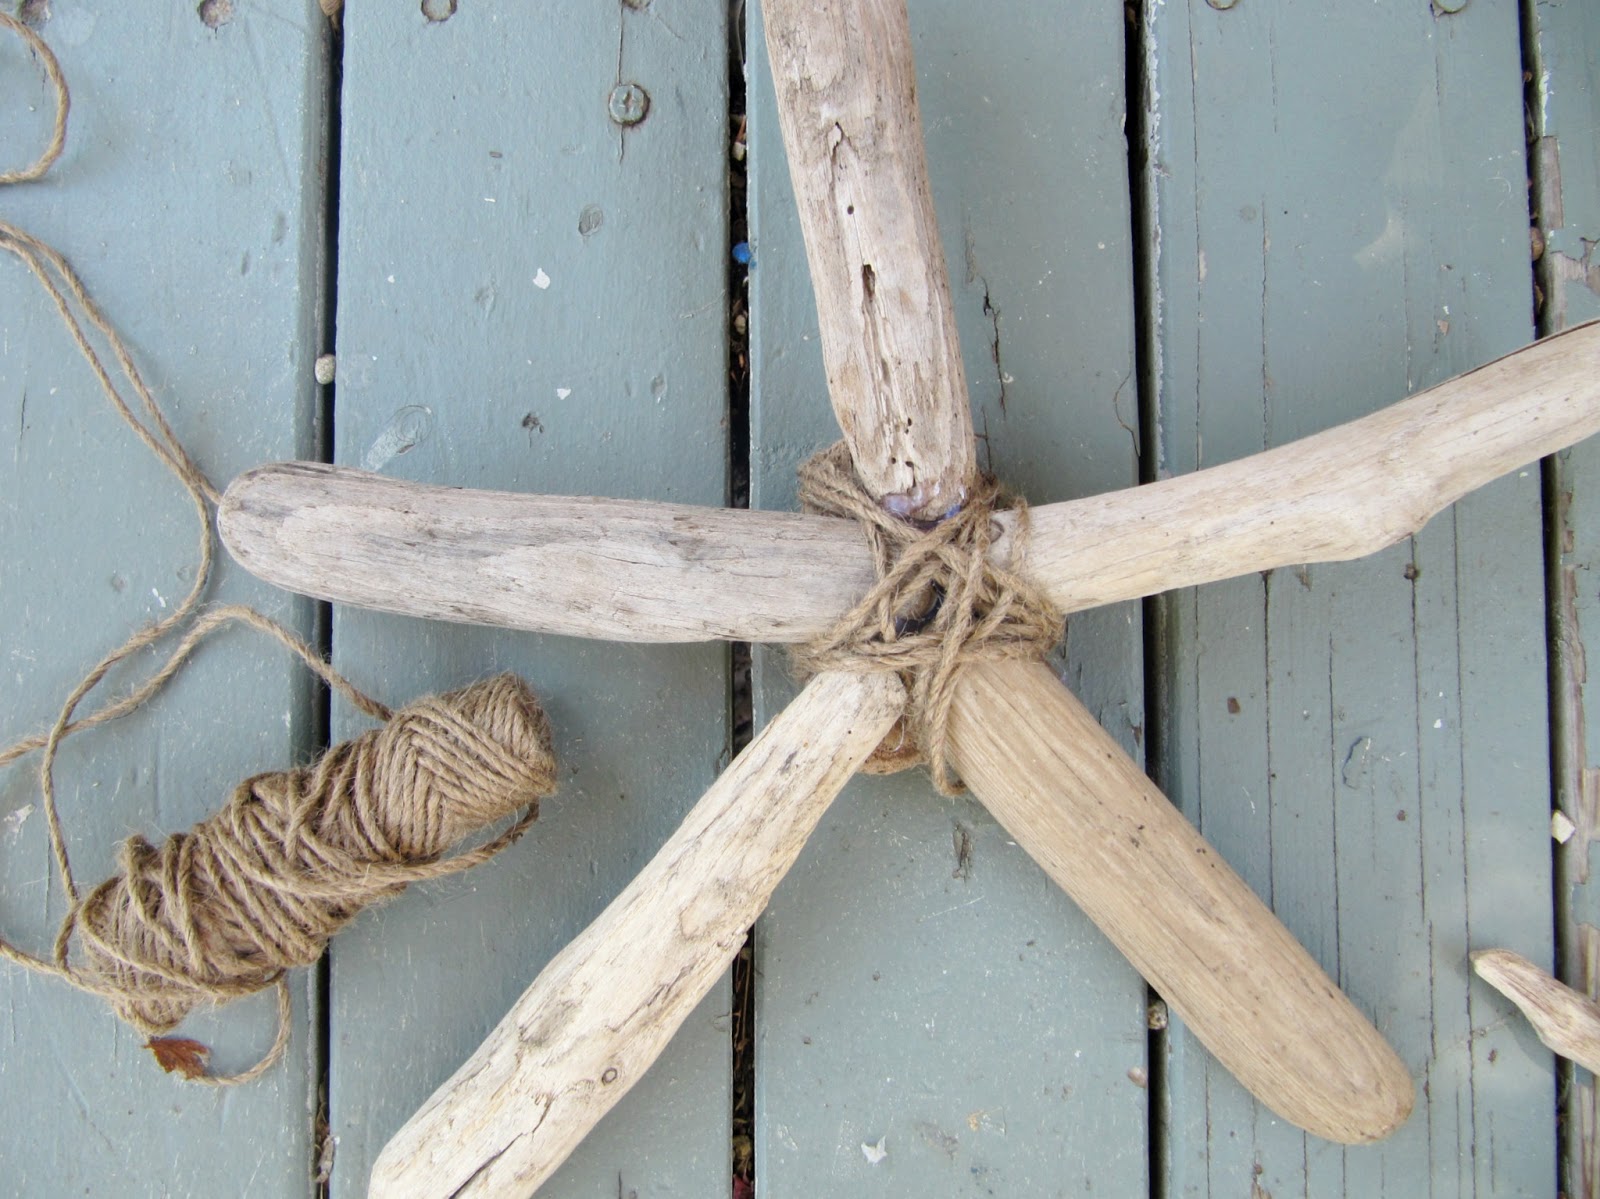
Step 3. Hot glue the driftwood sticks to the center base and wherever the sticks touch each other. I used a lot of glue to get it to hold well together.
Step 4. Wrap a bit of twine around the center, and tie together. This will help to secure it better and hide any glue that may be showing as well as give it a nice finished look. It will also give you an easy way to hang it on a wall.

Super Simple!

I have hung mine up in my boy’s bathroom.
I shall share that with you someday soon.
Thanks for stopping by,
Emily
Linking up:
Inspiration Exchange Linky Party #3
(via City Farmhouse)


Shop this Post
*Disclaimer: This blog post contains Affiliated links which means that I earn a small commission for purchases made through these links.
Like this post? Pin it for Later!

You are welcome to PIN any of the Images from my blog on PINTEREST. Find a Pin It button by hovering over any of the pictures.
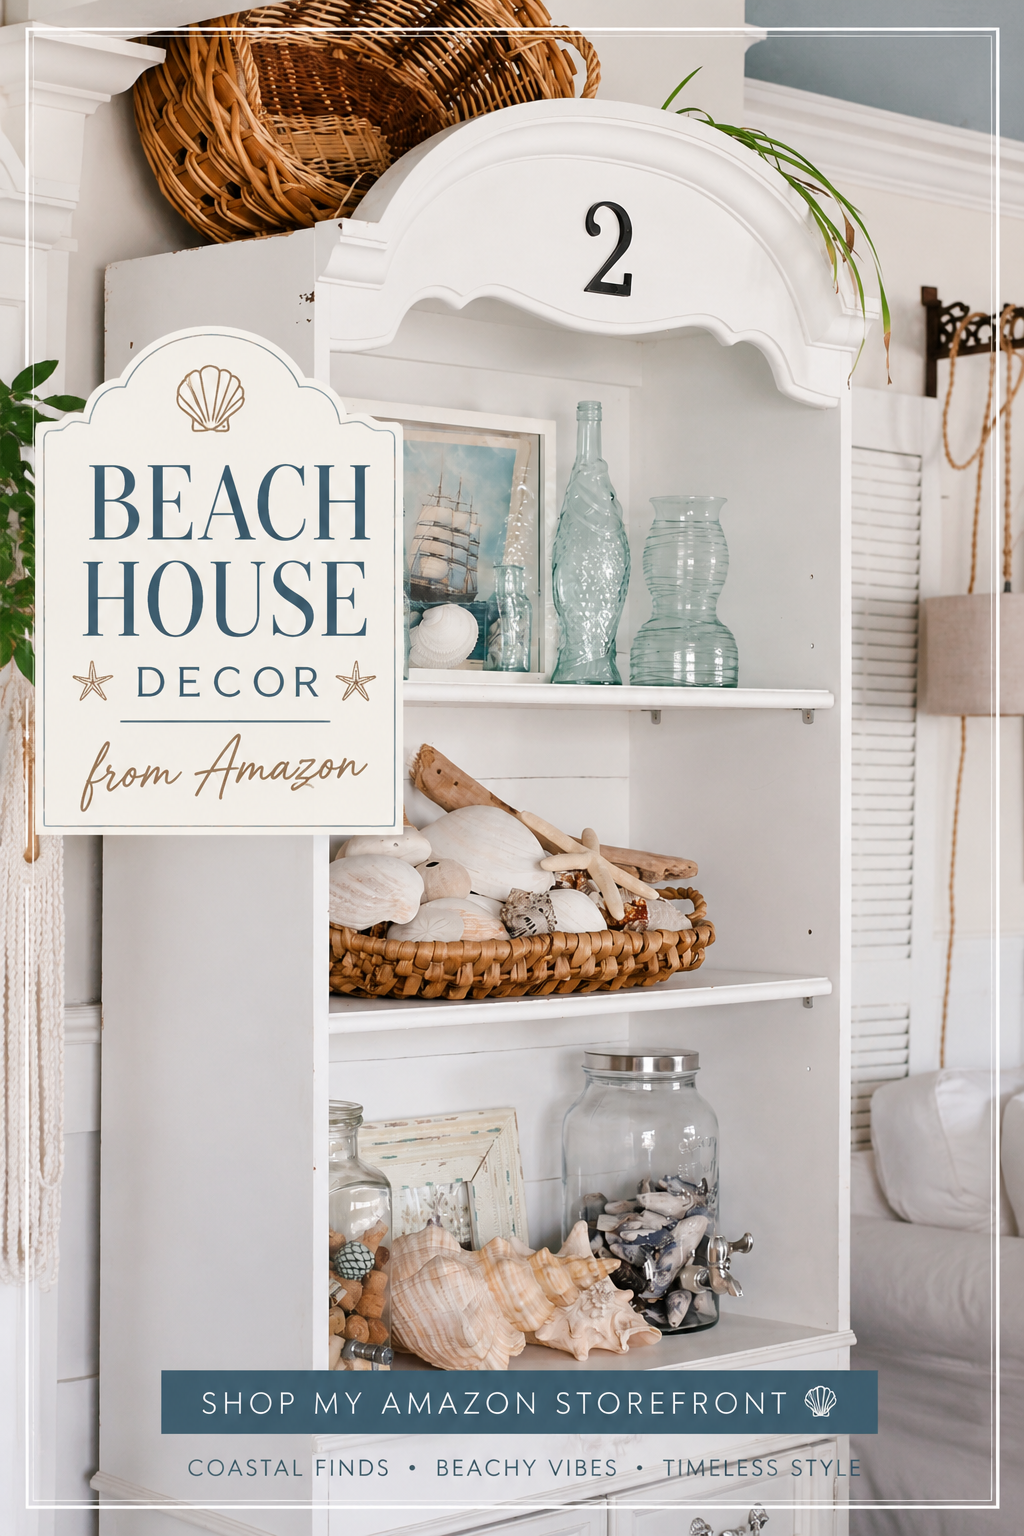
If you like the type of decor that I share, then be sure to check out my SHOP MY FAVORITES Page. I keep it updated with all of the fun Coastal, Cottage, and Farmhouse Decor that I come across on a daily basis. I personally want EVERYTHING that I have listed there.
You can also Check out more on my Amazon Page [HERE]. It too is full of all sorts of favorites. Take a look around!
Thanks for Stopping by,
Emily
If you like this post, You may like these too!


these are so cute, emily! love the rustic beachy look!
So cute and what a simple, but effective idea. If that's your boy's bathroom wall I love it and can't wait to see more!
x
Great craft. I like how it upcycles something that can be found anywhere!
Sharing on FB, amazing!!! Please come share at our party, so genius:). Have a great rest of the week sweet friend, Jen-City Farmhouse
They turned out so cute! I love them!
How cute are these?? I love them! Thanks so much for coming out to The Inspiration Exchange – sharing these on Facebook tomorrow. Have a wonderful weekend!
Jenn 🙂
great site, im new to the world of blogging
michelle
nice work… these are looking nice in this starfish shape…
Silver Updates
I love this project! And what a fun way to capture memories from a day at the beach! Thanks for sharing!